Fast Shipping!
Free for Orders £25+
Free for orders over £25
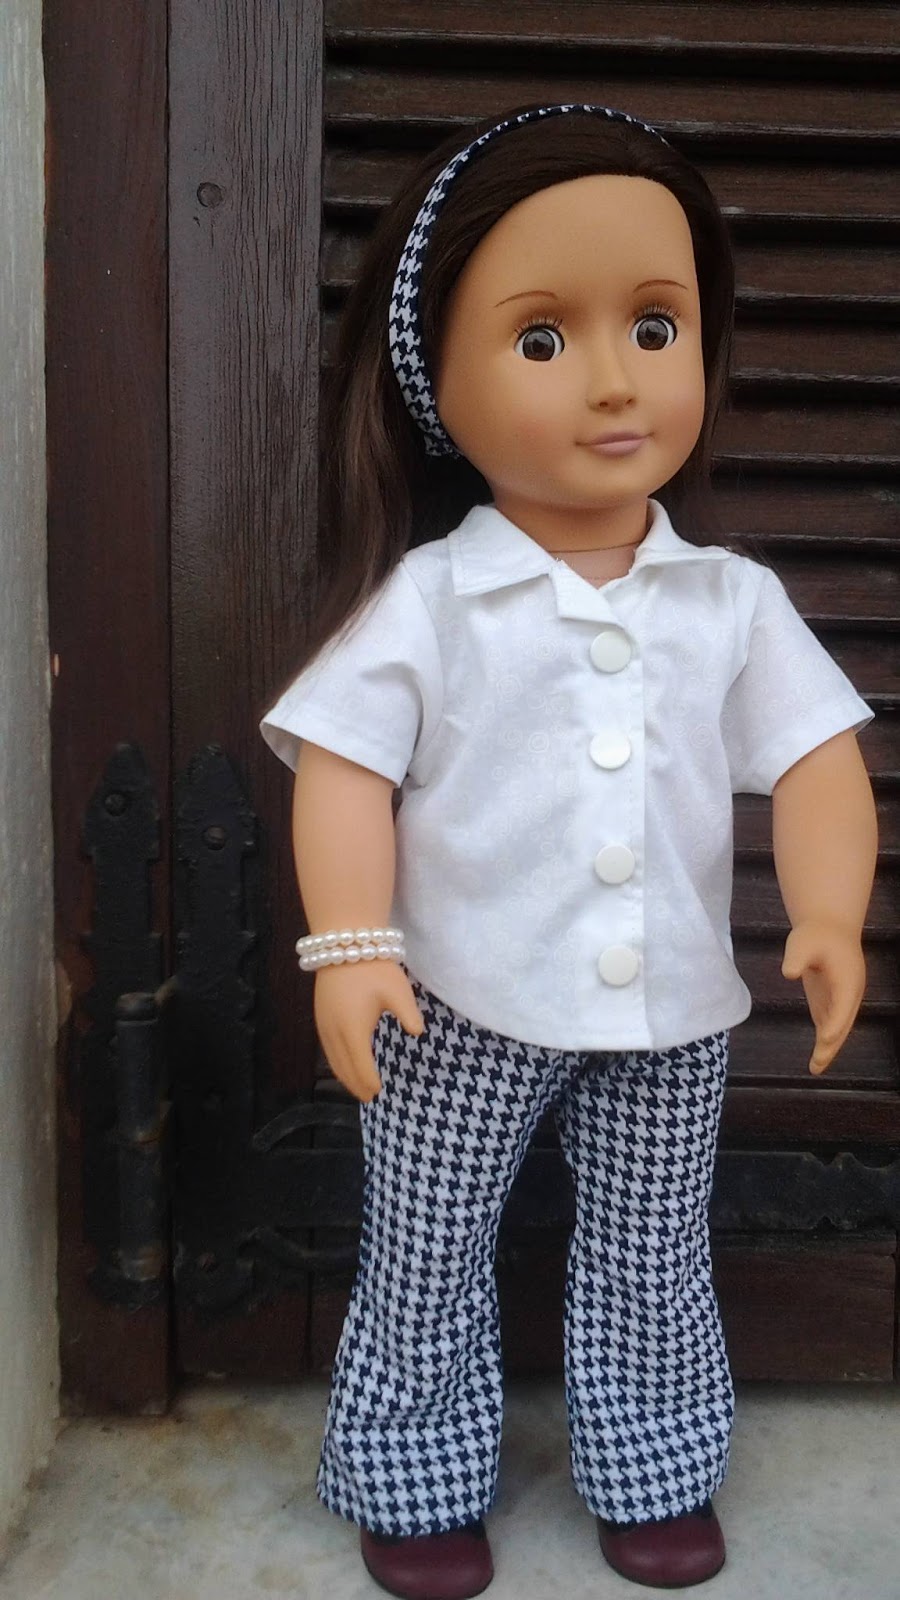
We are going to make Annie a more casual outfit of trendy flared trousers and a short sleeved shirt. Both are easy to make but will demonstrate perfectly how you would make an adult garment as we will be using a lot of the same processes. Making dolls clothes is a great way to learn to sew for any age as the garments are small enough to be completed in one go.
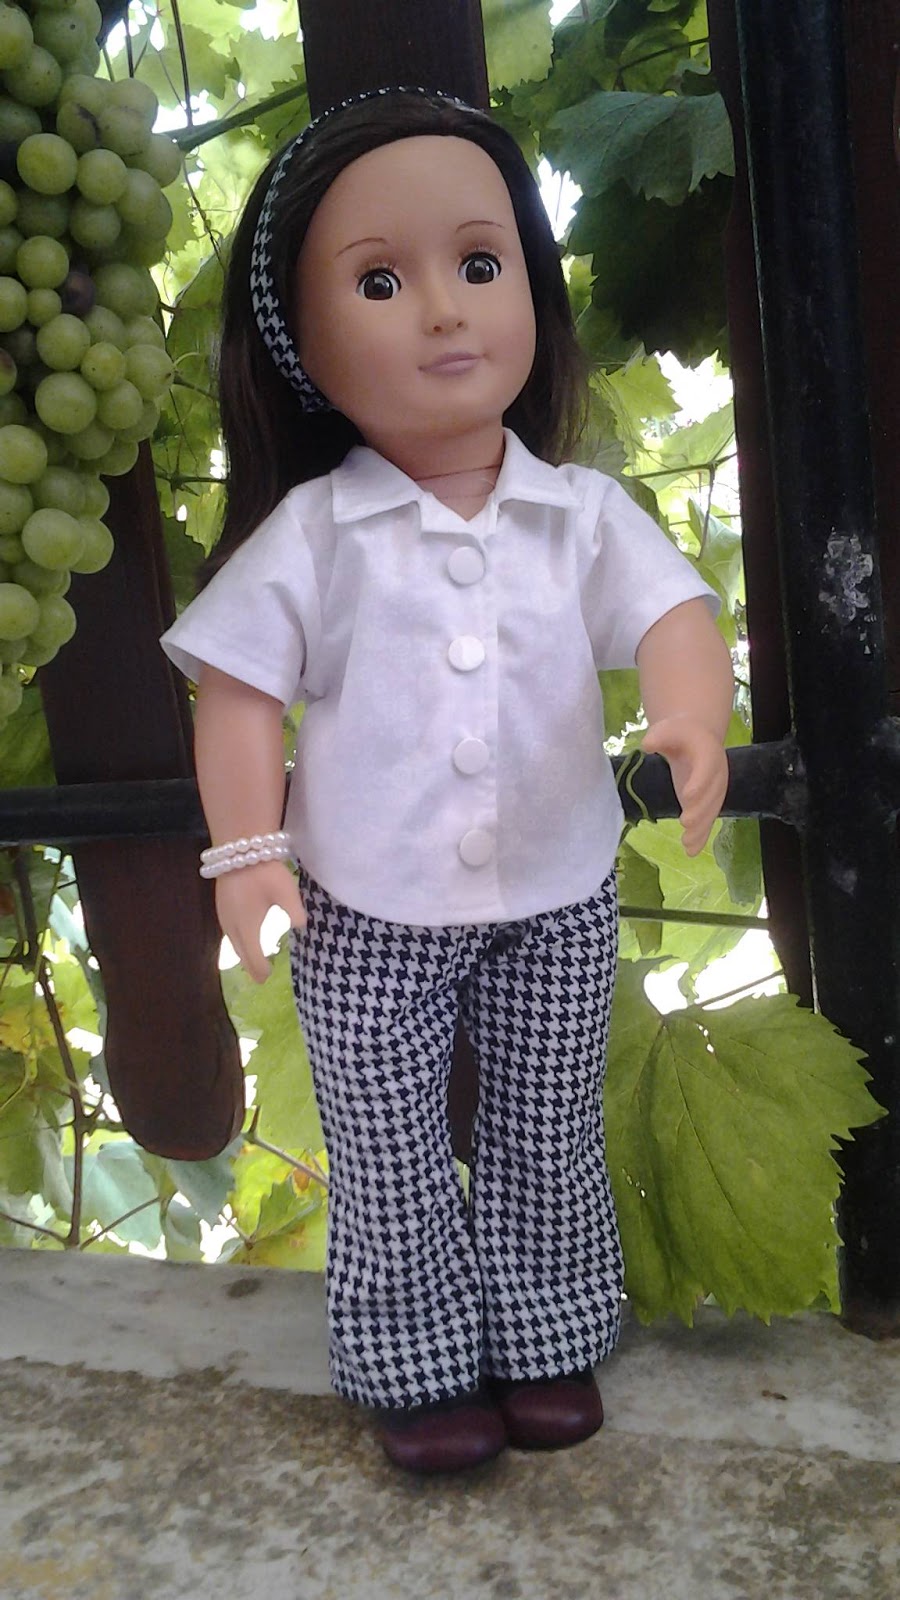
This is Annie wearing her new outfit. The fabrics are from Threadheadfabrics.co.uk as before. Thread Head has put together some special bundles of fabric at a really good price and can be ordered on the link here Long quarter bundles they really are value for money and are a very good quality fabric.
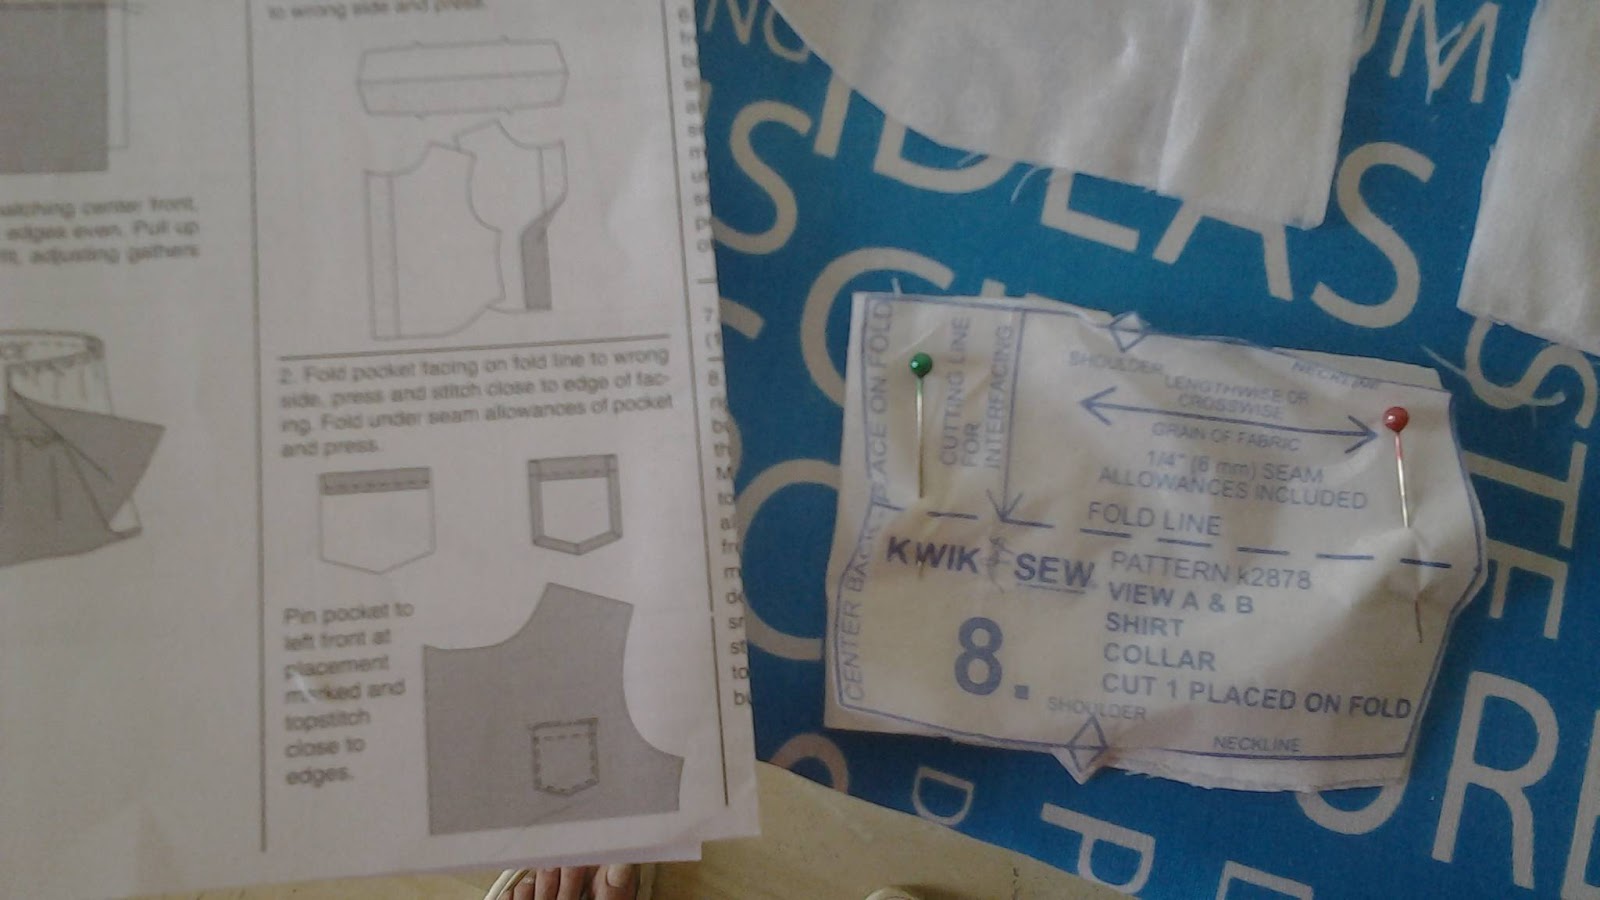
The pattern is Kwik Sew 2878 from jaycotts.co.uk as before.

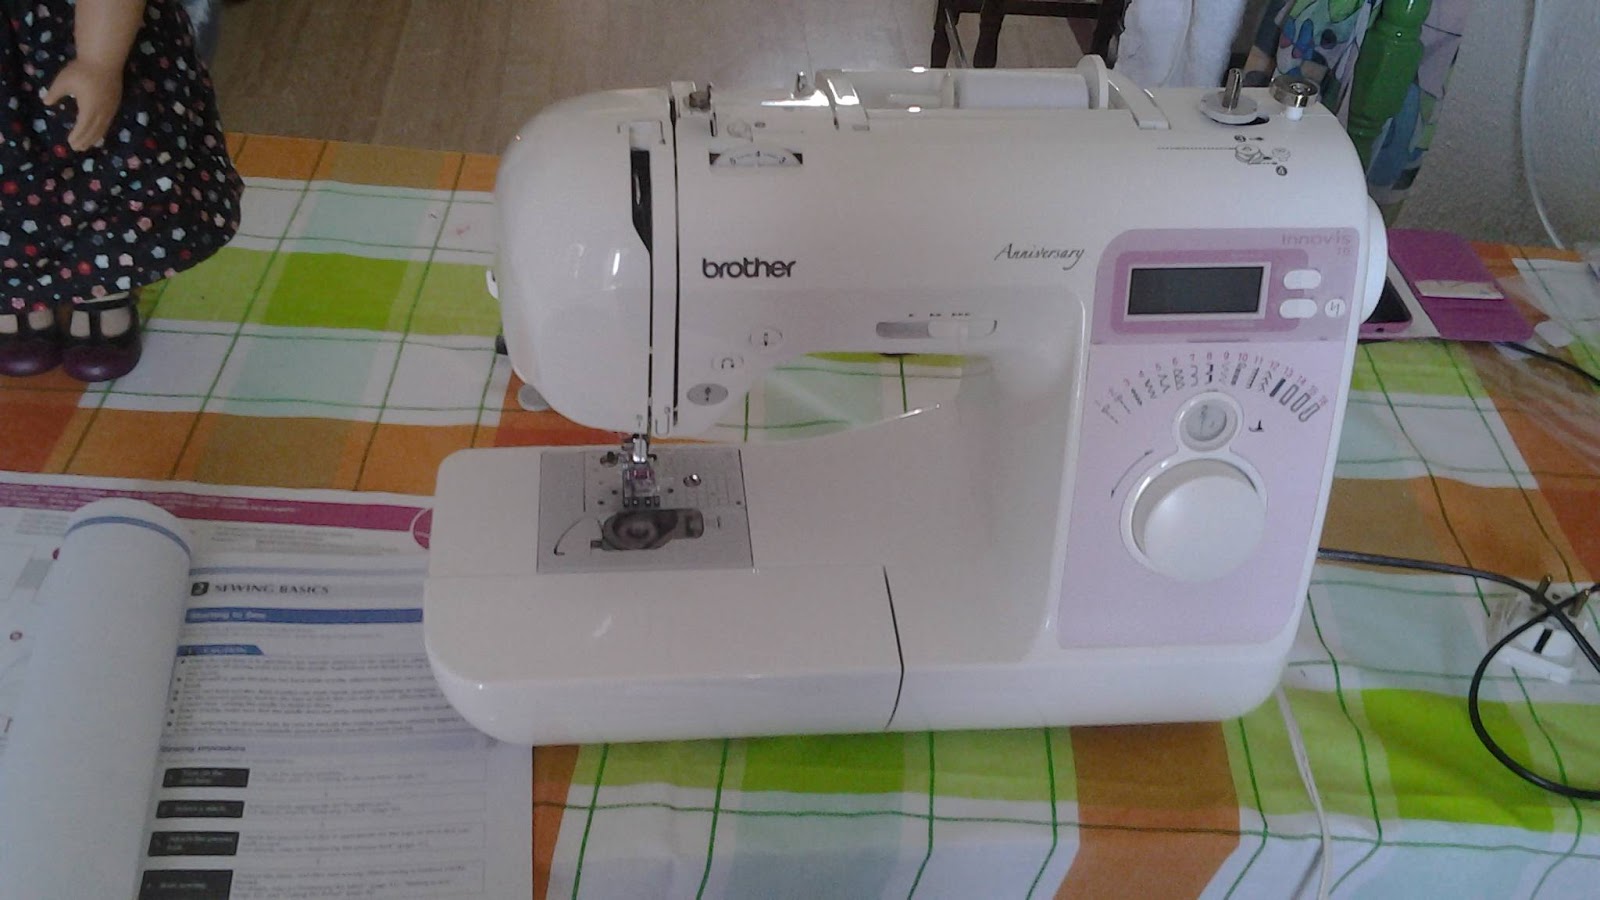
The sewing machine I am using for this blog is the Brother Innov-is 10A. I highly recommend this machine because it is of a very high quality, lovely to look at and is extremely easy to use. Throughout this post we will be exploring some of its functions. This machine is suitable for beginners of any age but it is a machine which you can grow into as you become more confident with its functions. To view the machine on Jaycotts.co.uk web site, take a look at this link, and when you order one don't forget to ask what the best current price is. Delivery is worldwide too.
Full details of this value for money machine cane be found here, Brother Innov-is 10A from jaycotts.co.uk

To get started with using the machine you will need the quick start guide leaflet which explains step by step how to thread the machine and how to wind the bobbin. The instructions are very easy to follow and the machine easy to thread so don't just guess ag how it threads, do it correctly by following the instructions step by step. This way you can be certain that the machine will work first time. It is very important that you do take care when threading the machine and will avoid getting stressed because it does not sew correctly.
Once you have threaded it and stitched a test row,then get your instruction manual out and play around with the various stitches . If you look at chapter 2 in the manual, on page 39 it shows clearly how to select each stitch. This is a very easy machine to use I promise you. By the way it threads needles automatically which is bliss!

We are going to make the Shirt which is view A together with the flared pants, so first of all select your pattern pieces and press your fabric.
I am making the short sleeved shirt, but if you prefer the long sleeved version the process is exactly the same.

Cut out all your pattern pieces and put them to one side.

Just as we would make an adult shirt, certain parts of this shirt need interfacing. You will need small pieces of a lightweight interfacing, do buy a good quality one , and follow the pattern instructions foe Shirt view A to cut the pieces out. Carefully iron them on to the fronts and the collar. Press the front facing in and press the collar in half as shown.
Following a pattern is very easy but it does require a little practise, so do persevere.

This is the interfaced collar and shirt fronts.the shirt fronts have been pressed to the inside.

Using your sewing machine select your stitch, I chose a basic sewing stitch, number 2 which is shown in the Manuel on page 53. Pin the fronts to the back at the shoulders right sides,together. Carefully measure 1/4" seam allowance and stitch the shoulder seams. When you start and finish a seam secure the stitching so that it does not come undone by pressing the reverse button to do a couple of reinforcing stitches. Page 45 of your manual shows how to do this.

Once you have sewn your seam you will need to neaten the edges. Now is a good time to experiment with the various stitches on your machine. Again referring to your manual and using a spare scrap of fabric have a go at using the utility over casting stitches on page 51. Experiment with changing ths stich length and width too. When you feel comfortable make a note of the stitch you like best and use it to finish the shoulder seams.
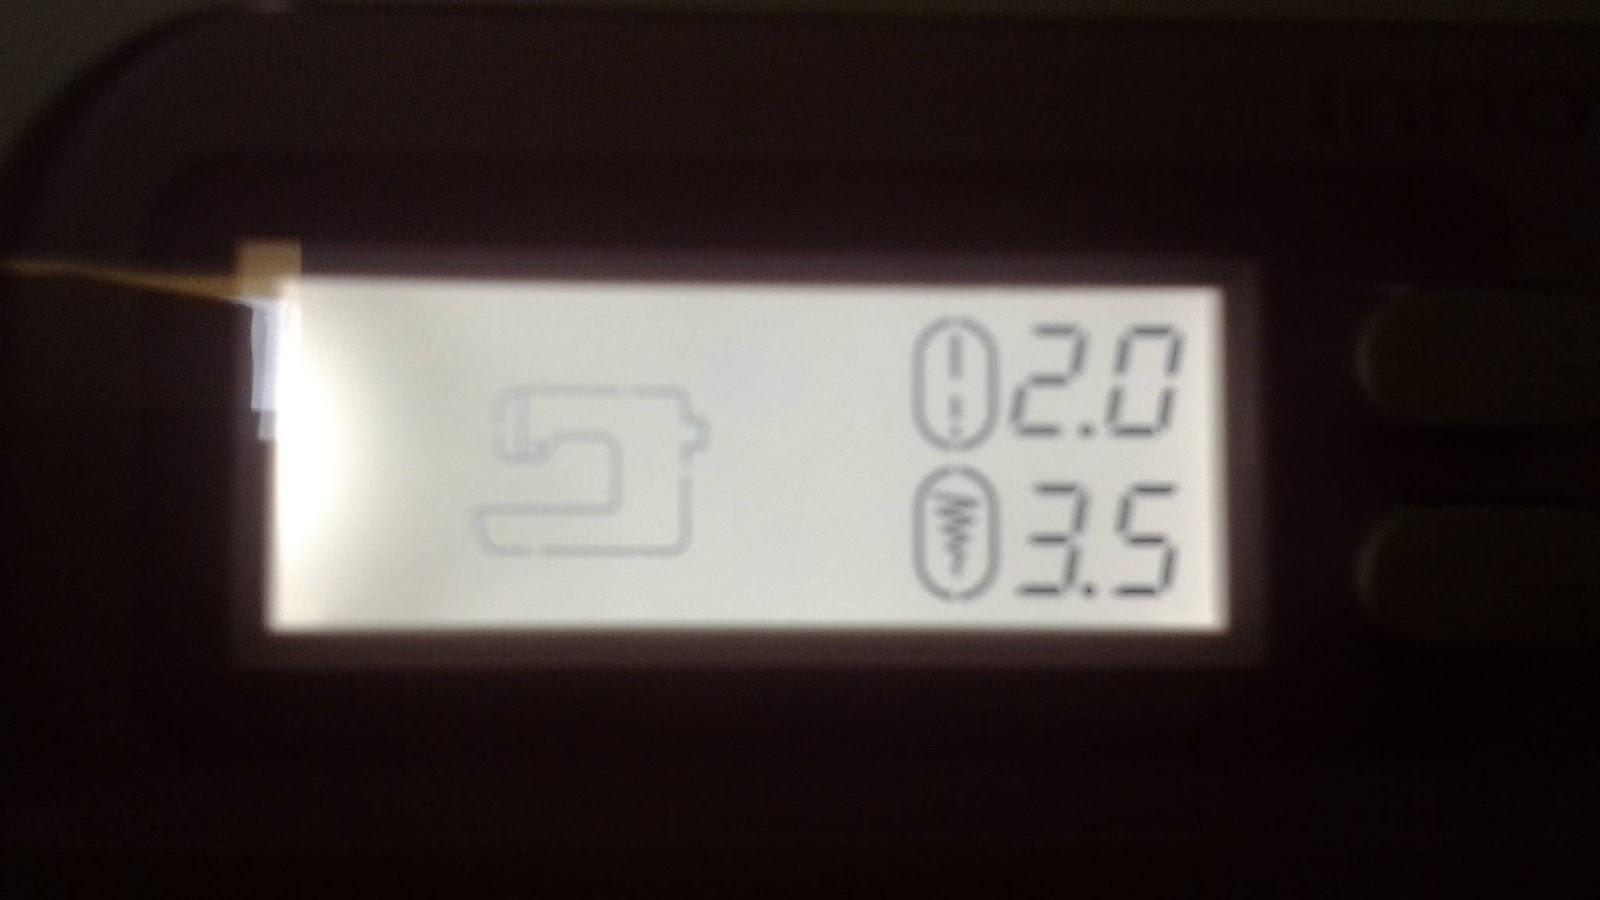
This is an example of a zigzag stitch I used when making this garment.it is a fairly short stitch, 2, set at an average with, 3.5

Stitch the collar down the sides, right sides together, clip the corner carefully as on the pattern instructions , fold in half, press.
This is great practise at following a pattern by the way!
Overedge the facing in the fronts of the shirt
Stitch the collar in place and press. Top stitch all around the front up and around the collar and back down the other side. Choose a longer straight stitch and keep the stitches close to the edge.

Now it is time for the sleeves. On an adult garment you would finish the sleeve edges later, but because this is a small garment it is far easier to do it now. So overedge the sleeves, turn them up by 1/4"and top stitch.

TIP - If you add a row of long stitches to the top of the sleeve you will find it easier to ease the sleeve into the armhole.
Right sides together pin and stitch the sleeve into the armhole. Press and overedge the seam.

Pin the side seams together from the sleeve edge to the bottom of the shirt. Stich and overedge the seams. Press.
Overedge the hem and press the hem allowance up. Top stitch the hem.

Put the shirt on your doll to check the fit and mark the position of the buttons. I am using poppers, the details of which can be found in my precious blog post as I used them when making the dress. It is ok to mark the position of the poppers with a pencil dot as it will not be seen once the poppers are in place.
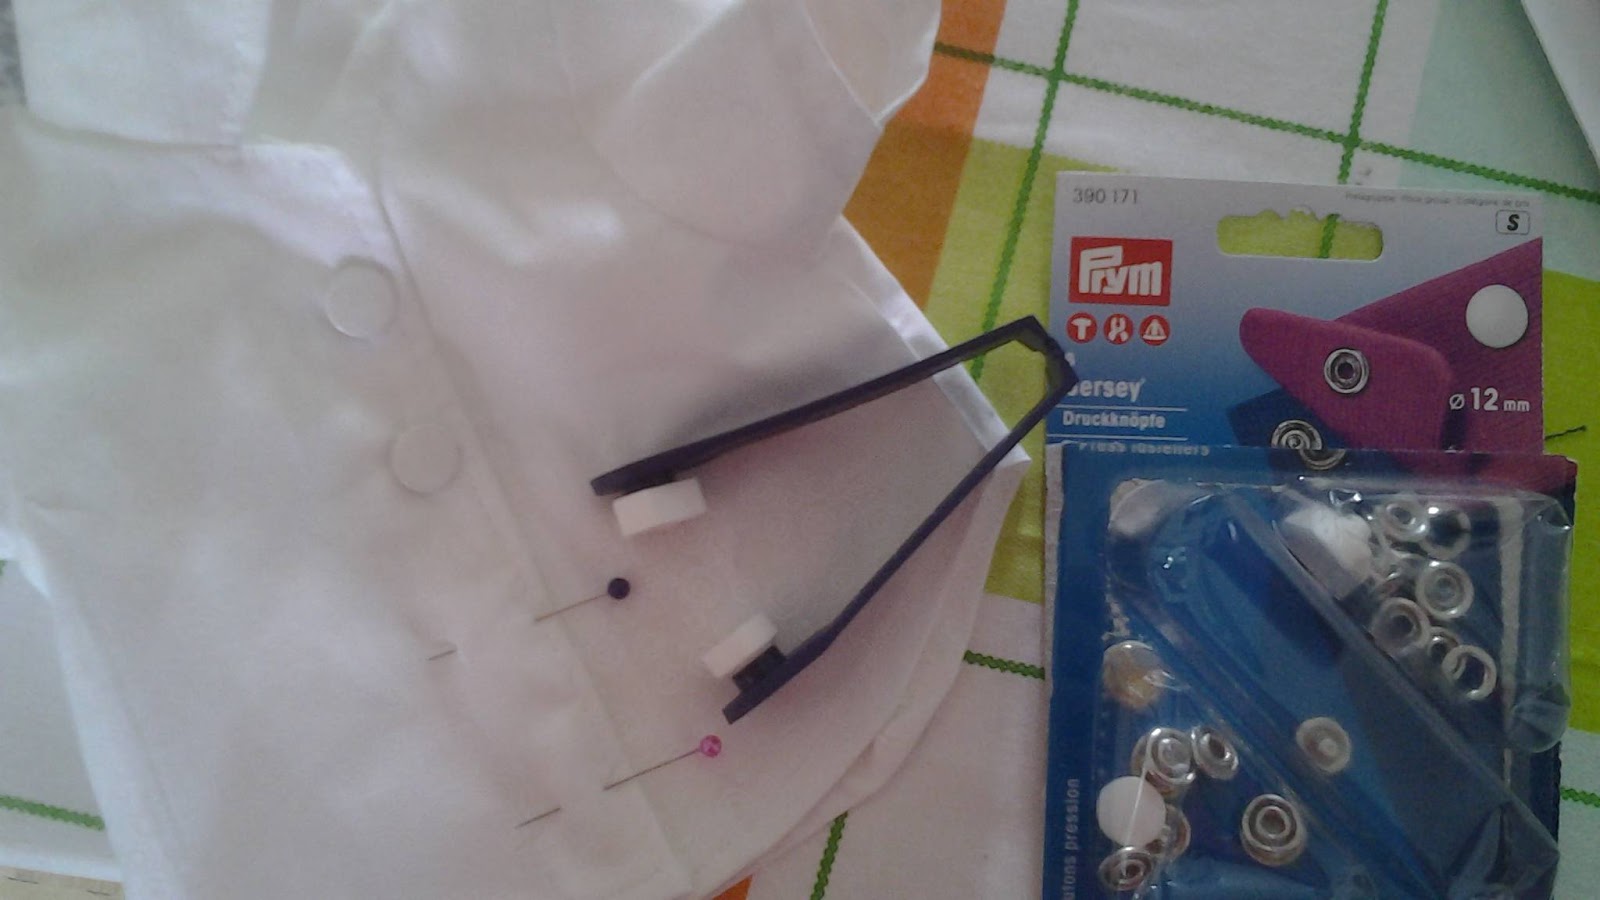
This is the popper kit, it has everything you need in the pack including a tool to fix them on with. There is a great selection of colours available, don't forget to choose small ones for this garment. Non sew poppers
Once the popera are in place then give the shirt a press and it is ready to wear. Dont forget to cut off all loose threads.
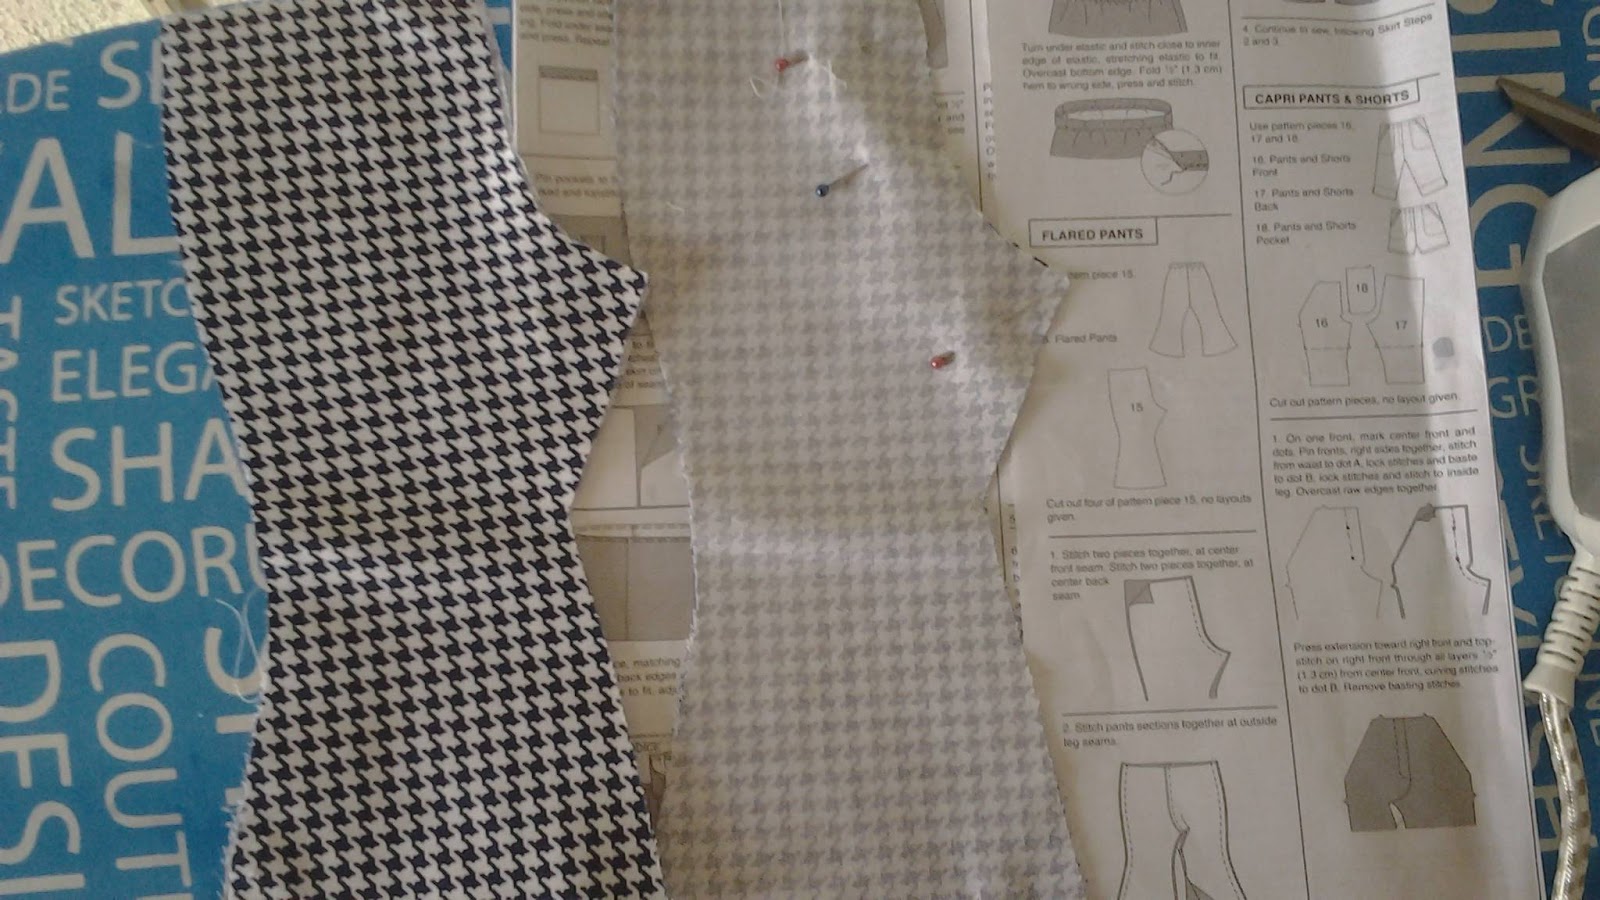
The trousers are simple to make with just four pieces all the same. When you cut the pieces out try to match the pattern if you can, but don't get too hung up about it, whilst we are still learning about sewing..
Lets start by placing two fronts and two backs right side together and sewing the centre front and back seams.don't forget to neaten the seam edges.

Let's take a look at the machine a bit more. You will notice that there is a pull down accessory box which will hold your spare feet, screwdrivers and other accessories.

The machine has a drop in bobbin which is very easy to use as you can see easily what you are doing.
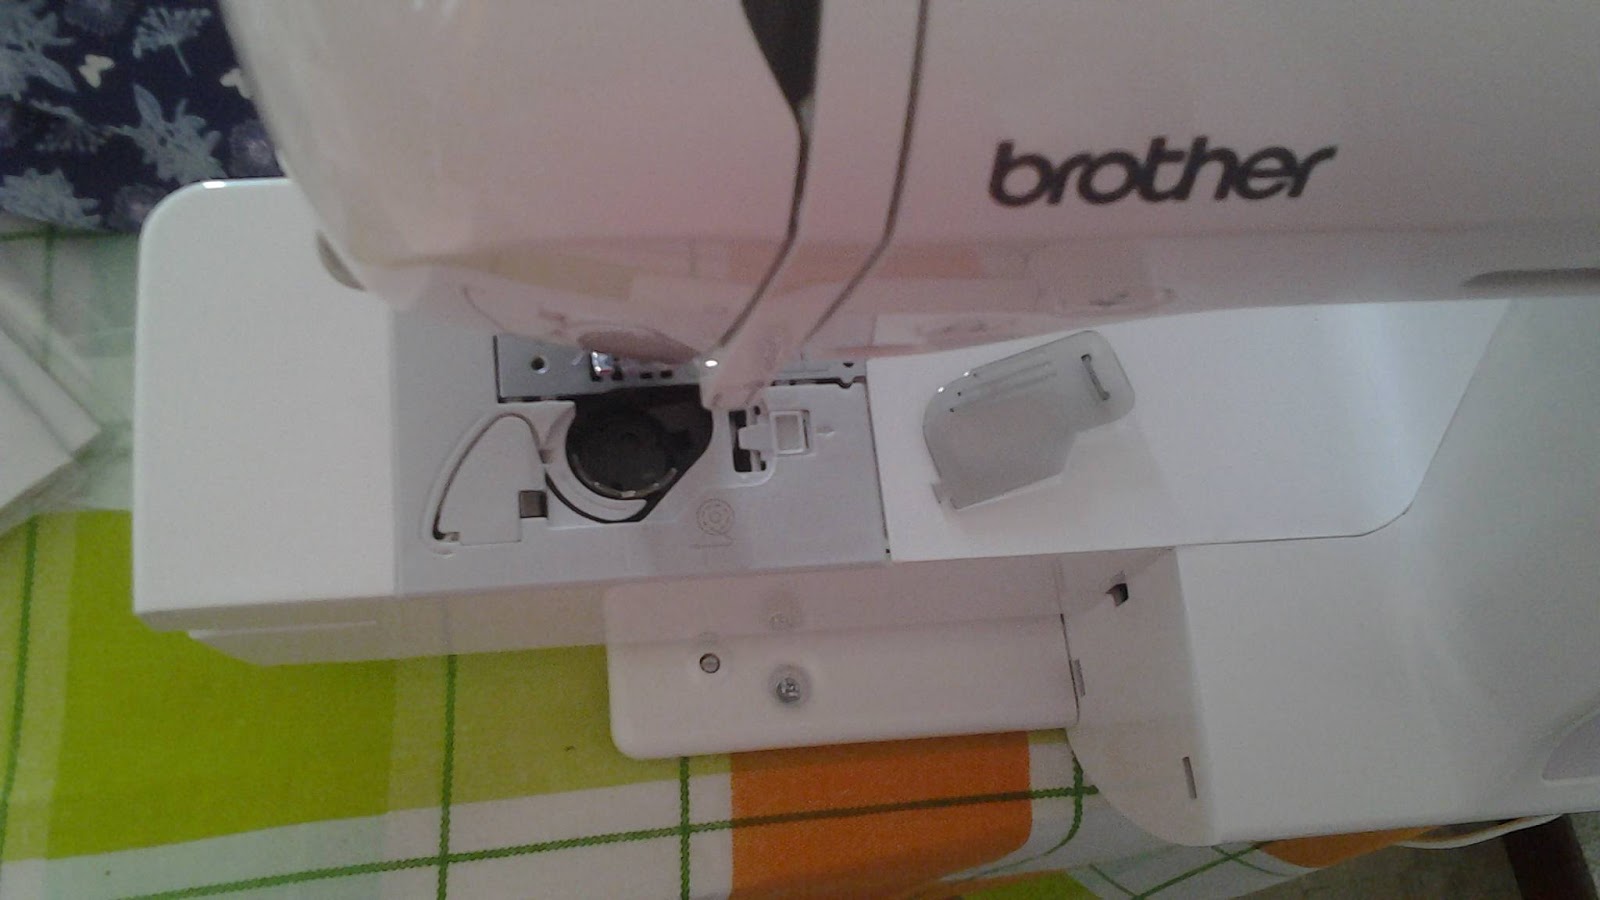
The storage box slides off to enable you to sew narrow tubes such as sleeves etc. It is a good idea to keep your manual close at hand when you are sewing as I promise you will constantly discover new things about it!

Stitch the side seams and then neaten the hem just as you did when making the shirt. Pin and stitch the remaining seam by starting at the bottom of one trouser leg and sewing right round to the bottom of the other leg. Neaten the seam.
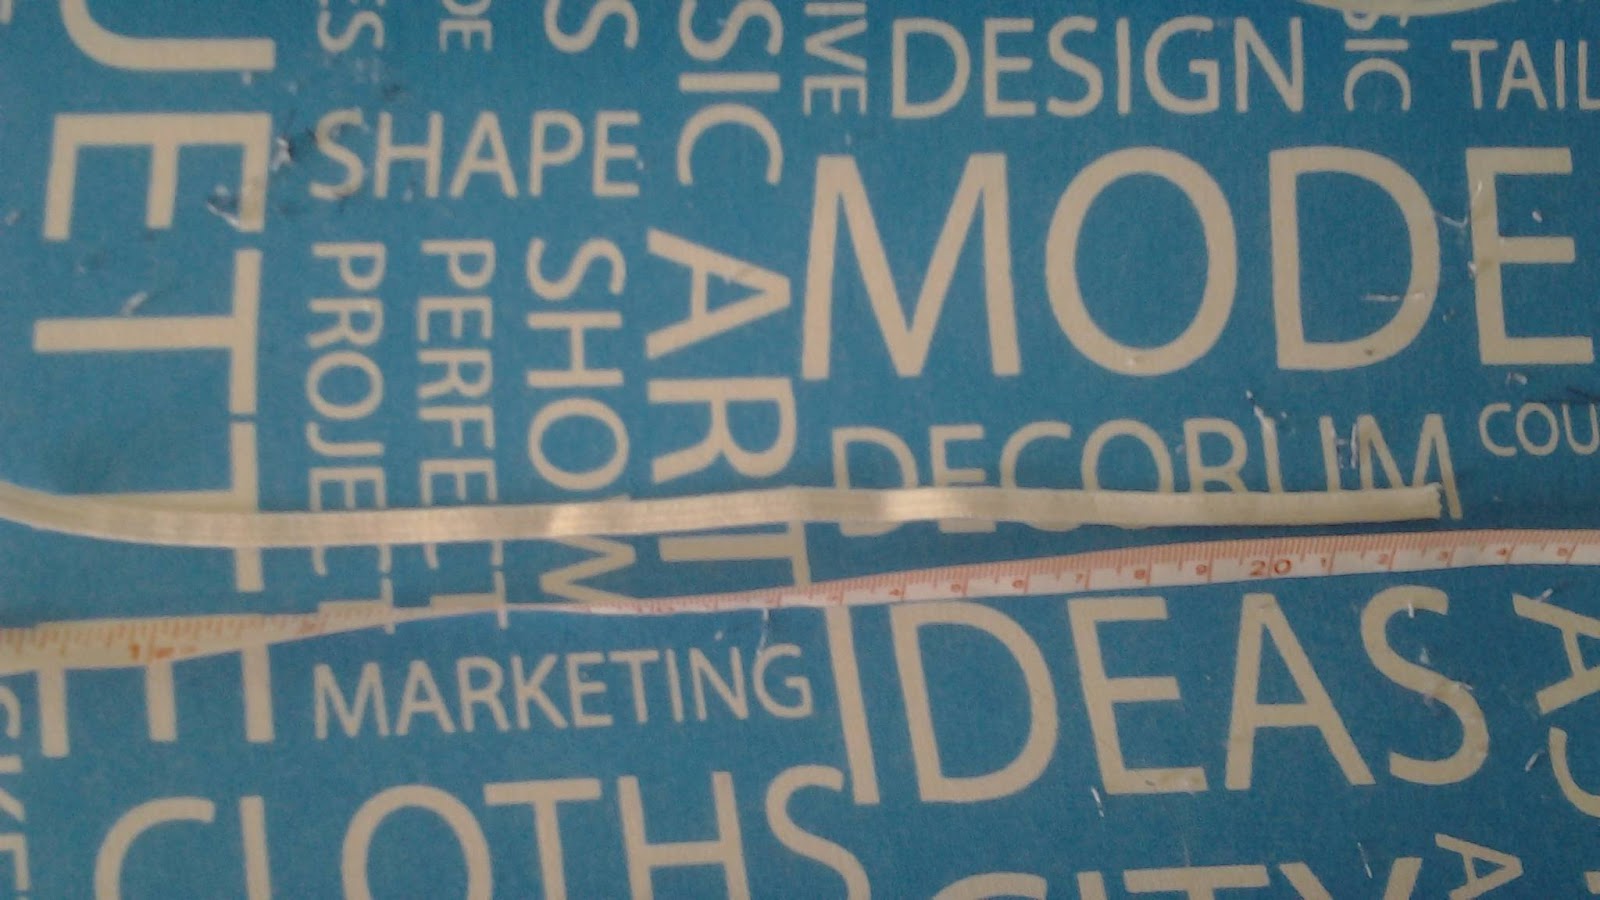
The pattern instructions tell you how to cut a piece of elastic to fit the trousers waist

Stitch it together to make a circle and mark it into equal quarters. These markers match up the centre front, back and side seams.
Stretching the elastic, and using a wide zig zag stitch sew the elastic onto the wrong side of the trousers top.

Finish the waist exactly as on the pattern instructions . Press the trousers.
This is Annie's new causal outfit made and we have explored how to begin using a sewing machine. If you do not have access to a machine these can still be made with hand sewing, so do not worry.
The headband is easy to make by sewing a tube of fabric, turning it right side out and stitching a small piece of elastic to the back. Why not make one for yourself?
I hope that you have enjoyed this post, I would really love to see more of your pictures so do show me what you have made.
Happy sewing,, Angela.