Fast Shipping!
Free for Orders £25+
Free for orders over £25
Soft toys look daunting to make and I admit they can be fiddly, but follow the instructions carefully and you cannot go wrong. Who would not be delighted to receive one of these creatures as a gift.

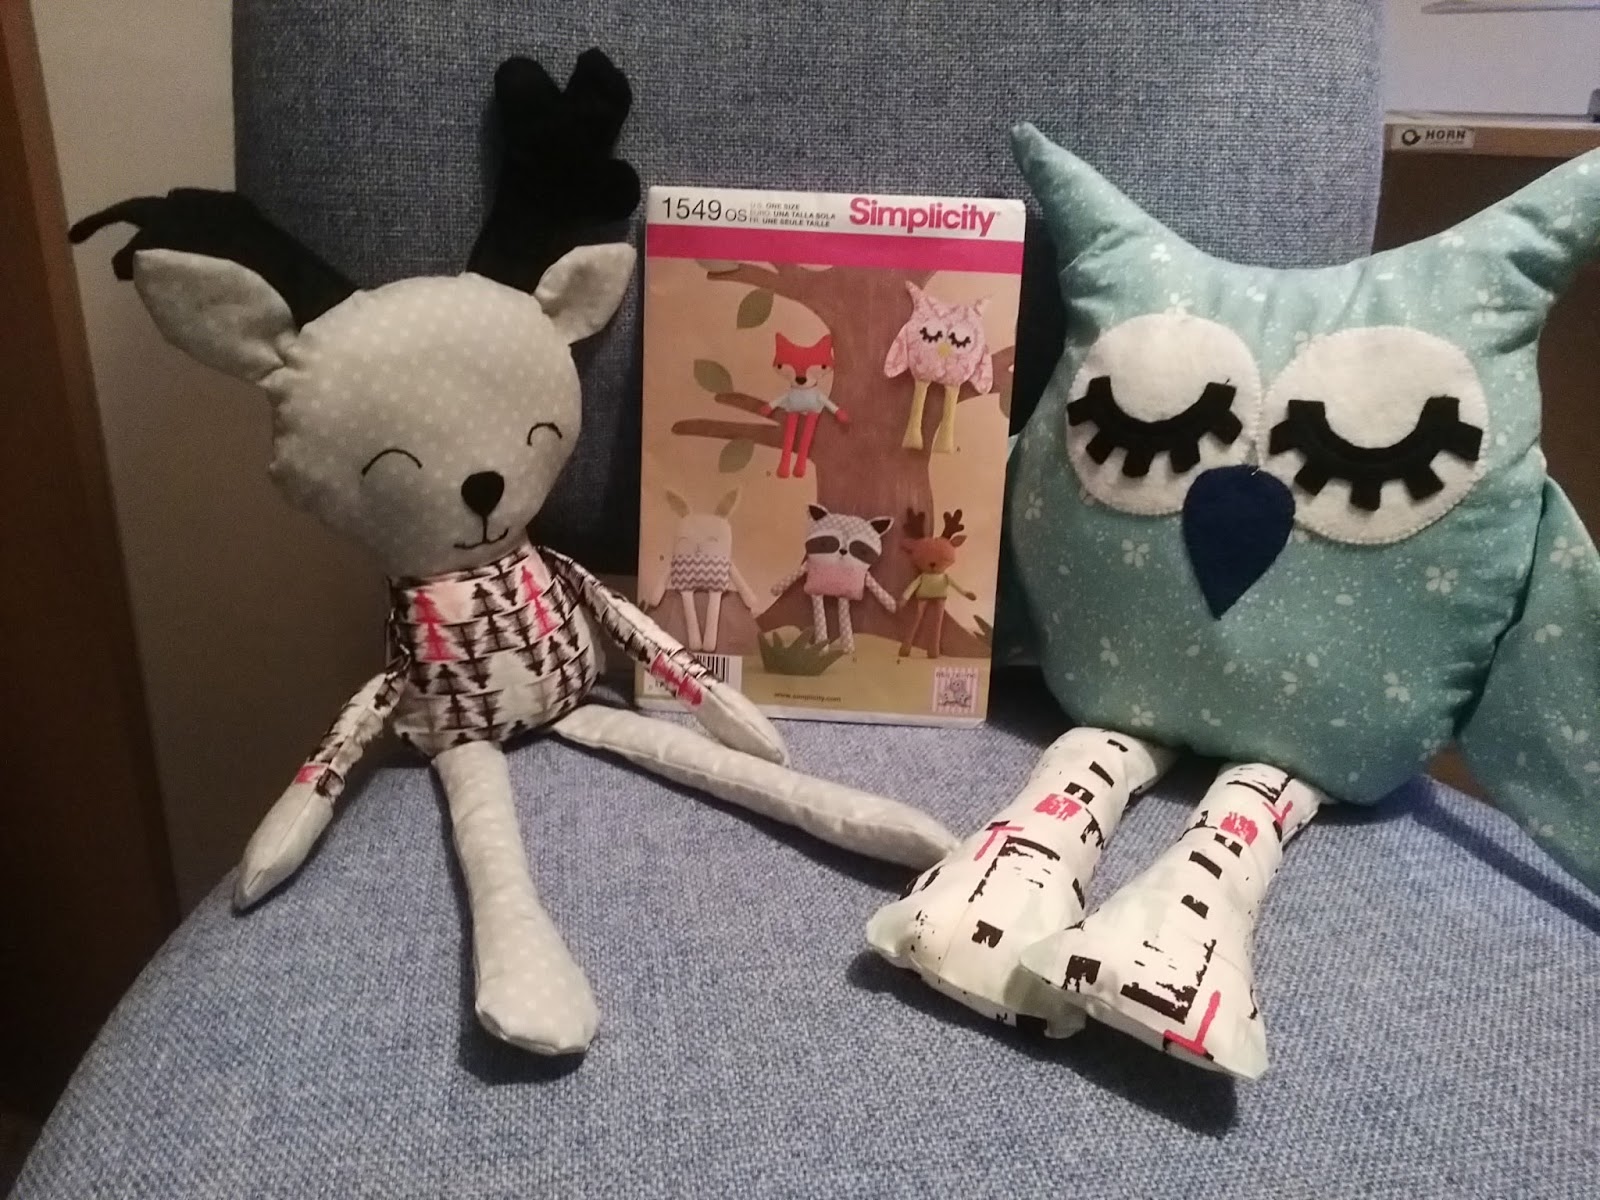
This is Donald the Owl showing you just some of the large range of patterns sold by Jaycotts Sewing patterns by Brand the patterns used for these toys are all from the Simplicity range at Jaycotts.

The Owl and the Deer are from the same pattern, and there are more versions to choose from! View the pattern and order it on this link Soft toy pattern

This pattern is very easy to make and us suitable for a beginner.

Of course there are plenty of other craft patterns in the range to choose from , so do views the section above and take a look at other brands too!

To start with the Owl, find some scraps of cotton fabric - we all have lots of scraps don't we.
Even if you do not have children yourself you could donate them to a charity raffle or give them to a child you know. Two of these little chaps are going in a raffle to help raise funds for charity. Donald the owl has found himself a job at Jaycotts in the advertising department and has flown the nest. We wish him well.

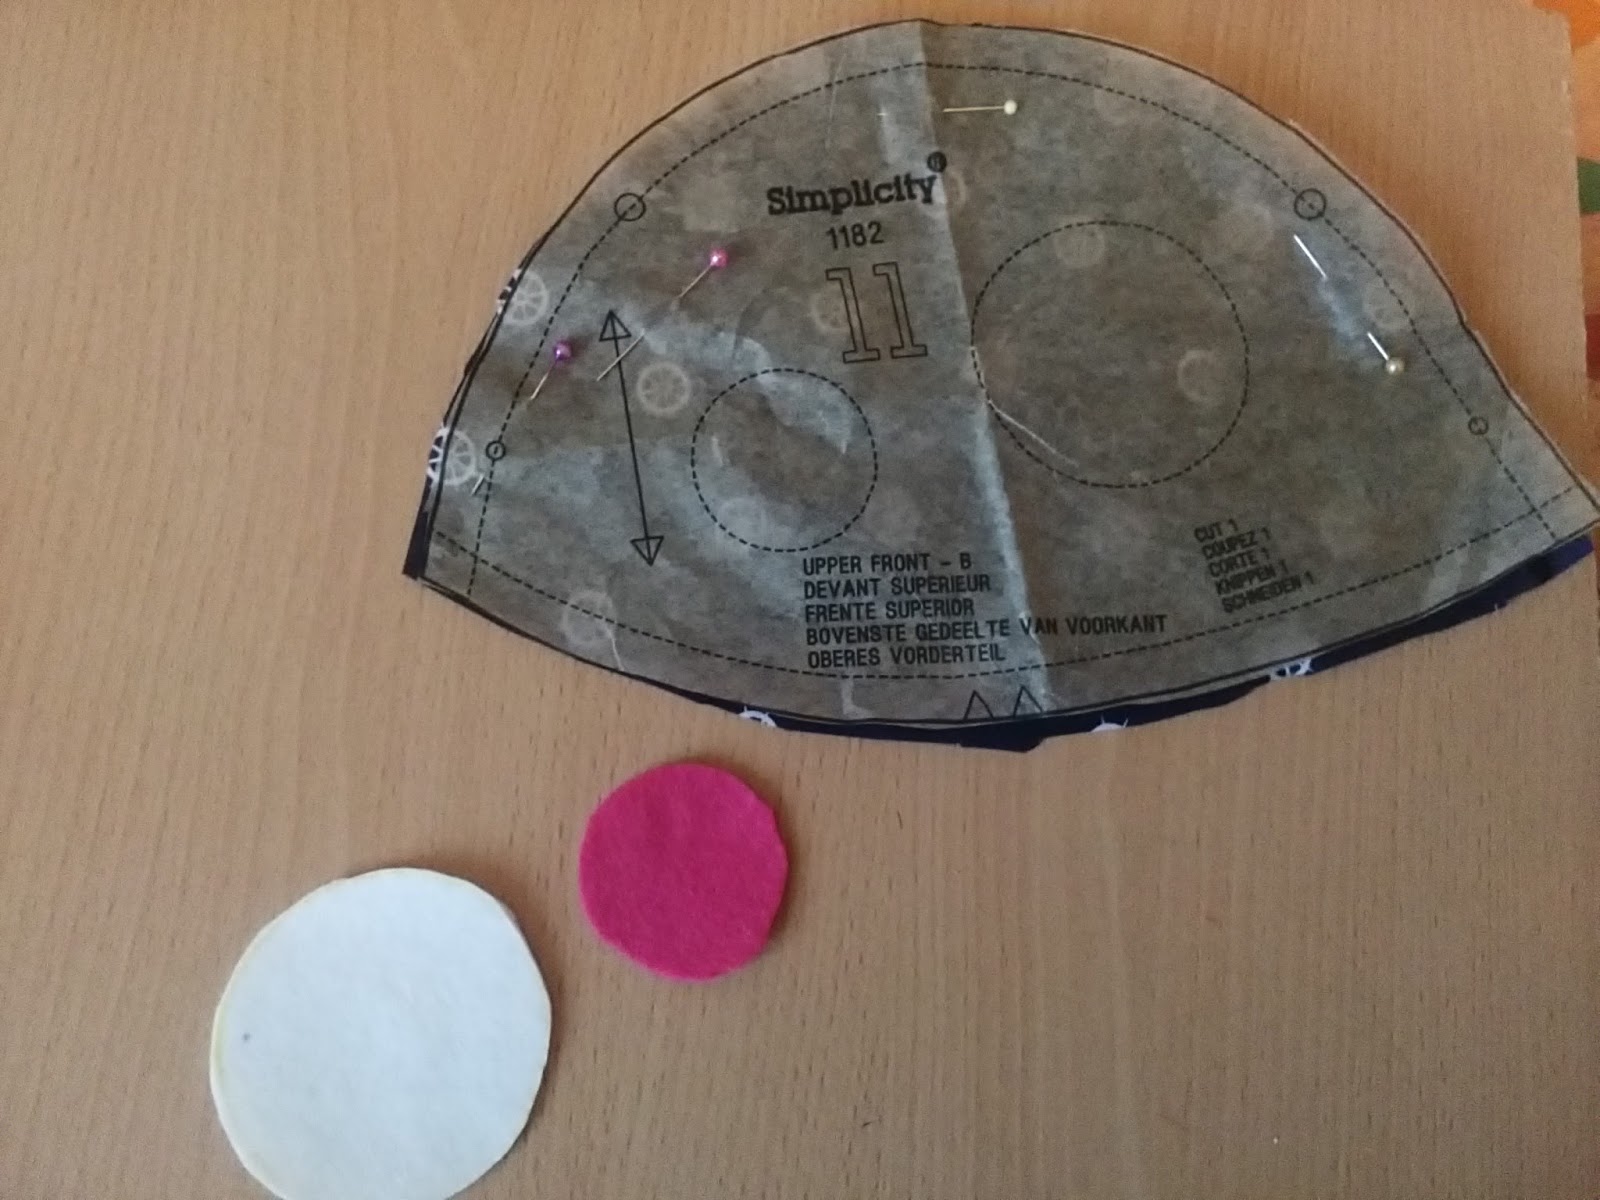
Cut the main pieces out from your chosen fabric and before you cut the eyes and beak and eyelashes out of felt, you need to back the felt with some Bondaweb see it here - Bondaweb if you cut out pieces of felt roughly the right size you can then trace the shapes directly onto the paper backing making it much easier to handle. Iron the Bondaweb onto the felt. Draw the shapes and then cut out. Peel off the paper backing and then iron in place. This binding is wonderful for all sorts of projects.
I went around each piece with matching thread using my open toe patchwork foot for my Bernina.

I am very lucky to have the Bernina Bernina 350 PE Here is Donald showing the machine to you.It comes with a lot if accessories and an incredible amount of stitches so do take a look.

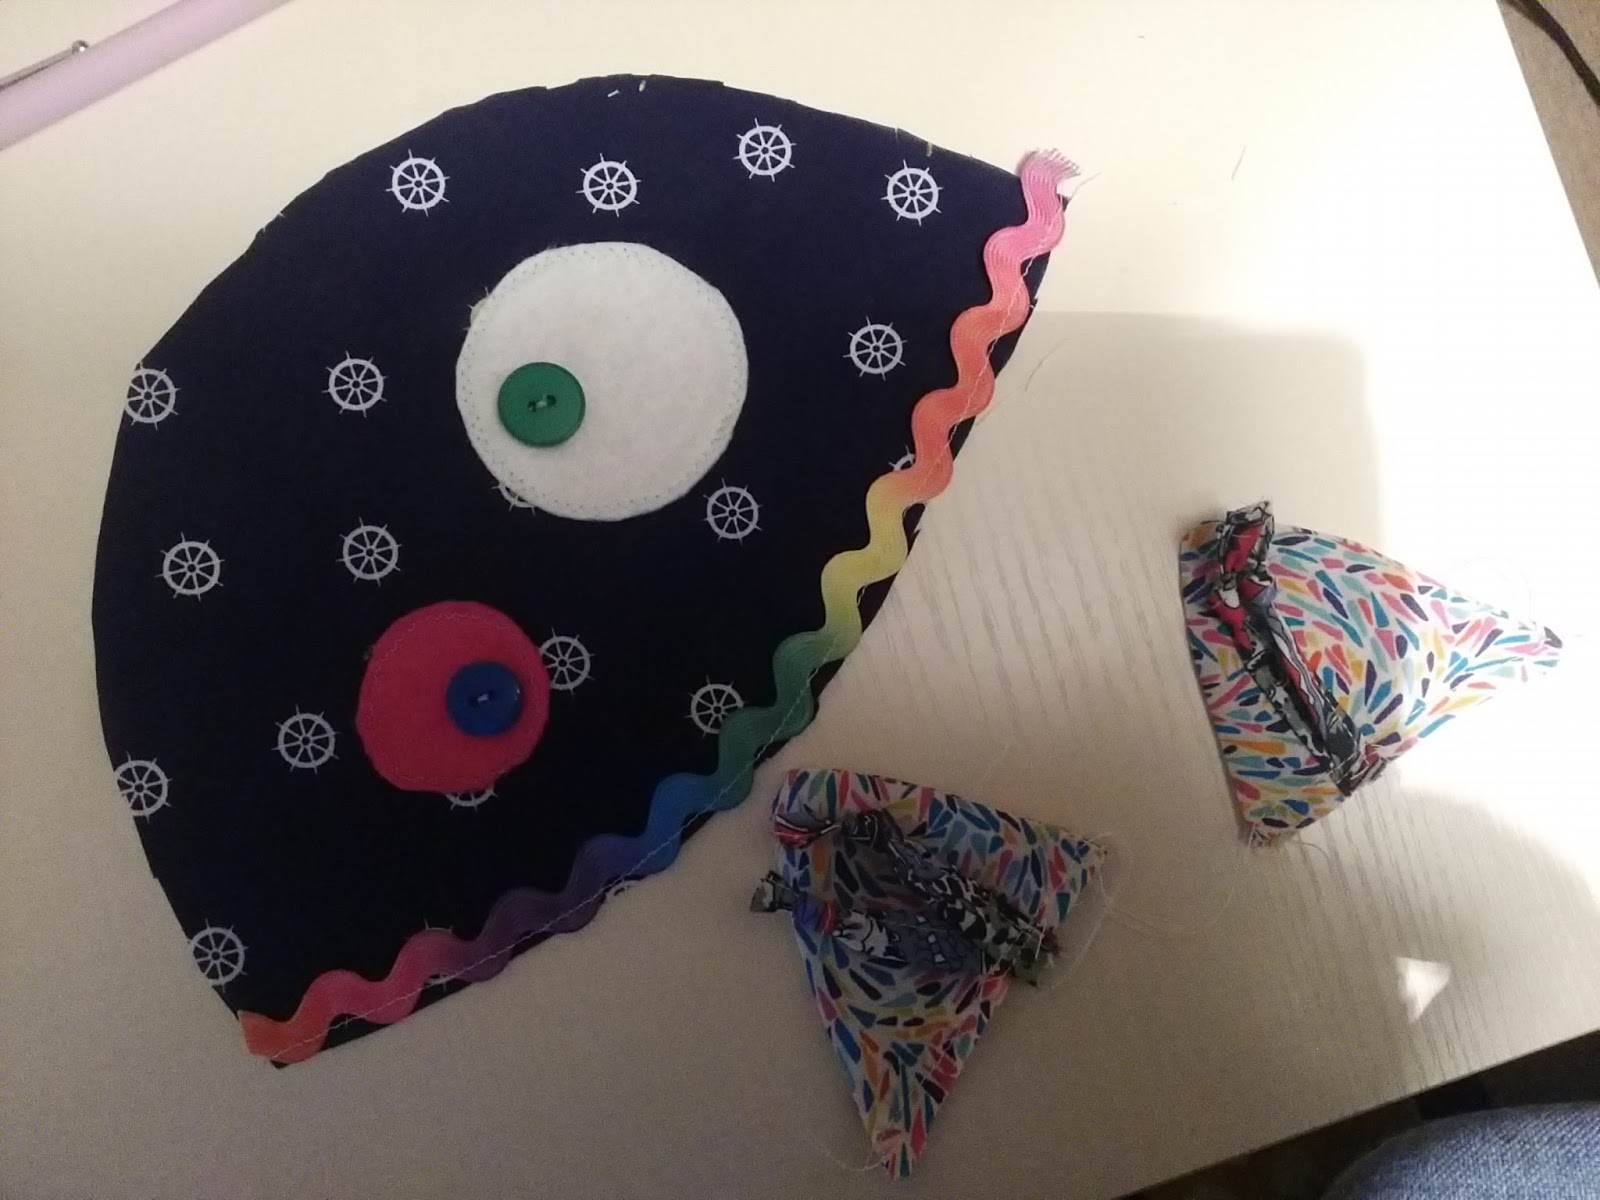
Back to making the Owl. once you have the features sewn in place it should look something like this. Don't be afraid to do your own thing here though and make this expression your own.

Stitch the wing sections together and sew them in place matching the notches and dots.
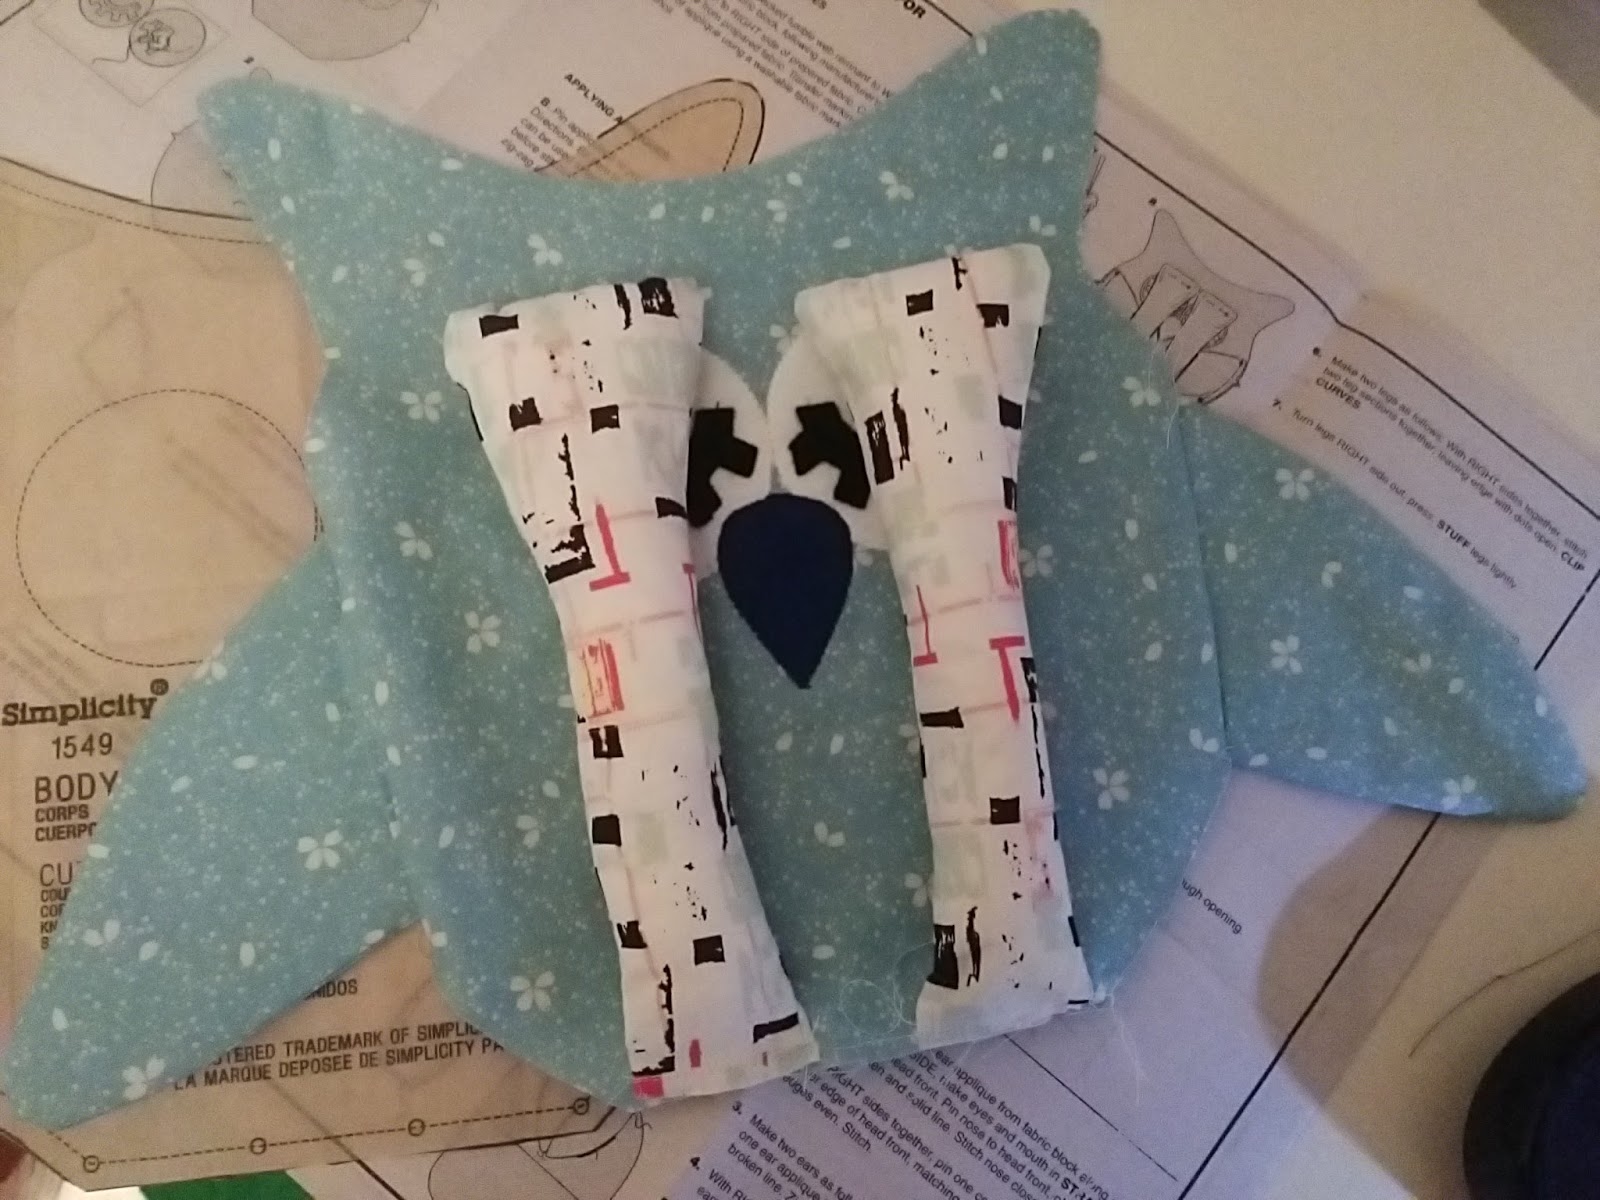
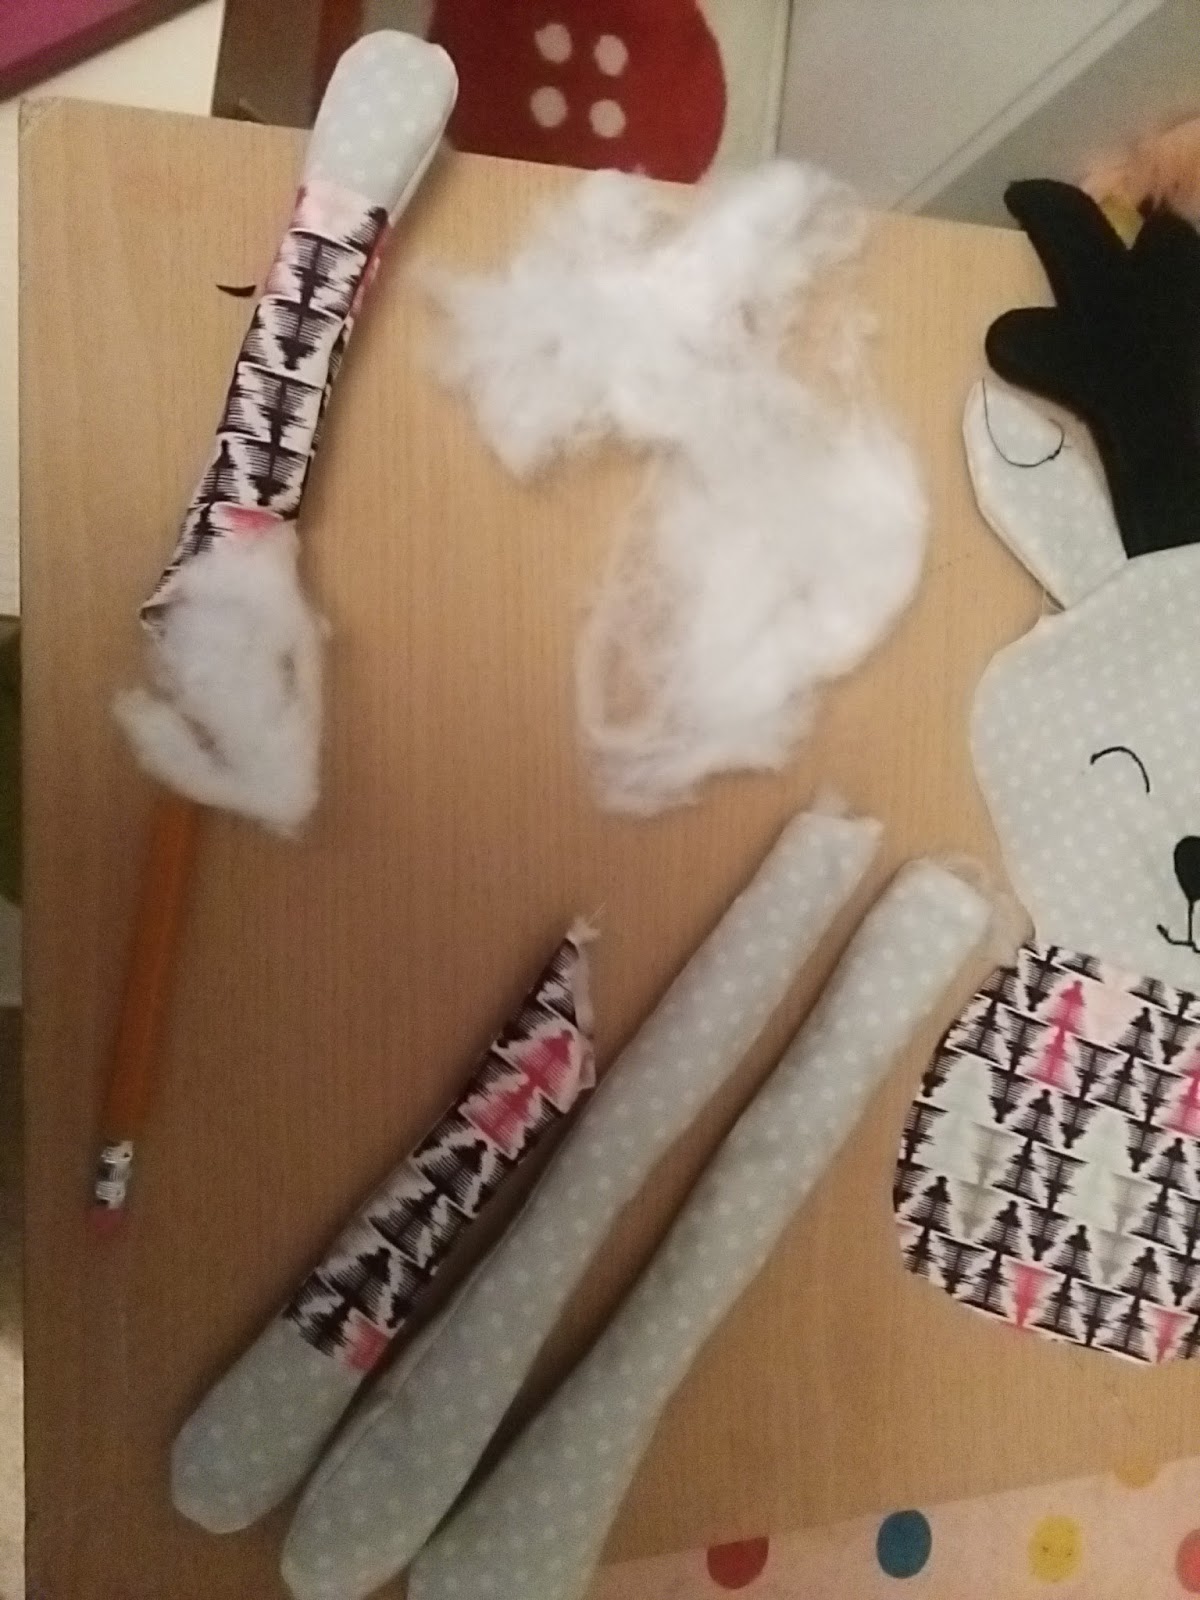
Then sew the legs together, turn right sides out and stuff lightly with polyester FIBERFILL. Stitch them to the markings made on the lower body. Right sides together

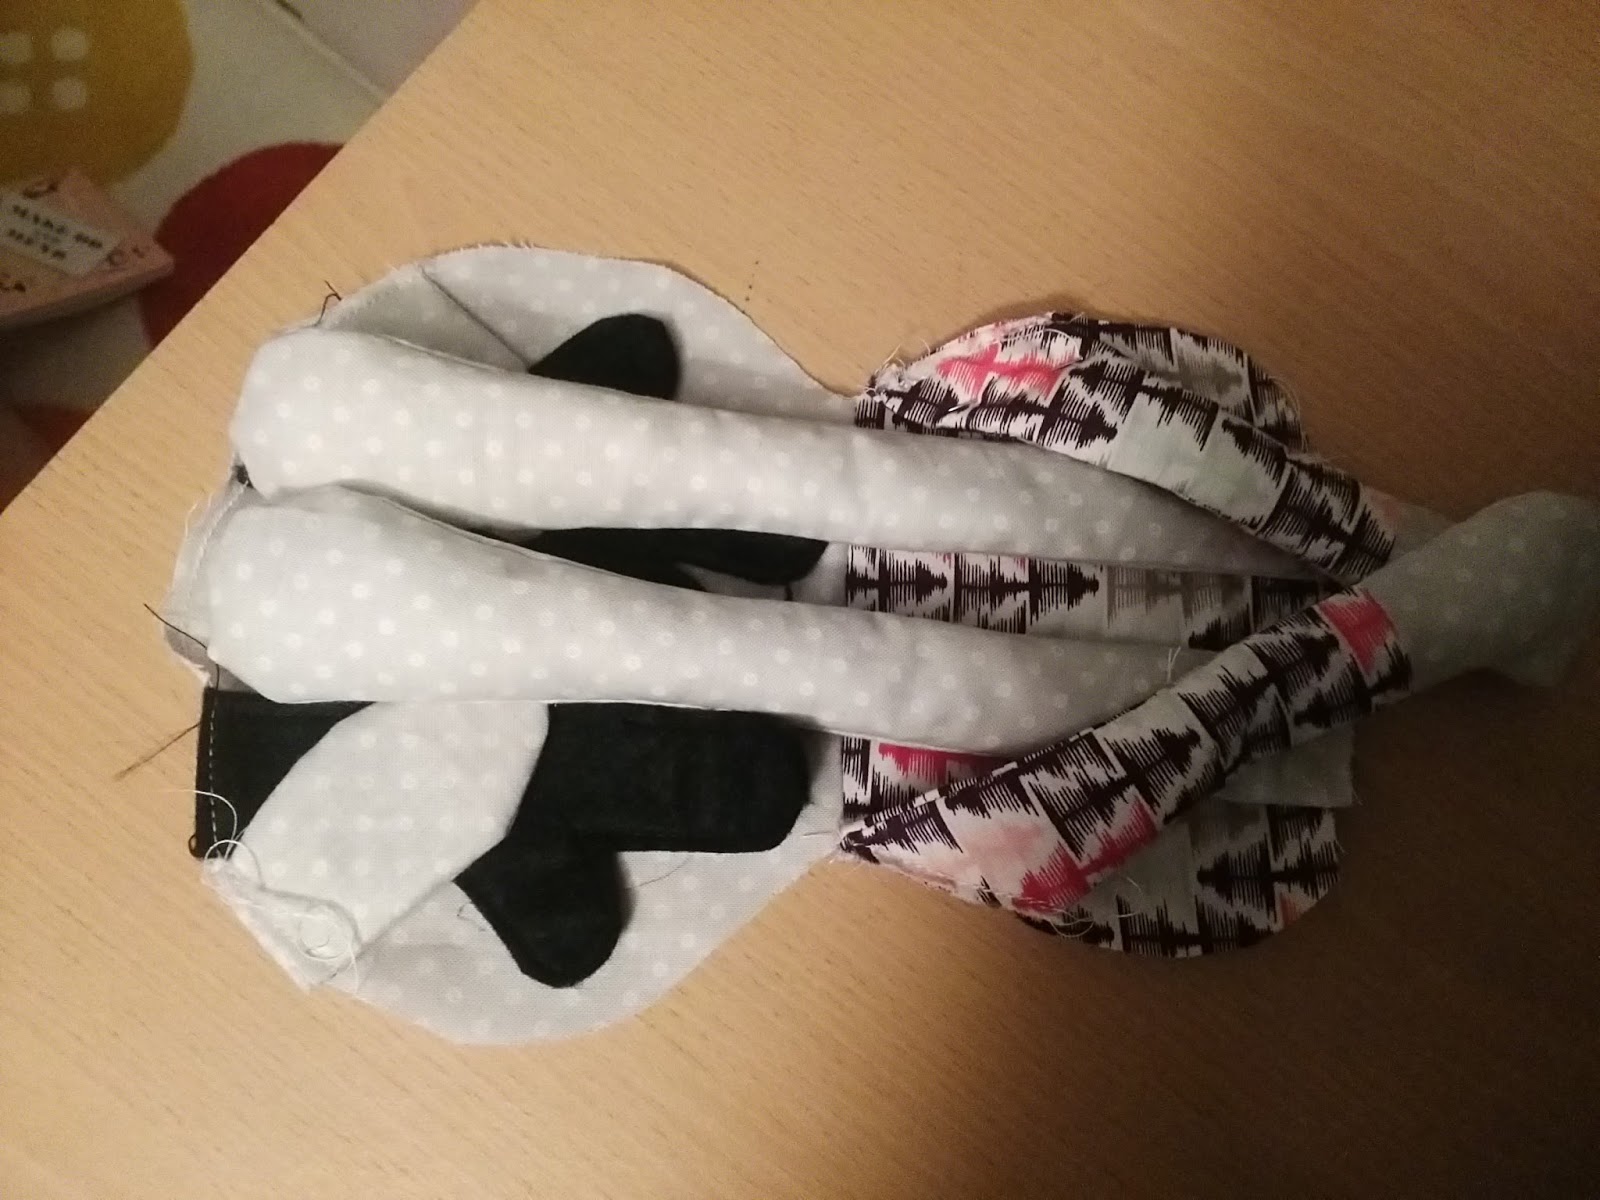
Tuck the wings and legs in and carefully sew the back to the front without catching the legs or wings. Leave a gap at the bottom between the two dots.Clip the curves.turn right sides out. Stuff fairly lightly using a knitting needle to reach the corners.

Close the gap With a slip stitch or a gather stitch and there he is finished.

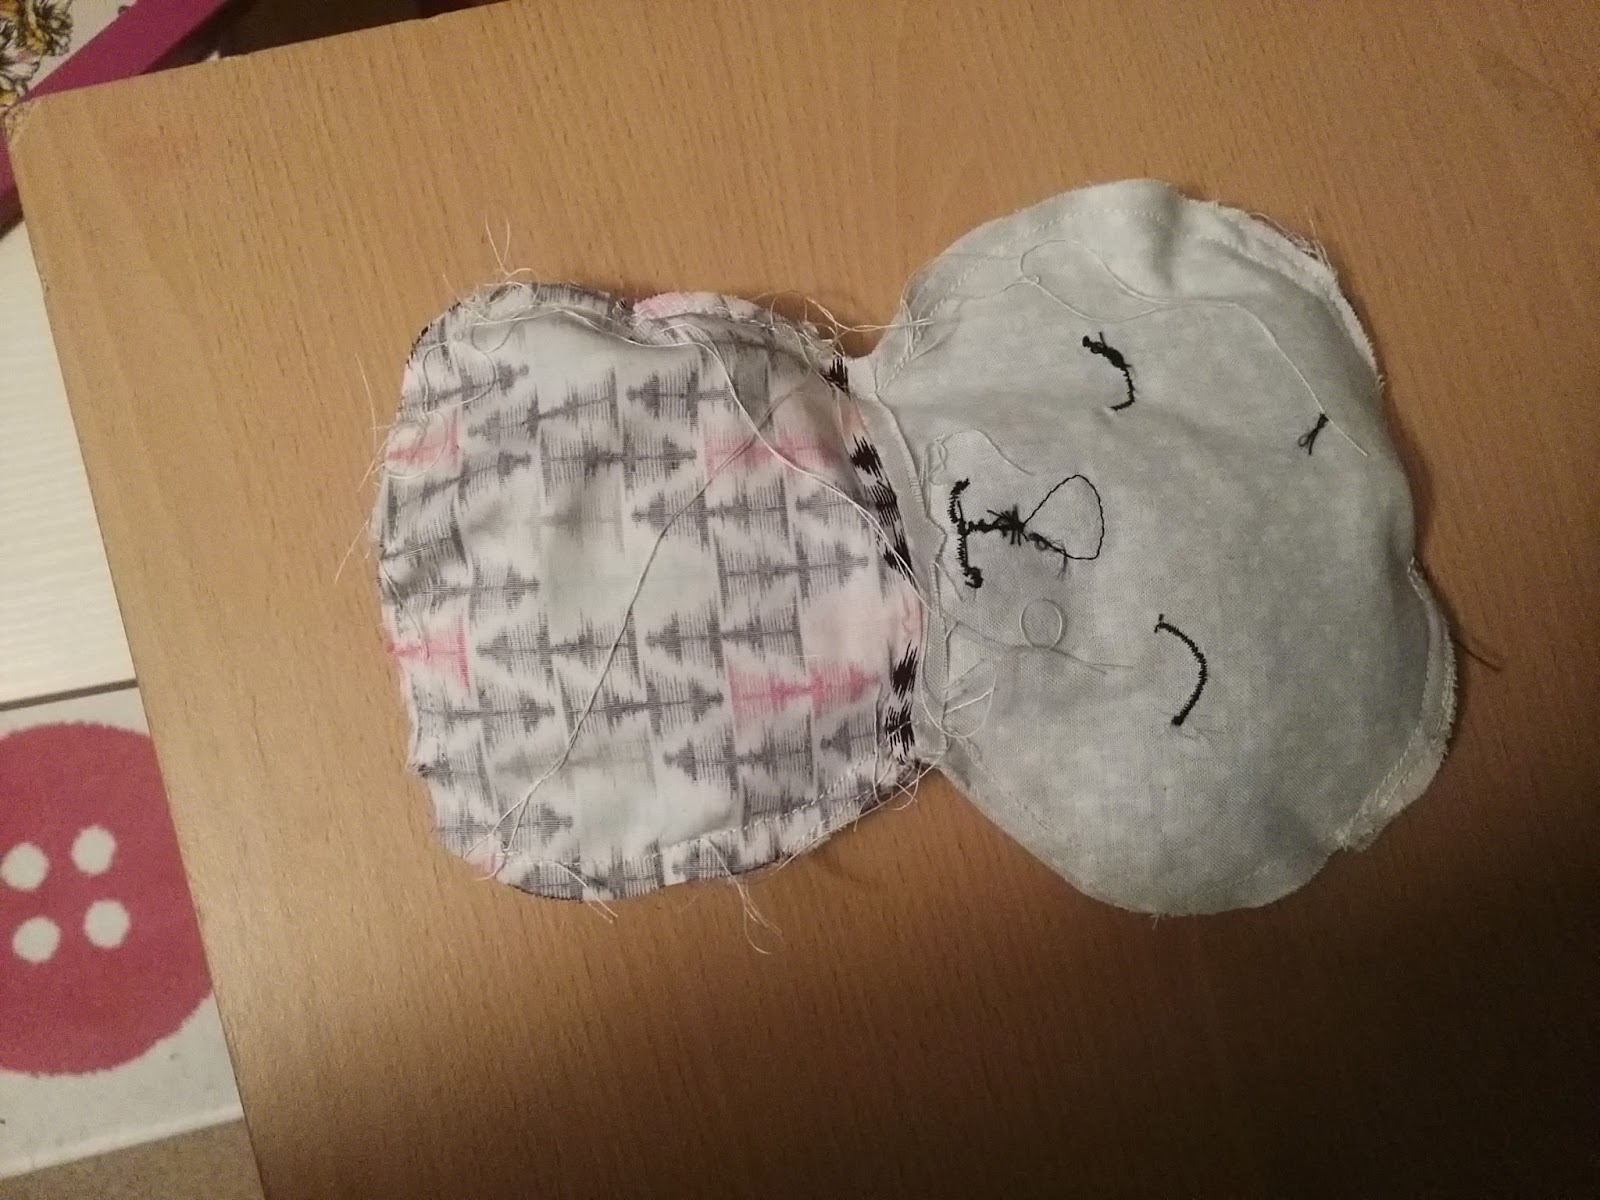
The other toys in this pattern are made in much the same way.On this one machine or hand embroider the eyes and the mouth and attach the nose in the same way as we attached the beak on the Owl

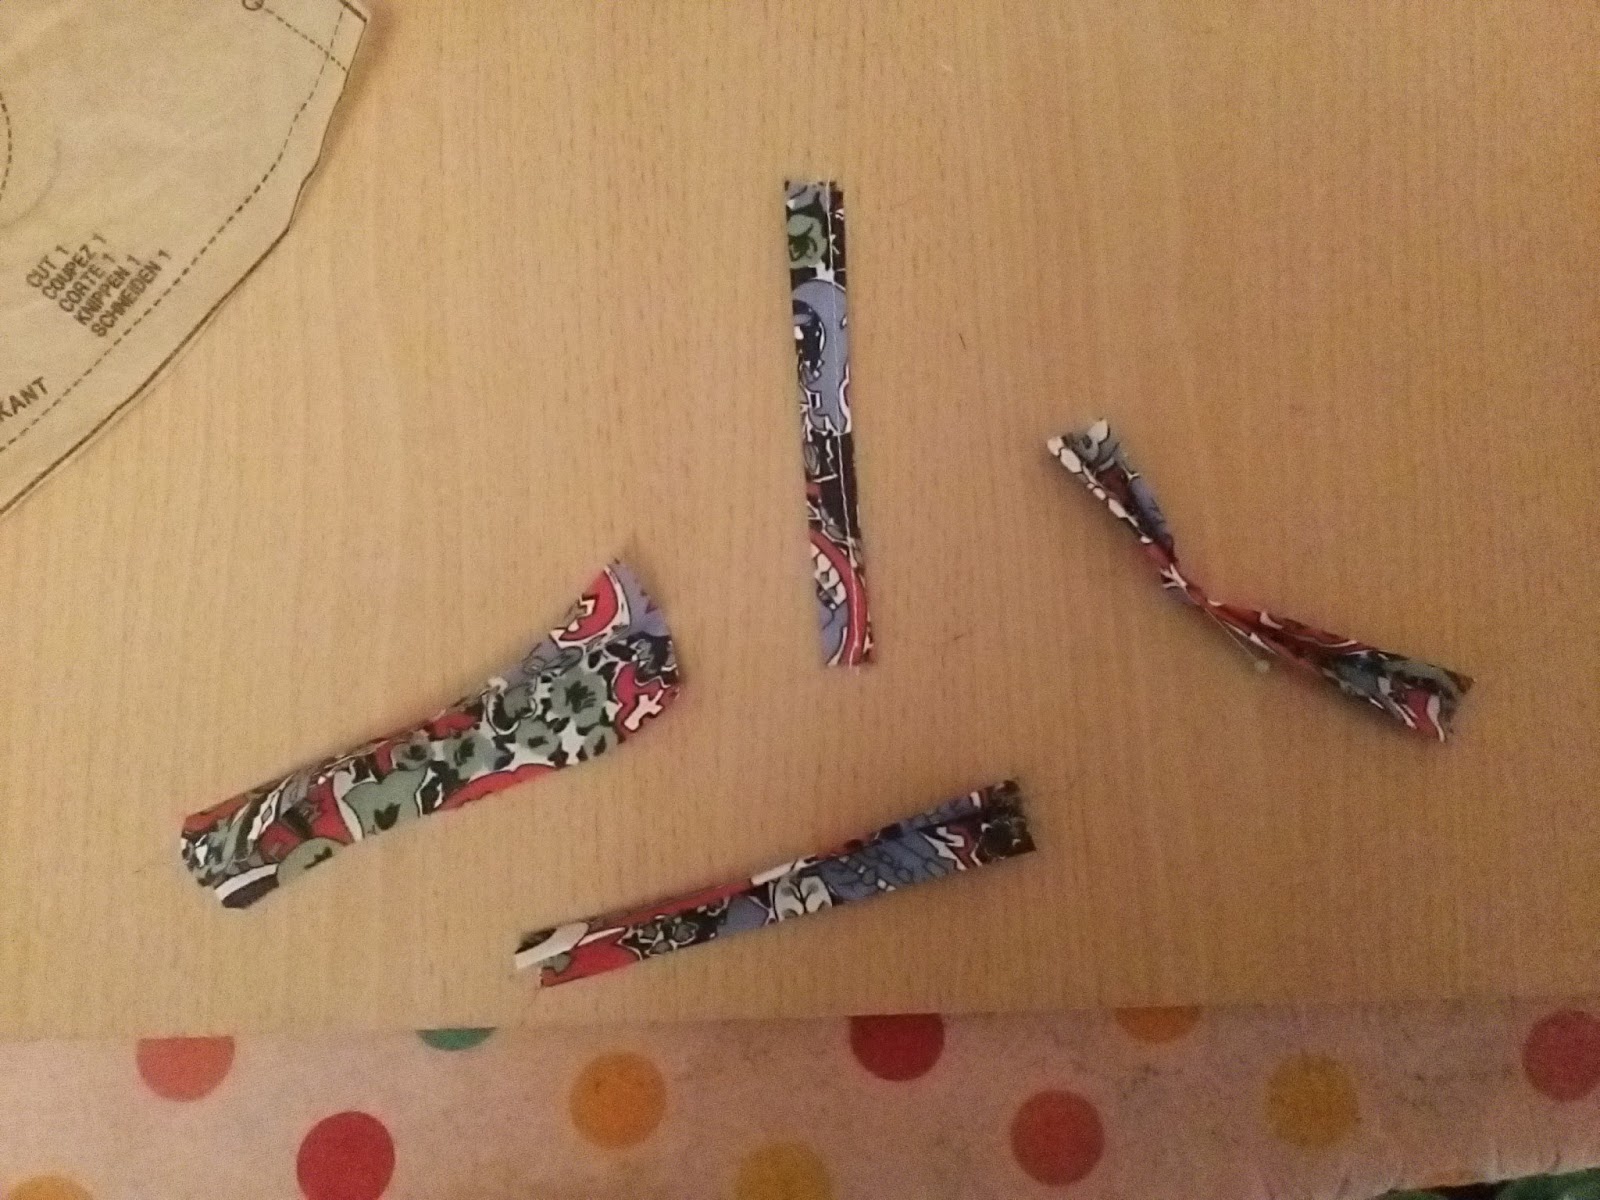
This is the face finished. I cut antlers out of felt. And glued them together with some temporary adhesive. This glue stick is a fabulous product Glue stick it holds things together whilst you sew them perfect for antlers. Stick them wrong sides together and then sew round the edges with just an ordinary straight stitch.

Stitch the ears on and the antlers on , matching the dots.

Stitch the bodies to each front and back head.

Then make the arms and legs as before, stuffing them lightly and stitch in place.
The arms need tiny paws stitching to them before making them up.
Fold everything in as before and join front to back, leaving a gap to turn right sides out.
I found it easier to break my sewing off and do the top and the bottom in two separate sections.
Here he is ready to be turned right side out.
Stuff lightly and close the gap with a ladder or slip stitch.
Here they are together.

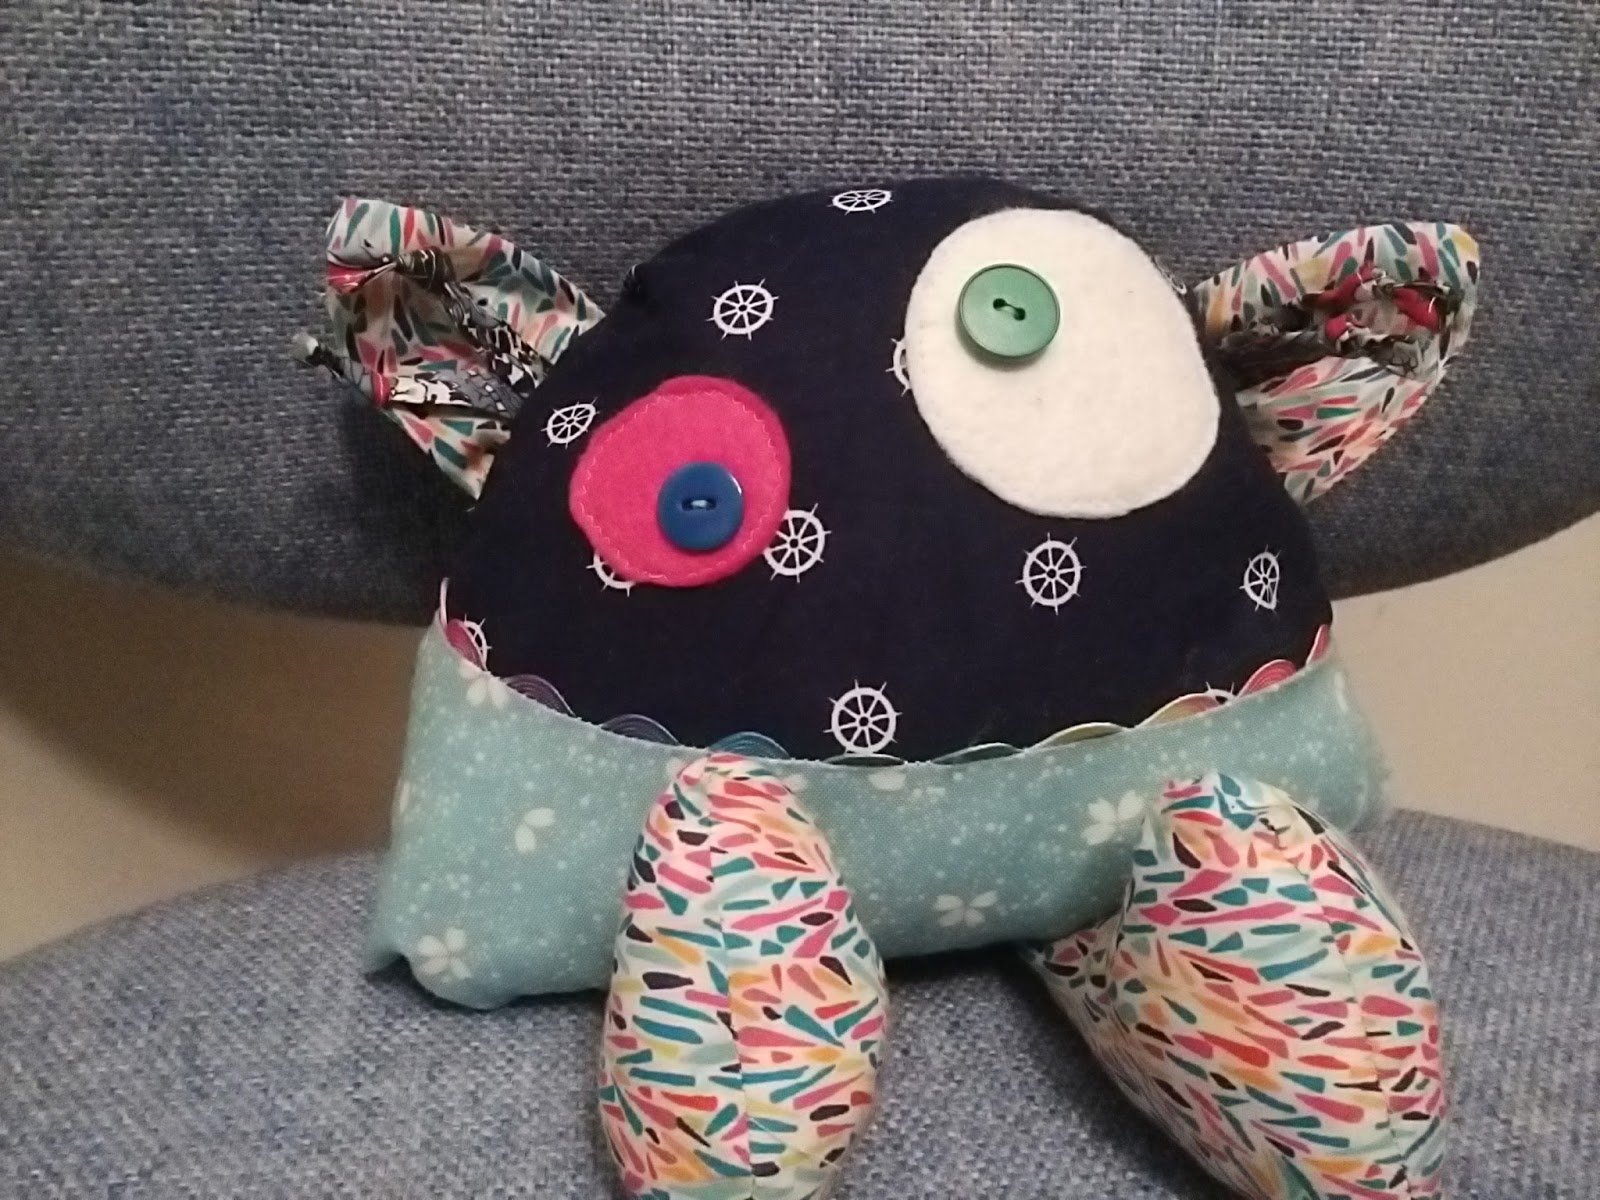
I wanted to make a soft toy which was more boyish and noticed on this pattern that one of the options is a boy monster.
This pattern is again Simplicity and is on this link Stuffed animals and monsters

Use your own fabric choices and personalise him how you want. Please note that if this is for a very small child then omit the buttons and use two additional circles of felt glued and sewn on as before.
Just as with the others, deal with the features first, and have fun with the expression, you don't have to copy the pattern exactly.

This is my face! Well, not mine personally but you know what I mean.
It has strings or Tufts coming out of it's ears, the photo above shows the different stages of making them.
Make the ears and sew giant ric rac braid along the bottom of the face inside the seam allowance.

Then sew the body to the face. Now, this is where I went off-piste as it were. I found it too fiddly with my hands to finish the base in a box with the feet at the sides.
So I cut the bottom bit off and finished it exactly the same as the other two.

What you should really do is to attach the feet to the sides and construct a square base, so it this is what you prefer to do then follow the instructions on the pattern sheet.
I am perfectly satisfied with my version, and he looks like the other two.

Here the three are together for the very last time as they are all on their way to new homes.
Don't be frightened to make soft toys and accessories. They are easy, they don't have to be perfect - no child is going to object to a wonky ear - they will love it because YOU made it for them
Thank you for reading this post. I always love your feedback and photographs .
No doubt we will be seeing plenty more of Donald in his new job.
Happy toy Sewing