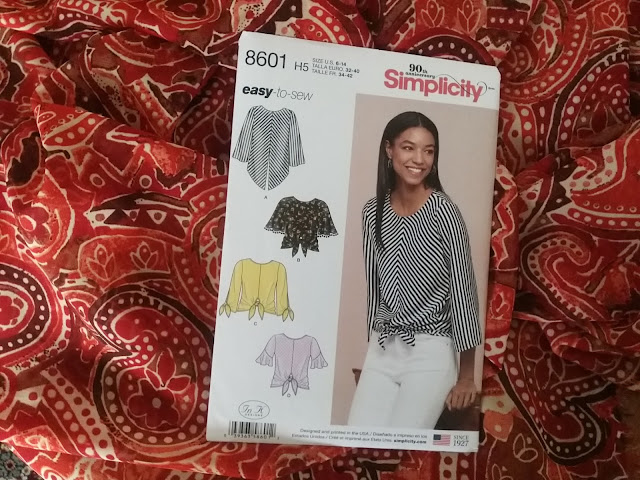
This is a pretty little blouse which I made with Simplicity 8601. Just in case you do not have an overlocker, or don't want to splash out on four bobbins of overlocker thread in a colour you will not use much I'll talk about the Overedge foot too.
This is a new pattern and don't you just love it !The pattern is Simplicity 8601 which is a collection of easy to sew tops.
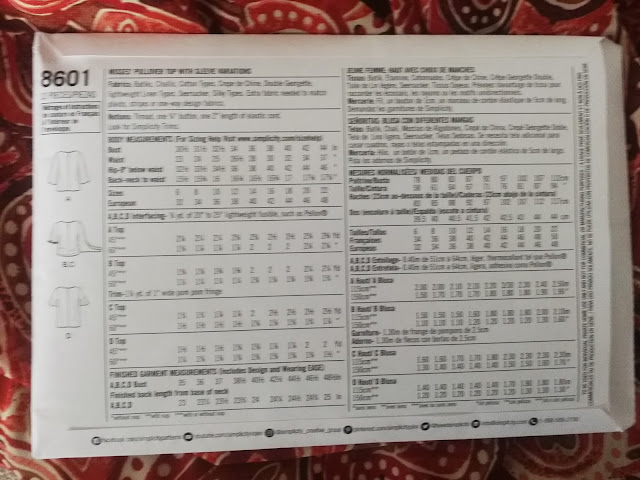
This pattern is suitable for all levels of sewers and I really appreciate that the back of the pattern envelope shows the finished measurements in addition to the size guide. Always take time to take your measurements , wearing the type of underwear which you are likely to be wearing underneath the top - it does make a difference
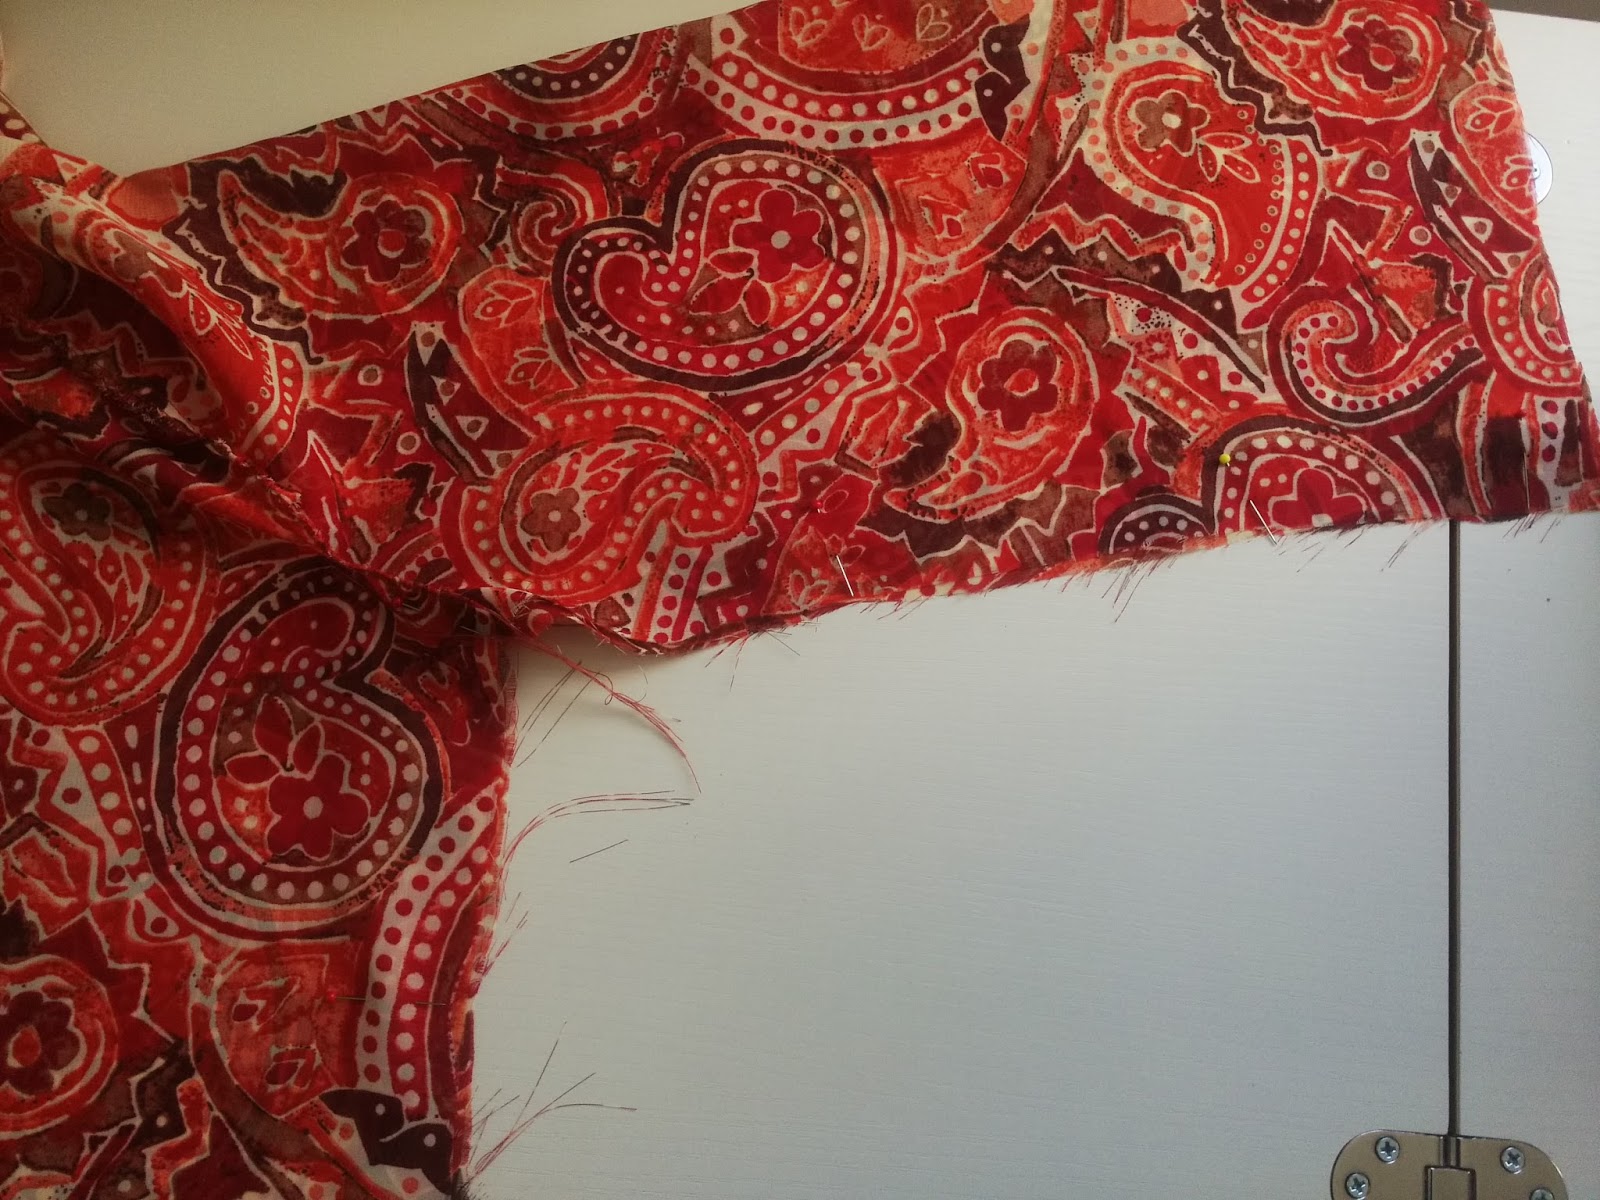
I decided to use this beautiful Chiffon fabric which was given to me - more about that later as it is connected to the wagon I was telling you about. Chiffon is quite slippery and it frays and snags so unless you have some sewing experience with it I recommend using a lightweight cotton, cotton Lawn for example. Cotton is much easier to sew.
The pattern ties at the front in all views and there are four sleeve options. I think it looks best with high waisted skirts or pants and depending on the fabric can be smart or casual.
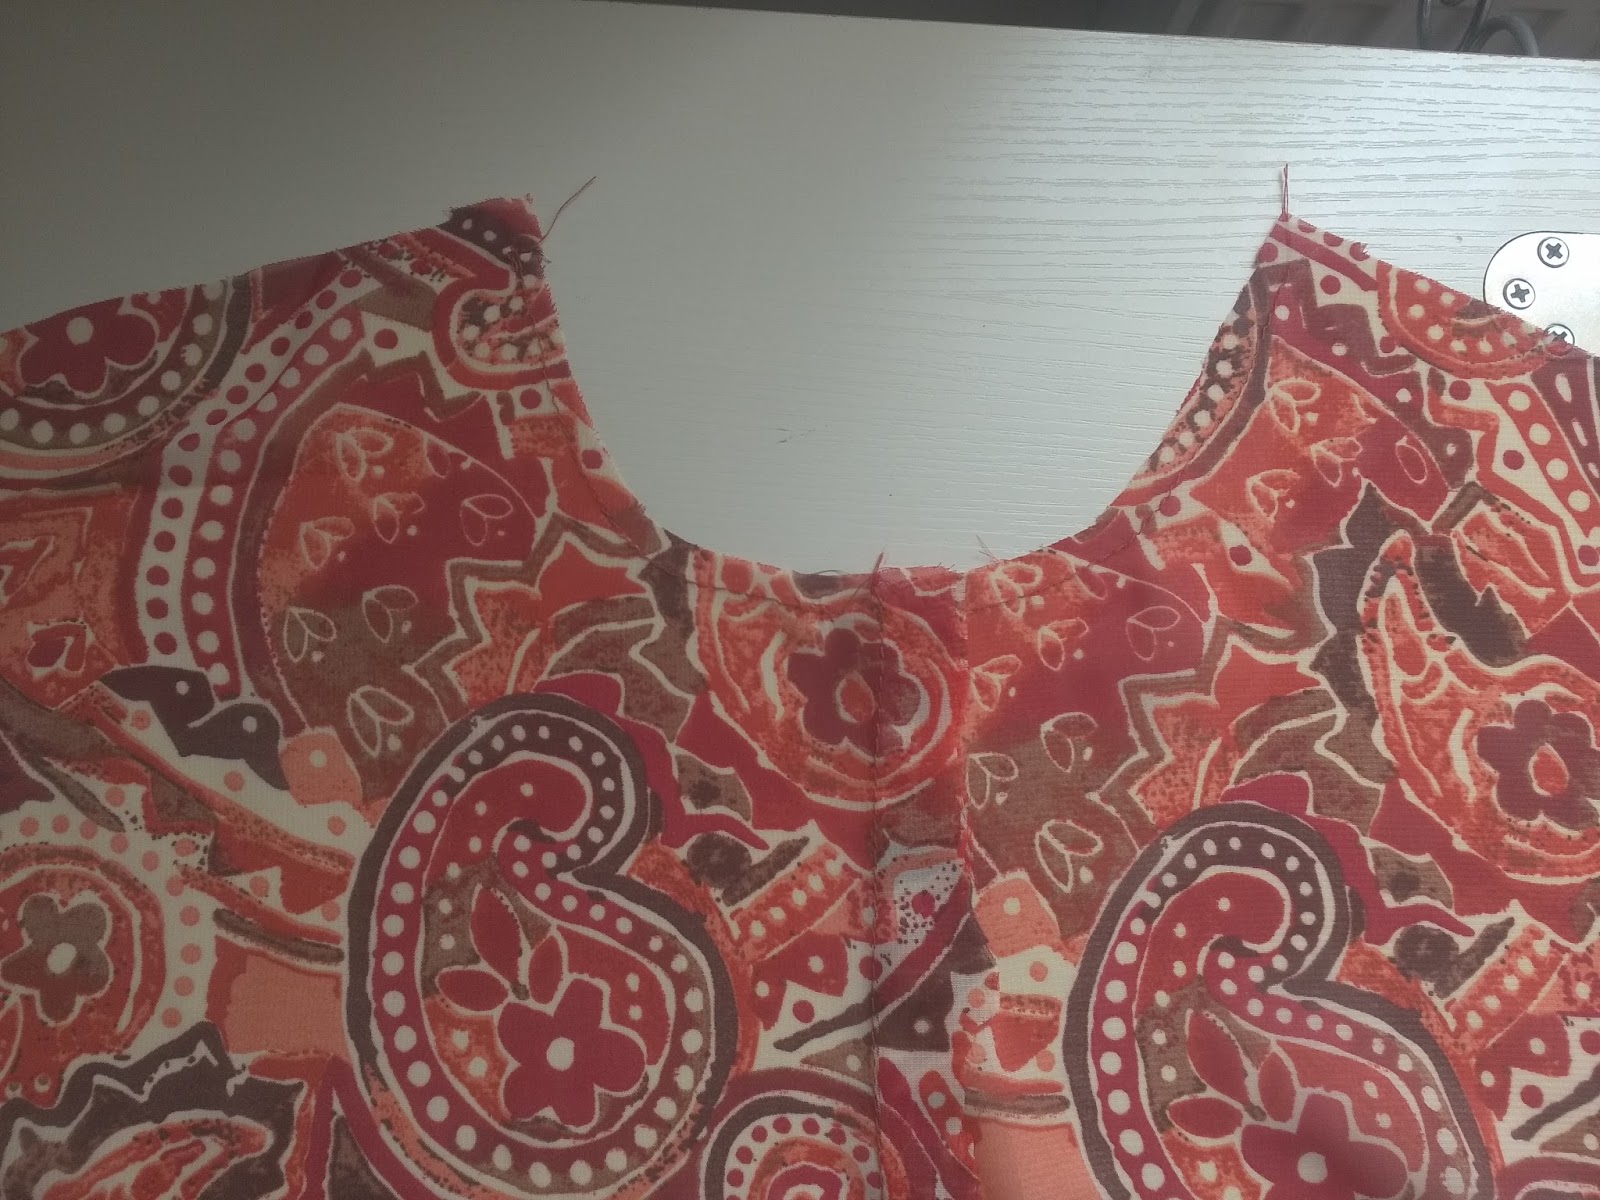
The instructions are very easy to follow and each step is given an explanation as to why it is important. For example we are told to stay stitch the neckline to stop it from pulling out of shape.
The first steps are to sew the centre fronts together down to the marking for the tie front extentions. Then to sew the centre back down from the neckline opening marking.
I find it useful to mark the reverse of each fabric piece so that I do not get confused trying to figure out which is the right and wrong side! Use your favourite
Chalk marker for this. I just draw a X on the wrong side of each piece near the bottom.
You will also need to mark any darts ( none in this pattern) and dots using
Tacking thread this is made specifically for the purpose as it is made from short rough fibres which means that the thread stays in your fabric until you pull it out
It's difficult to see with this busy fabric but this is the sleeve sewn in place , it is so much easier doing it this way rather than inserting it into a circular opening
Never sew over your pins by the way, always remove them as you reach them. You could damage your machine if you don't.

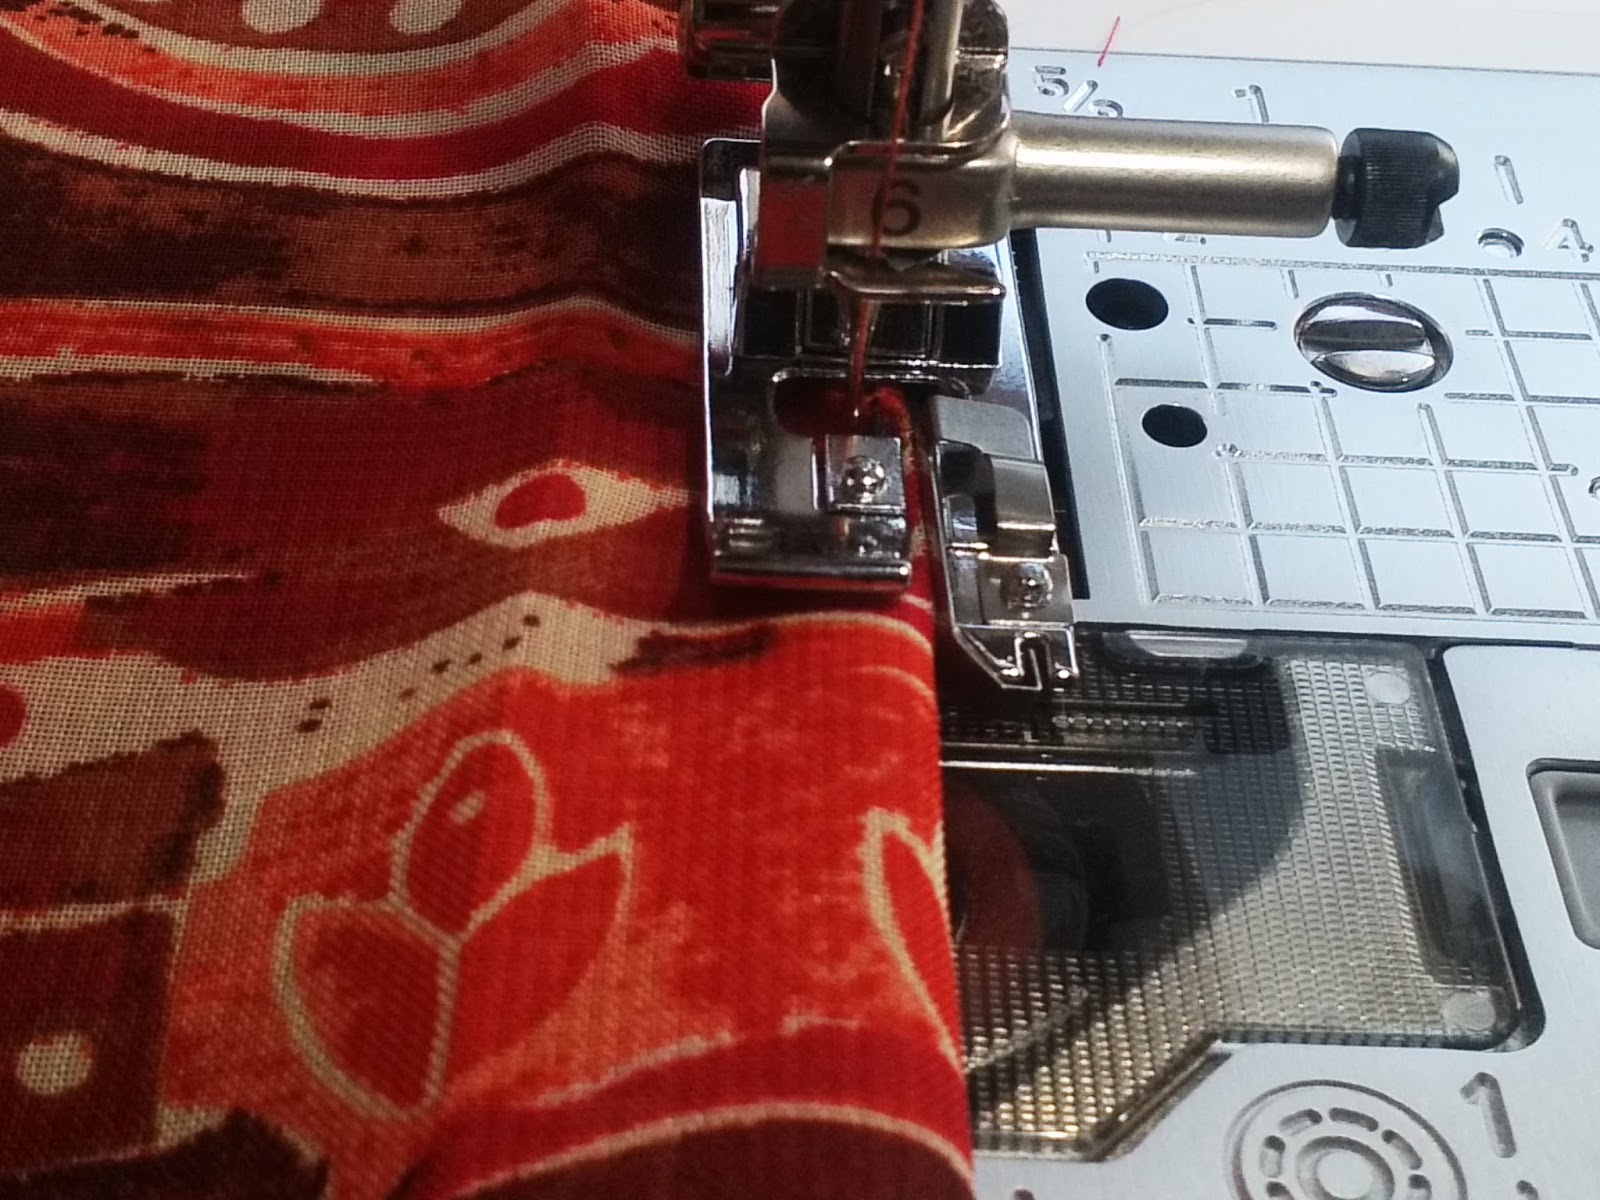
This is an
Overlock or Overedge foot Again, different makes are available so contact Jaycotts if one did not come with your machine, they often do so you may already have one.
You will notice that it has a "toe", this is the part which the machine needle zigzags over to form an overlocked seam. Overlock feet with side cutters are also available from Jaycotts. The open space next to the toe is placed right at the edge of the fabric.
I do use this foot a lot.
Overlocker thread can work out expensive because you need four bobbins, and it is not practical to keep every single colour in " just in case", so this foot comes into its own when I need to finish the seams on a garment in a colour I do not have the correct colour of overlocker thread for.
If you look in your sewing machine manual in the utility stitches section you will find at least one option for Overedge stitches. I selected the one especially for fine fabrics. The picture of my LCD screen shows the type of stitch you need.
Have a practice run beforehand and adjust the stitch length and width if necessary.
Once you are happy with the results you are good to go. Jot down your settings so that you can finish the rest of the seams as you go without trying to remember them.
It is now a simple process to join the sleeve and blouse side seams in one process. Match the underarm seam carefully ,together with any notches .Once the seam is sewn finish the seam as before.
I debated about just understitching the facing in place, but as my fabric is very slippery I decided to top stitch to keep it firmly in place. This is personal preference. I use both depending on the fabric or on the look I want to achieve. On this fabric I felt that the facing needed holding firmly in place.
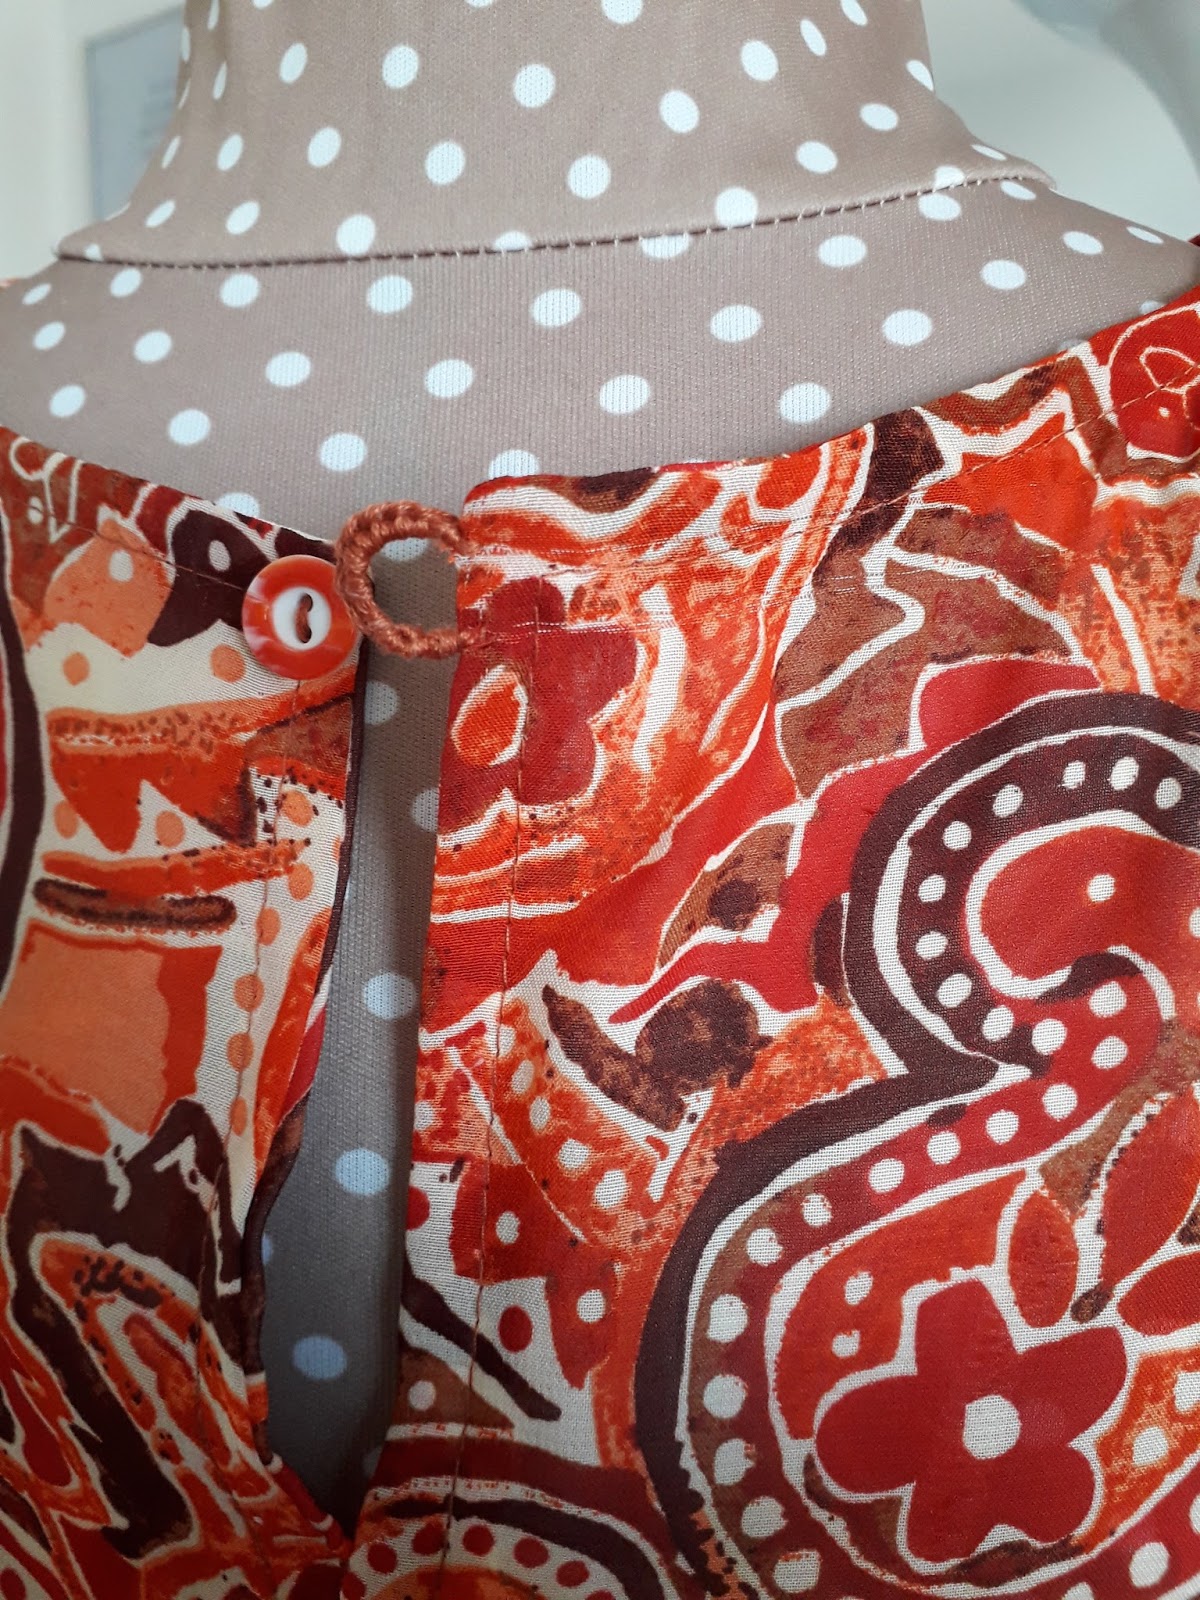
When stitching the facing in place you may want to add the button loop during the process, as described in the pattern instructions or you may want to make one later as I did. Again, it's personal choice
This is my button loop which I made with embroidery thread. You could use top stitching thread instead.
This is my button back closure
Thank you for reading this post. I do hope that you make this Simplicity top. You can have it made in an afternoon and it will soon become a firm favourite.
Angela