I seem to be drawn to lace. I have quite a lot of beautiful lace fabrics in my stash but never seem to use it. One of my favourite pieces is this beautiful green lace fabric which I used to make a dress with. Because it is so sheer it needed either a lining or an underslip. I decided on an underslip in the end as an introduction to Bra making , this slip has a bra top and is very 1950s in style. Continuing with the vintage look I also made a retro style bra which I will talk you through too. These two additional pieces will enable me to wear the dress with the slip underneath, or if I wear the bra underneath I will be able to wear it as a tunic with trousers.
The lace dress.
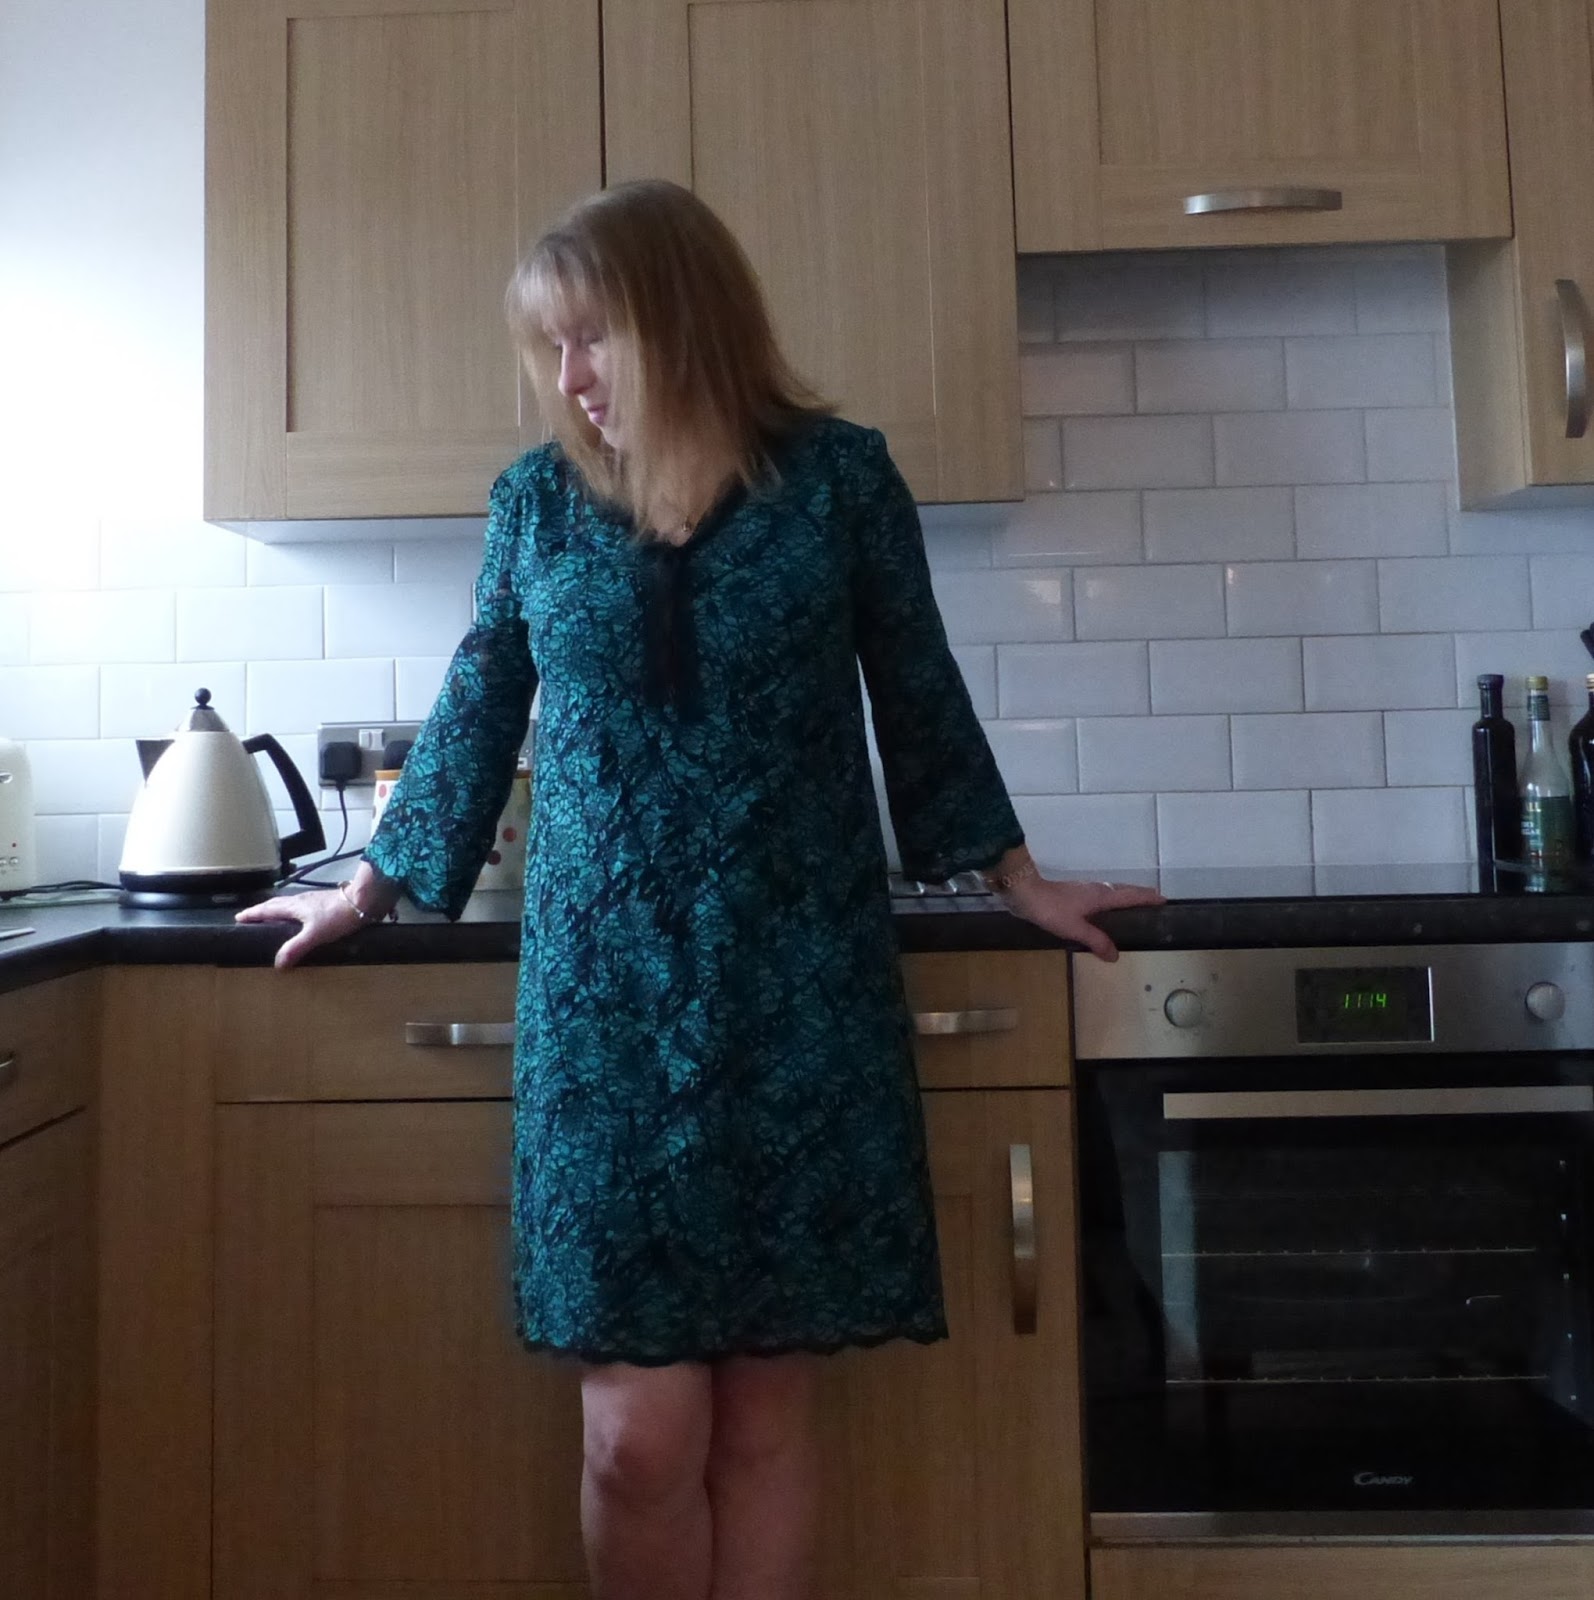
The dress worn with the underslip and without a belt. It is a lovely loose style perfect for the evening on holiday.
The pattern for the dress and tunic is Simplicity 8216 pattern at Jaycotts There are two lengths and I chose the longer one which sits just on my knee.The fabric is a beautiful Emerald green lace which has a pretty edge which I am going to utilise has much as possible.
When cutting out the back and front I wanted the scalloped edge to sit at the hem so i took care to position the hem exactly on the edging, matching the pattern at the sides too.I also positioned the back yoke and the sleeves along the scallops . Do make sure that your sleeves are the correct length before cutting out.
You will need to trim the selvedge with some sharp scissors to get the lovely pretty lace edging to your edges. This is also conveniently removing the need to hem the garment!
The back yoke also features the lace scallops. After gathering the back topstitch the yoke which needs to be pinned over the back piece, following the design on the lace and using a narrow zig zag stitch.
You can see that I have pinned the yoke to the back on the right side of the fabric , this is so that I can follow the edging pattern carefully. After the seam has been sewn use your overlocker to neaten the inside seam.
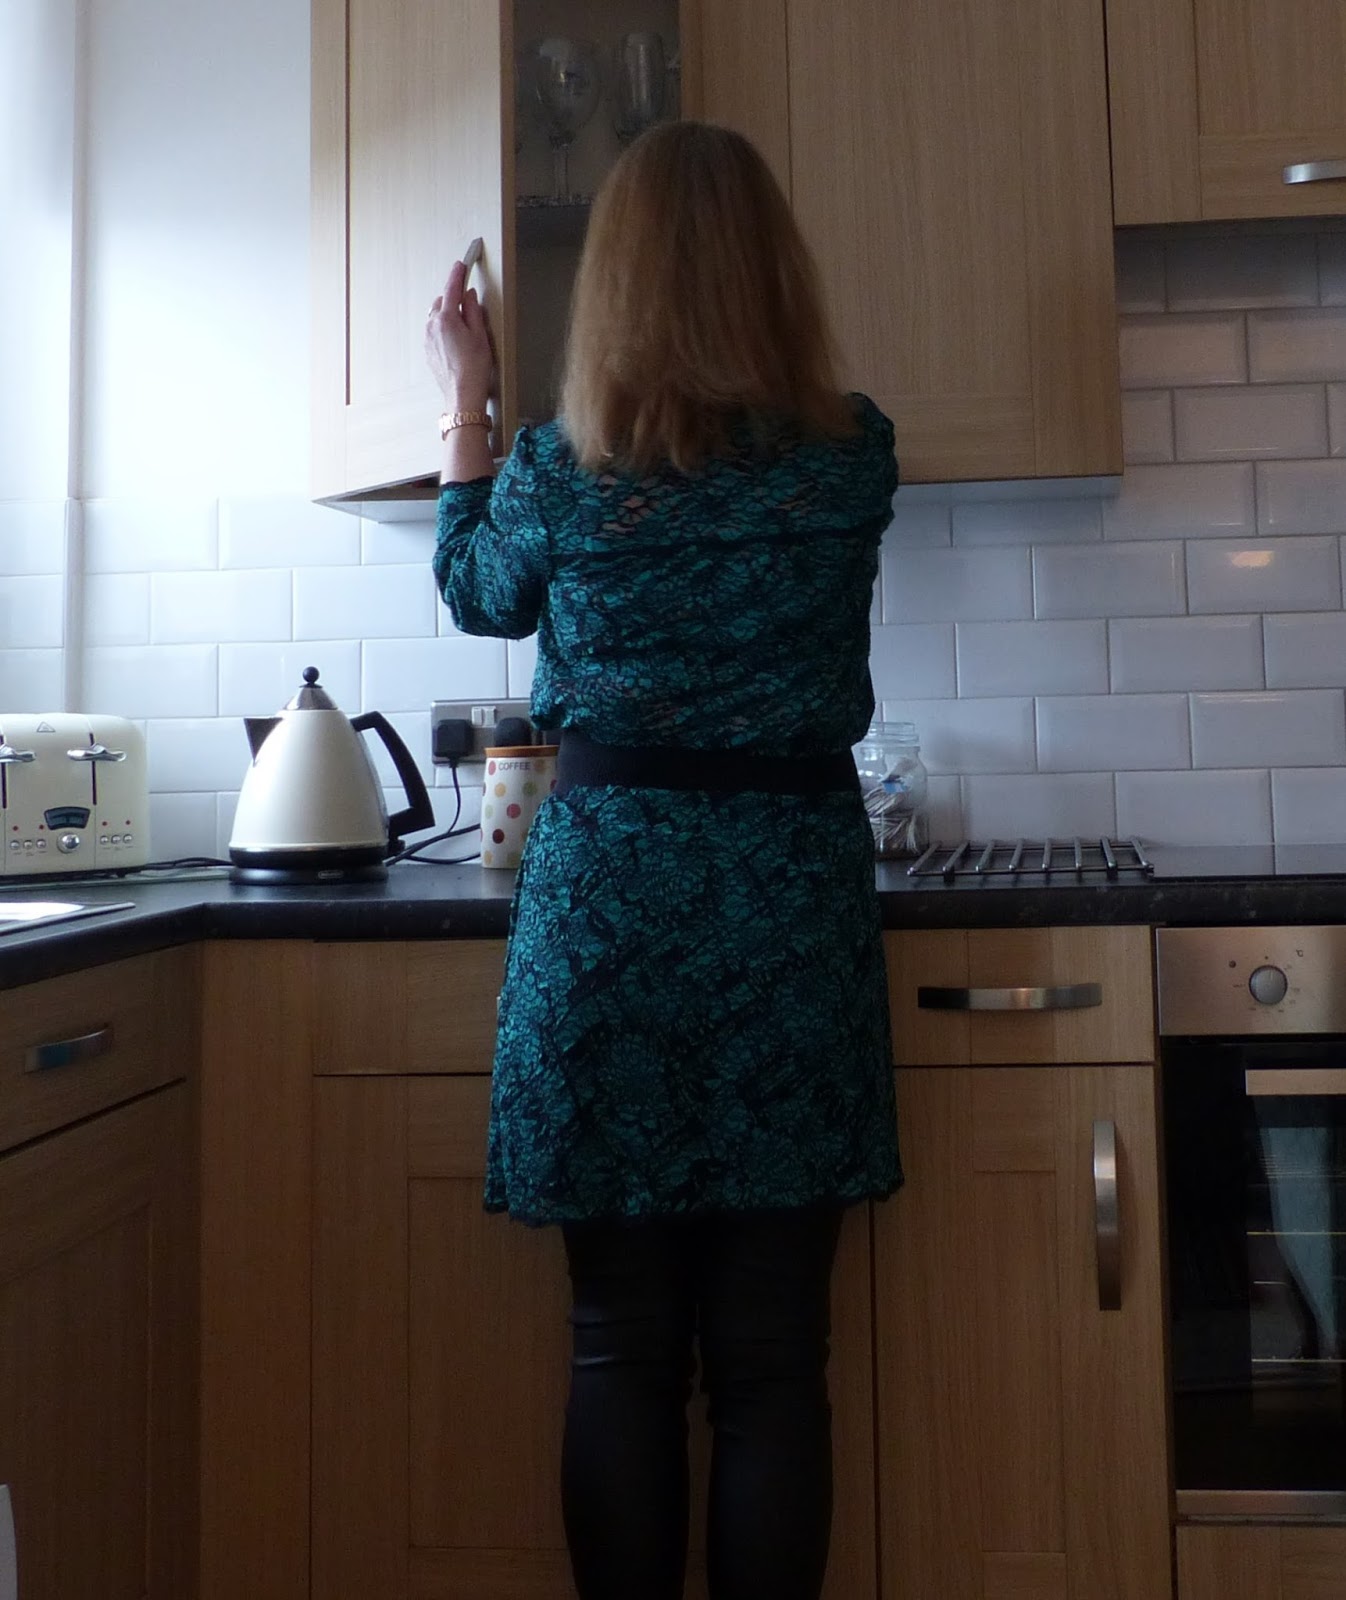
The back of the dress worn with a wide belt , this shows the scalloped edging in the back yoke and on the hem and sleeves.
My overlocker is the Brother 1034 D Brother overlocker and it is brilliant. It is a good price and easy to thread and use.Have you ever used your overlocker only to be disappointed that the seam is puckered or gathered? This could well happen when you are sewing fine or loose weave fabrics like lace or jersey.There are a number of things you can do to prevent this from happening. This particular machine has Differential feed which we can use to good effect hereAn overlocker has two sets of feed dogs under the presser foot which move the fabric through the machine.The differential feed controls the movement of both the front and the rear feed dog.
The differential feed control button is the one on the left of the picture above. When it is set at 1 the the feed dogs are moving at the same rate.When you turn the dial to below 1 then the front feed dogs move slower than the rear ones which stretches the fabric as it sews. This is what will stop the fabric from puckering as it is being sewn.If you turn the differential feed dial to a number greater than 1 the opposite will happen and the front feed dogs move quicker than the back gathering the fabric as it sews, this is useful when sewing jersey fabrics which ripple as they are sewn.In this case I needed to turn the dial below 1 which helped the problem of my fabric gathering as it was being sewn. Do not be afraid to experiment with your sewing machine or overlocker and do not forget that Jaycotts include after care with their tremendous customer service and will be only too happy to answer your questions.
If your machine does not have differential feed then another option to try is adjusting the pressure foot pressure. The dial for this is at the top o f my machine and it is normally set at 2, so lowering it would reduce the pressure and help to stop the fabric from puckering. Be careful not to loosen the pressure too much or youcould end upmwith skipped stitches.If you are still having problems then try some tear away stabiliser under your fabric but be sure to check that your machine is threaded correctly and that you have new needles in it before you do anything else. A blunt needle and an incorrectly threaded machine are the most common reasons for your machine not sewing properly.
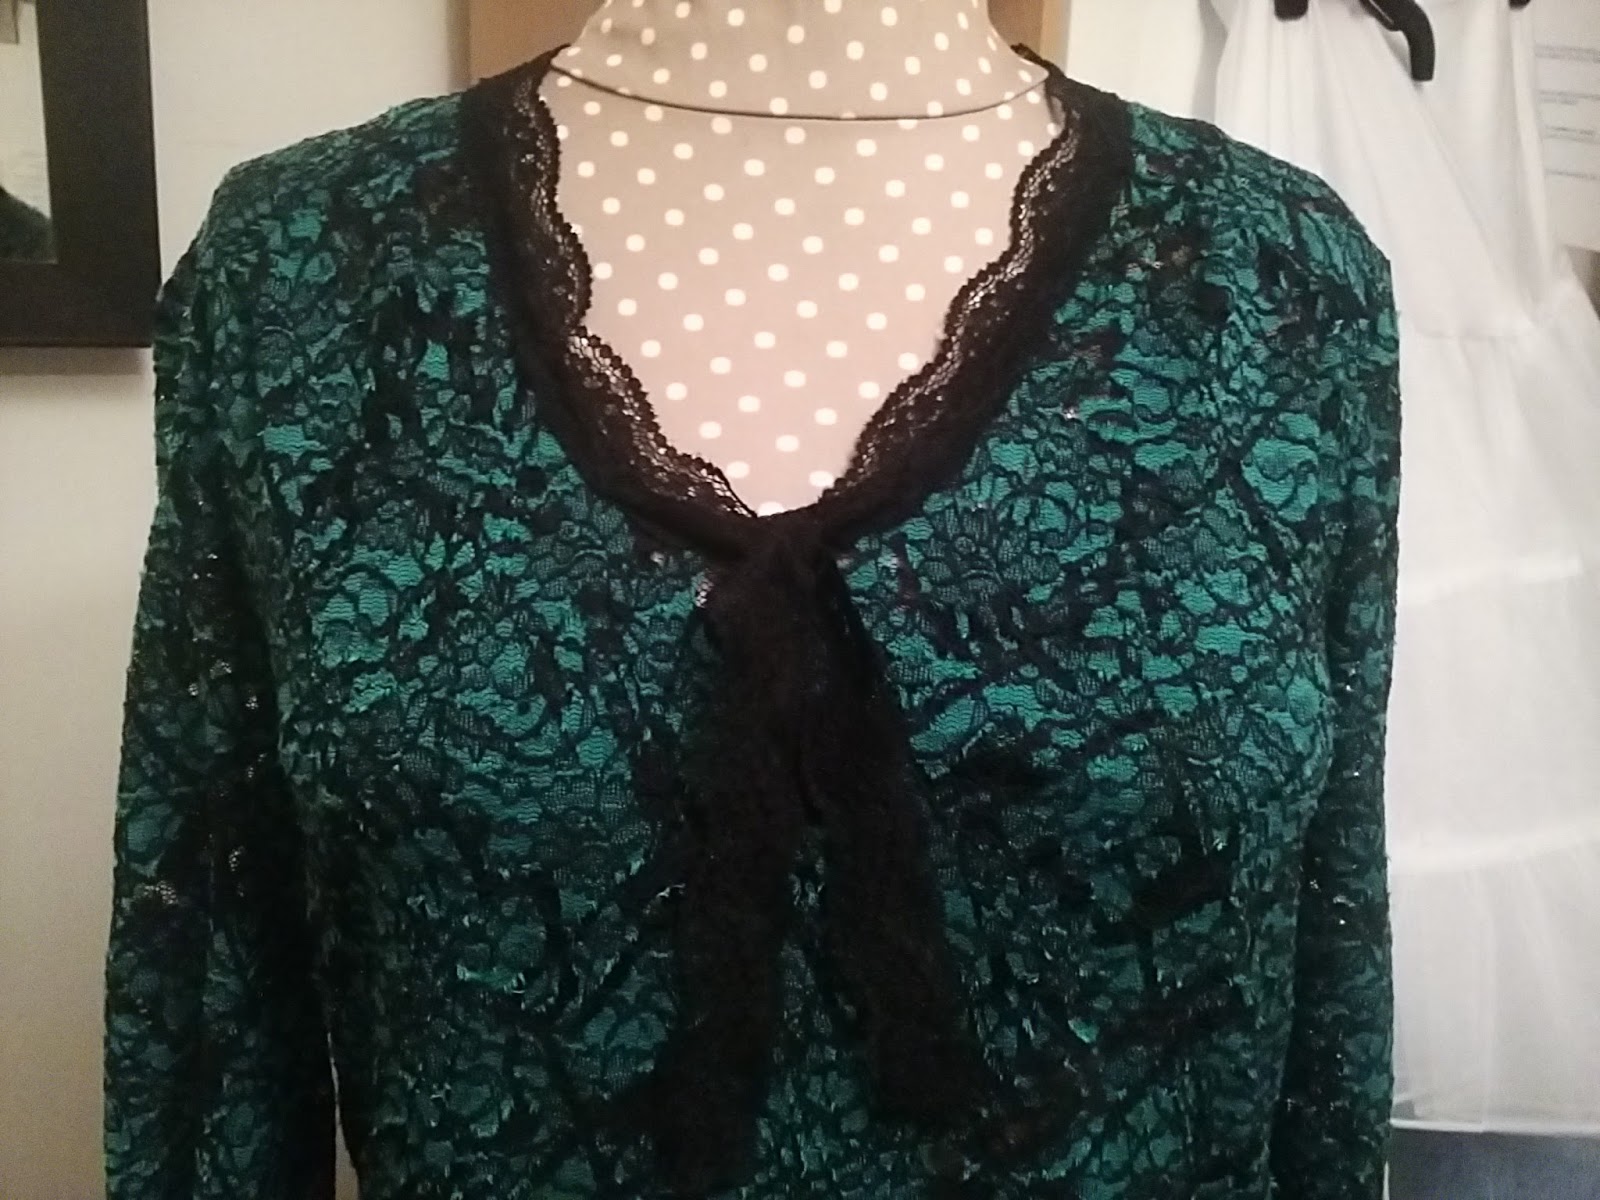
The dress is easy to put together. Just side seams and sleeves.Using the scalloped selvedge has eliminated the need to finish the sleeves and hem. For the neckline I used a piece of the selvedge to cover the raw edges as I did not want facings to spoil the sheer fabric. I started to hand sew lace around the neckline too.
This is the top all finished. I just love the colour. I decided that I wanted the lace to just knot at the front so i hand stitched it in place.
The Bra-slip
Because the dress is so sheer I will need something to wear under it. I did not want to line it as I still wanted to retain as much of the sheer effect as possible. I came across this slip pattern by Gertie for Butterick , you can buy it on this link Butterick B 6031It is for a Bra slip as as well as a camisole and panties and I thought that the slip would be a great introduction to making Bras.
I will be doing more lingerie in my next blog and will go into more detail on how to make bras and panties then.You will need some soft stretch jersey fabric for the slip, some stretch laces and either ready made bra straps or bra strap elastic and lingerie sliders and rings. You will find everything you need in this section on Jaycotts web site, including the patterns.Bra accessories and patterns Cut out the main slip parts in your Jersey with the most stretch going across the body.
Cut out the cups in Jersey too, and mark the darts with tailors chalk on the wrong sides.It is imperative that you choose the correct cup size. There is a guide on the pattern instructions to shown you how to take the measurements needed to determine what size you are. Please don't guess or go by your normal bra size. Nothing is worse than putting a lot of work into making something only to find that it does not fit. If in any doubt make a toille of the cups and try them on.
Cut out the cups in lace too. I use a temporary fabric adhesive to stick the two layers together whilst I sew them.
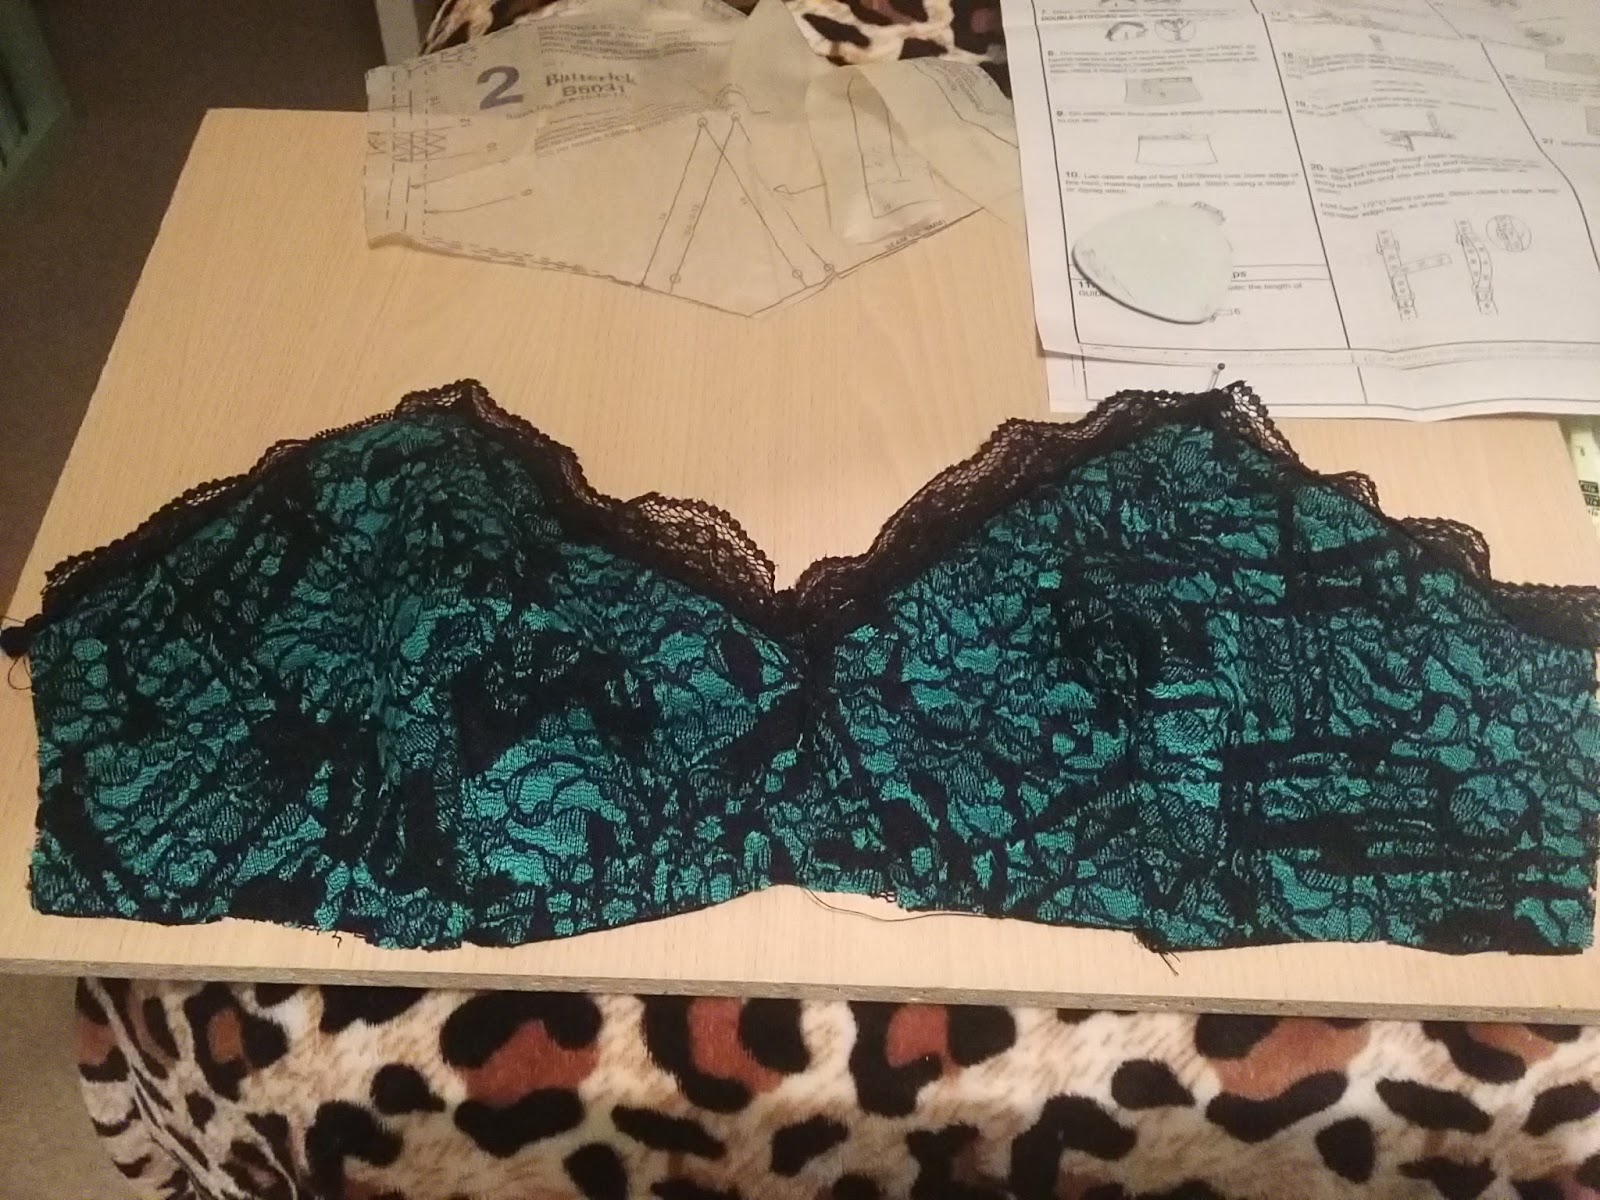
Stitch your darts and cut out stretch lace according to your size, pin and stitch it in place. Each size requires a different length of elastic which is clearly printed on the pattern - there are pattern pieces included for guides for cutting out elastics and lace edges You will need to sew the lace edging on with a small zig zag stitch. There is also elastic to be stitched on which will need stretching slightly as you go.
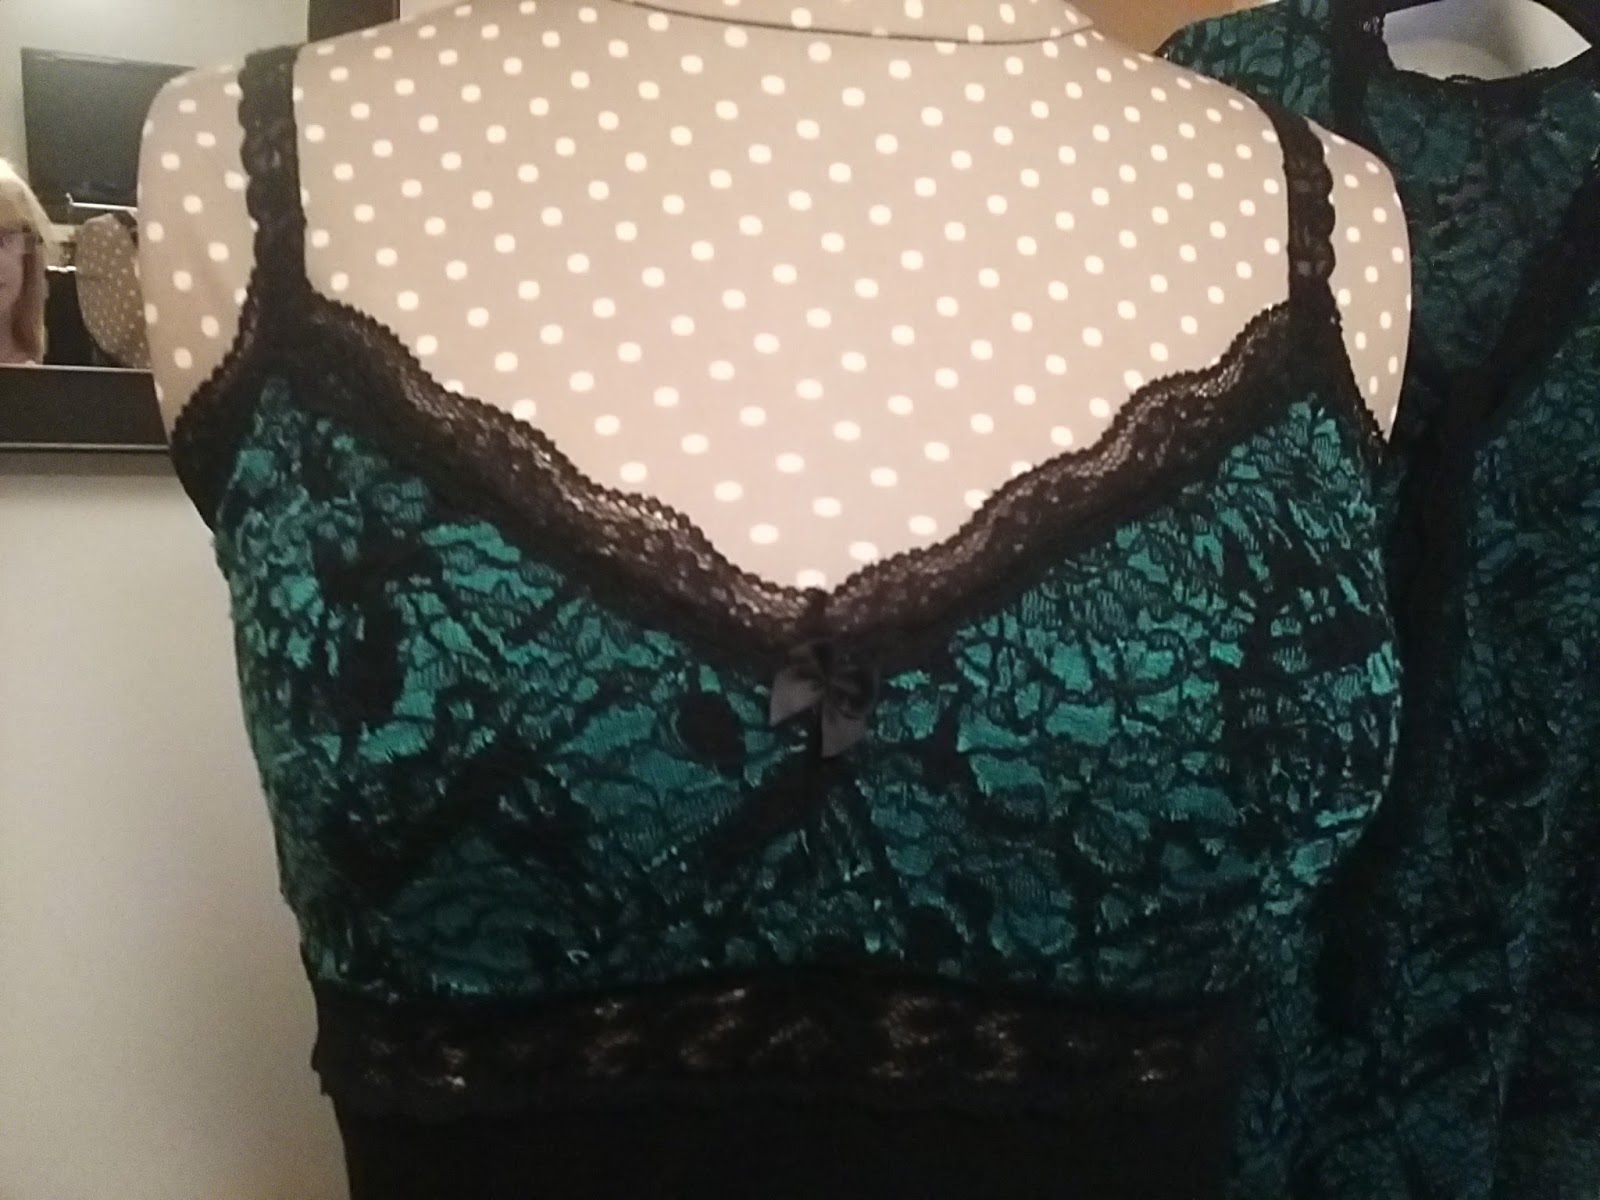
This is the bra top made up by having the centre front stitched and neatened, the darts stitched and neatened, and the lace edging and elastic sewn on.This is a brilliant introduction to making a Bra, so if you would like to have a go at making one then I would like to suggest that you start with this pattern, as there is no under band or fasteners to worry about.
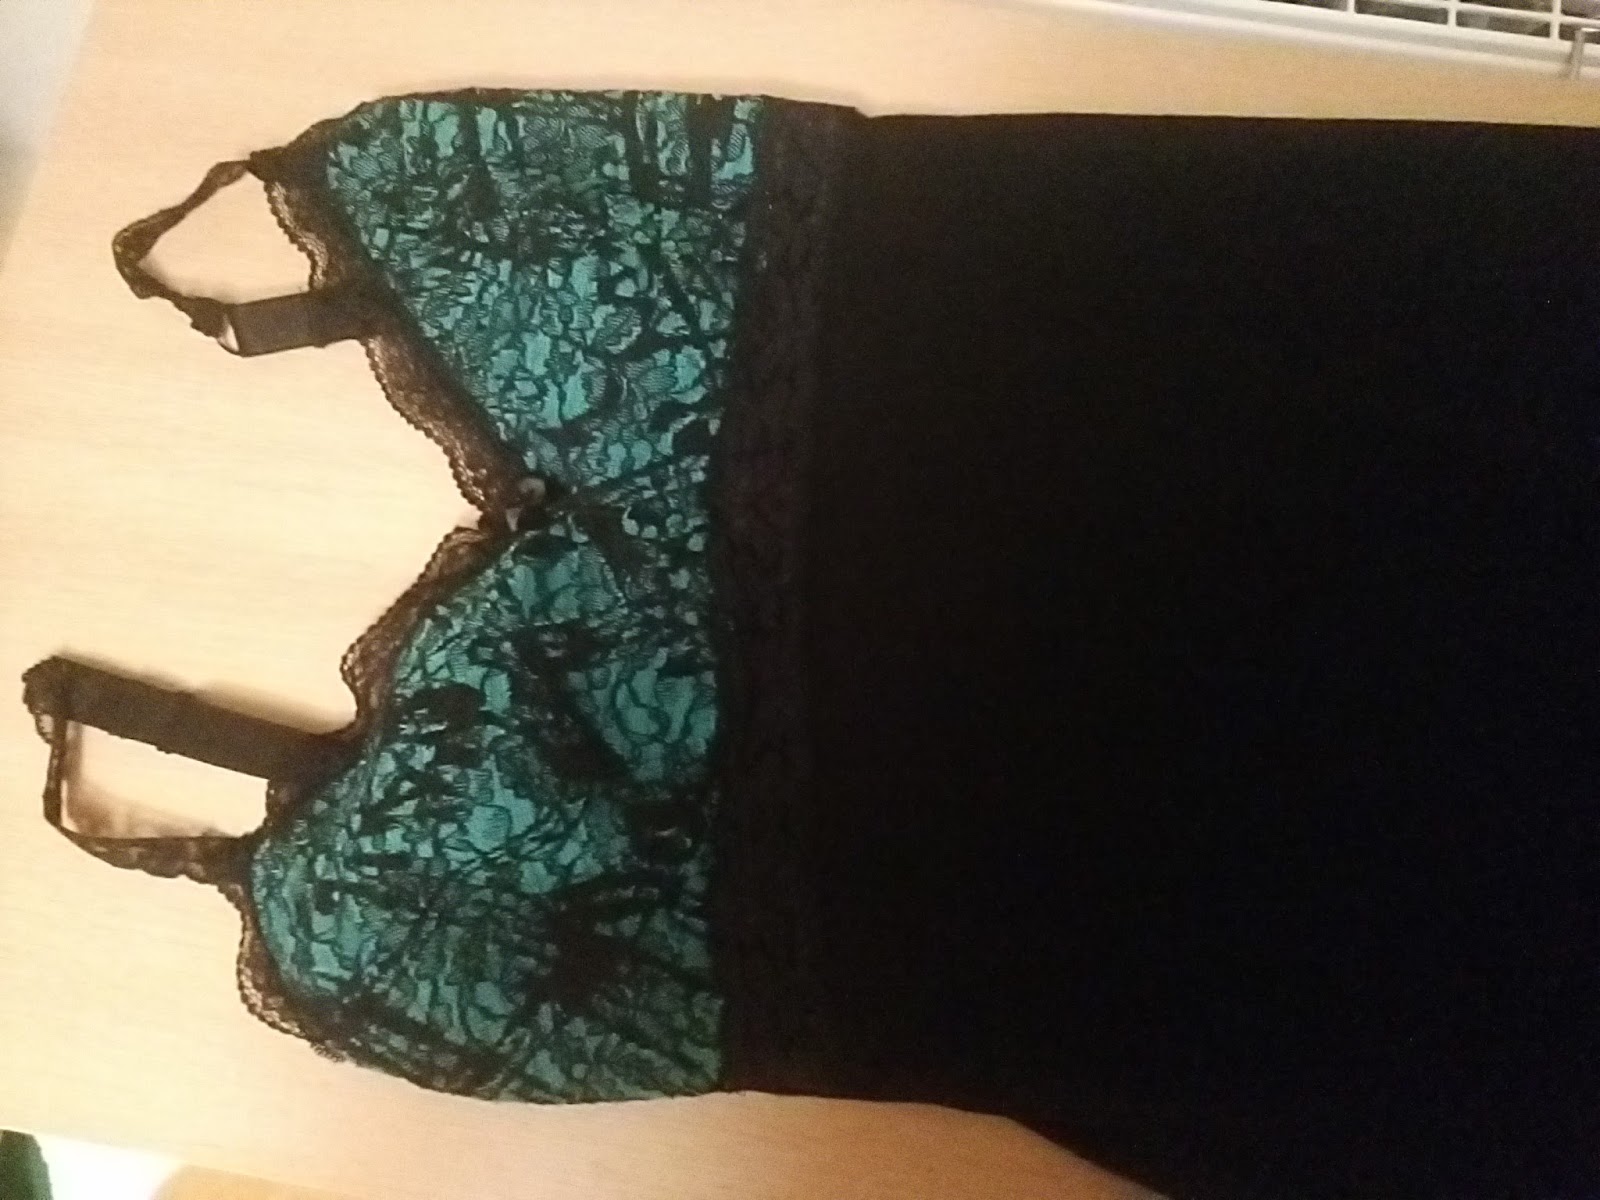
The next step is to sew stretch lace to the top of the front slip, and then joining it to the bra top matching the notches The fabric underneath the lace is cut away leaving a sheer panel just underneath the cups.
To make the back of the slip follow the pattern instructions to sew the elastic and straps in place. The instructions are very easy to follow so I am not going to repeat them here, if you do not understand any of them though then please do not hesitate to ask me for clarification.
The front part of my straps are made from a rigid lace, attached to a ring.
The elastic part of the strap is threaded through the ring too and stitched firmly in place by hand. You need to add adjusters so that you can alter the length of the straps. The instructions for fitting the adjusters are on the pattern instructions.
To finish off which the side seams I used my overlocker, and I adjusted the differential feed to below 1 to stop the fabric from puckering.I then attached stretch lace to the bottom of the slip all the way round using a narrow zig zag stitch. I did not add the slit at the side front as it would show through my lace dress.
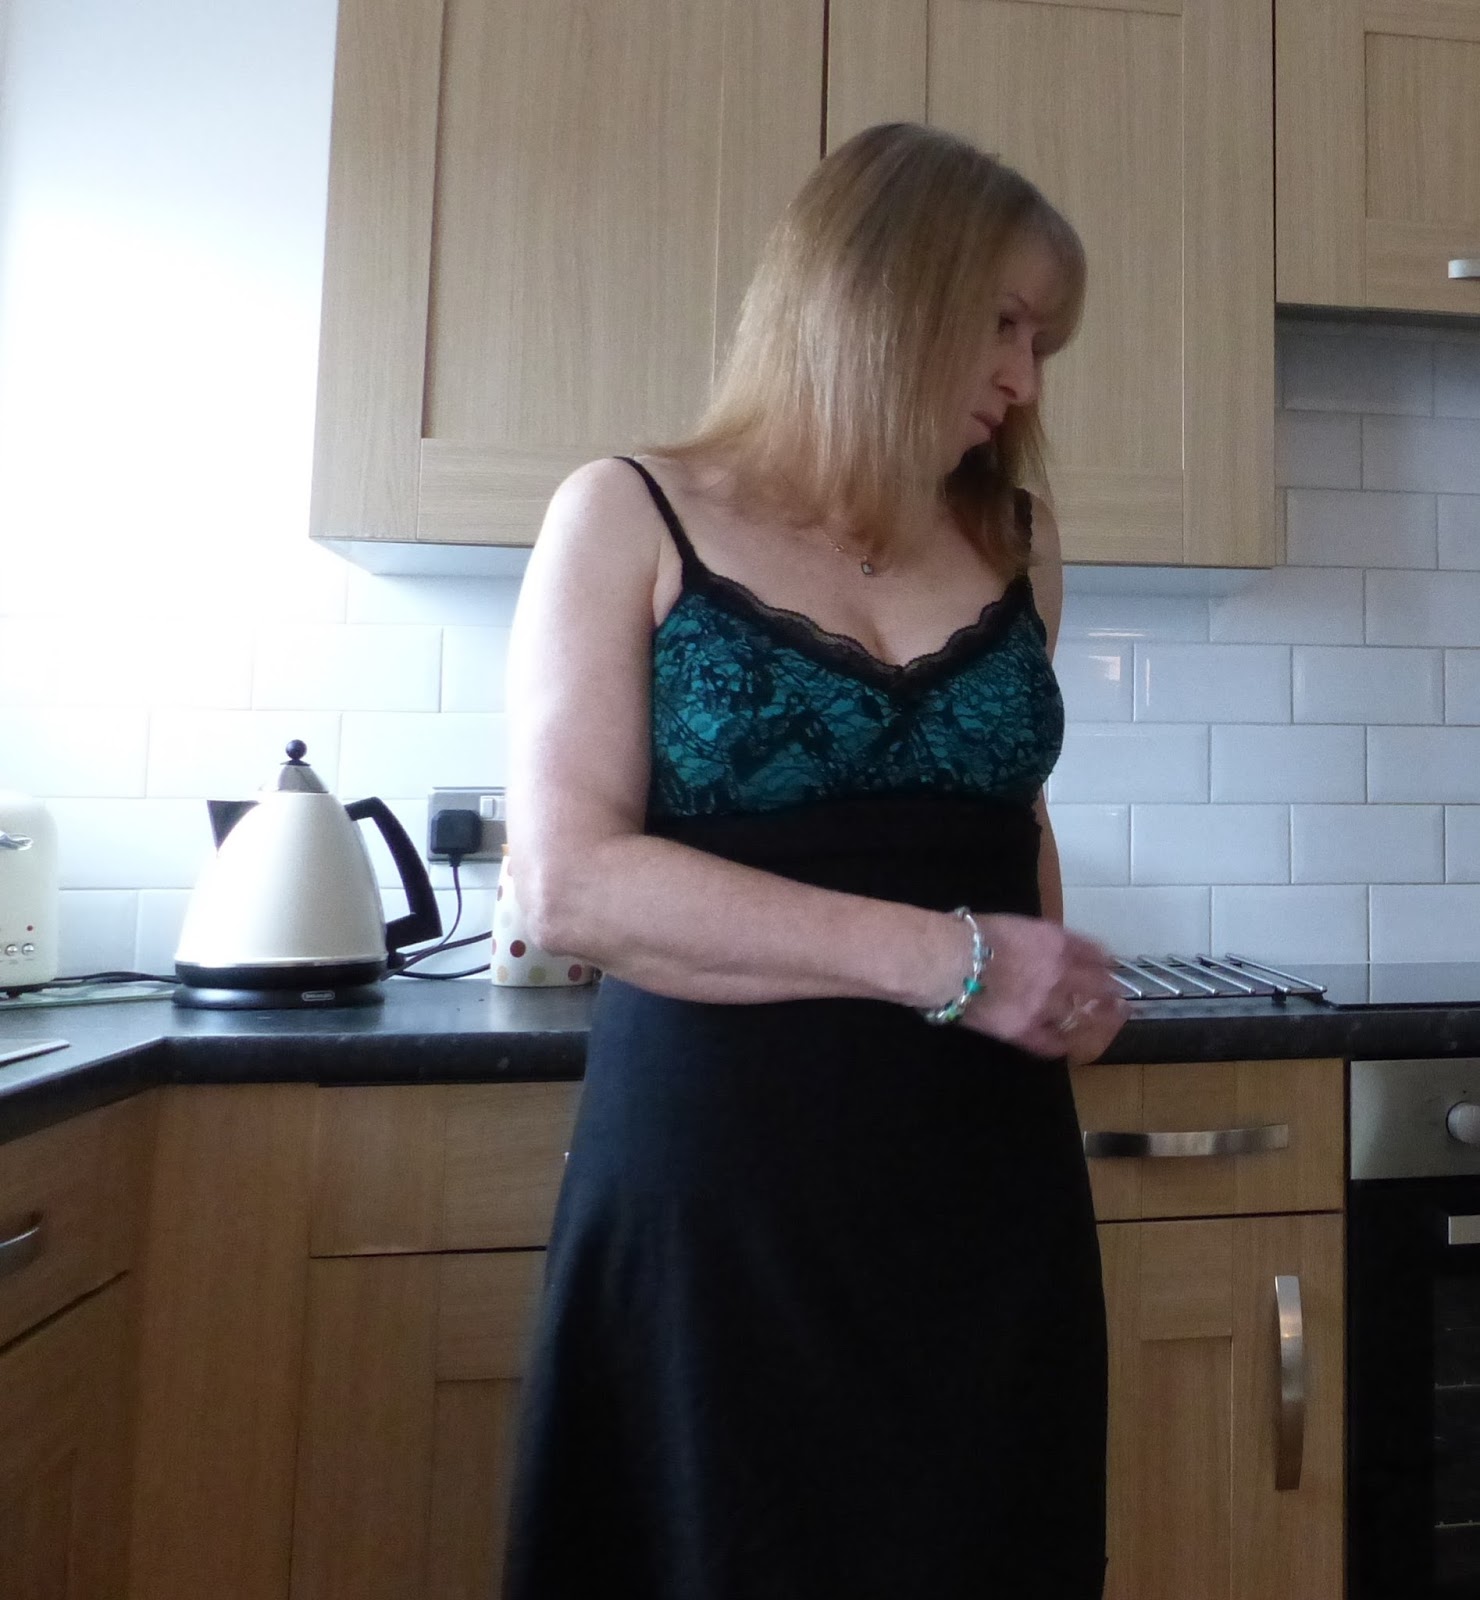
This is such a useful garment and I will be making more. It is typical of those worn in the 1950s and 60's. It can be worn under a sheer dress, under a dress for an extra layer to make a skirt hang better and for night wear too. It has so many uses!
This is the slip shown underneath the dress. In this picture I am still debating on where I want the lace trim at the neckline to go.
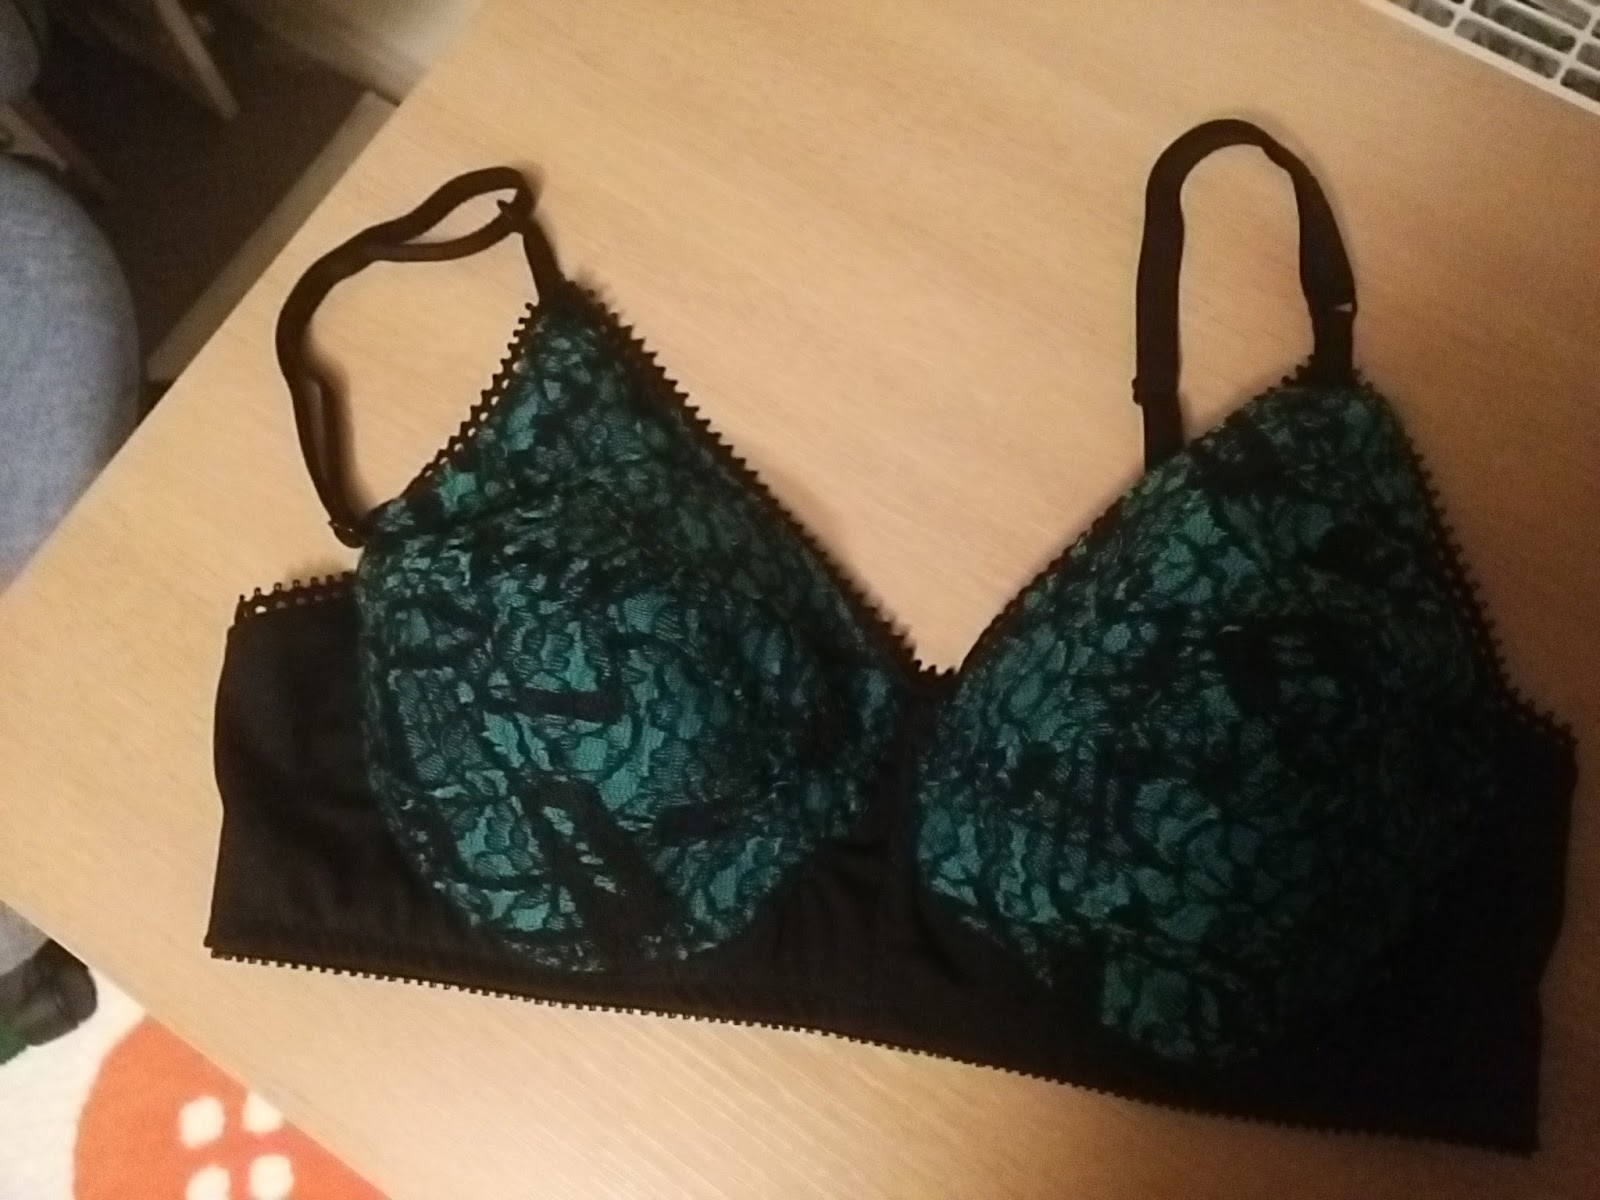
To enable me to wear the dress as a tunic with trousers and a wide belt I wanted to make a matching Bra, although I could have made the camisole included in the slip pattern.For the bra itself I am using this pattern by Kwik Sew which you can find in the link above
You need various specialised fabrics and elastics, all detailed on the pattern envalope. I am not going to go into too much detail in this blog post as I am going to be covering bra making in another blog post.This is another retro design and not the style I usually wear, however I have heard good reports of how comfortable this is to wear and it will be useful as I will be making a lot more vintage style clothes this year.
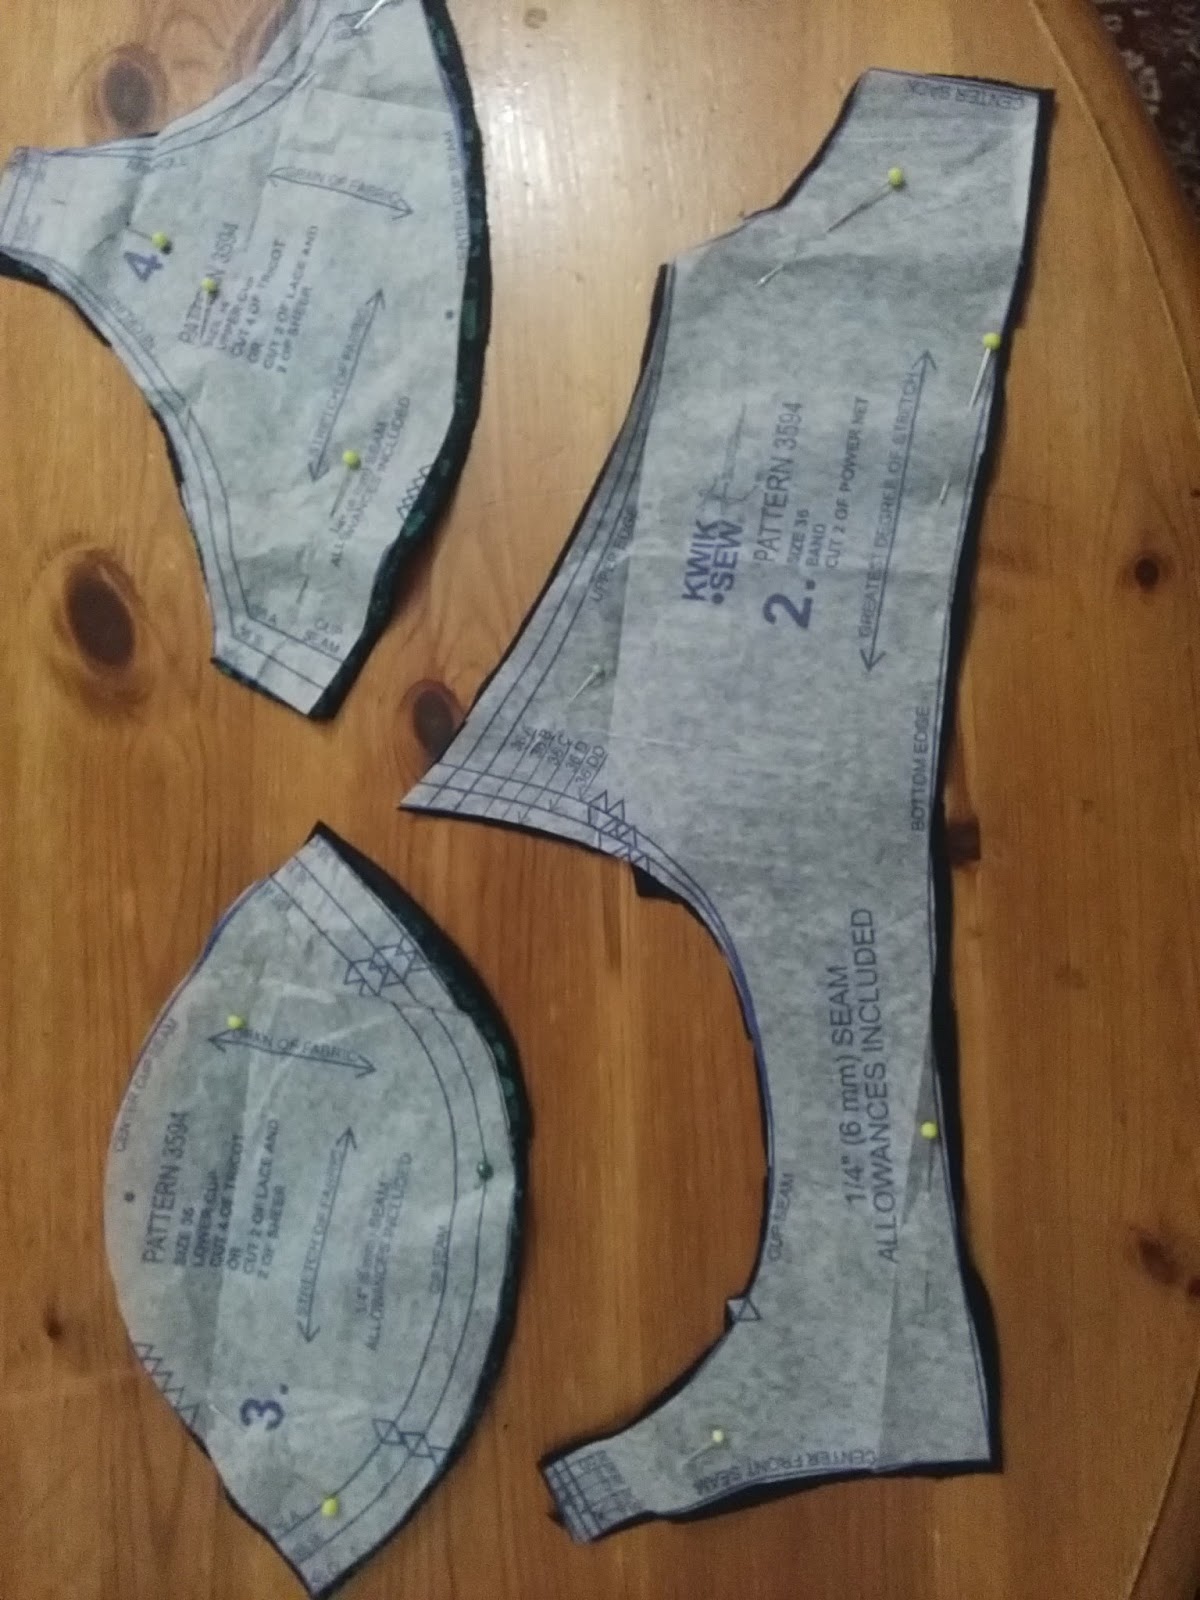
The cups are cut out in both my green lace fabric and nylon tricot. The under band is cut out in powernet. These supplies can be bought from places such as Minerva Crafts. MinervaCraftsYou also need various sizes of lingerie elastic and the findings for the straps and back fastening.The pattern is brilliant, each size is printed separately so there is no guesswork when it comes to cutting out.
I made the cups first, again, do measure yourself carefully so that you cut out the correct size. I used my fabric glue as before to stick the cup layers of tricot and lace together.
You make up one side, then the other and then join them at the centre front .Then the back elastic and straps are then added.

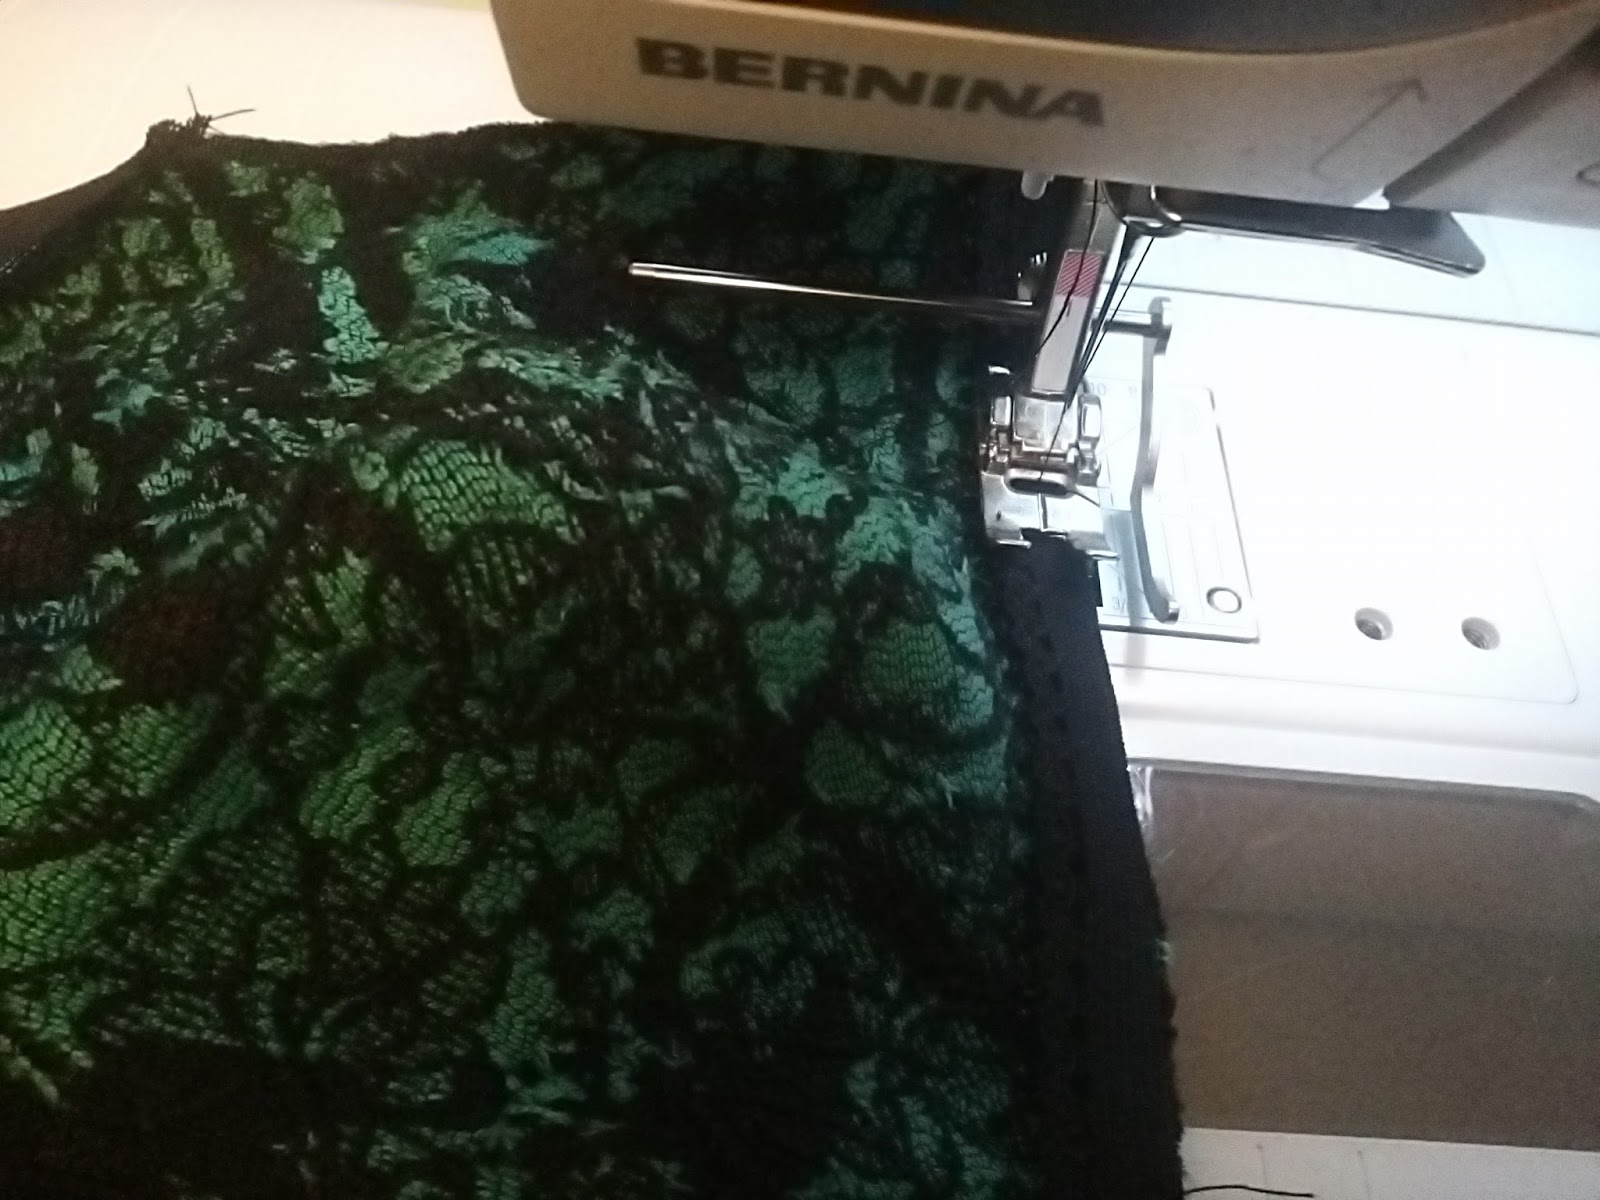
The elastic around the bottom is made specifically for this purpose and has a really soft side which goes next to the body. It is sewn on using a narrow zig zag or triple stretch zig zag.
This design doesn't have underwires, but the wider band holds it in place well and as I was told it is extremely comfortable to wear.
This is perhaps not a style we would choose at first sight but I am convinced enough to want to make more to wear in the summer underneath my retro dresses.
My next blog will go into much more detail on bra making and we will make a camisole and panties too.
There are a lot of sheer fabrics around at the moment so do have a look round and make yourself a lovely special garment and then go to town by making the beautiful lingerie to wear with it.
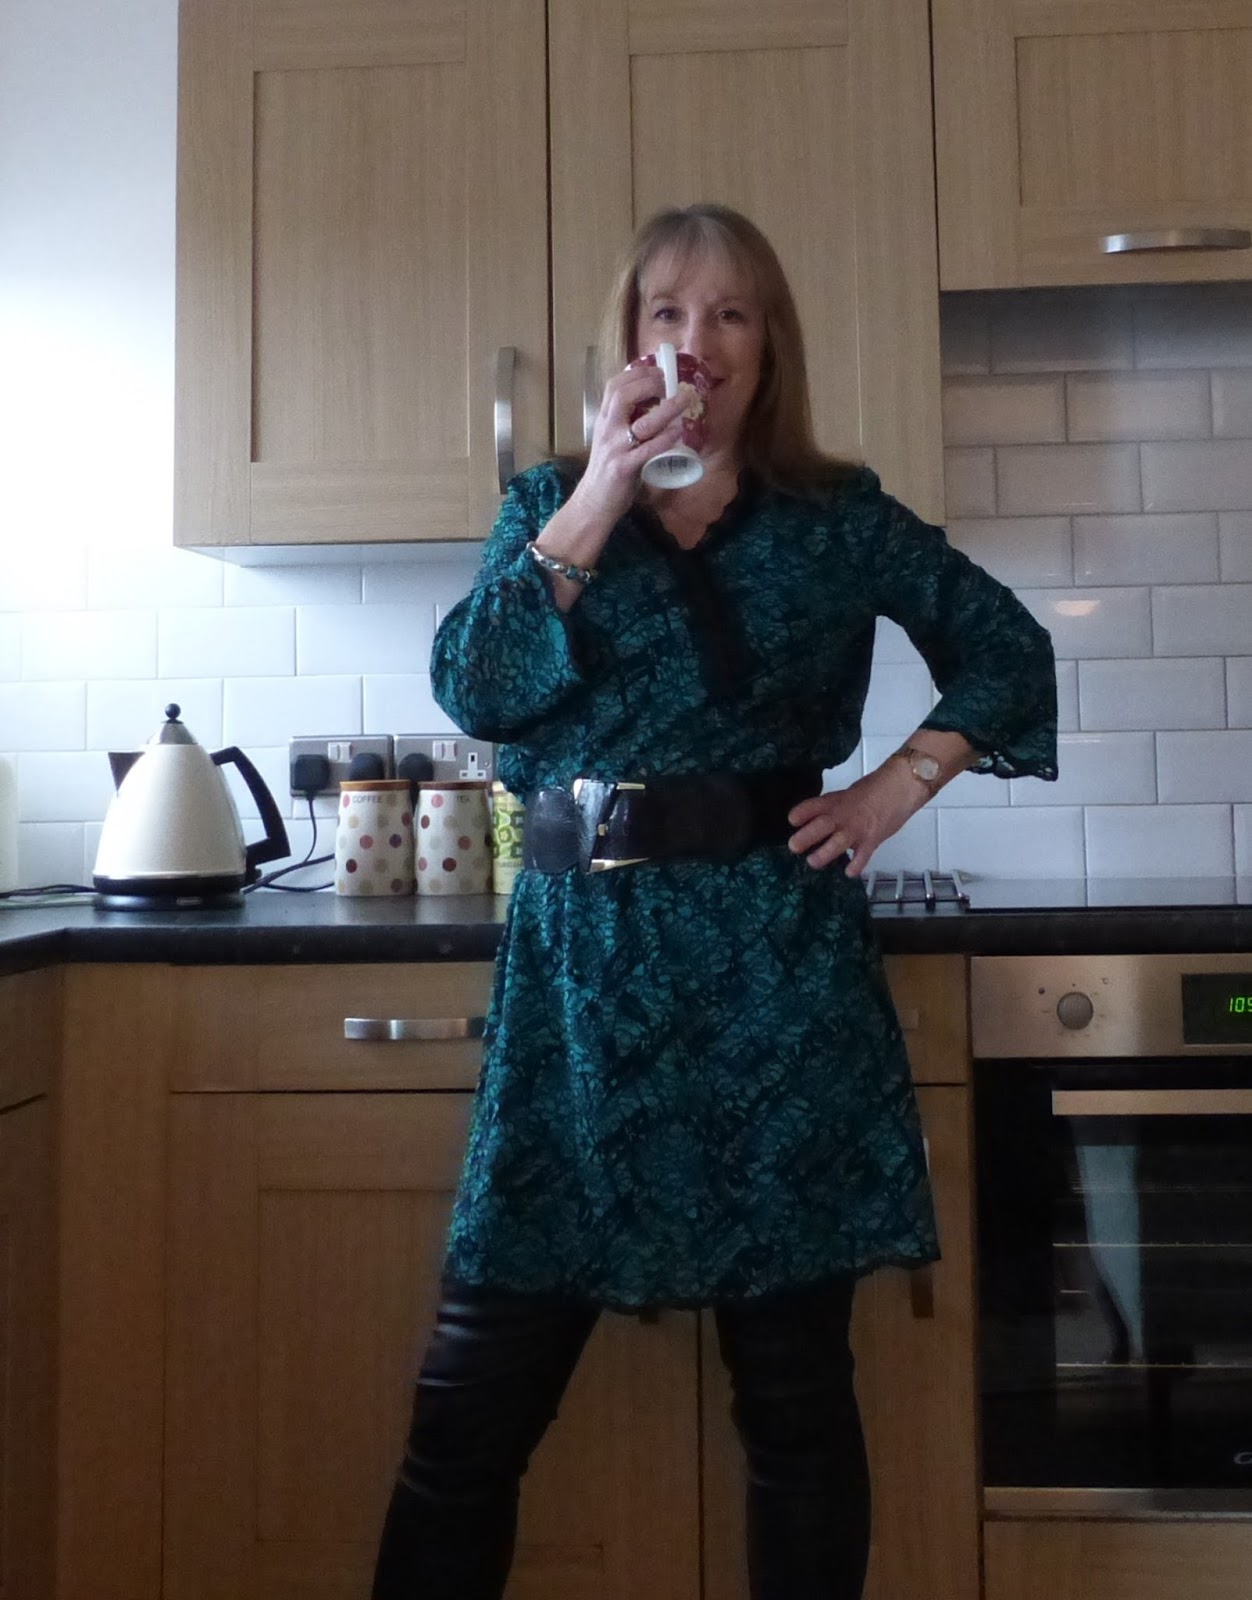
This is the dress worn as a tunic with slim trousers, heels and a wide belt. It is vey different and very wearable.
The belt pulls the waist in giving a very flattering look. This belt is made from very wide elastic and really does pull you in
My last picture is of me looking out of my kitchen window at the rain outside, and longing for warmer weather then I can go out wearing this!
Happy sewing
Angela x