I would like to show you how to work with difficult fabrics. In this case a Tweed which needs careful pattern matching.The thickness of the fabric also requires a lovely finish to the waistband - a faced waistband, which is a couture technique. The waistband also has an abutted closure at the back. All this makes for a beautiful elegant skirt.
To make a skirt with handsewn zipper and waistband , not to mention pattern matching, is a garment requiring patience and time. A project to be savoured and enjoyed.
If you have just a bit of sewing experience, this is definitely within your grasp and will help you to grow as a sewer.Please remember that nothing and nobody is 100% perfect so if your garment makes you happy then that is all that matters, even if something is not quite right. The point is you made it yourself and that is certainly worth celebrating.My skirt was made with a length of stunning Derbyshire Tartan. This Tartan comes in different weights and for this project I am using the Harris Tweed on the left of the photograph below
This Tartan was created by my lovely friend Fiona and her husband, and is registered with the Scottish Register of Tartans. They moved from their successful business and home on the Isle of Harris to Derbyshire and were inspired by the colours in the Derbyshire countryside and it's heritage to design this beautiful fabric.To find out more about what the colours represent and to order goods or fabric then please visit their website Derbyshire Tartan I really admire how they had the courage and inspiration to look around their new home and to express it's very identity in fabric.I therefore feel honoured to be given the opportunity of working with this Tartan and decided it deserved some of my very best work.
The construction
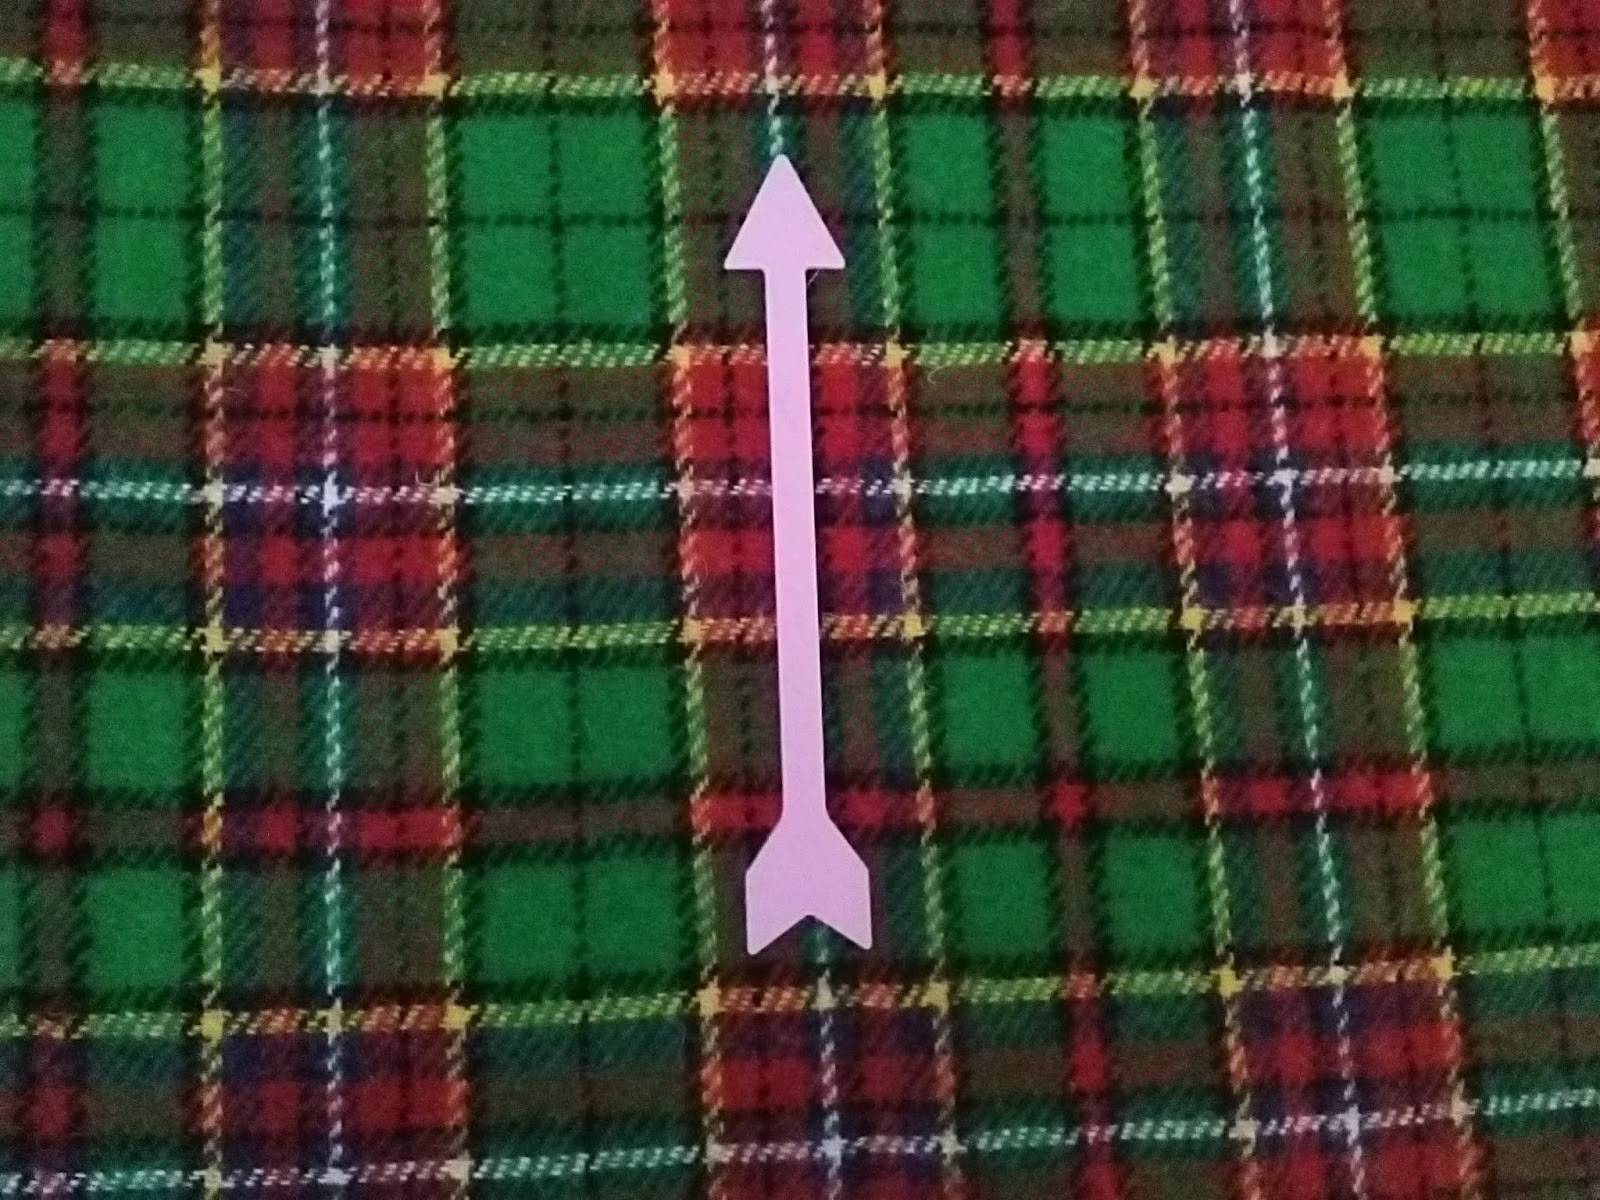
This fabric is pure wool and cannot be washed. So do take care to have it professionally cleaned when needed. To prevent you having to clean it often check it over for stains every time you wear it and remove them with a suitable product. Give it a shake and a gentle brush and hang it up overnight to air before putting it back in your wardrobe.To shrink the fabric before cutting out very carefully press it by pressing , not ironing ( IE placing the iron onto the fabric and lifting it immediately) over a damp pressing cloth and moving along the entire width and length of the fabric. Allow it to dry naturally.Do make sure to mark which direction your Tartan on design runs and mark the back with Tailors Chalk.Meanwhile choose a skirt pattern , A pencil skirt with few seams such as McCall's Pencil Skirt is ideal.While your fabric is drying make a toile or test garment - this a vital step when making something as special as this, so don't skip it. When you have made your toile, make any adjustments and take it apart again . Press the pieces and mark the darts and seam lines with a permanent marker. You can then either transfer all the markings onto the tissue paper pattern or use the toile.The toile can be kept and used many times, each time tacking it together and trying it on to ensure it still fits. I have been using mine for a couple of years, each time using it as the basis for a new skirt. I alter the length, add kick pleats or vents, it is very versatile.
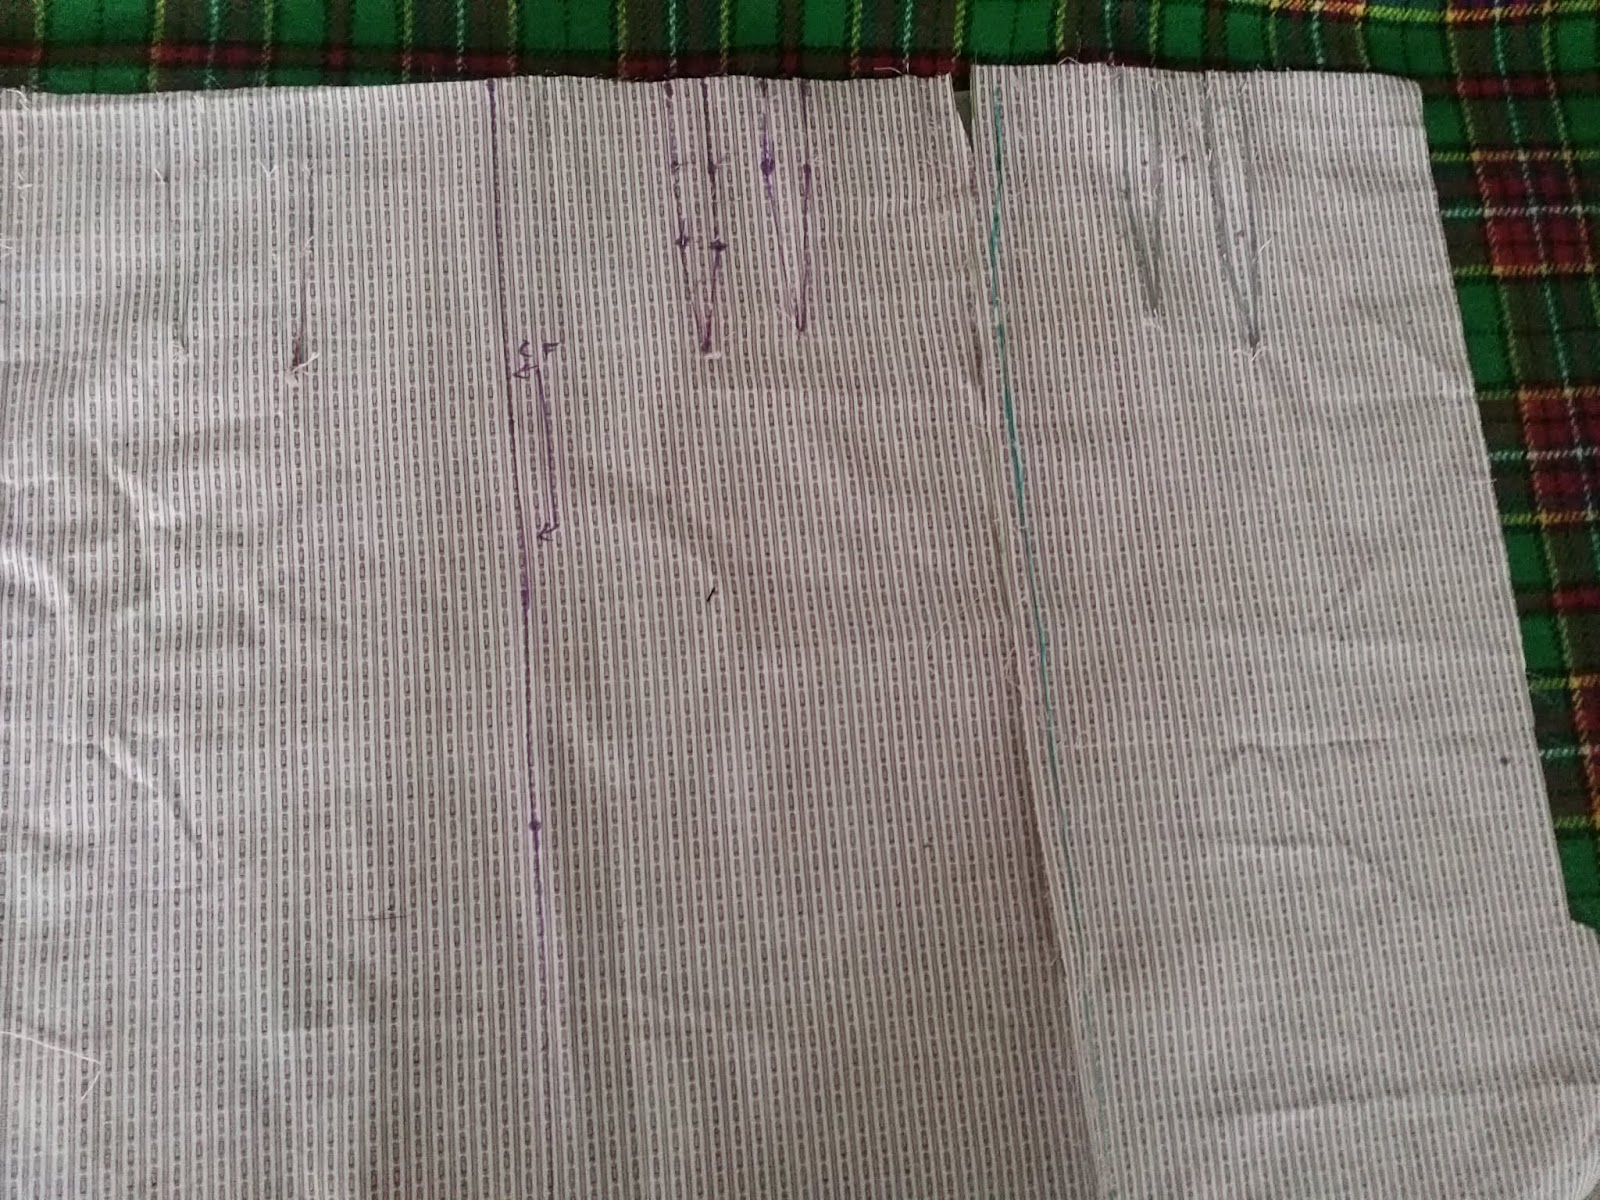
This is my toile with the darts and seam lines marked
Here I am just checking it against the paper pattern to see what alterations I need to make.
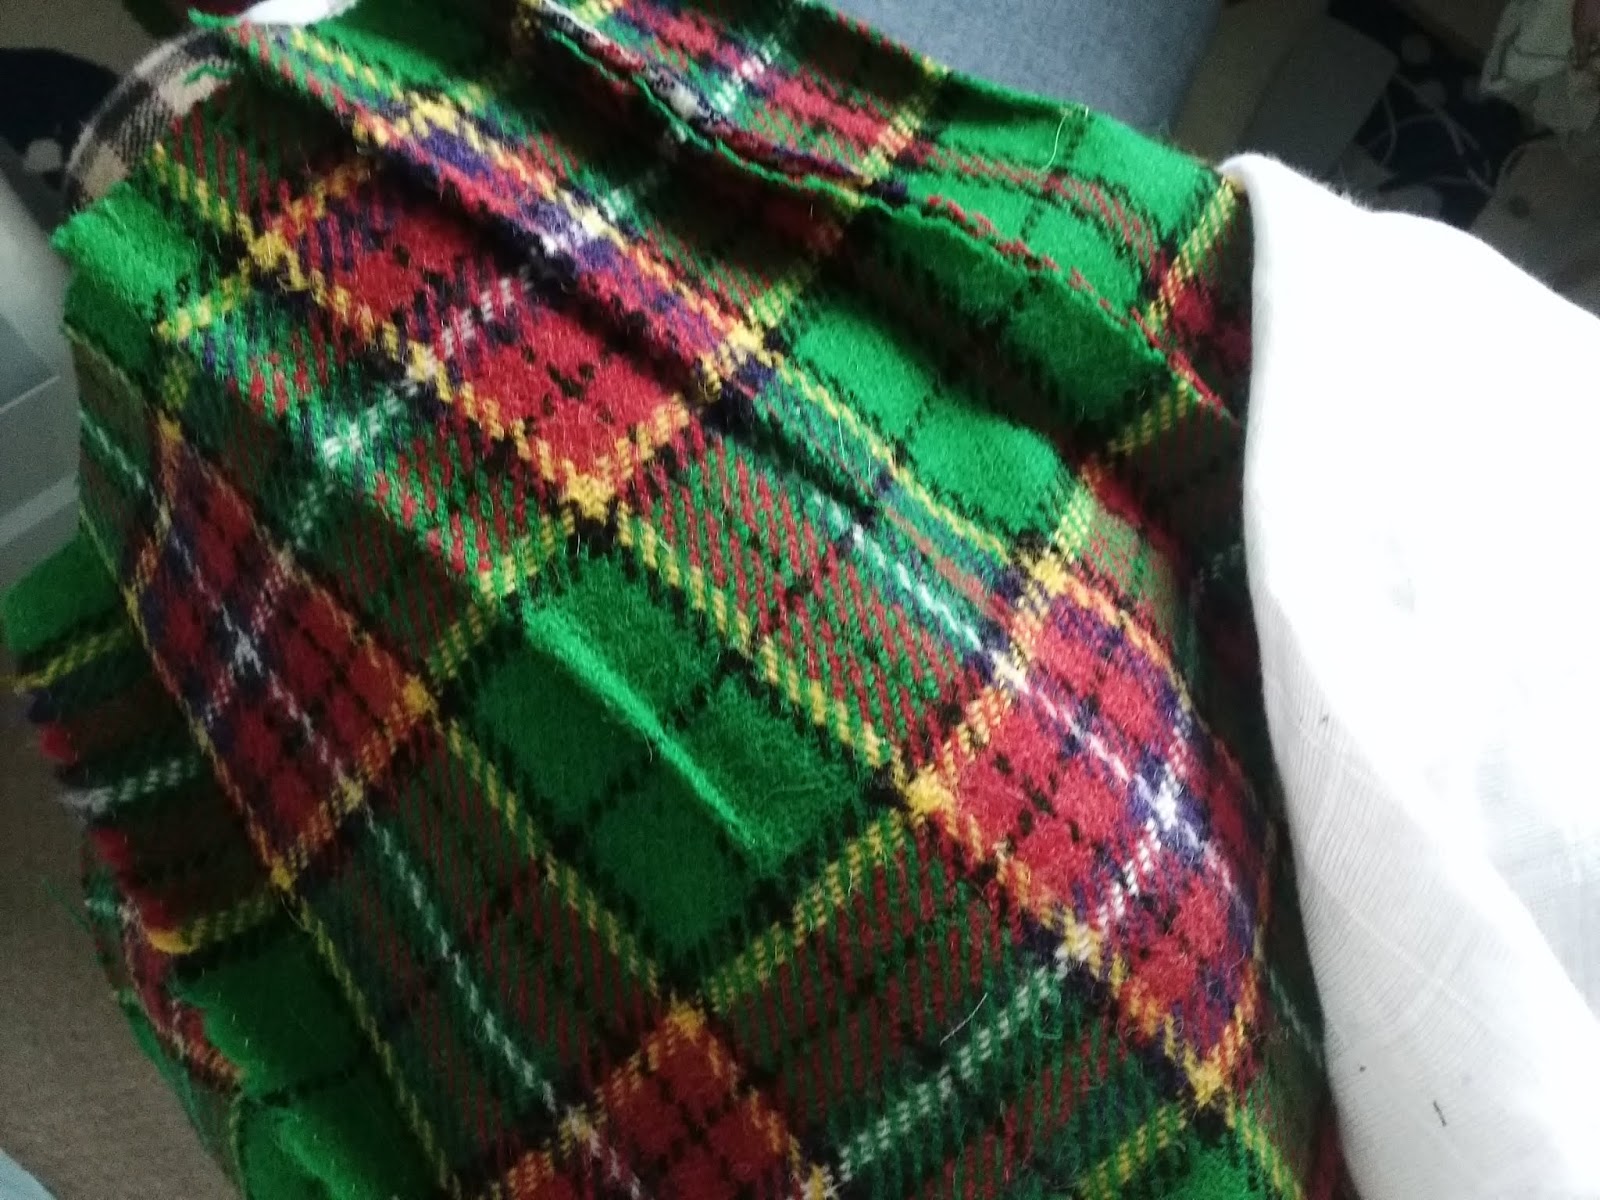
Any fabric with a large design needs careful pattern matching. I studied my Tartan for a while and decided that the red squares caught my eye first and that they should feature exacly along the centre front line. I also needed to take the hemline into account as I wanted the green to sit at the lower hemline.The fabric needs to be cut out in a single layer so as not to distort the design. The front pattern is pinned into place with the fold line along the centre of my red square part of the design and drawn around with tailors chalk. Then the pattern is flipped along the centre front and the other side is marked and then cut out. The front should be in one piece.Cut out one back, matching the diagonal lines and flip the pattern over and cut another back.Try to pattern match the bottom of the skirt side seams to make it as pleasing to the eye as possible. NB Once curves and darts come into play you will not get a pattern match the full length of the seam
This is my skirt front with the darts pinned and tacked ready to sew. Make sure that the lengths balance each other
When it comes to pressing darts or curved seams use a Ham or sleeve roll and a pressing cloth to maintain the shape . You may also want to use a clapper to pound the seam flat. I use my hand for this
Jaycotts sell all the Pressing equipment you need so take a look at this page Pressing equipment
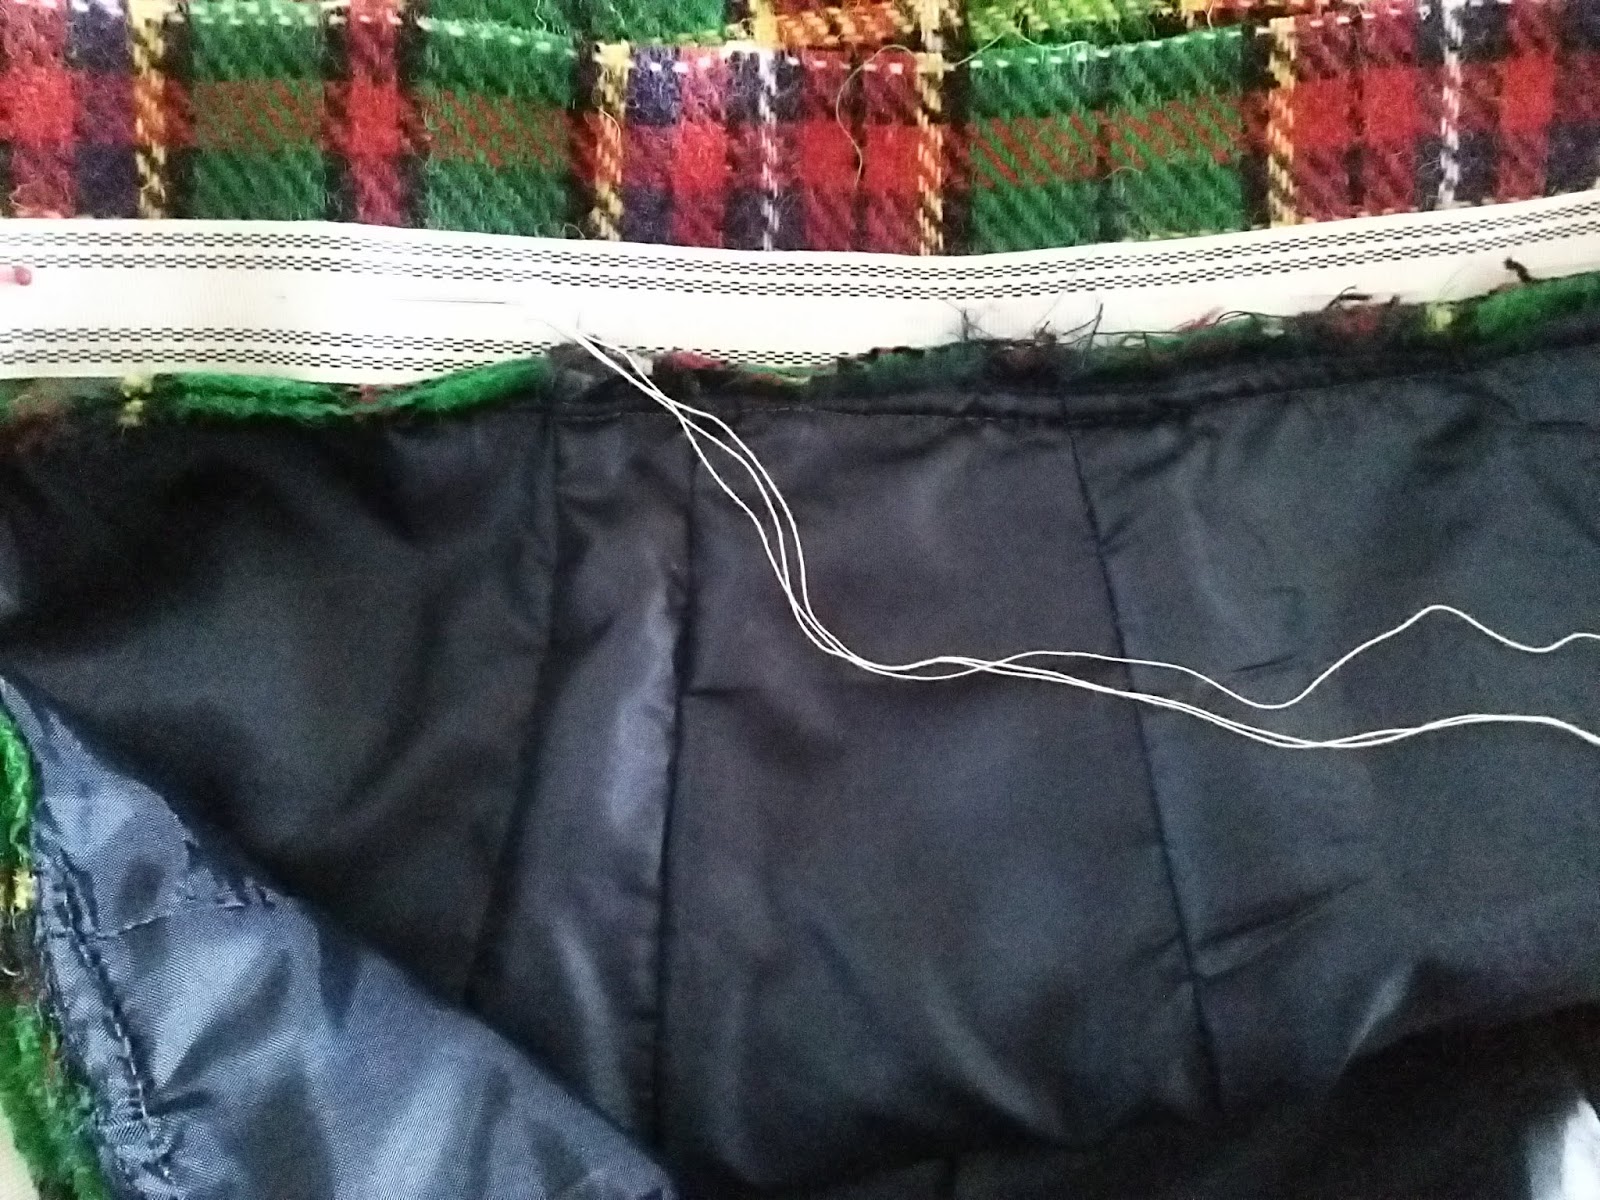
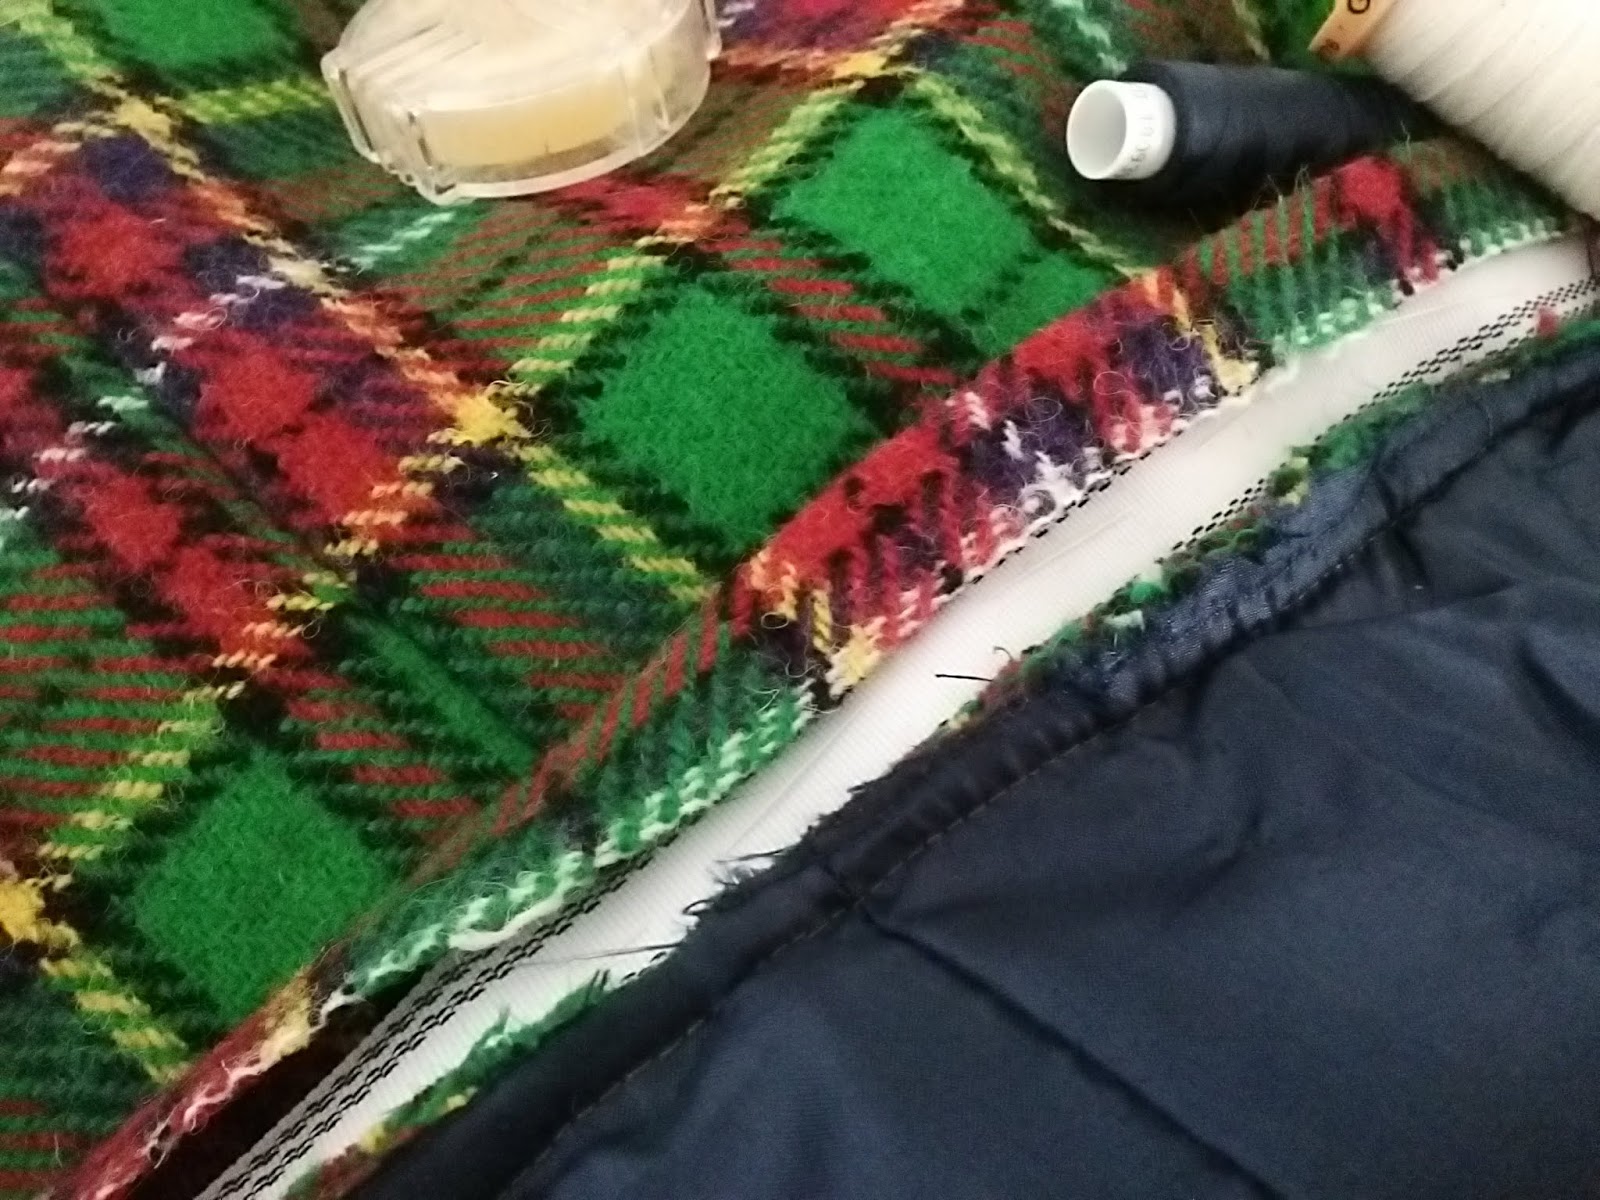
It is necessary to stabilise the waistline to stop it from stretching. After trying your garment on and ensuring that the waist is comfortable use some Iron on seam tape along the top edge and down each side of the zipper opening. Press the opening flat using a pressing cloth.
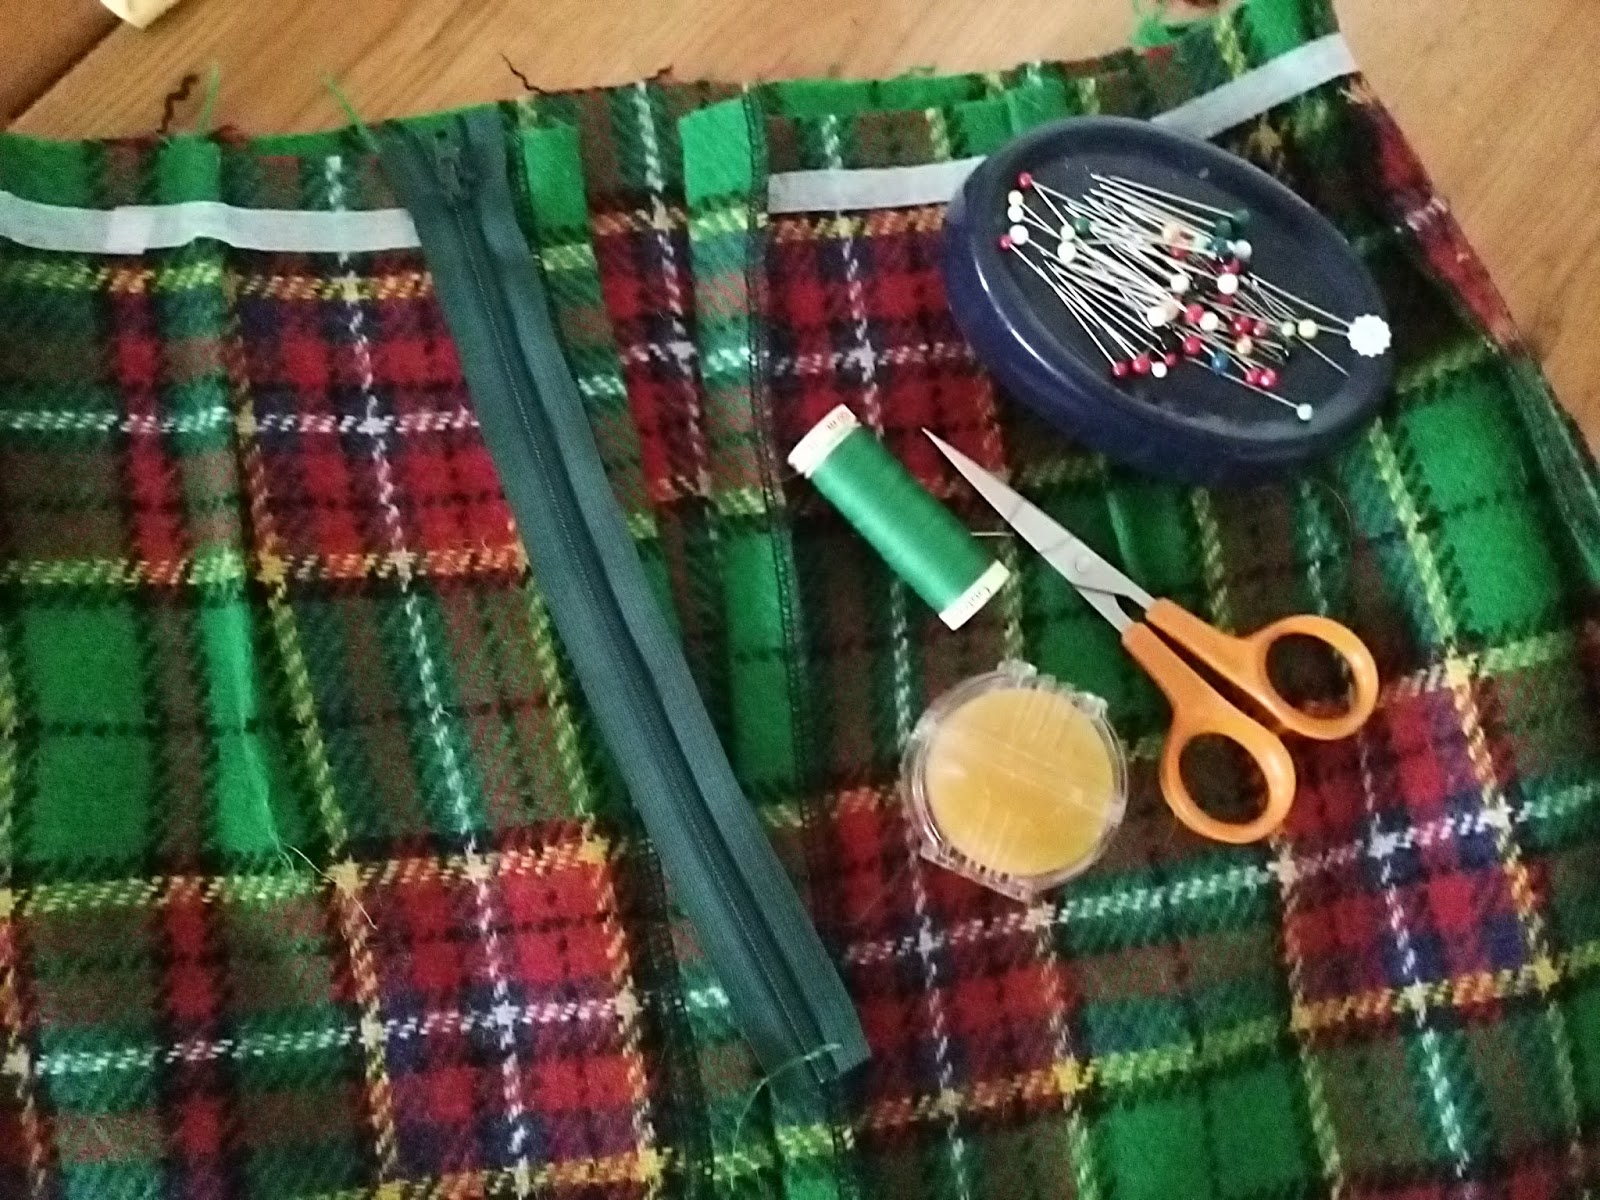
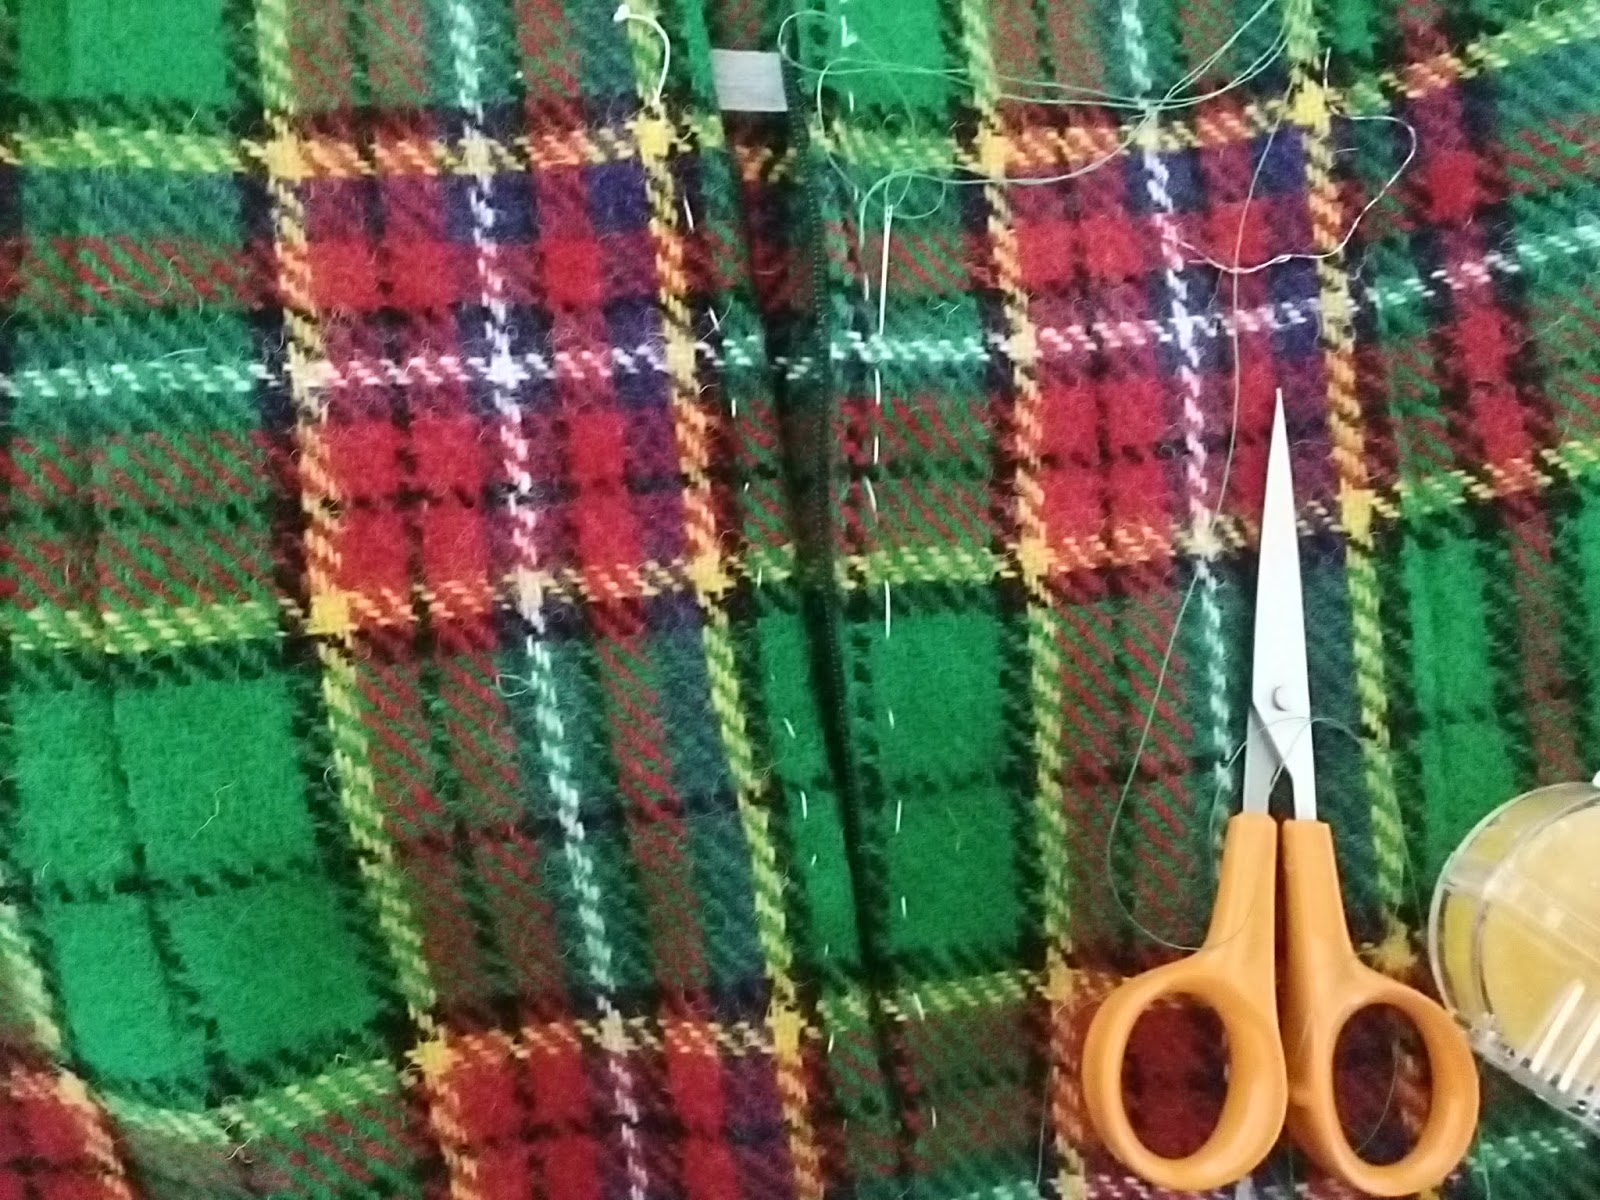
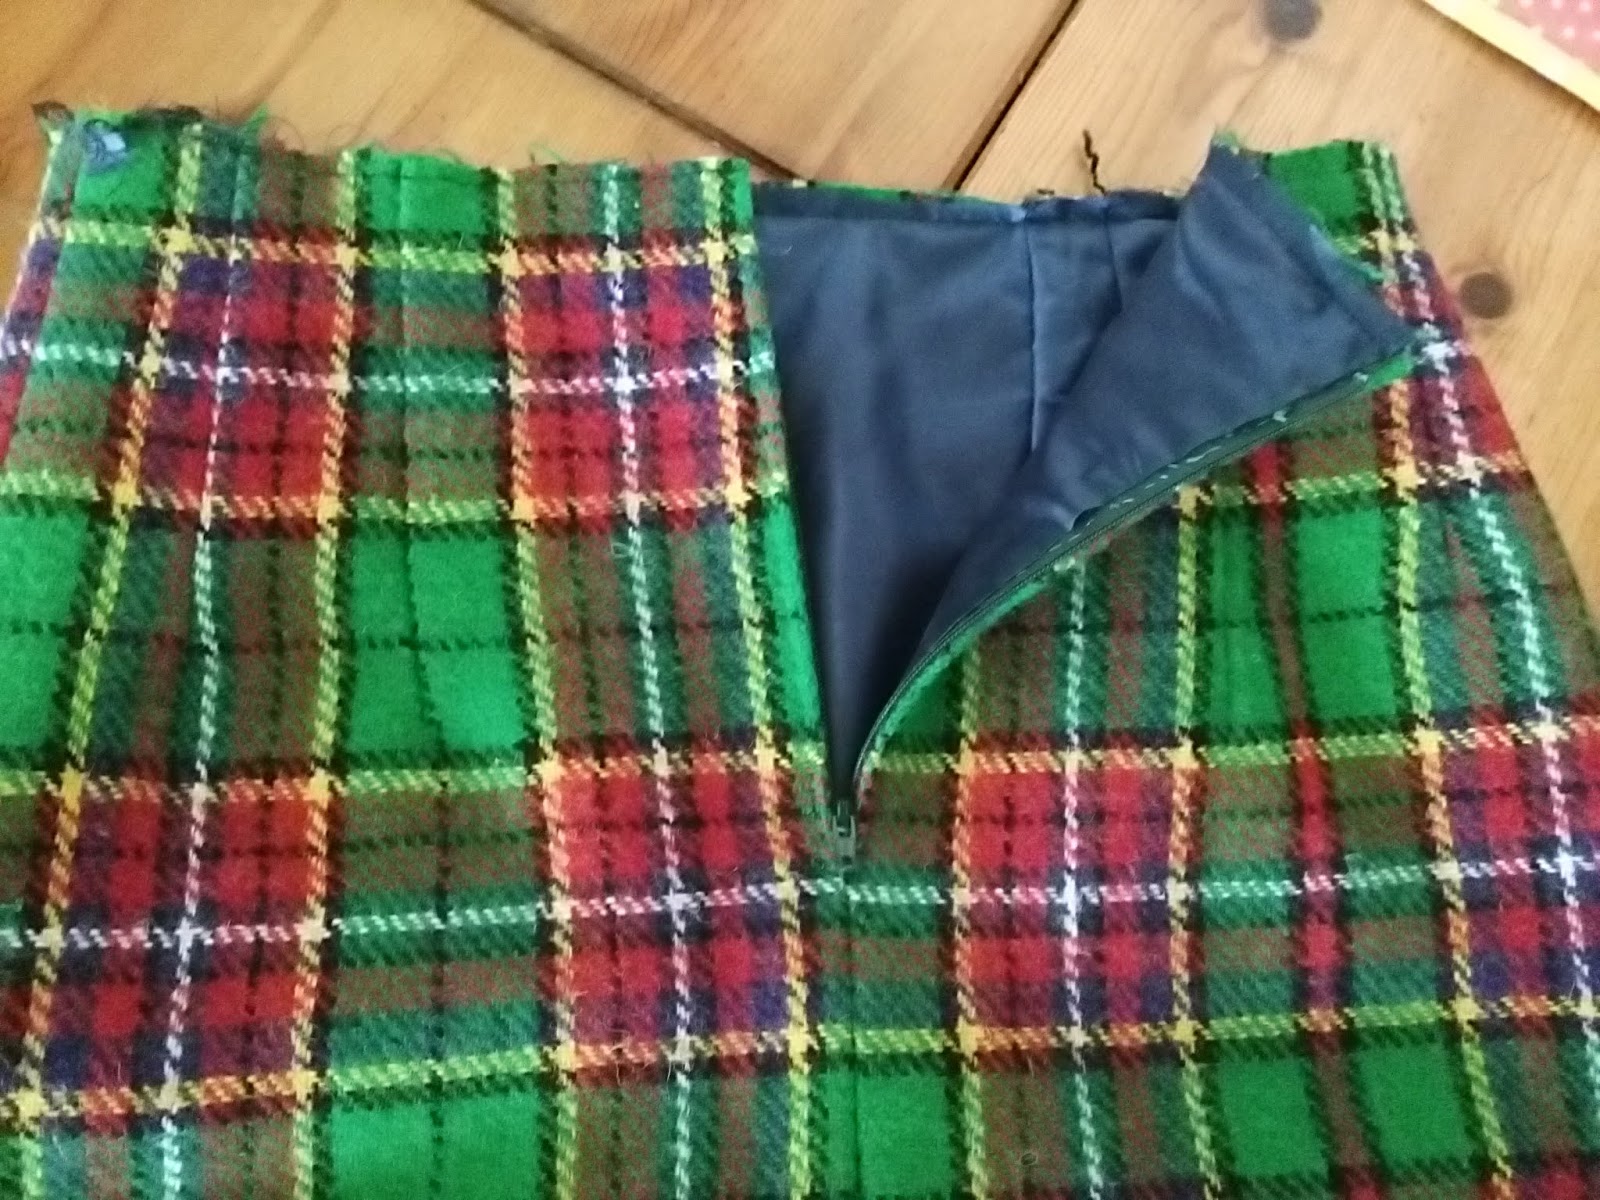
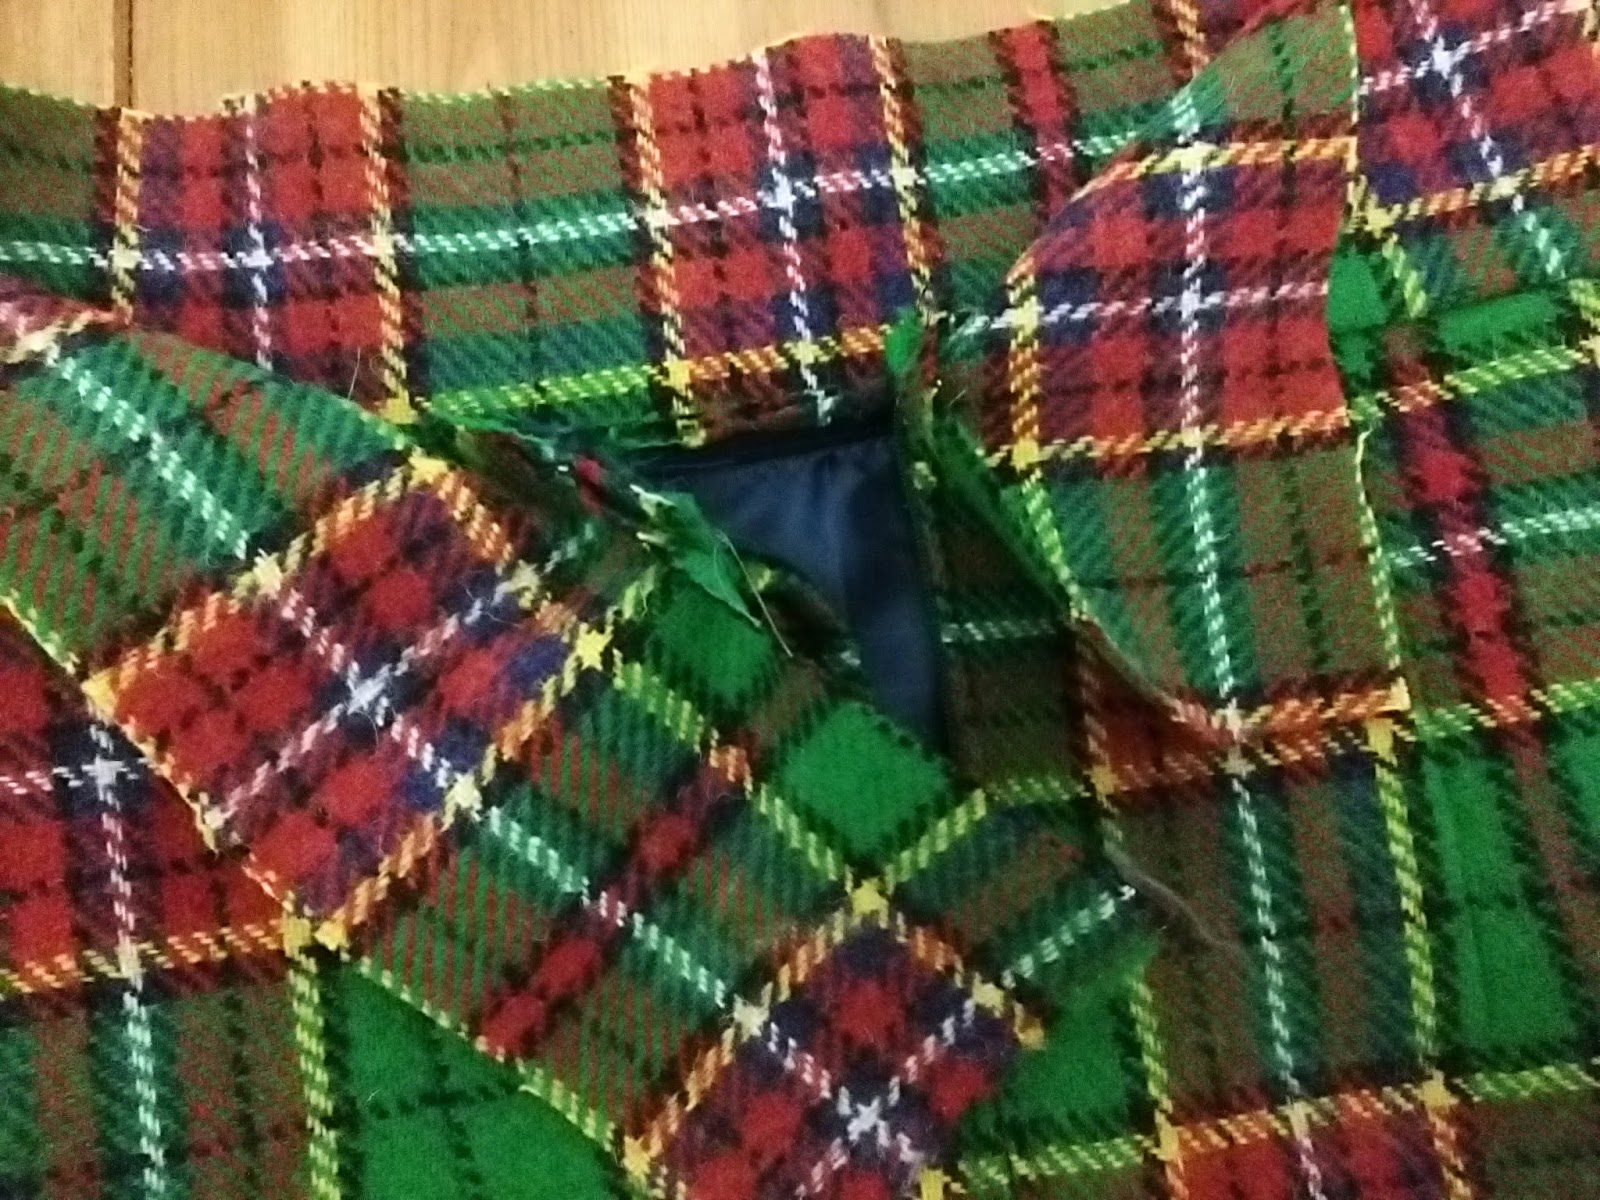
Pin the zip into place - it is ok to shorten a zip if you do not have the correct length. Then tack. Check on the right side of the garment that your design matches and that the zipper teeth are completely hidden.
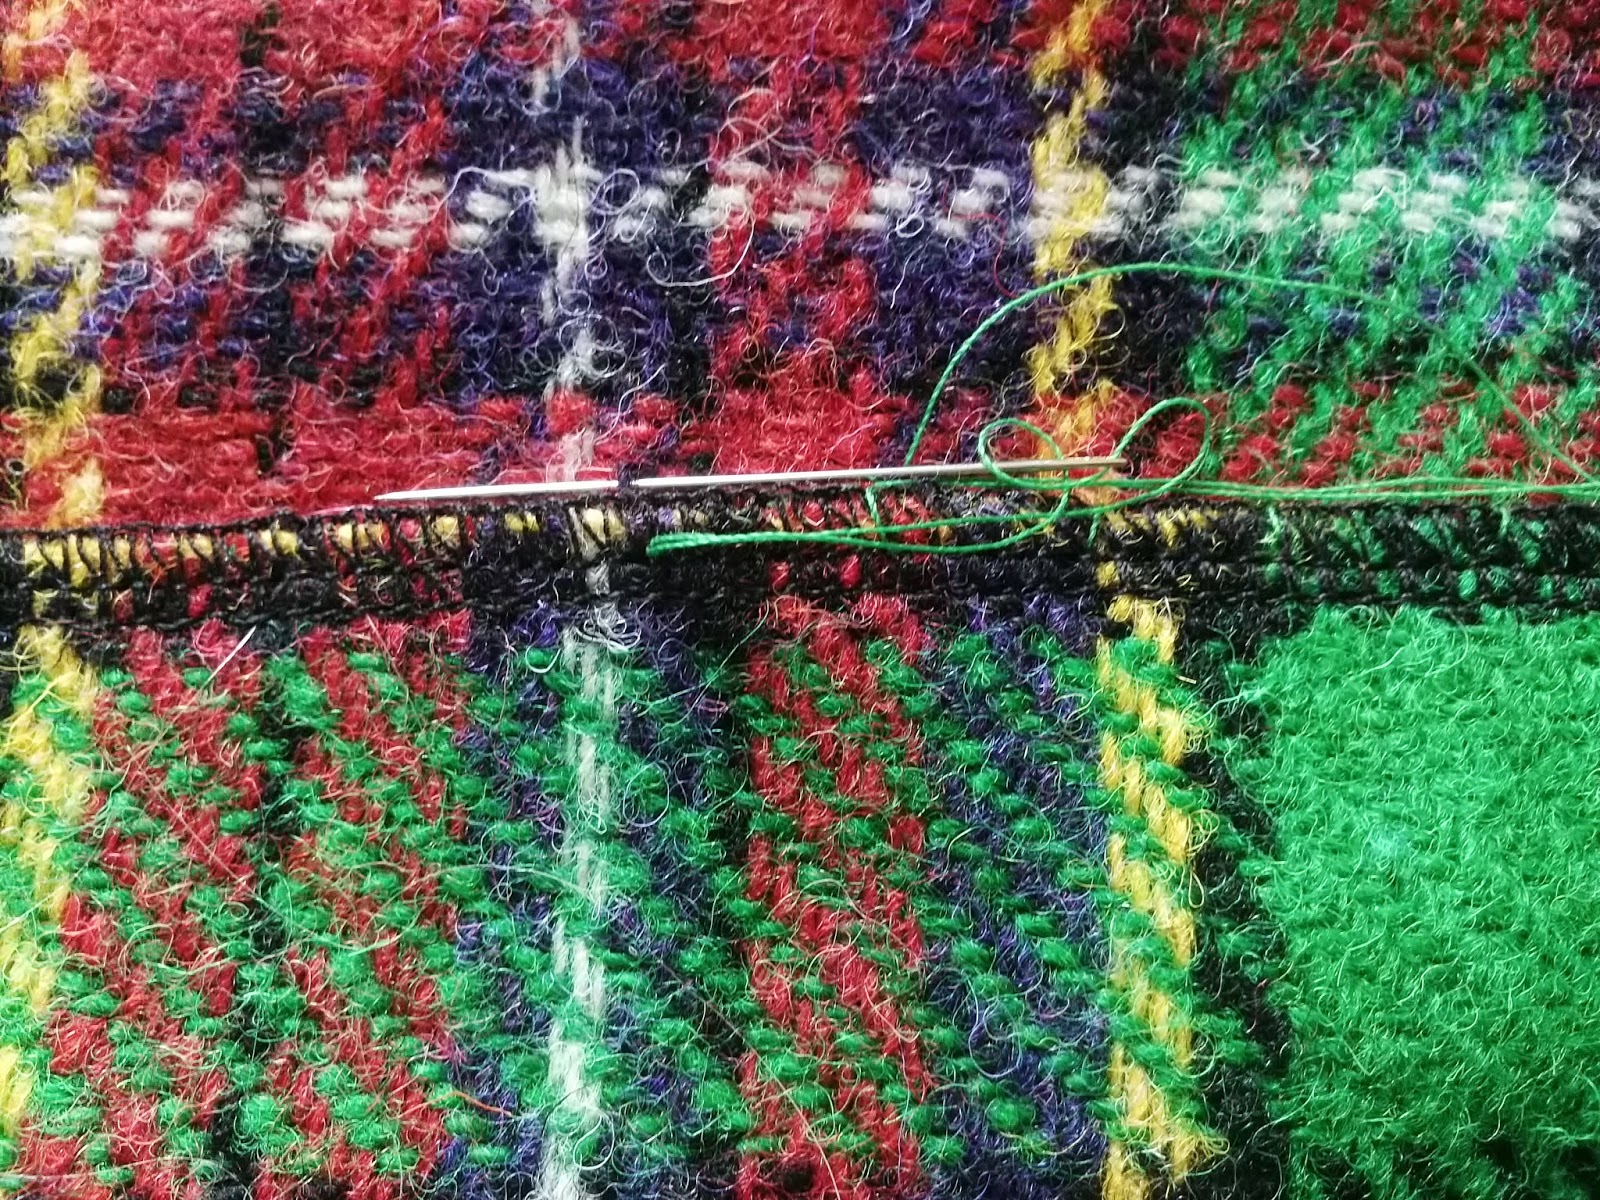
On a garment of this quality I would always hand sew the zipper in place. Working on the right side of the fabric with waxed thread work a tiny running stitch nearly next to the zipper teeth. Then add a further row of stitches on the inside catching the zipper tape to the seam allowance only.
You can see that the design is still matched and that the zipper is hidden - I raised the zipper pull so that you could see the insertion more clearly.
Then make up your lining in exactly the same way. I chose a good quality taffeta lining.Run a row of machine stitches along the top attaching the lining to the garment wrong sides together. Slip stitch the lining to the back opening.
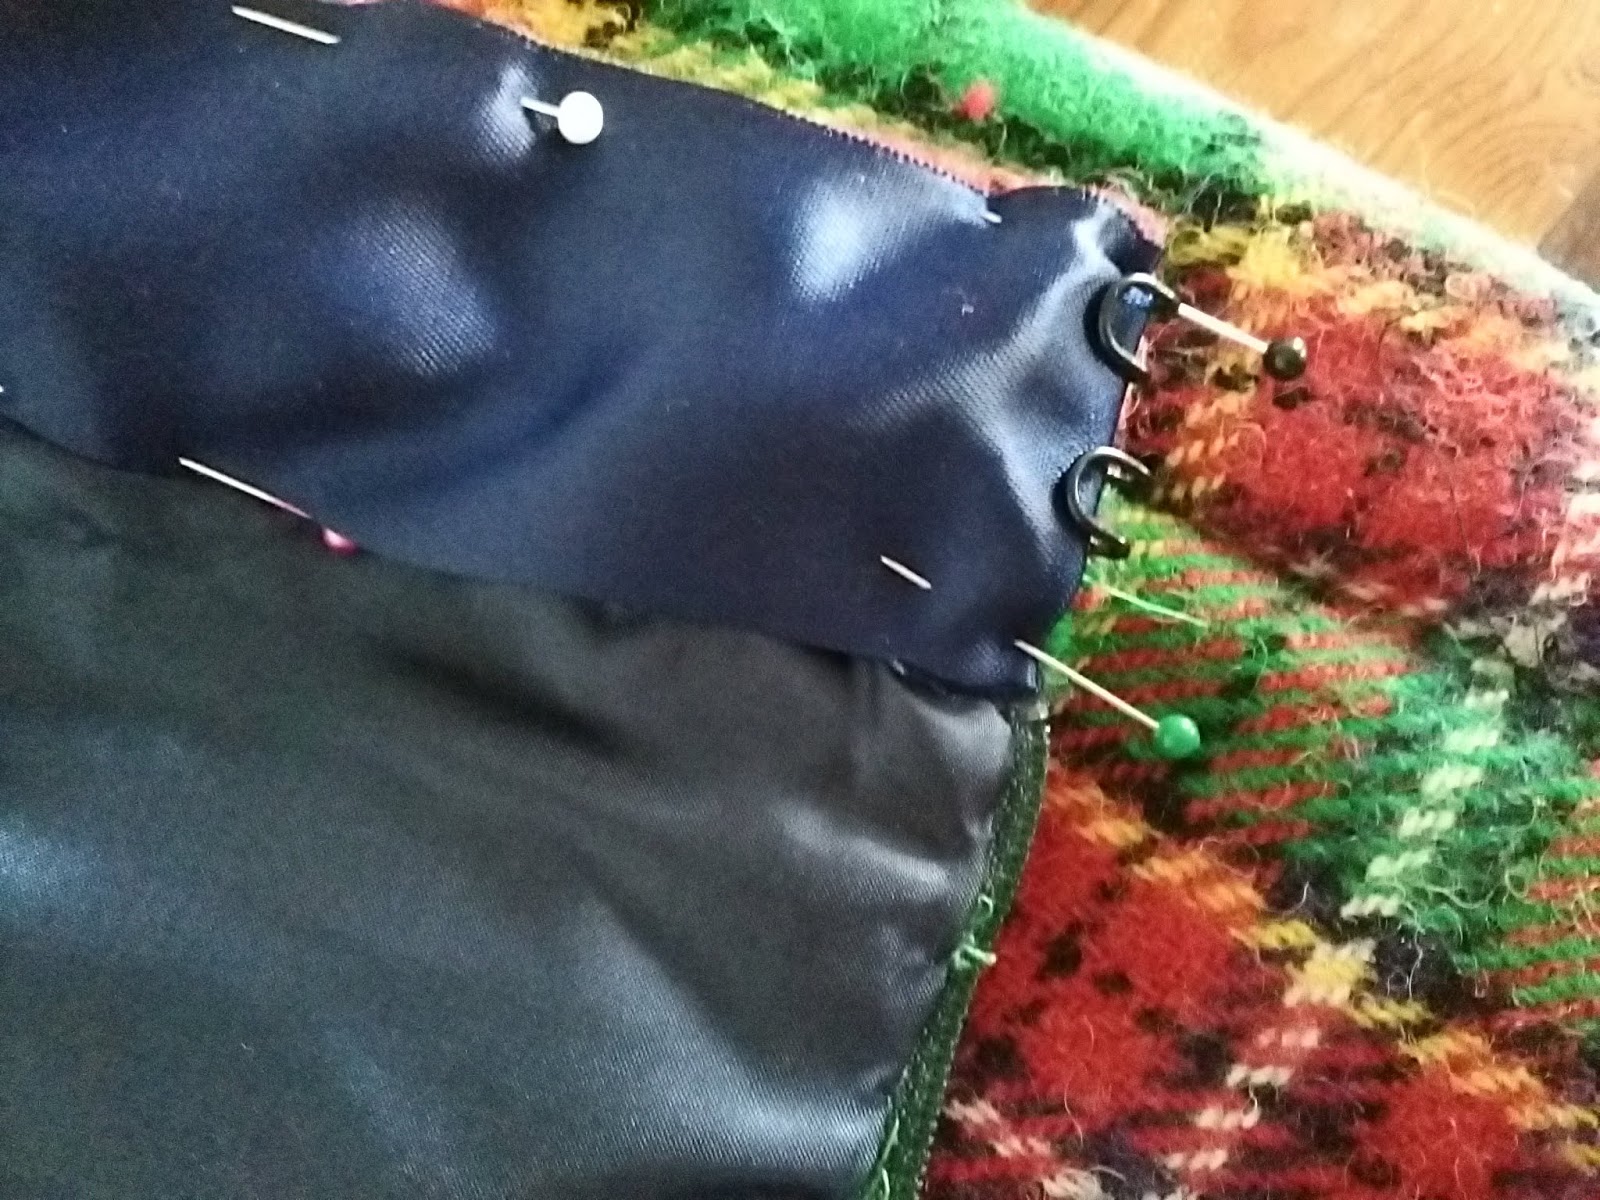
We are going to make a faced waistband which is a couture technique . A "normal" waistband would be far to bulky on this weight of fabric.Cut out a waistband piece with the centre matching the design on the centre front of the skirt. Cut it at least three inches longer than needed. Try it for fit around your waist, over a top if you wear one tucked in. Once you are happy with it tack it to the skirt matching the pattern on the centre front . Try the skirt on again
This is the front of my skirt with the design matched at the centre front. You will notice that once we reach a dart the pattern no longer matches. This is why it is important to start at the centre front.
Machine stitch the waistband in place. Press carefully. The seam needs to be pressed up away from the skirt lining.
You now need a stiffening for the waistband, it can be Petersham, horse hair braid or a substantial woven interfacing. Starting at the lower edge loosely tack it in place.
Then using matching thread use a herringbone stitch to attach first the bottom of the stiffening to the waistband. Fold the top of the fabric over the Petersham or other stiffening and trim it to around 3/4" Then press once again stretching the top slightly to accommodate the natural curve of your waist.
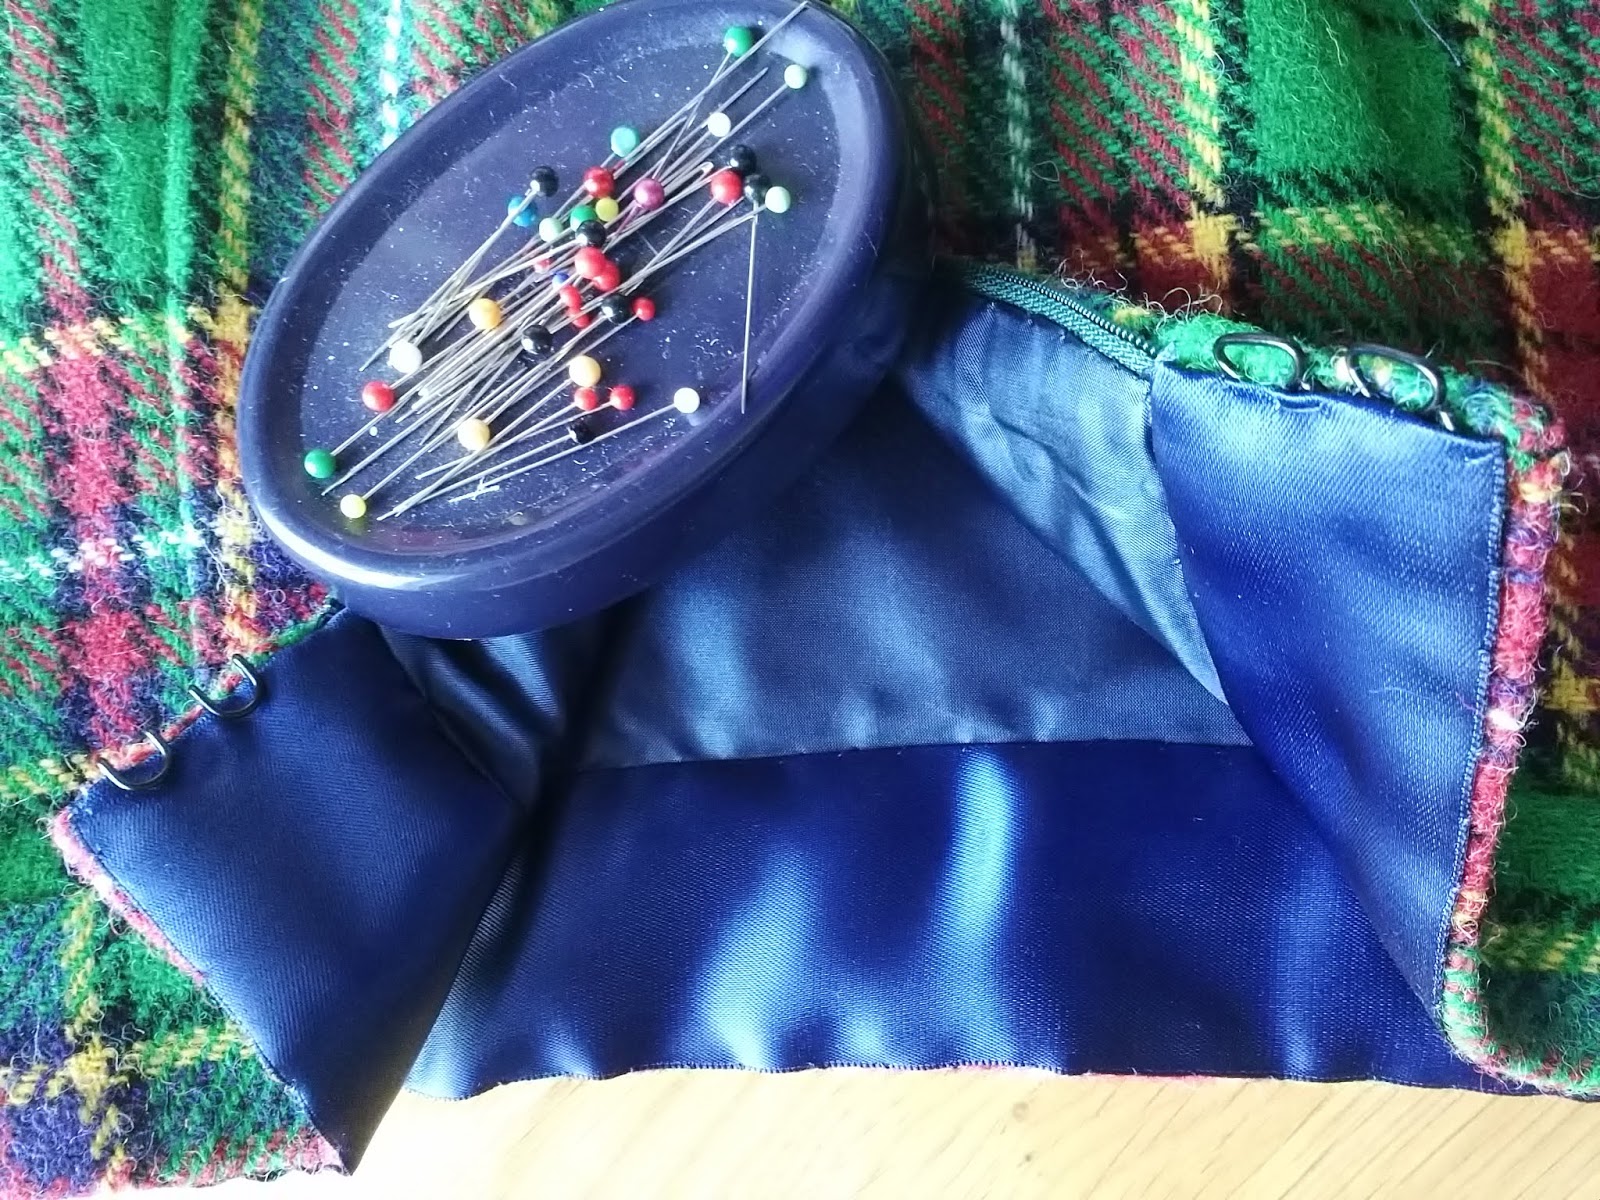
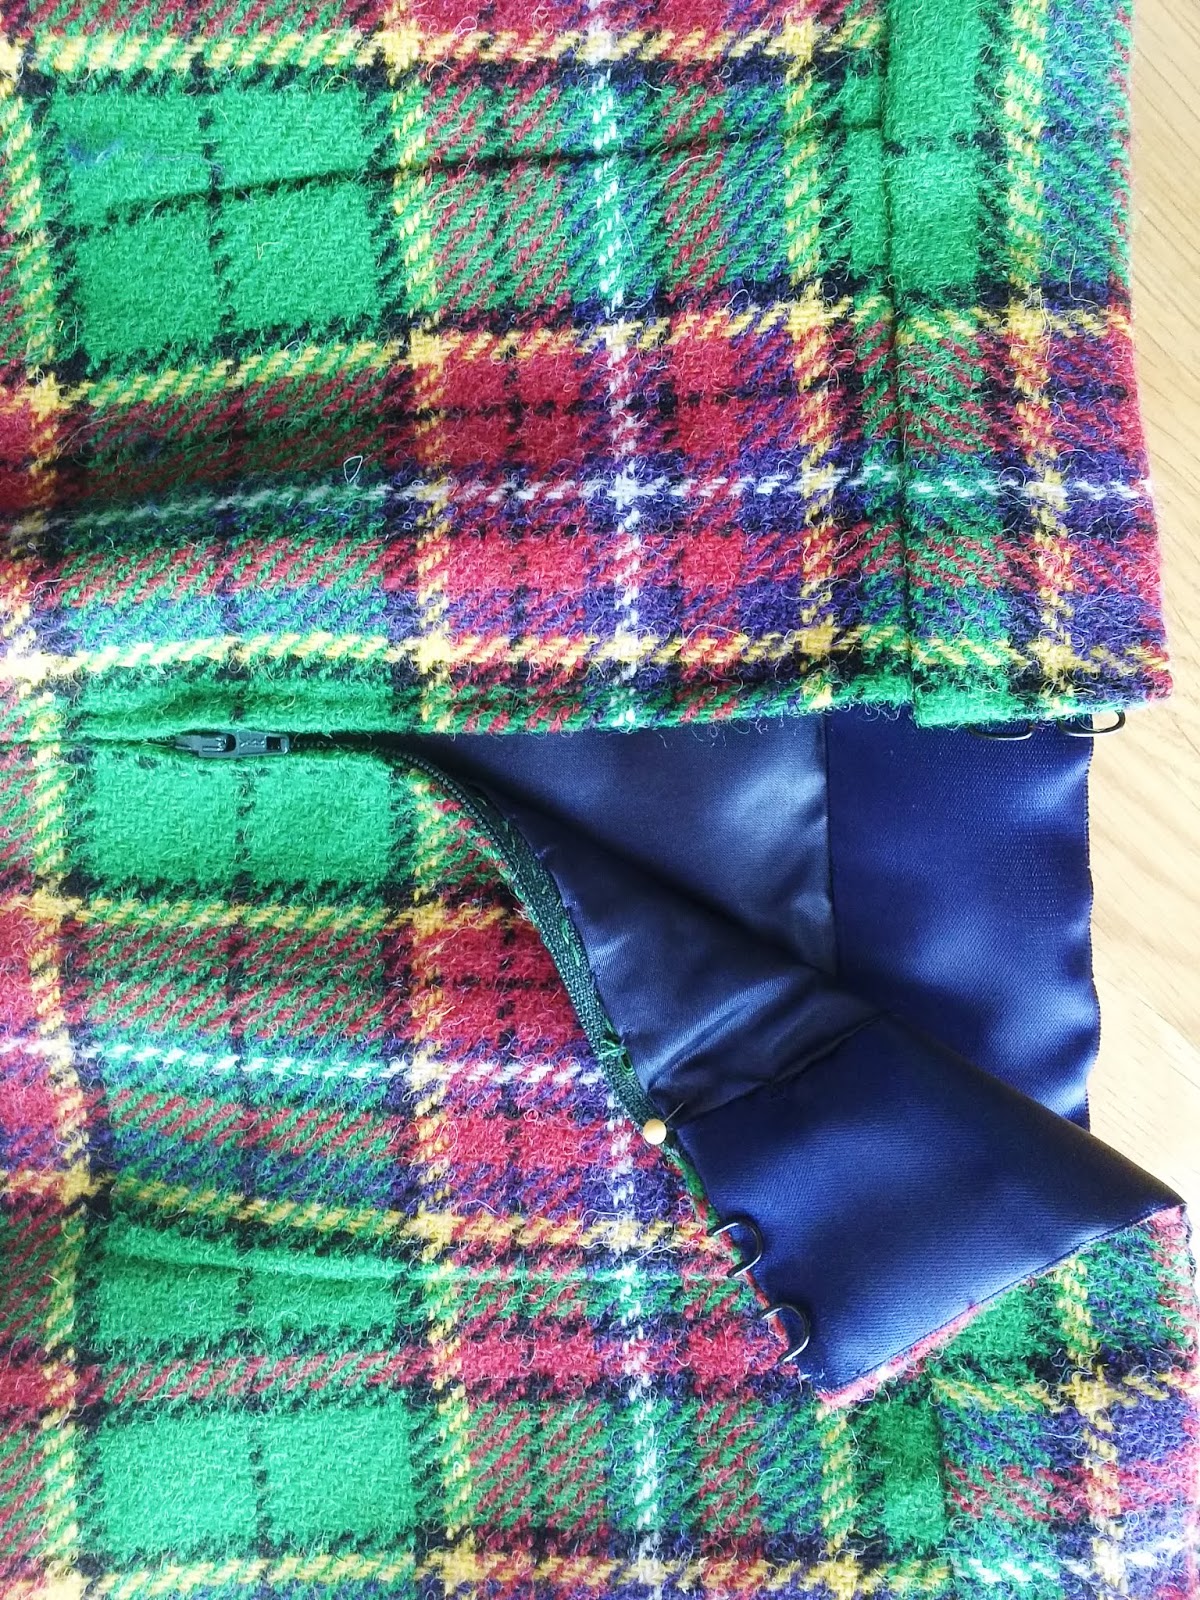
Using your herringbone stitch again stitch the folded over top of the waistband to the stiffening.Your waistband should look like any other waistband from the right side of the garment but a bit messy on the inside. This is what it should be likePress again.Trim the edges and stitch the ends so that they are flush with the back opening, folding the corners very neatly and stitching in place. Press.
Sew large hooks and eyes to the edges of the waistband on the inside using waxed thread. The edges of the waistband should meet exactly when the fasteners are closed.Cut lining fabric to the correct width adding seam allowances which are turned under and pressed flat.The facing should cover the hooks and eyes leaving the working parts only visible.
Very neatly hand stitch the facing all the way around the waistband. Press (using your pressing cloth )
This is what you should now have - a beautifully hand sewn zipper and a lovely flat, comfortable waistband.You may allow yourself to smile at your accomplishment so far.
Turn up the hem to the desired length - i like a deep hem of around an inch and a half . Press just the edge carefully, and hand sew in place, taking just one thread of the fsbric so that it cannot be seen on the right side of the skirt.Hem the lining fabric by folding a double hem and having the length fall half way from the top of the skirt hem to the bottom.
A final press and you are finished.
Taking time to pattern match and to add details such as a hand sewn zipper,hem and waistband, takes an ordinary skirt into different realmsThese couture technique's really make a difference to how the garment looks and feels both inside and outside.The best thing is that these little tips are simple to master.
I love the colours in the Derbyshire Tartan and I love the feel of the very high quality of the wool used. This fabric is definitely deserving of the extra time, care and effort which I put into making it.
The pattern matching between the skirt and waistband gives the impression of a grown on waistband, it sits high on my waist but you could easily make a narrower band.
Thank you to Fiona for this fabulous fabric and thank you Jaycotts for the equipment used in this post.Jaycotts can be contacted by telephone during office hours on 01244 394099Or why not visit them
Visit: Jaycotts
Unit D2, Chester Trade Park,
Off Bumpers Lane, Chester CH1 4LT
The website is
Jaycotts web site , do order a free catalogue and sign up for the newsletter - this is really worthwhile as they constantly have special offers on for patterns, machines and haberdashery, and you will be the first to hear about them.
Finally, Do follow me on Twitter @Angelic_Sewing
#queenof learning to Sew.