My embroidery machine does so much more than just embroidery and I am working through all the different functions and applications. In this blog post I want to show you how easy it is to make free-standing lace and how to add it to a garment. Have you noticed all the embroidered garments everywhere? With this machine your own unique garments can be made quickly and easily.
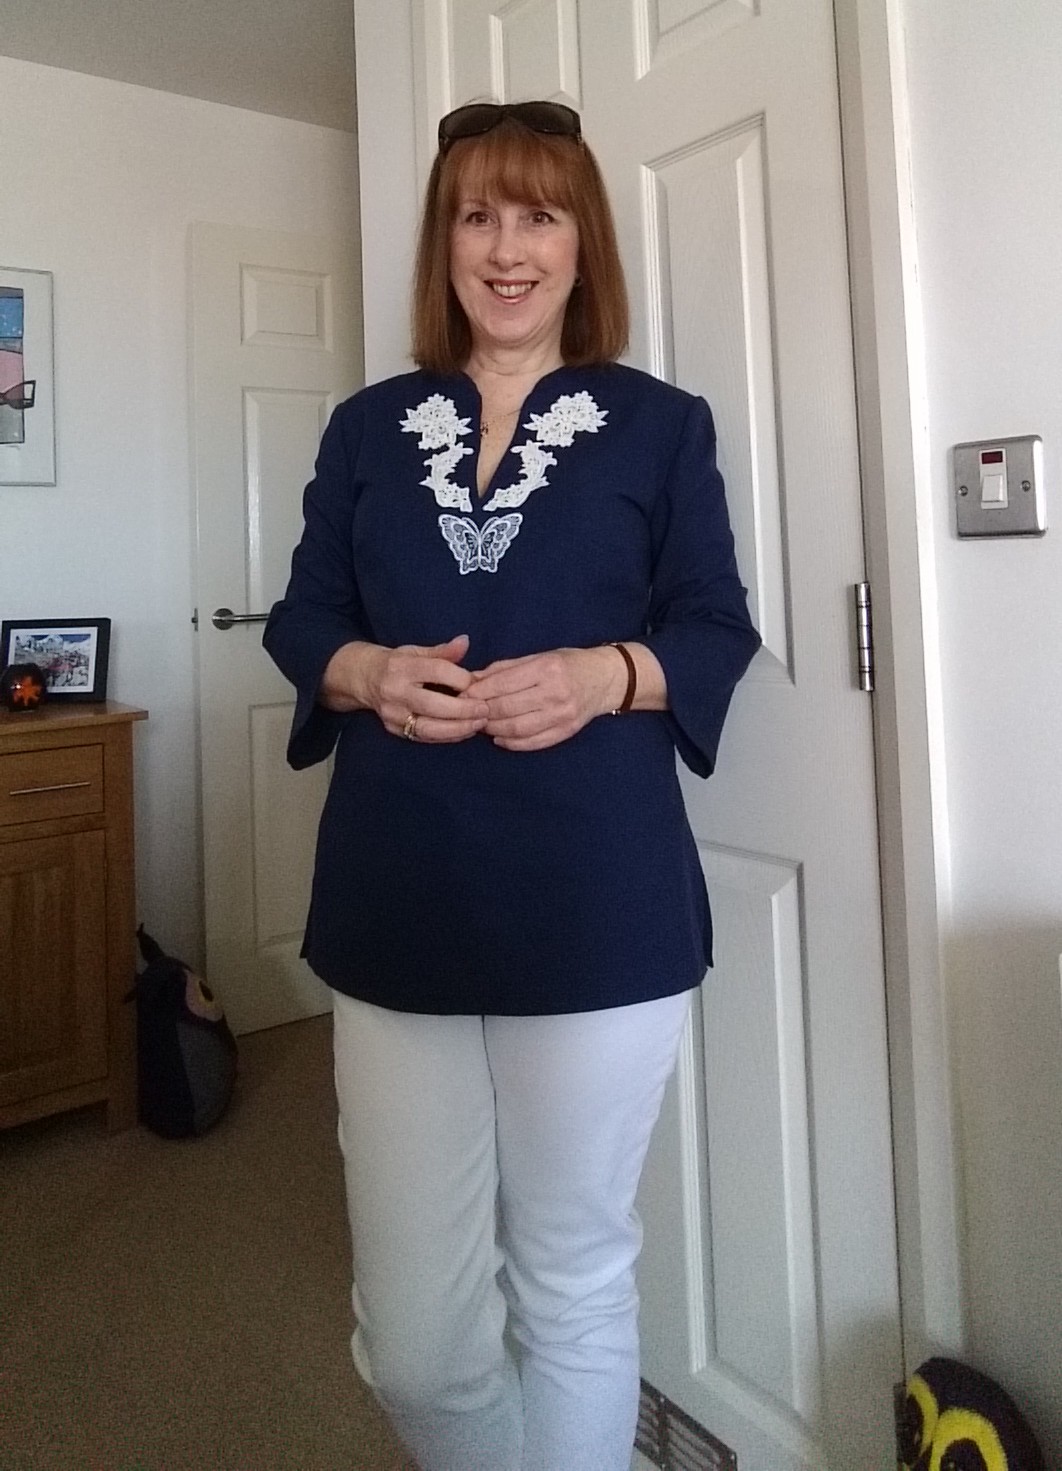
When summer comes I am the one who reaches for long sleeved tops and white trousers, don't get me wrong I do love the sun but I prefer to cover up and slap on the factor 50. This tunic is a style of garment which I wear a lot, it is comfortable and I feel cooler when the sun is not directly on my skin.
My embroidery machine is as you know the Brother Innov-is NV800E Brother Innov-is 800E. It is one of a range of fabulous embroidery machines by Brother at Jaycotts. I do urge you to visit the showroom and try these amazing machines for yourself, they have differnet functions too, some are designed for quilters some combine normal sewing with embroidery. Mine is an embroidery only machine, and by embroidery I mean that it does applique and quilting blocks too, but those are for future blog posts.
The machines have a selection of embroidery frames to choose from, your machine may not come with all of the available sizes but they can be ordered by Jaycotts for you. You need stabilisers too and for the purpose of making free standing lace you need some water soluble stabiliser Brother Water soluble stabiliser
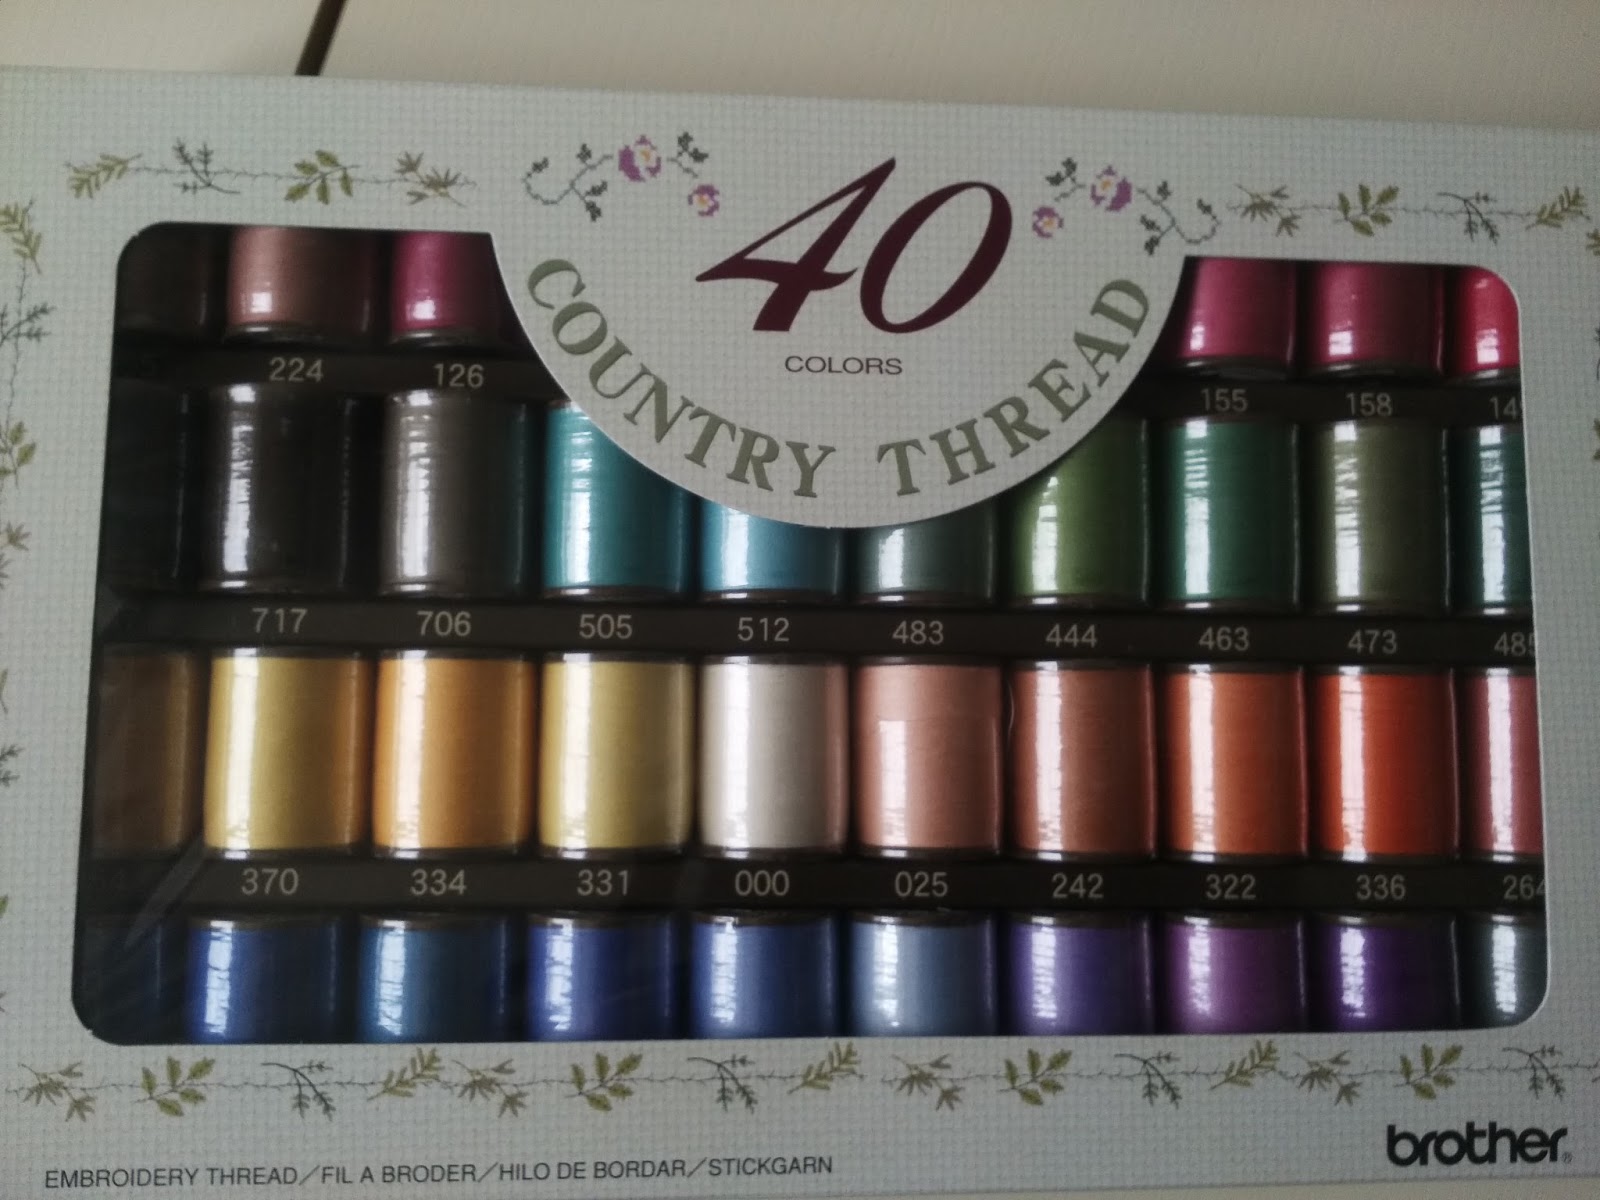
You also need thread. Lace looks much prettier when made with a Matt embroidery thread rather than the normal embroidery thread which has a sheen. Embroidery threads are on this link, but if you want anything which is not shown then do telephone as there are many more new products coming into stock daily Brother Embroidery threads
I just wanted to include a short video of the machine making the lace as it never ceases to fascinate me
I think that the ability to produce your own stand-alone lace is one of the most appealing techniques that this machine is capable of. I remember learning to make lace in the traditional way and although pleasurable it took forever. I sat watching this machine produce the most beautiful lace in just a few minutes. There are many uses for it apart from clothing - home decor and linen are just two but you can also produce things like bookmarks and jewellery , doilies and many other items. You need to choose specific embroidery designs for stand-alone lace as the high stitch count is what holds it together. There are many designs on the internet. There are other designs for embroidered lace which is stitched onto a fabric background, like the butterfly at the bottom of my design for example.
You will get through a lot of stabiliser because the key to good Lacemaking is a firm background to embroider on. I found that a single layer of soluble stabiliser tears and pulls the design out of shape so it is necessary to hoop a double layer and embroider straight onto that. Use the smallest frame for your design.
You will end up with lots of seemingly useless bits of stabiliser no matter what you are embroidering so I looked for a way to use them. I found that Brother make a tiny frame which will embroider small medallions and initials and which is perfect for hooping odd bits of leftover stabiliser. I hate waste so this is a lovely addition to your embroidery equipment. Again, ask Jaycotts for more information and current prices.
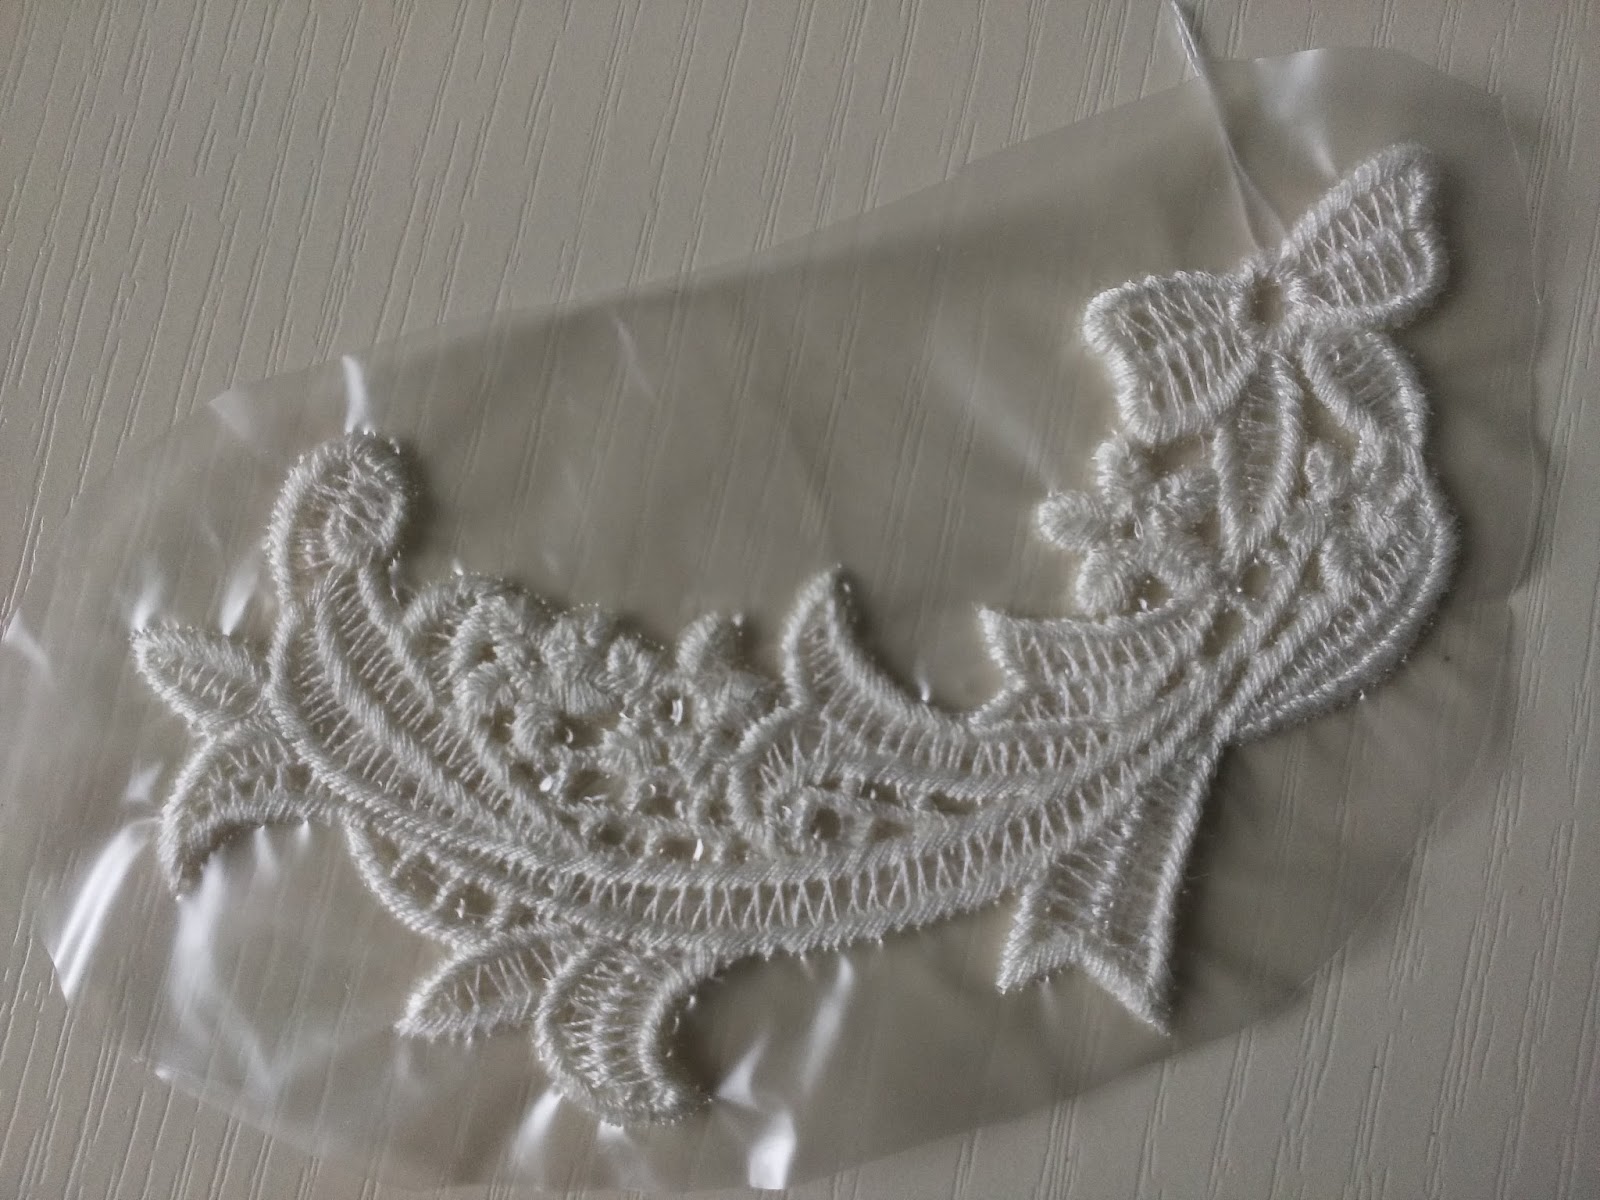
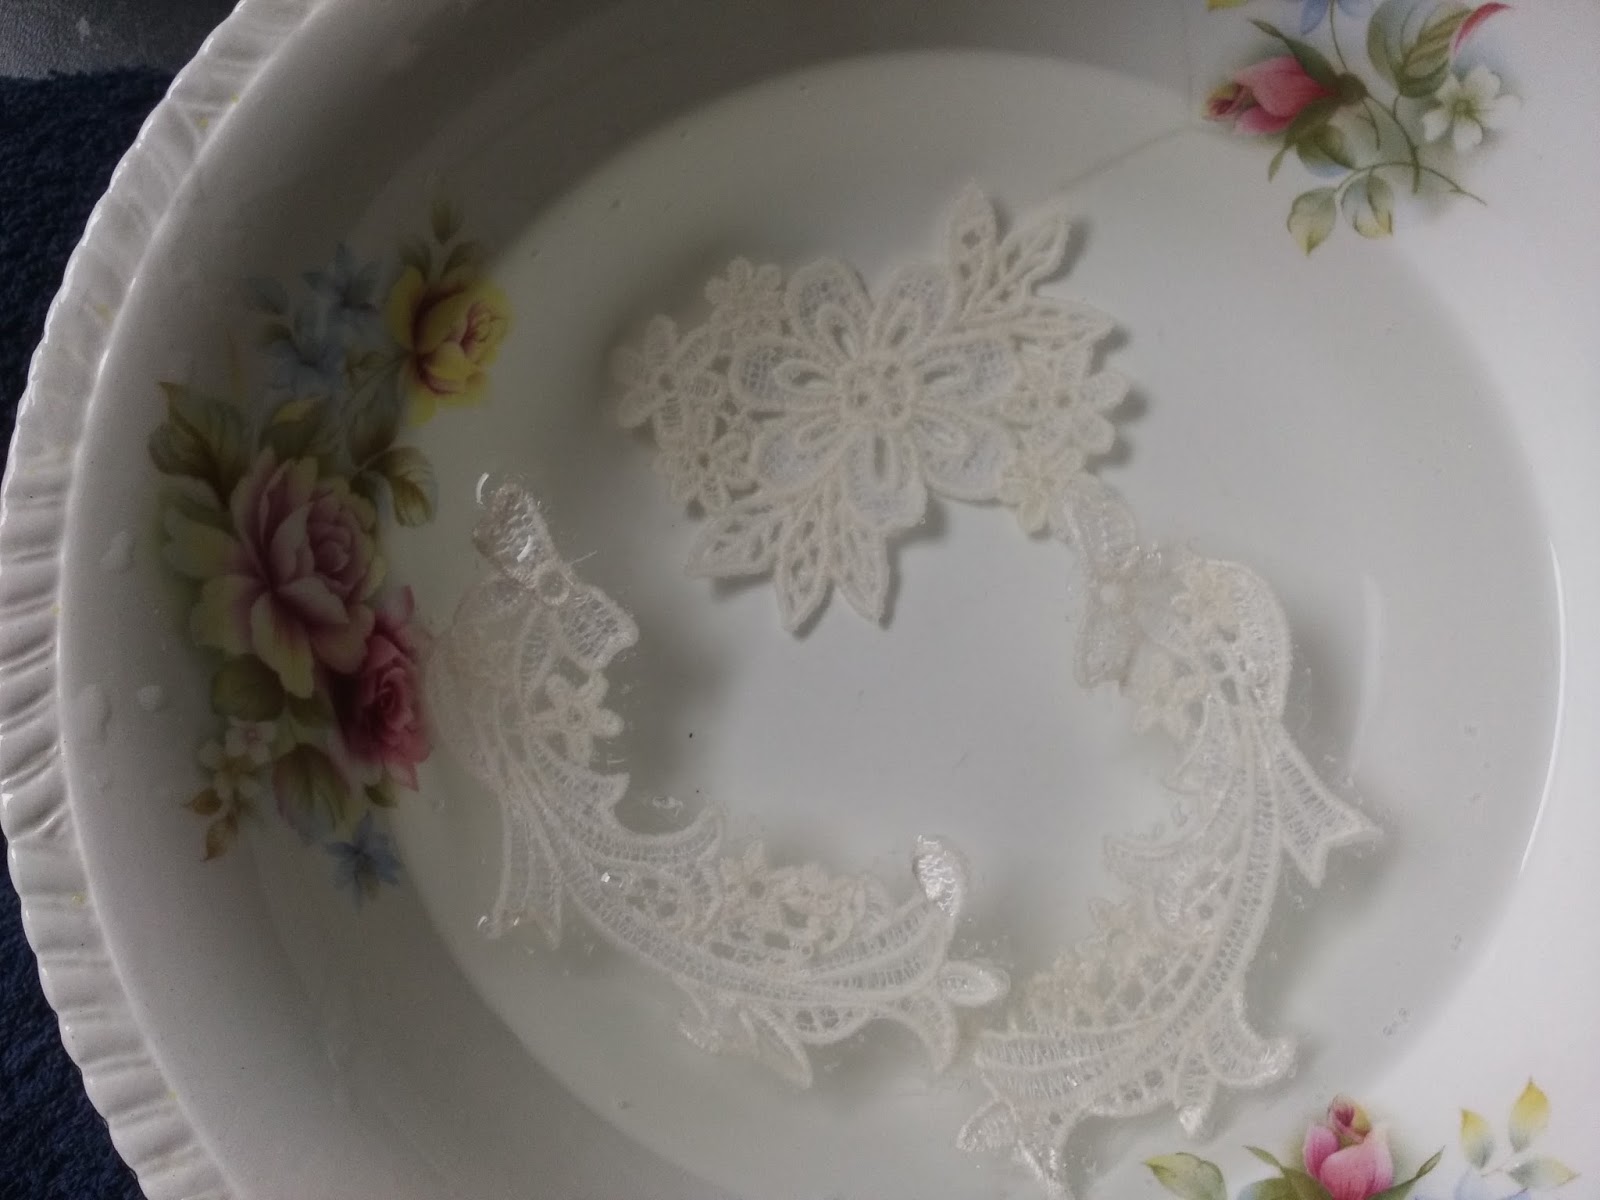
Once you have finished your lace ( don't forget to mirror the design if you want it on both sides of a neckline etc) trim away as much stabiliser as possible and soak it in cold or tepid water. This will get rid of the stabiliser. You will need to change the water a few times, if it is still too stiff then a gentle wash will remove any which remains. It is more durable than you imagine and once it is stitched in place will happily whiz through your wash cycle.
Take it out of the water and blot with a towell before leaving to dry.
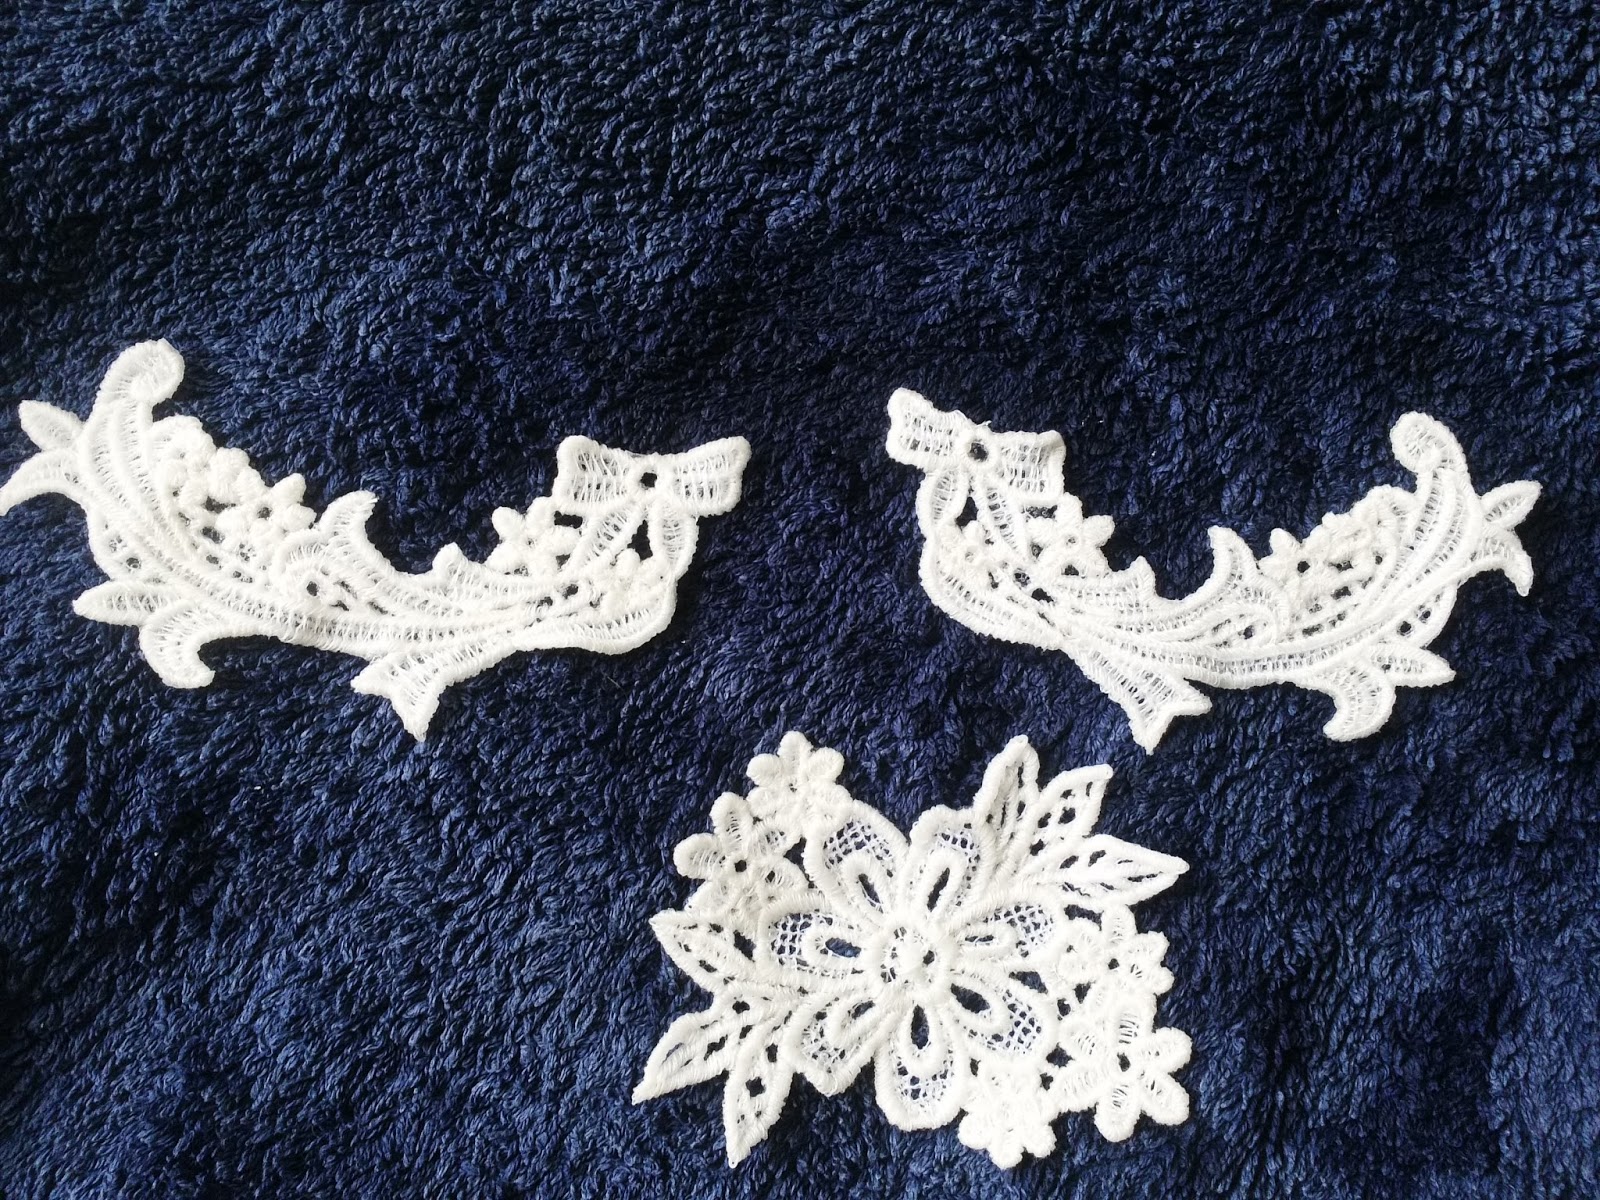
These are the finished pieces which I am going to stitch onto my tunic top. Notice that I reversed the designs so that they mirror each other, there is a button to press on the embroidery machine which does this for you instantly.
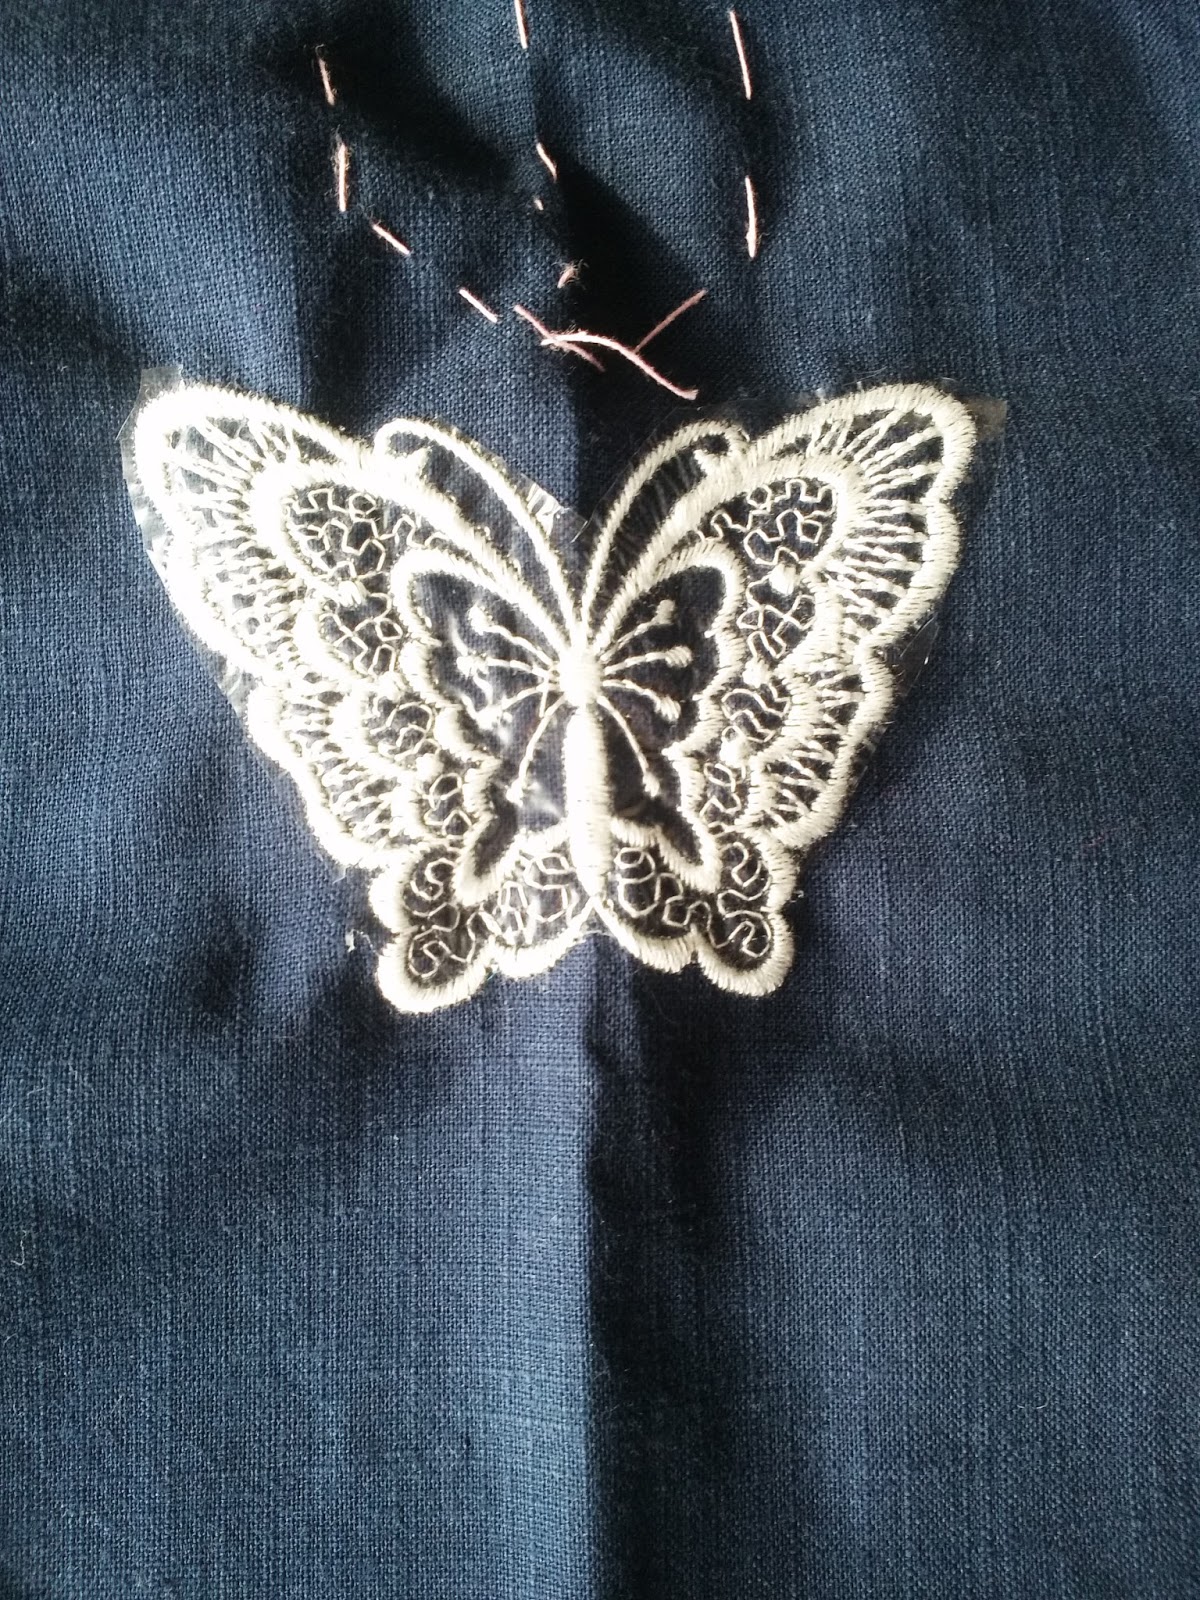
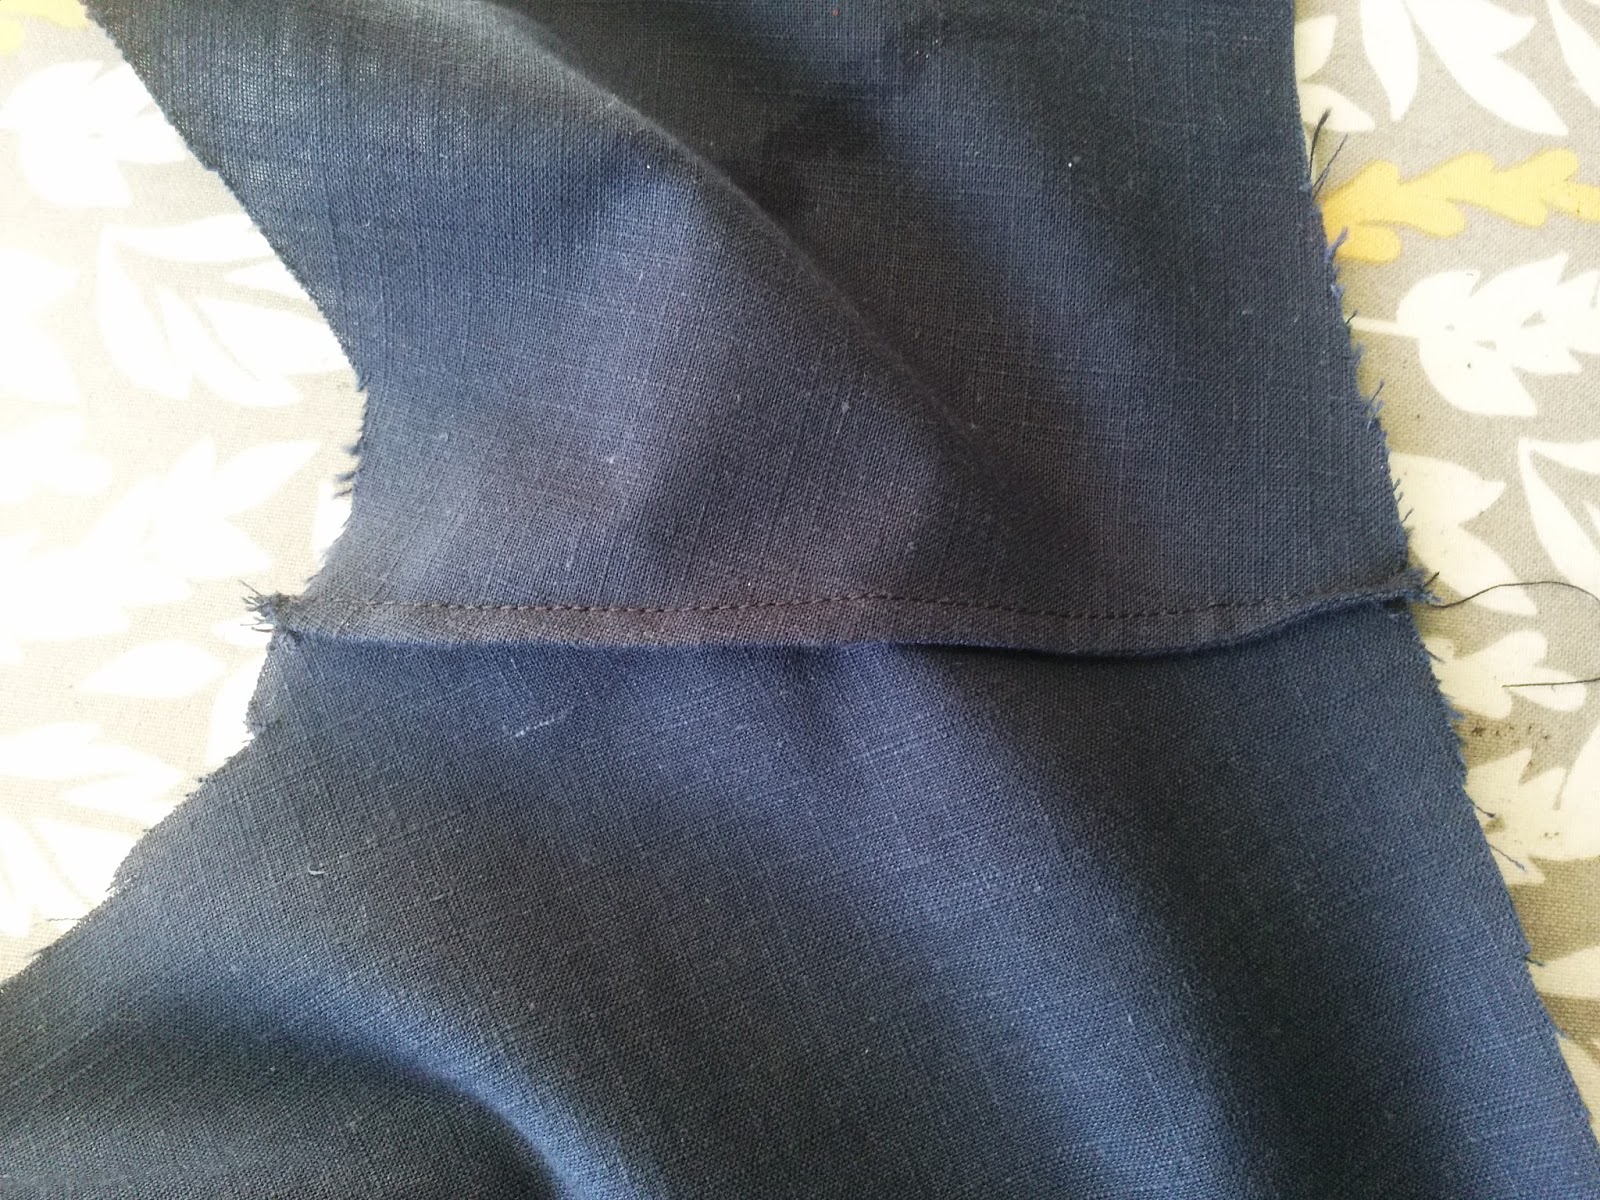
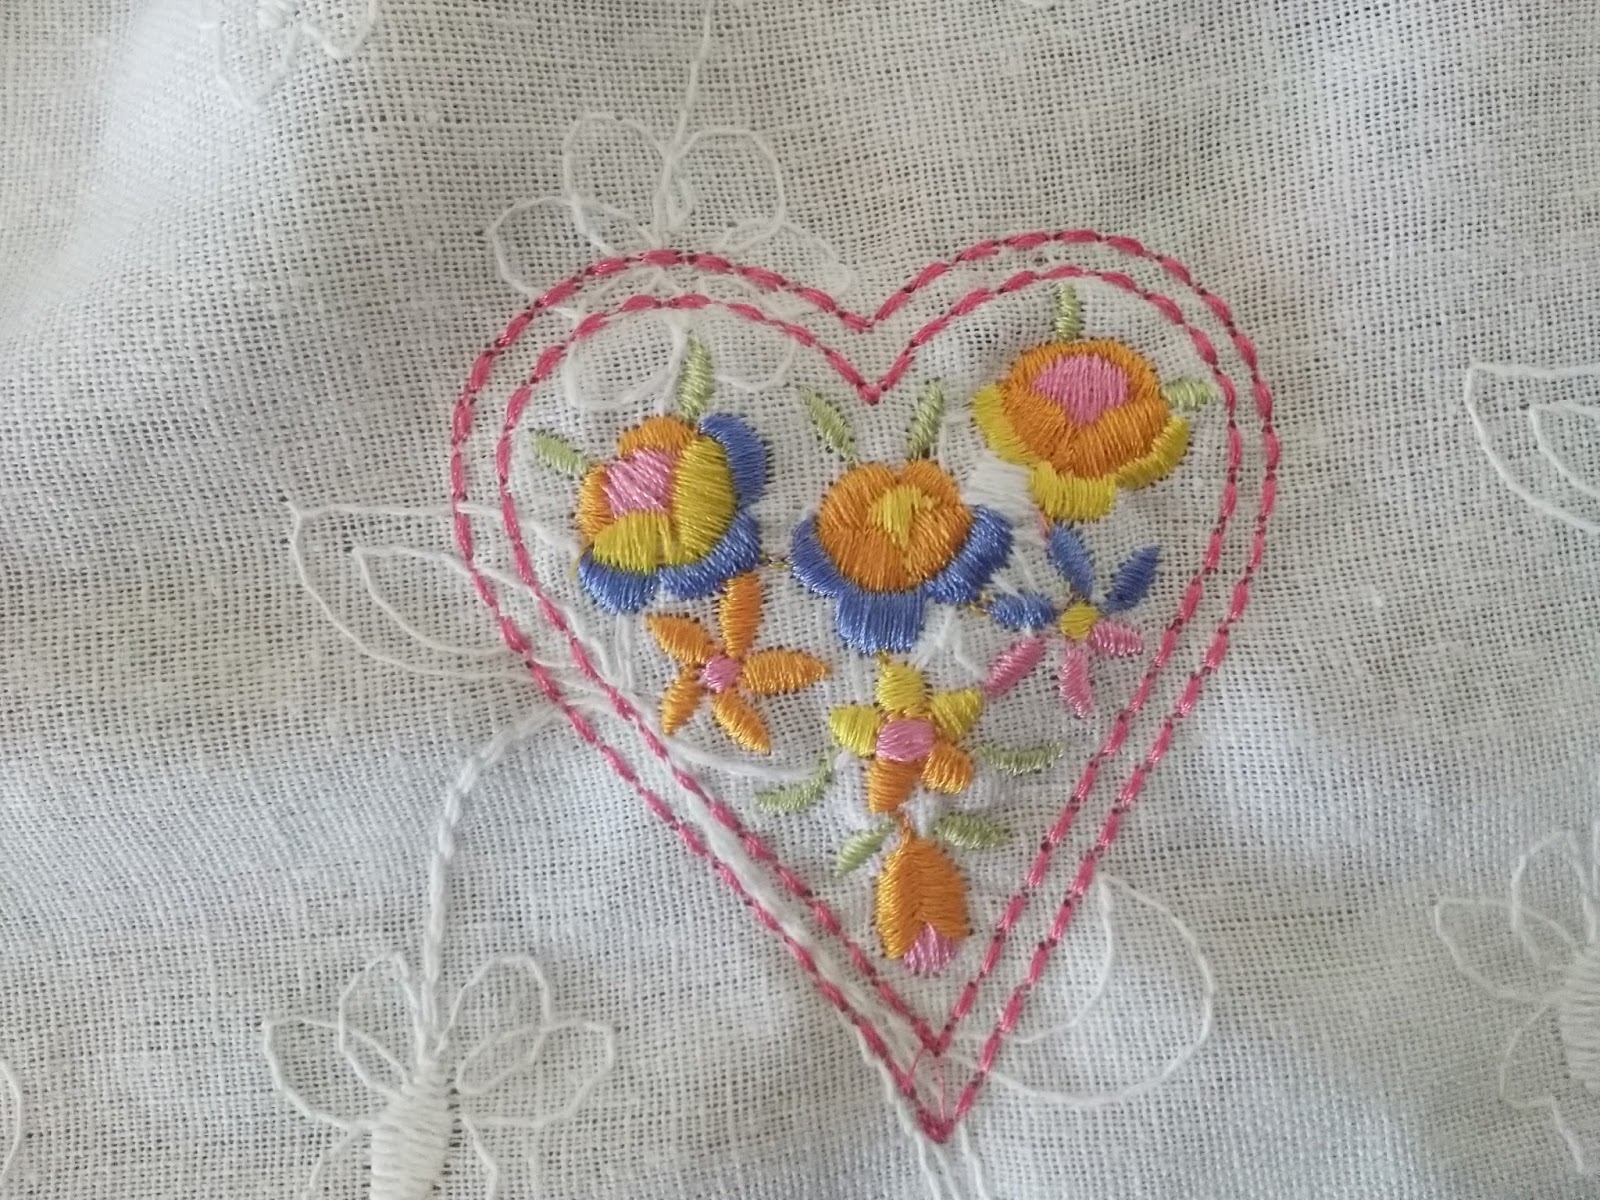
For the base of my design I embroidered some lace directly onto my stabilised fabric.This still has some stabiliser attached to it and my next step is to get my tweezers out and pick out the remaining bits. Can you see the difference between this embroidered lace and the free-standing lace? This is not dense enough for stand-alone lace ,but once you get used to the process you will soon understand which designs are suitable.
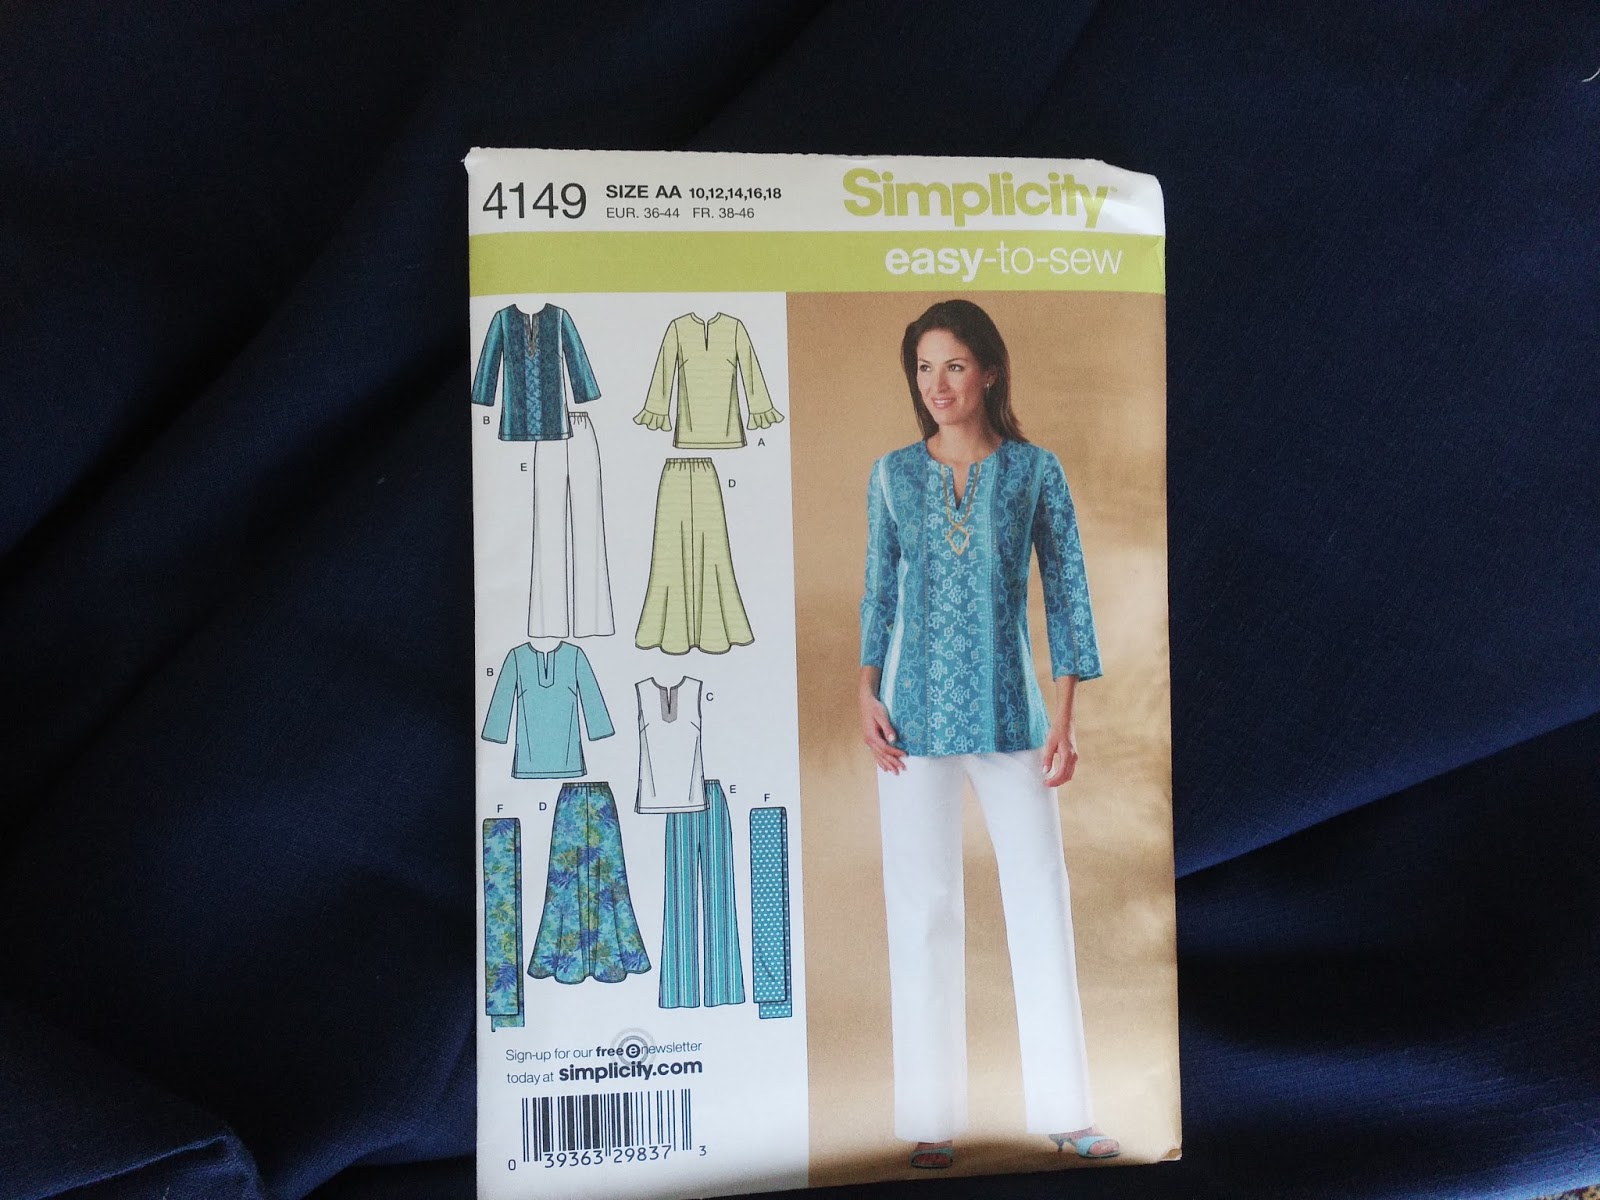
The pattern I am using is by Simplicity Simplicity 4149. I found that the pattern was true to size and needed no adjustments whatsoever. I cut out size 12.
The Fabric is from MinervaCrafts and is a linen and cotton blend Navy Linen and cotton blend fabric I find that blended linen does not crease so much yet still retains the appearance of linen and is cool to wear.
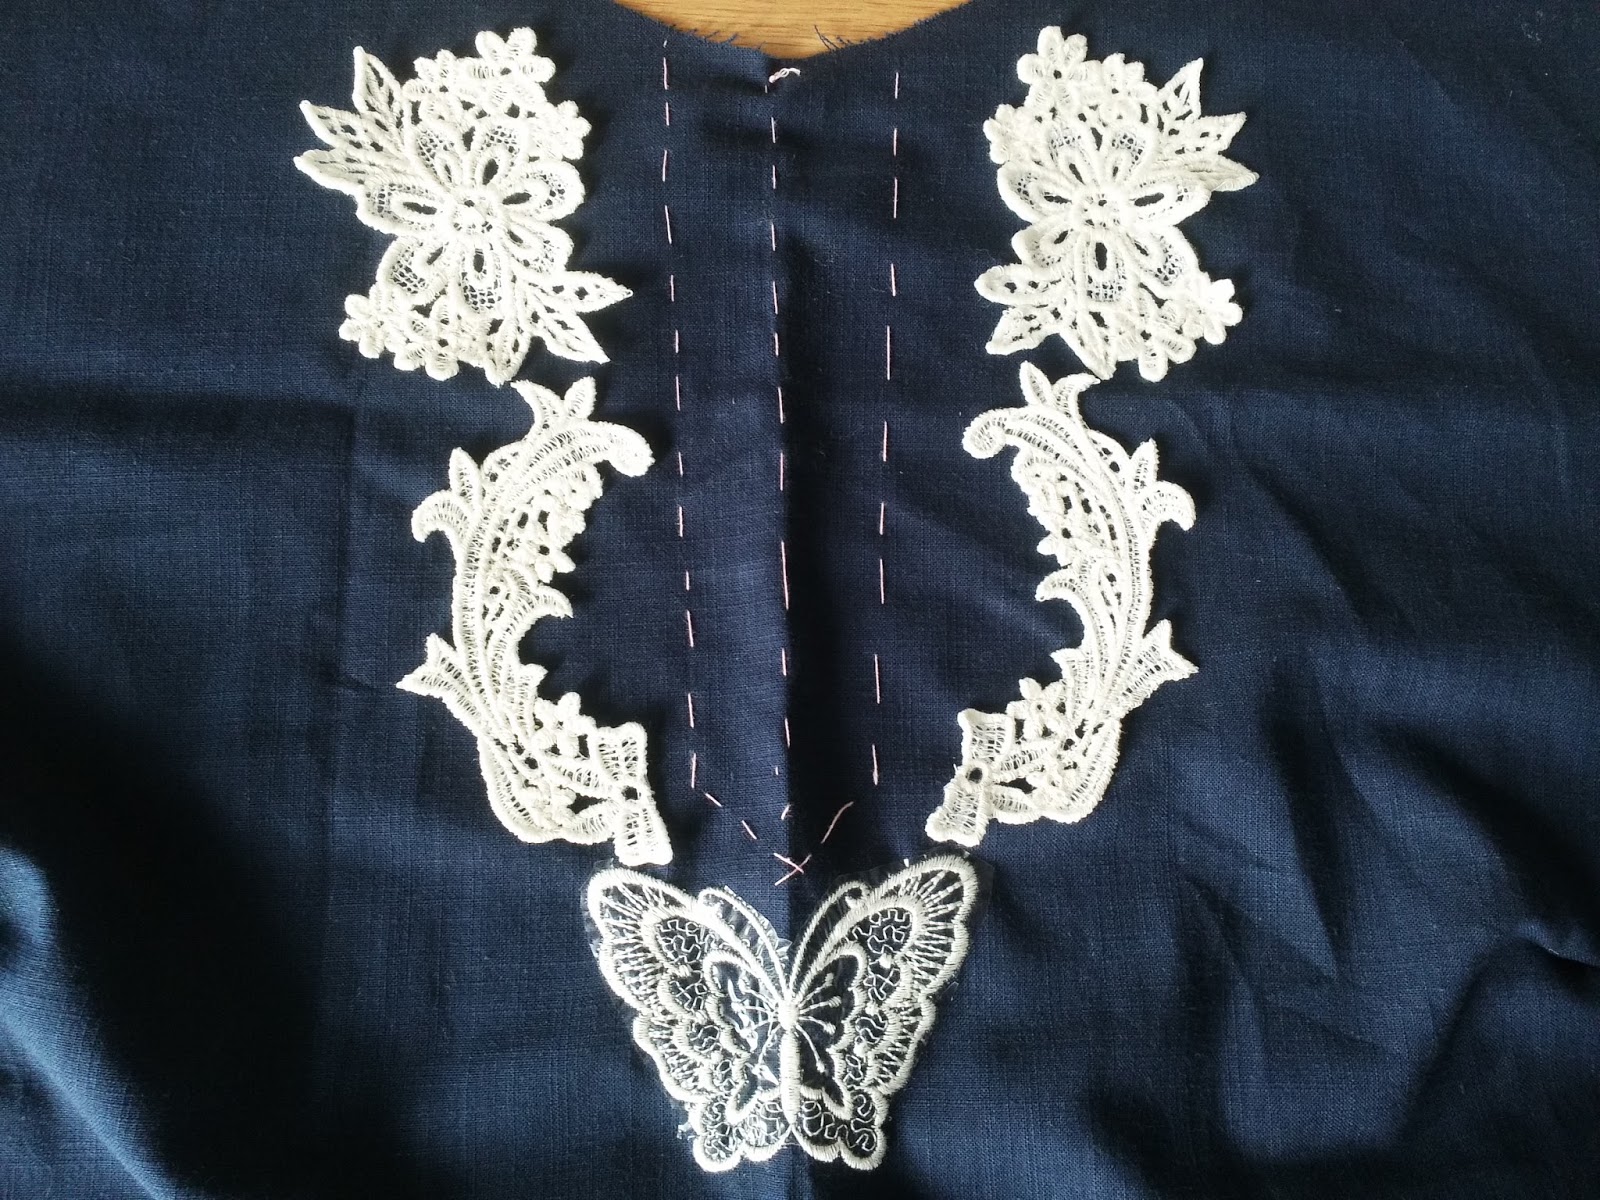
I have marked the centre front slit on the top with tacking thread and placed the designs so that I could see how they looked before progressing any further.
I stitched the seams using a French seam - there is a blog post all about seams on the website if you need a reminder of how to make them The shoulders need to be joined first and then the front facing stitched on and turned to the wrong side. The pattern instructions are incredibly easy to follow.
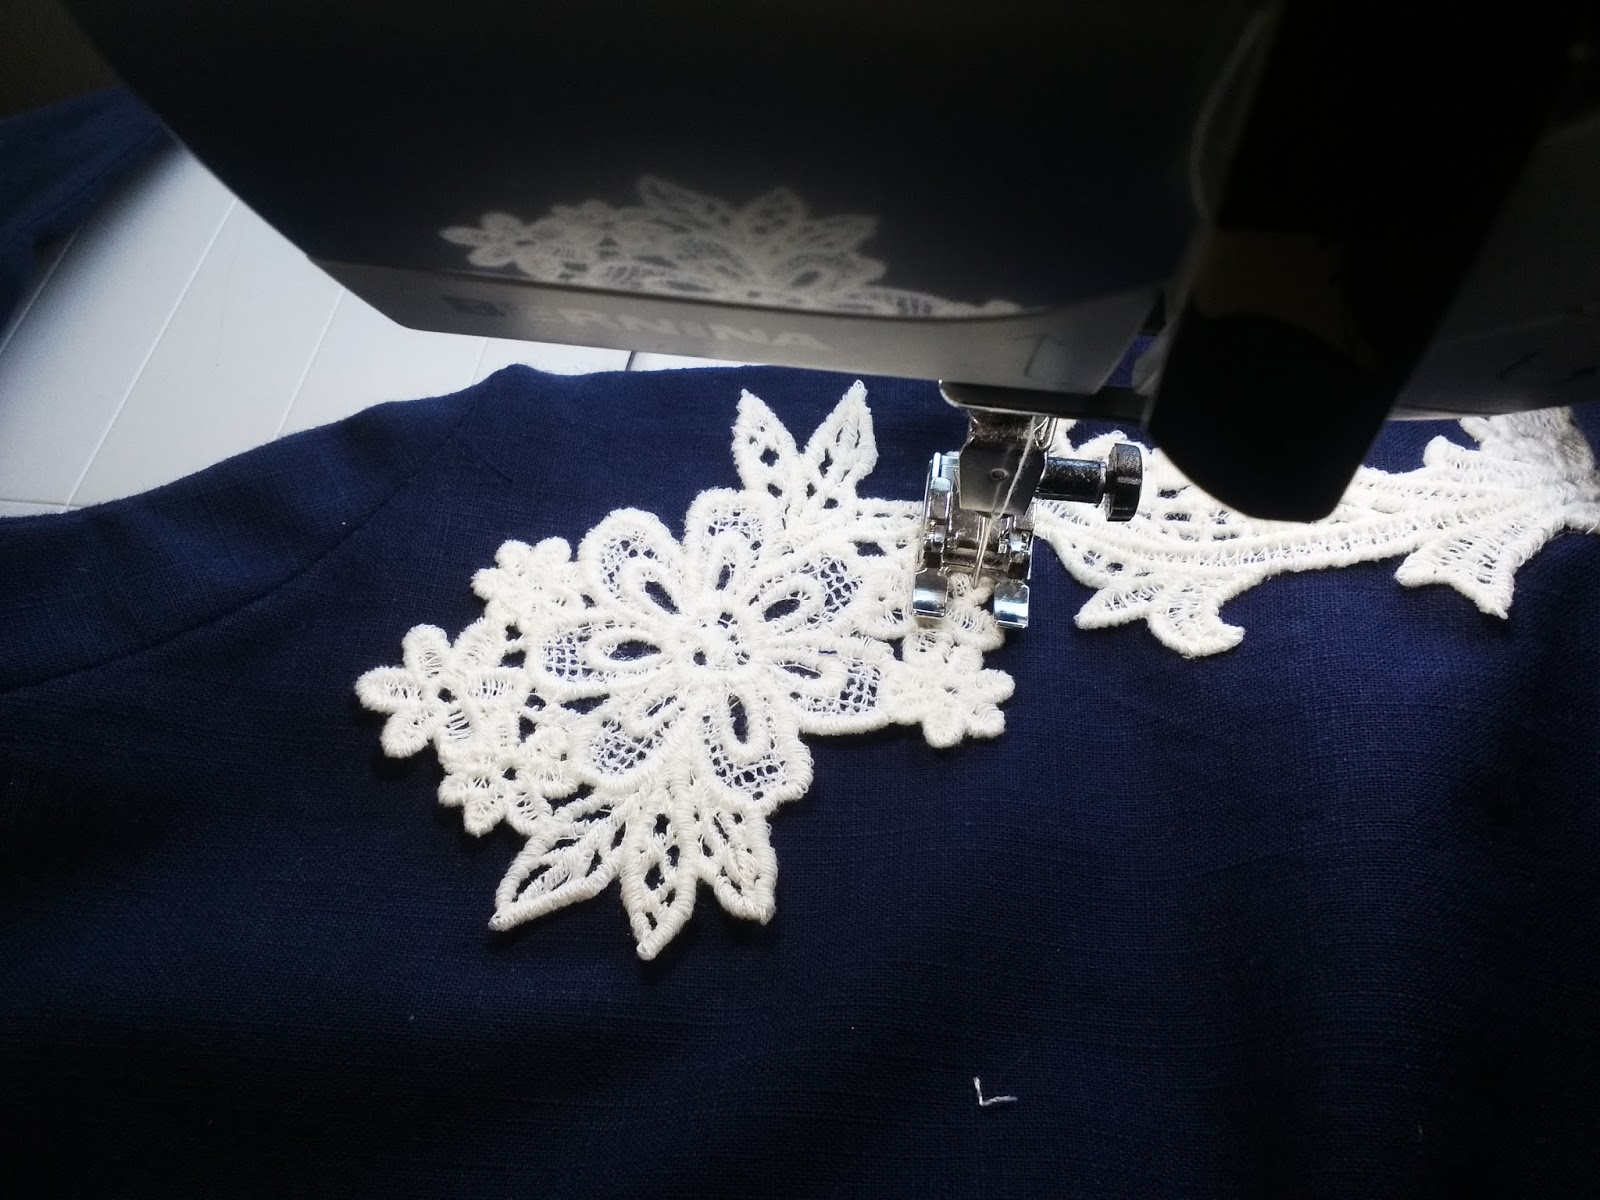
I stitched the lace motifs on using a regular sewing machine. I used an open toe foot and a small zig zag. Before stitching, I placed the motifs where I wanted them and held them in place with some temporary adhesive.
Just stitch around the outside edge carefully to hold them in place.
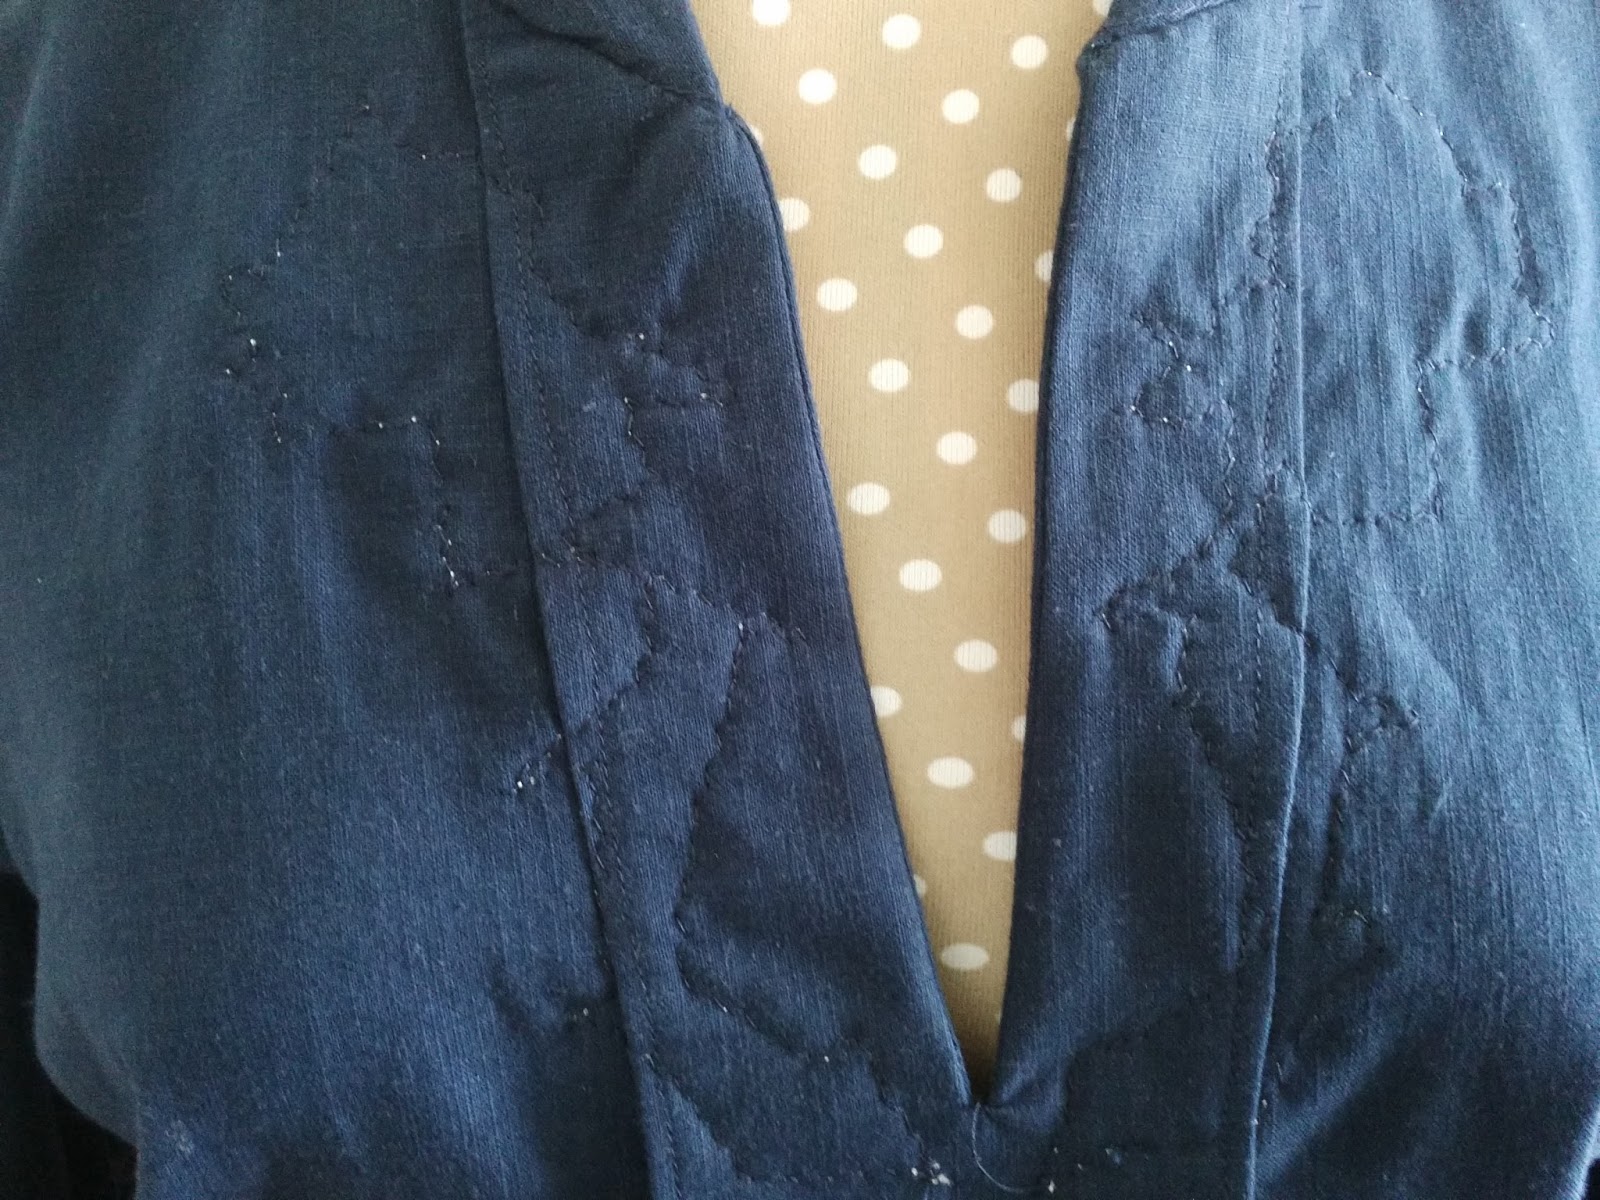
I deliberated as to whether it was better to stitch the motifes straight onto the fabric before inserting the neck facing or wether it would be better to stitch them on with the facing in place. I decided on the latter as they are quite heavy and I felt that they needed some substance behind them to hold the shape of the neckline. To accommodate this I kept my Navy thread in the bottom and used my neutral embroidery thread ( with an embroidery needle) in my machine.
Make the rest of the top as normal. You may want to add more or less embelishment than I did, it is purely personal preference.
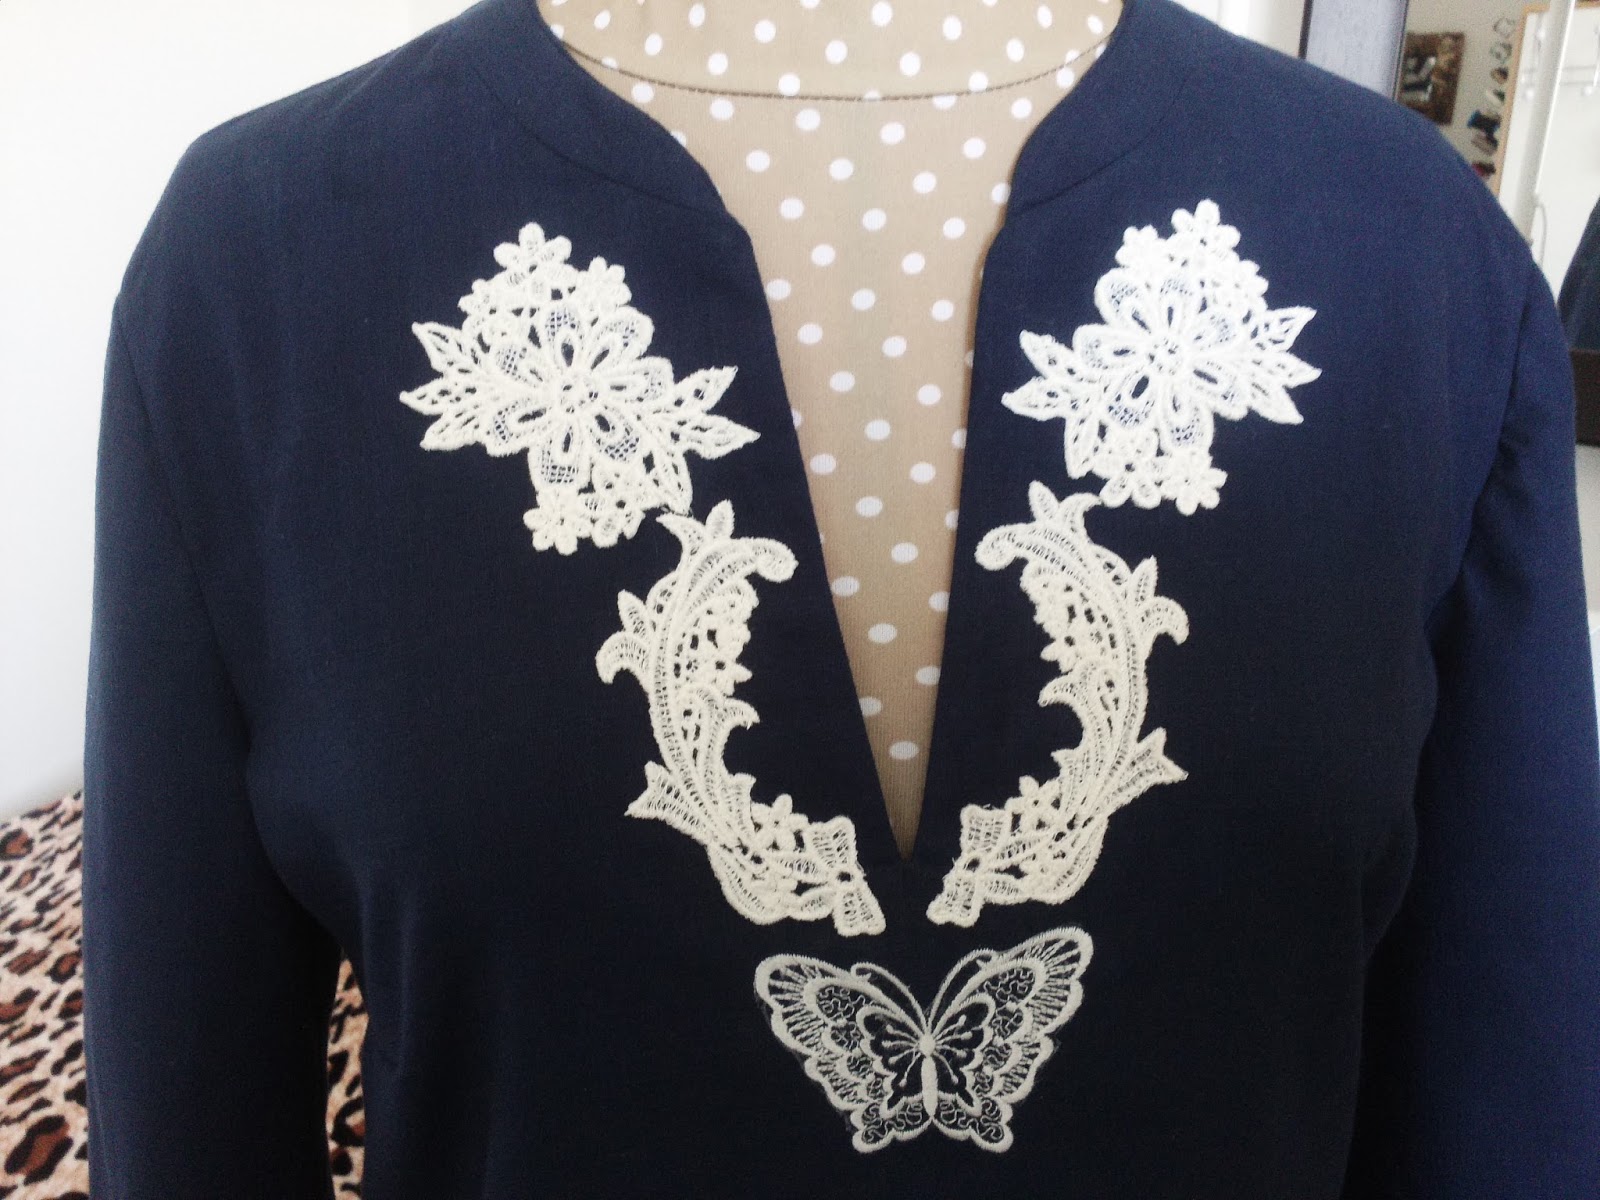
This is the finished top and I have to say that it exceeded my expectations, the navy background really shows the lace perfectly and the firm fabric is so easy to sew.
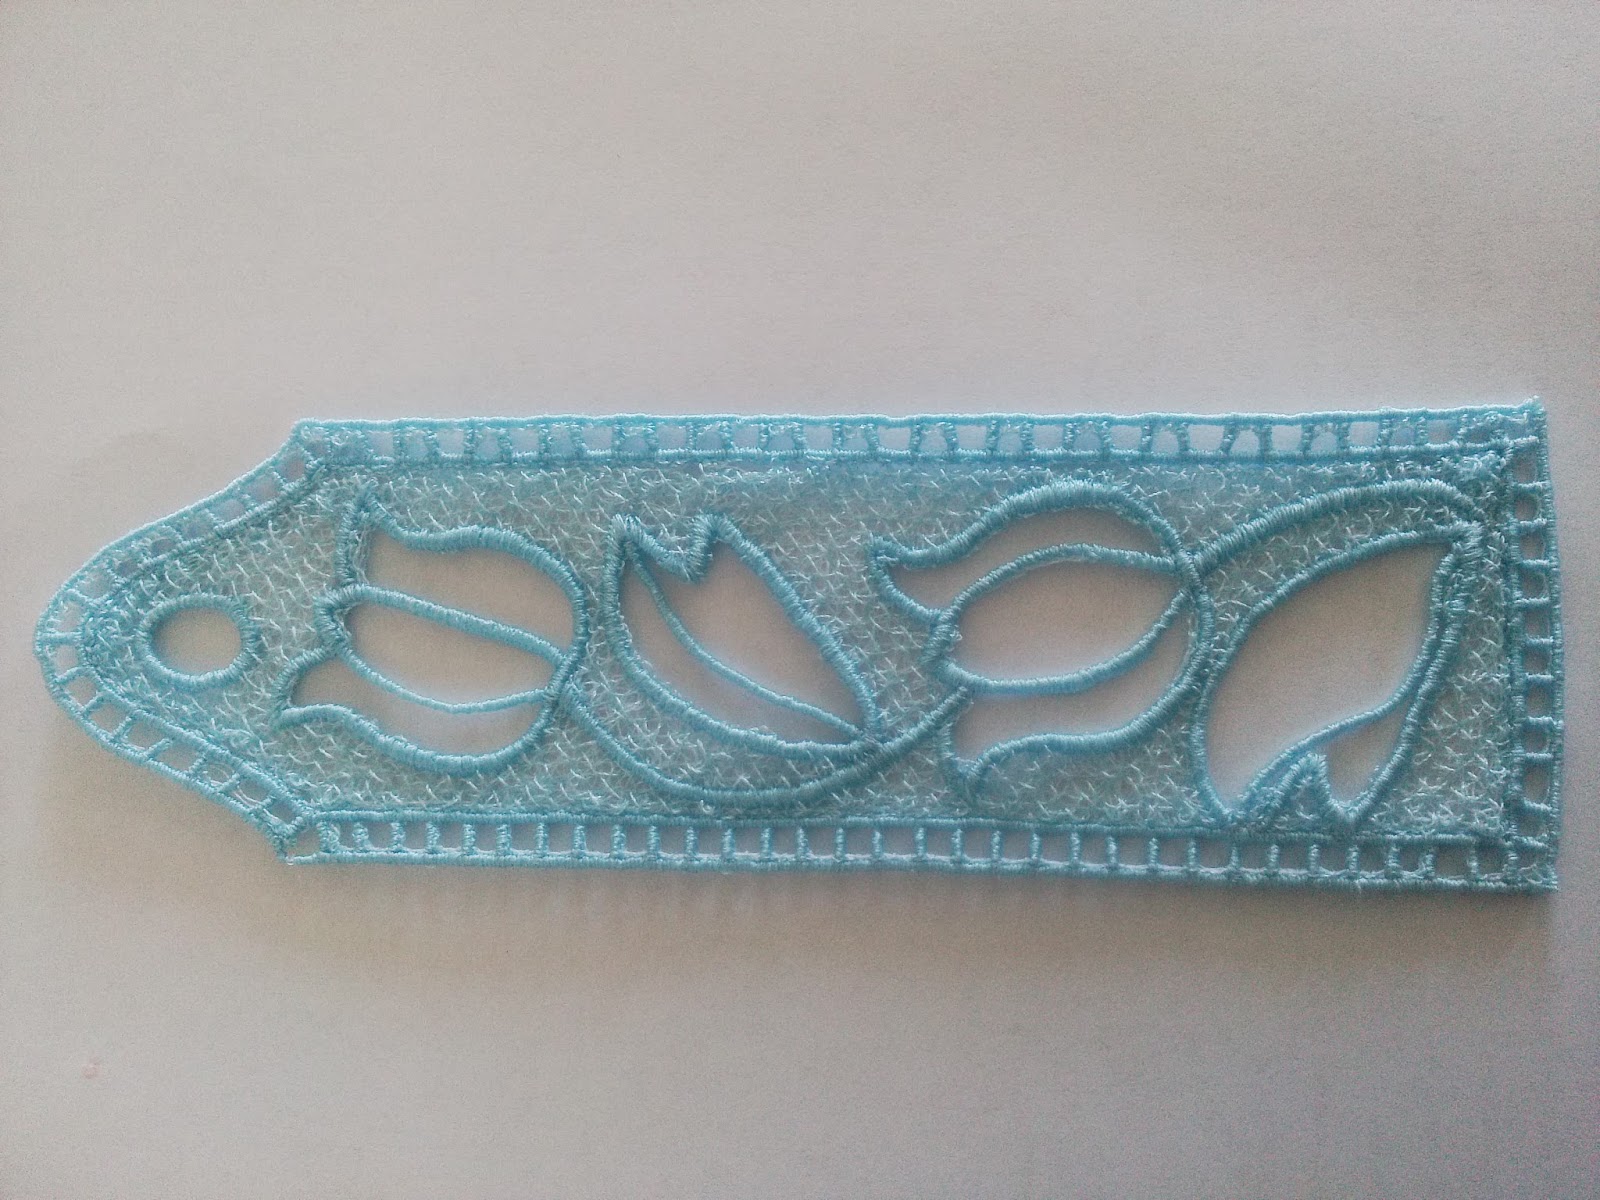
There are other applications for free-standing lace as I was explaining earlier, this is a bookmark which I made.
I am delighted with the versatility of this embroidery machine and love how creative it enables you to be. It definitely takes dressmaking to a whole new level
For information or to arrange a demo then please contact Jaycotts either by telephone on 01244 394099 . Normal office hours are 8.30 to 4.30 Monday to Friday Or by filling in the contact form Contact Jaycotts
This machine is amazing, next time I will show you the same top in white featuring embroidery which was stitched directly onto the fabric Thank you for reading this post