I am often told that many of us are inspired to make our own bags and we go and buy a lovely pattern, but that's as far as we ever get - mostly. The reason seems to be that these patterns require so many different and unfamiliar fabrics,interlinings and other notions which are either hard to obtain or are too expensive, or both.
In this post I am going to show you how to make a very easy Tote bag for your shopping and then I will adapt the same design by first of all adding a lining, and then by making the bag larger to make a practical beach bag and finally a stylish faux leather large Tote with embroidery. Although I am using my wonderful embroidery machine - which is quite honestly the best thing I have ever had - it takes sewing to a whole new level, you can omit the embroidery. Why not use a patterned fabric, do some simple applique or even hand embroidery, it doesn't really matter. In fact it's a great way to use up fabric scraps or even discarded clothes. The whole point is that we all need shopping bags and if you know how to make your own you will never be short of a bag again. The best thing is that if you use leftover fabric they are free!
Skills learned
French seam
Machine embroidery (optional)
Making a basic tote
Adding a lining
Sewing with faux leather
Using a commercial bag pattern
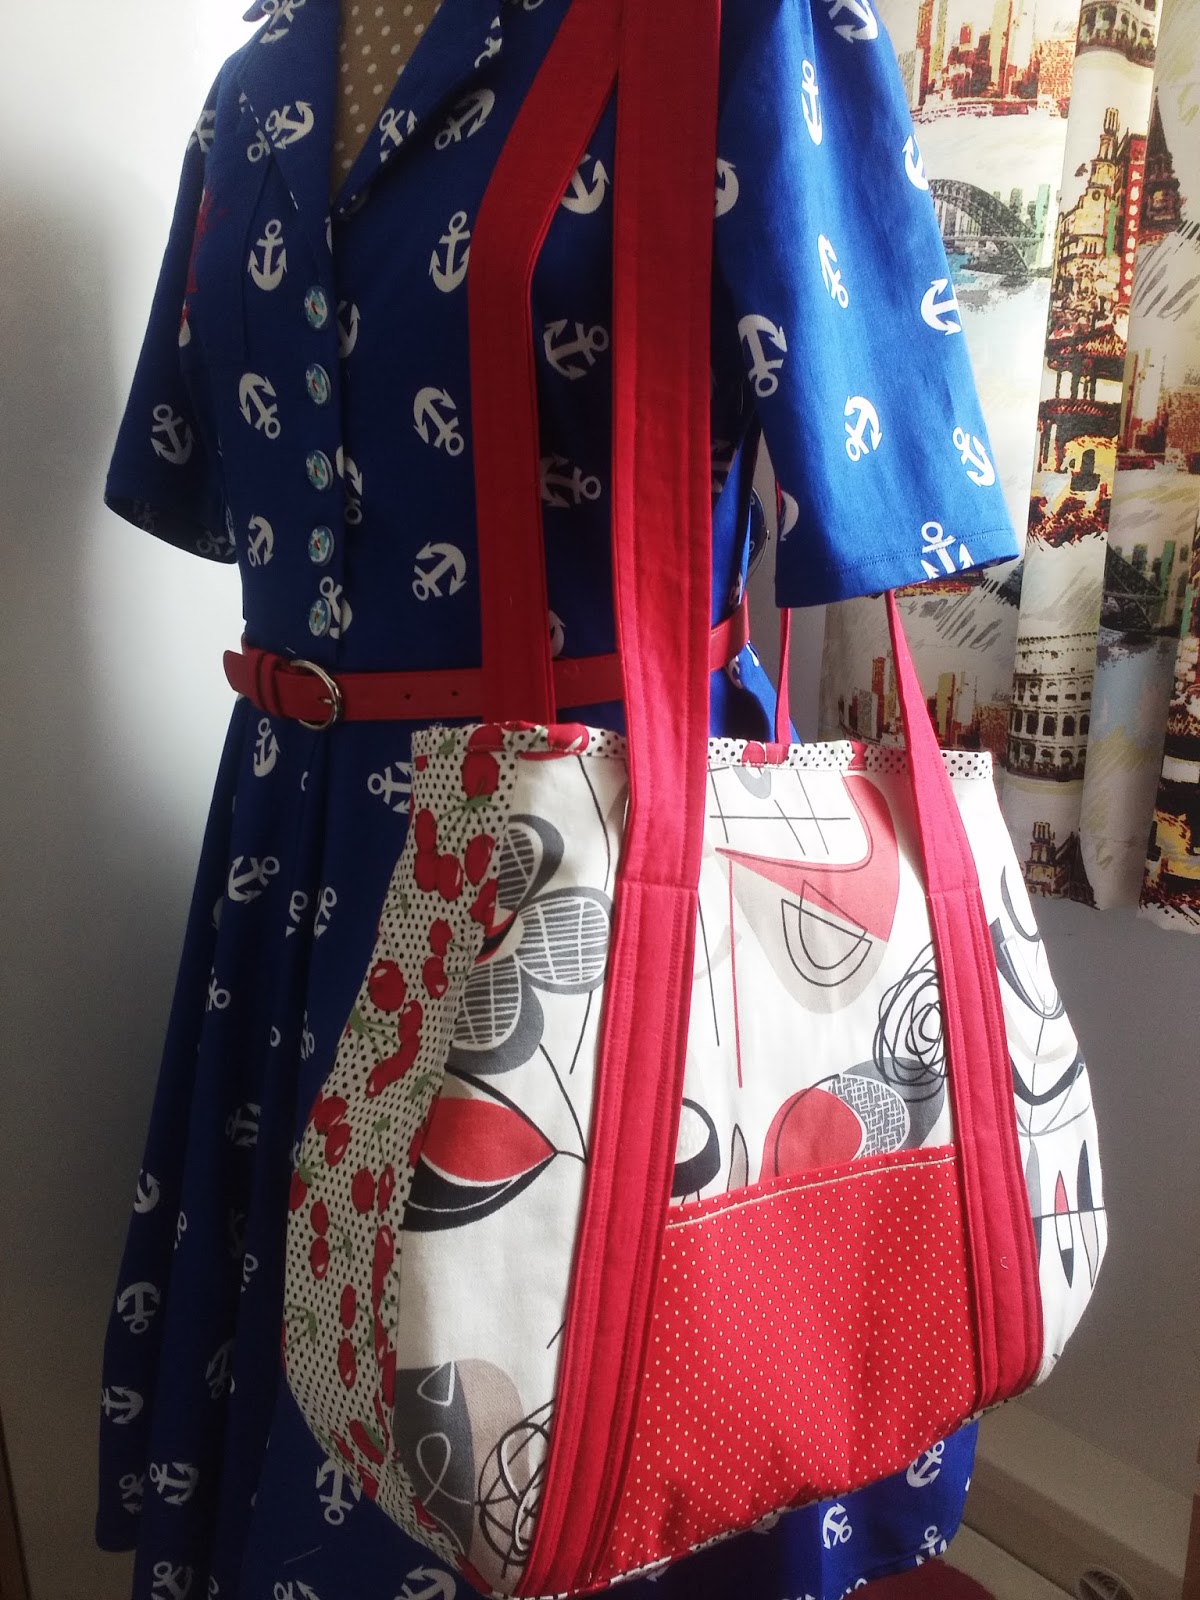
Simple unlined Tote
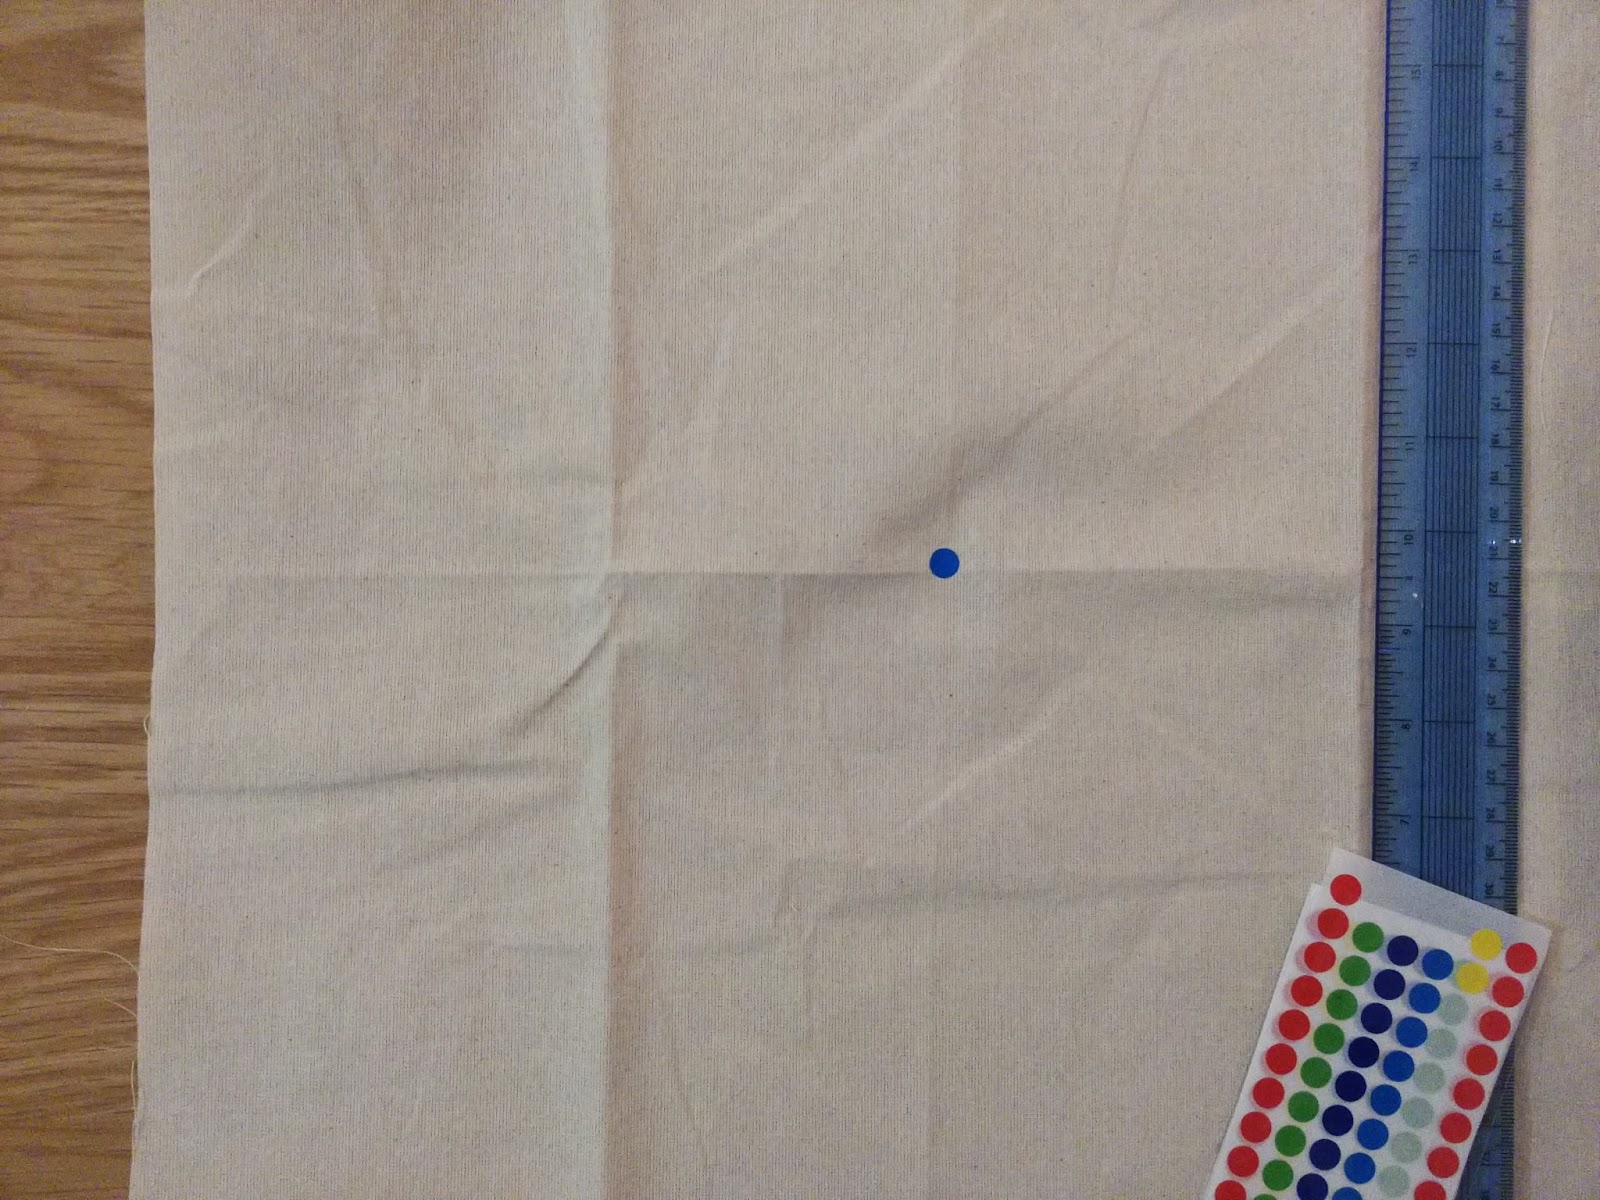
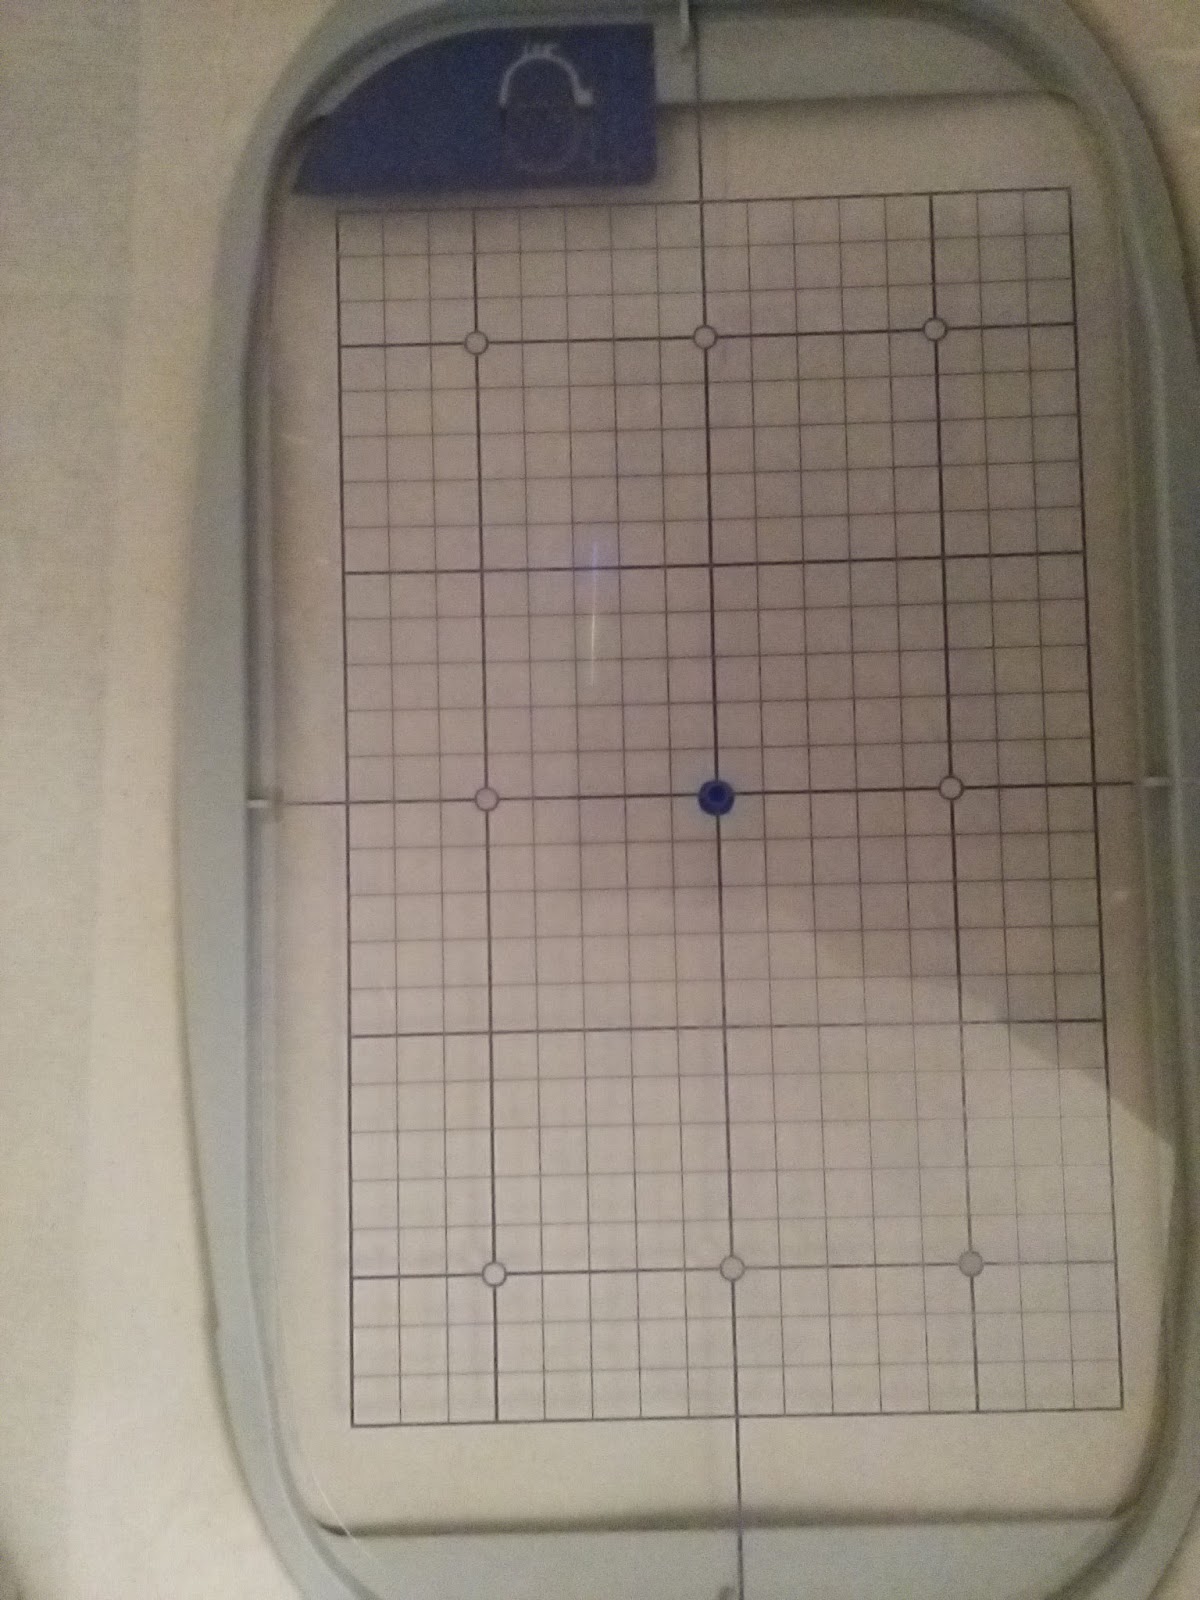
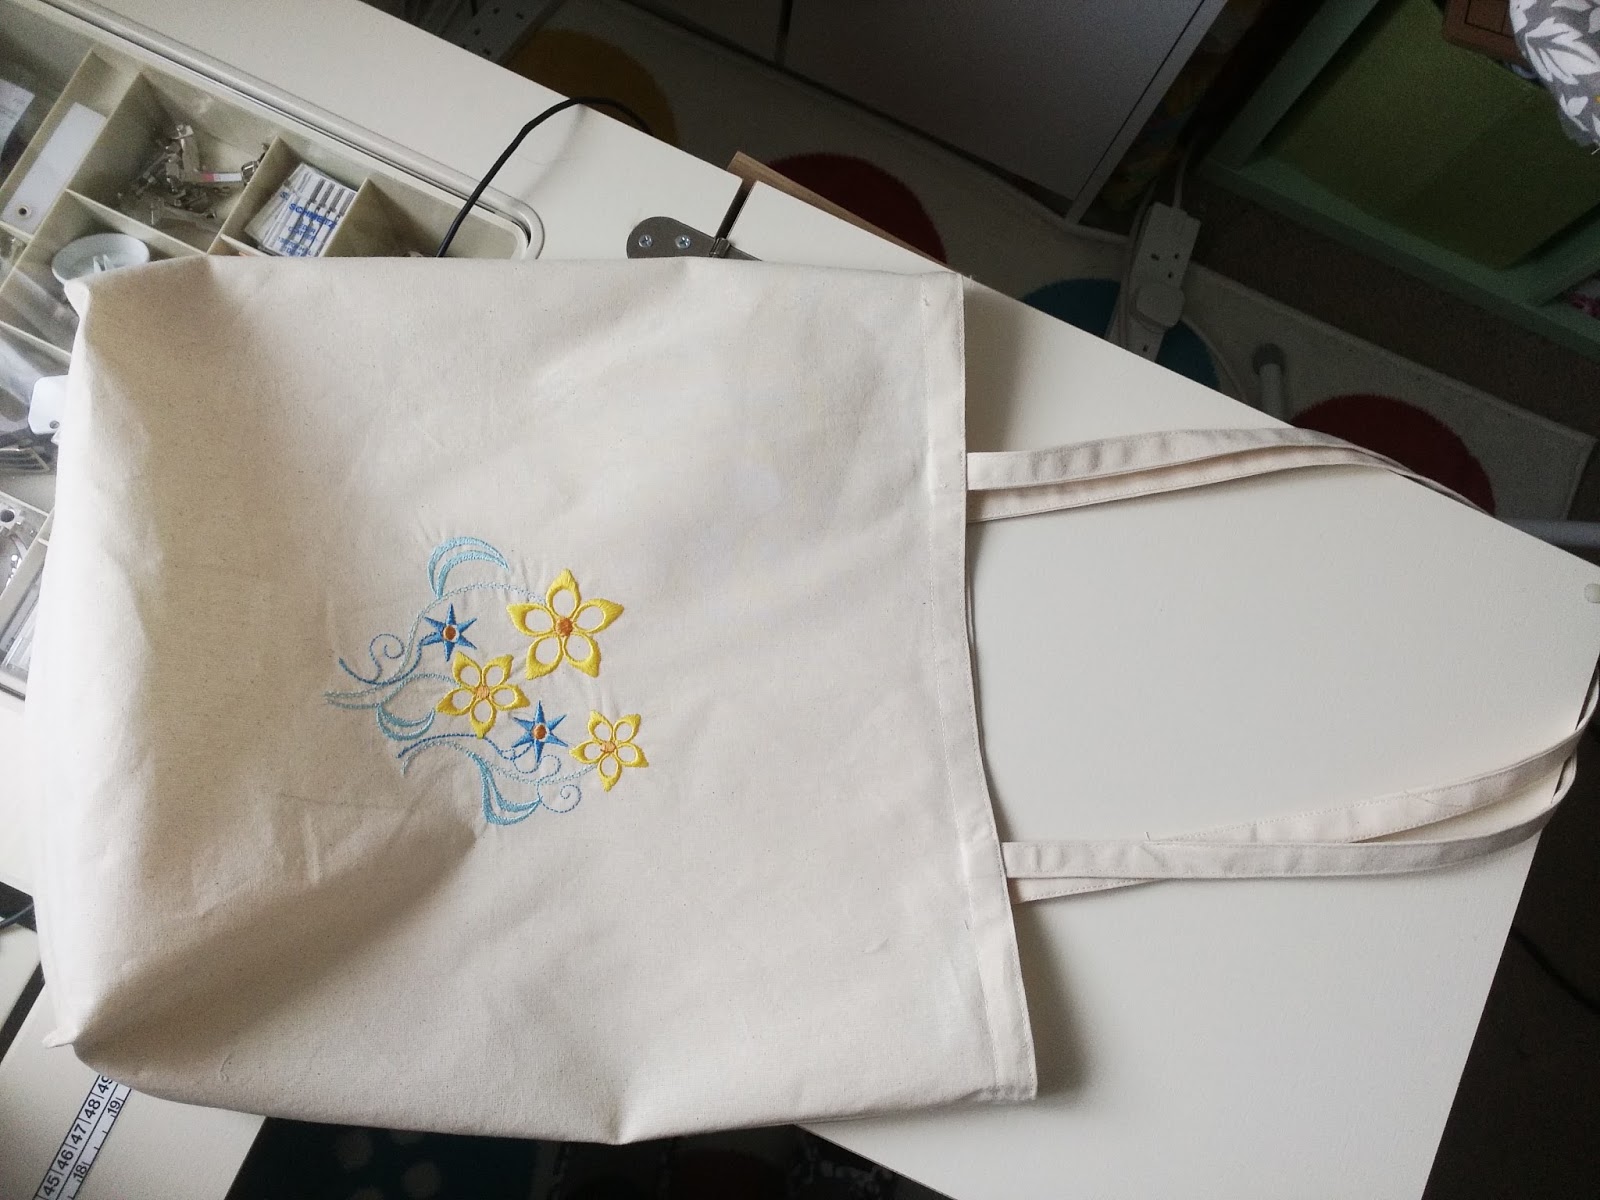
My first bag is a simple unlined tote bag which can be rolled up and put in your handbag. I used some natural Calico and cut out two rectangles around 17" x 15" . The size is your own choice. I used a sticky dot (I use these a lot for temporary markings) to mark the centre because i want to add some embroidery. You can of course omit this stage.
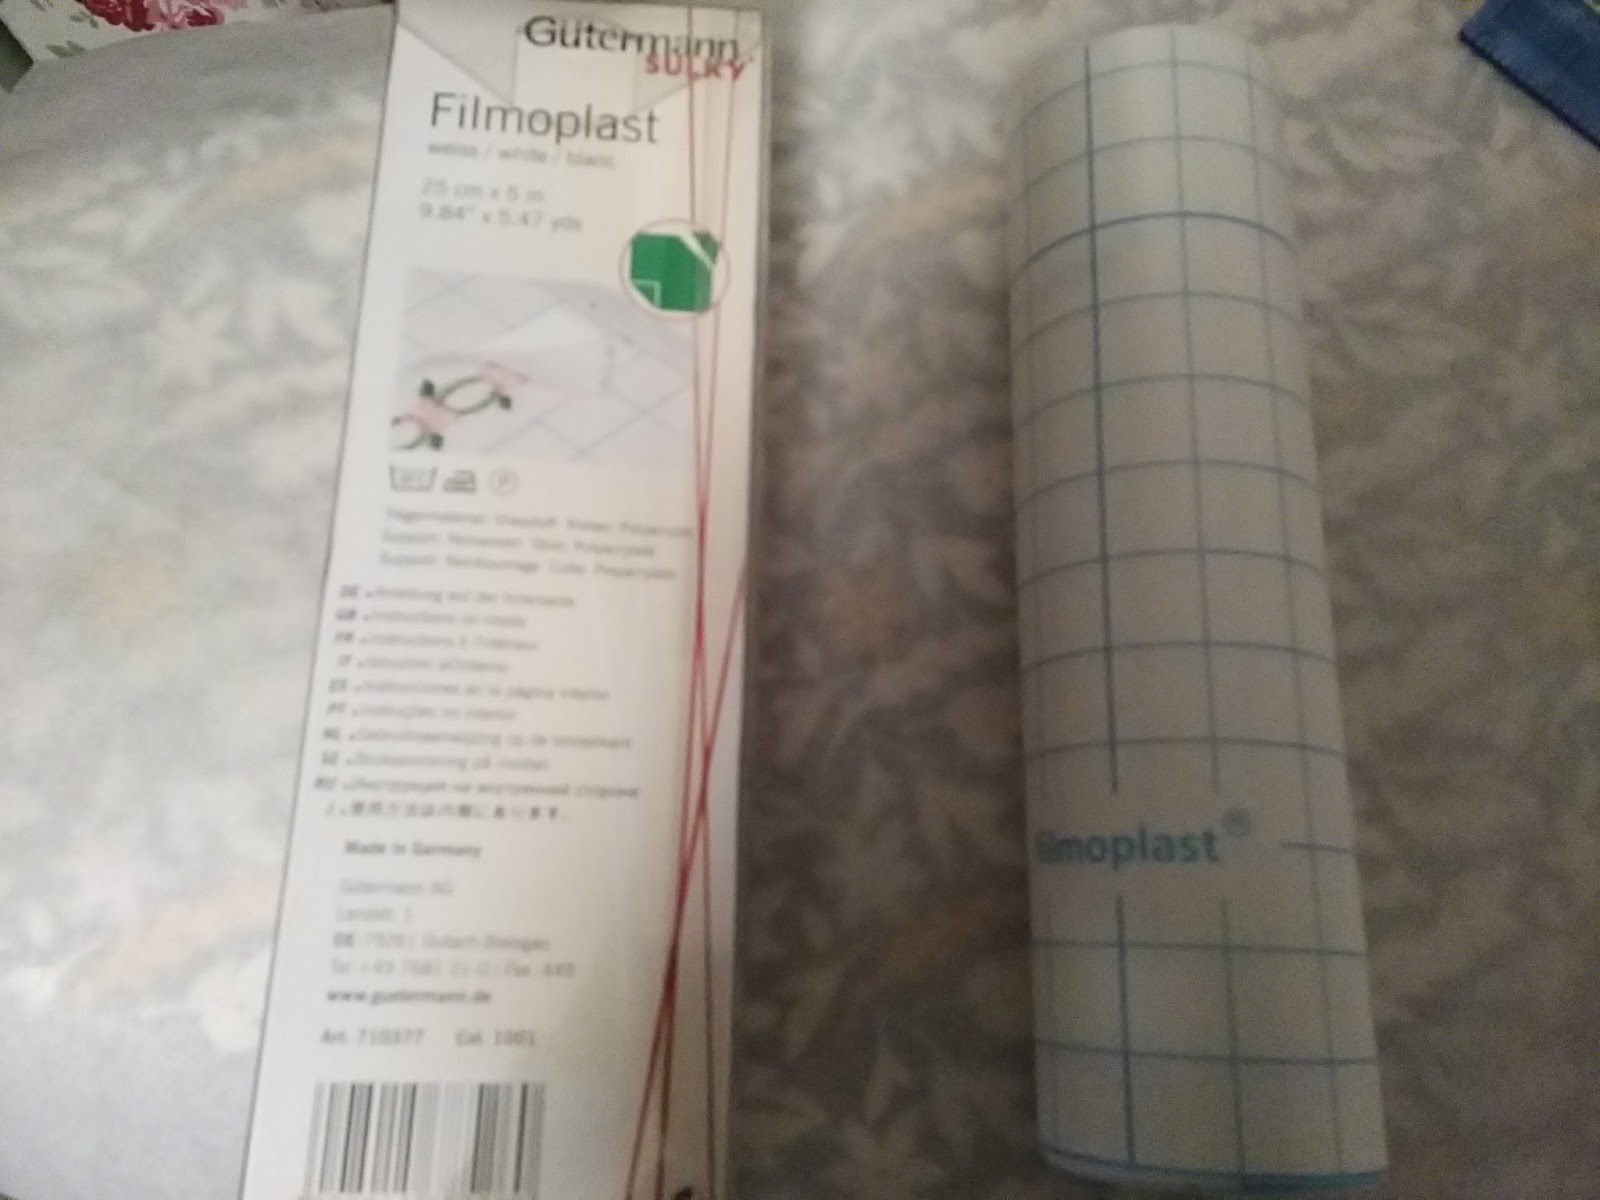
When you are embroidering by machine you need to use a stabiliser to prevent the fabric from moving in the hoop and from stretching. This one is Filmoplast which is a self adhesive stabiliser which tears away easily. See the link below which will take you to stabilisers on Jaycotts web site .
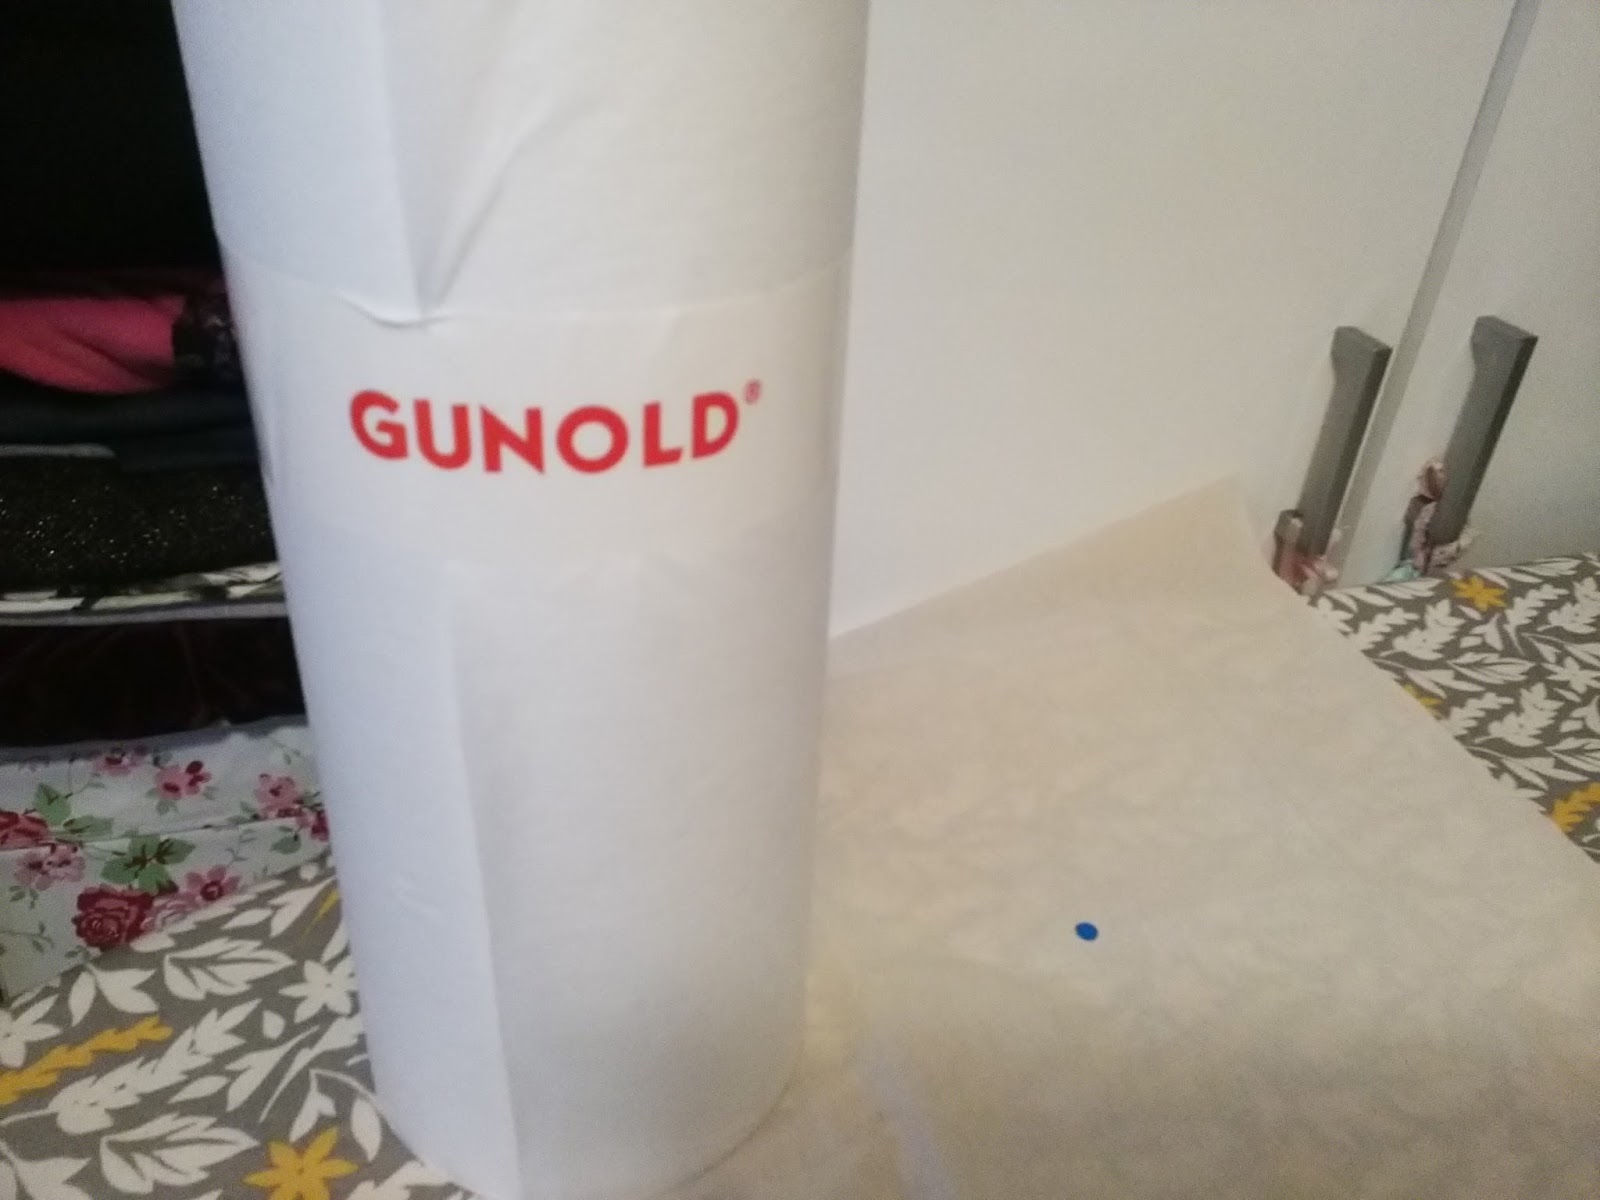
Another stabiliser is Gunold. This is a very firm backing which again tears away easily. There are many others and they all have their own benefits and uses so take a look on this link Stabilisers
My fabric and stabiliser are now in the embroidery hoop and you can see that I have aligned my paper dot dead centre. This dot will of course be removed once I am satisfied that the positioning is correct.
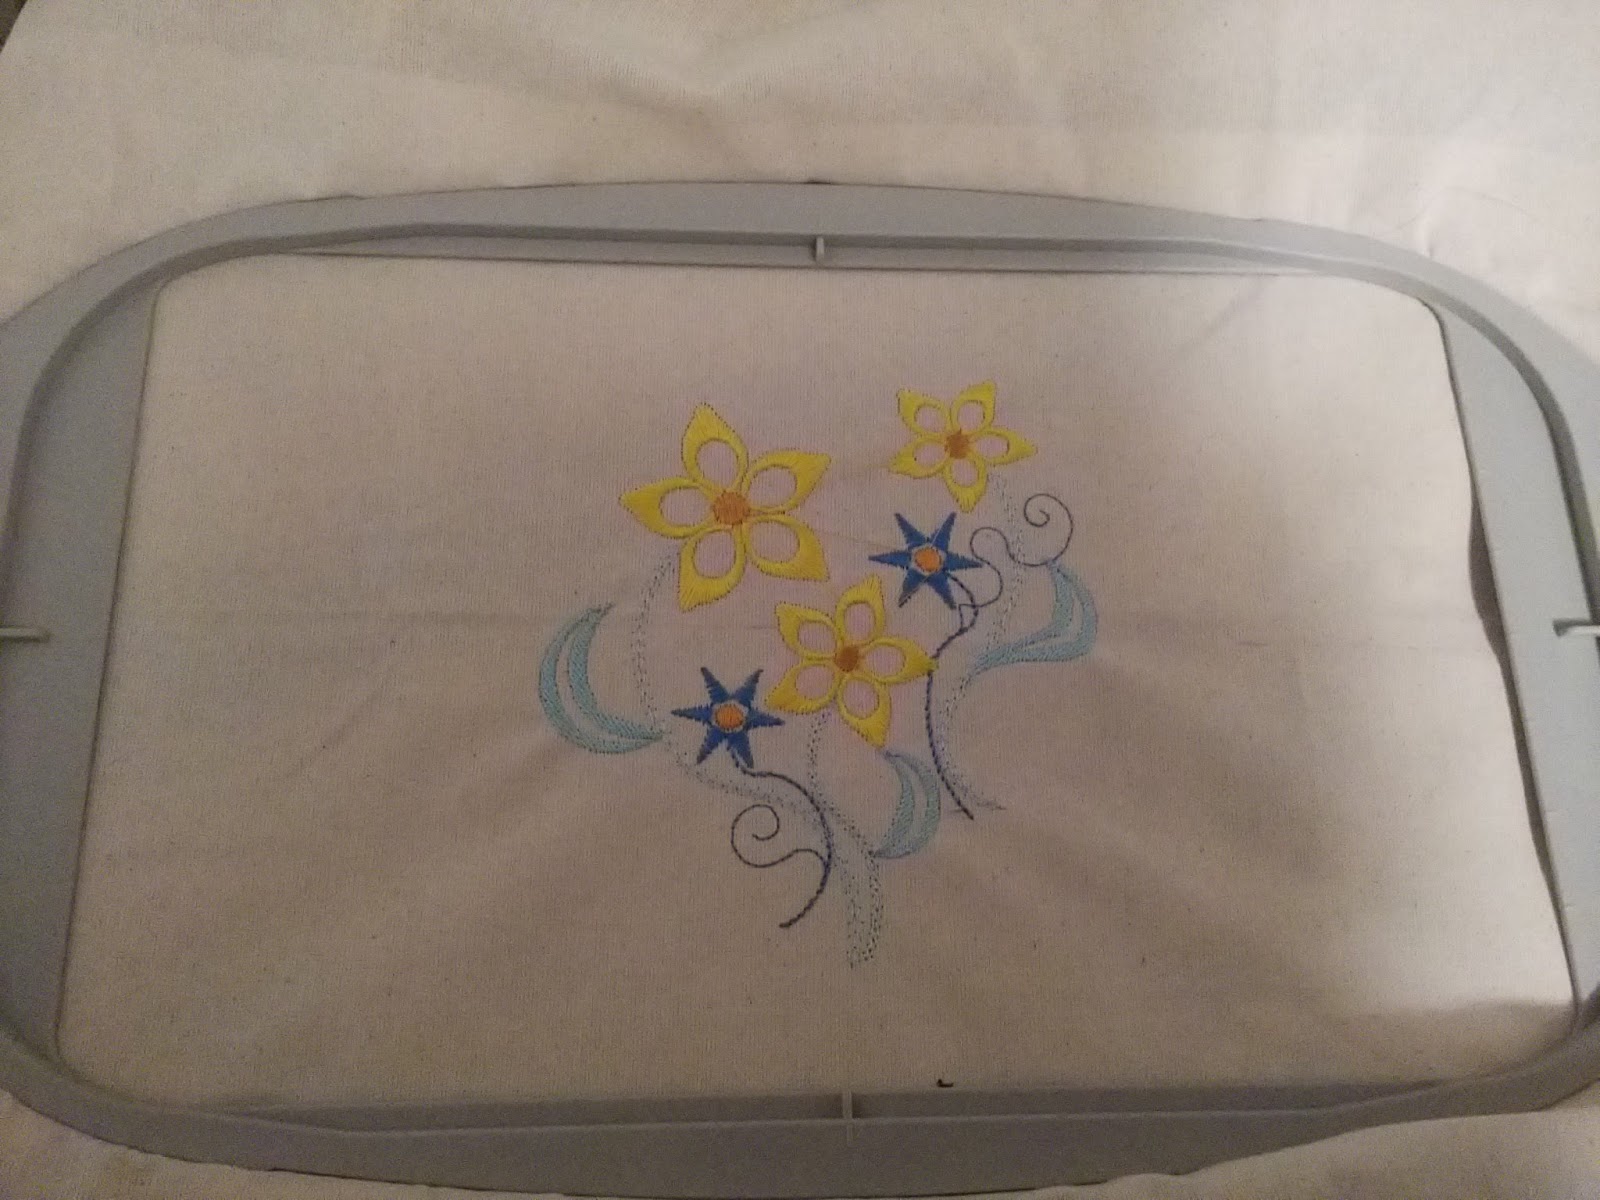
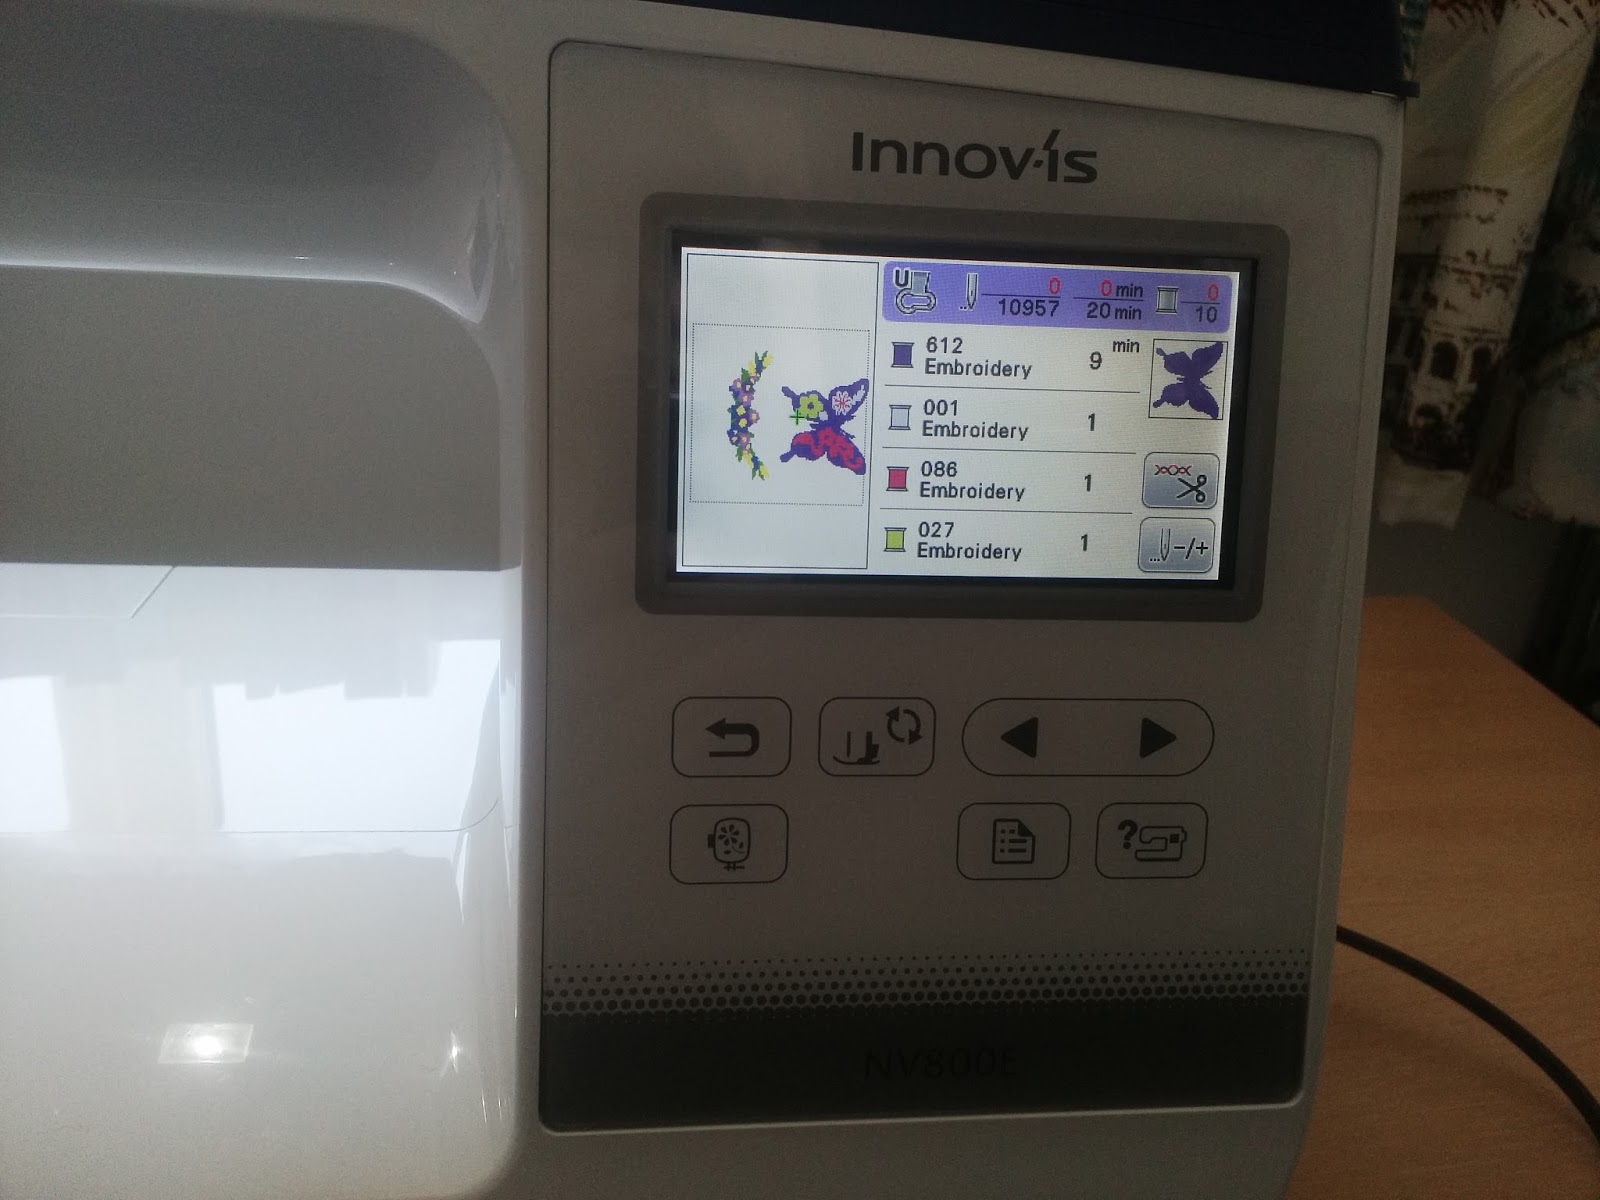
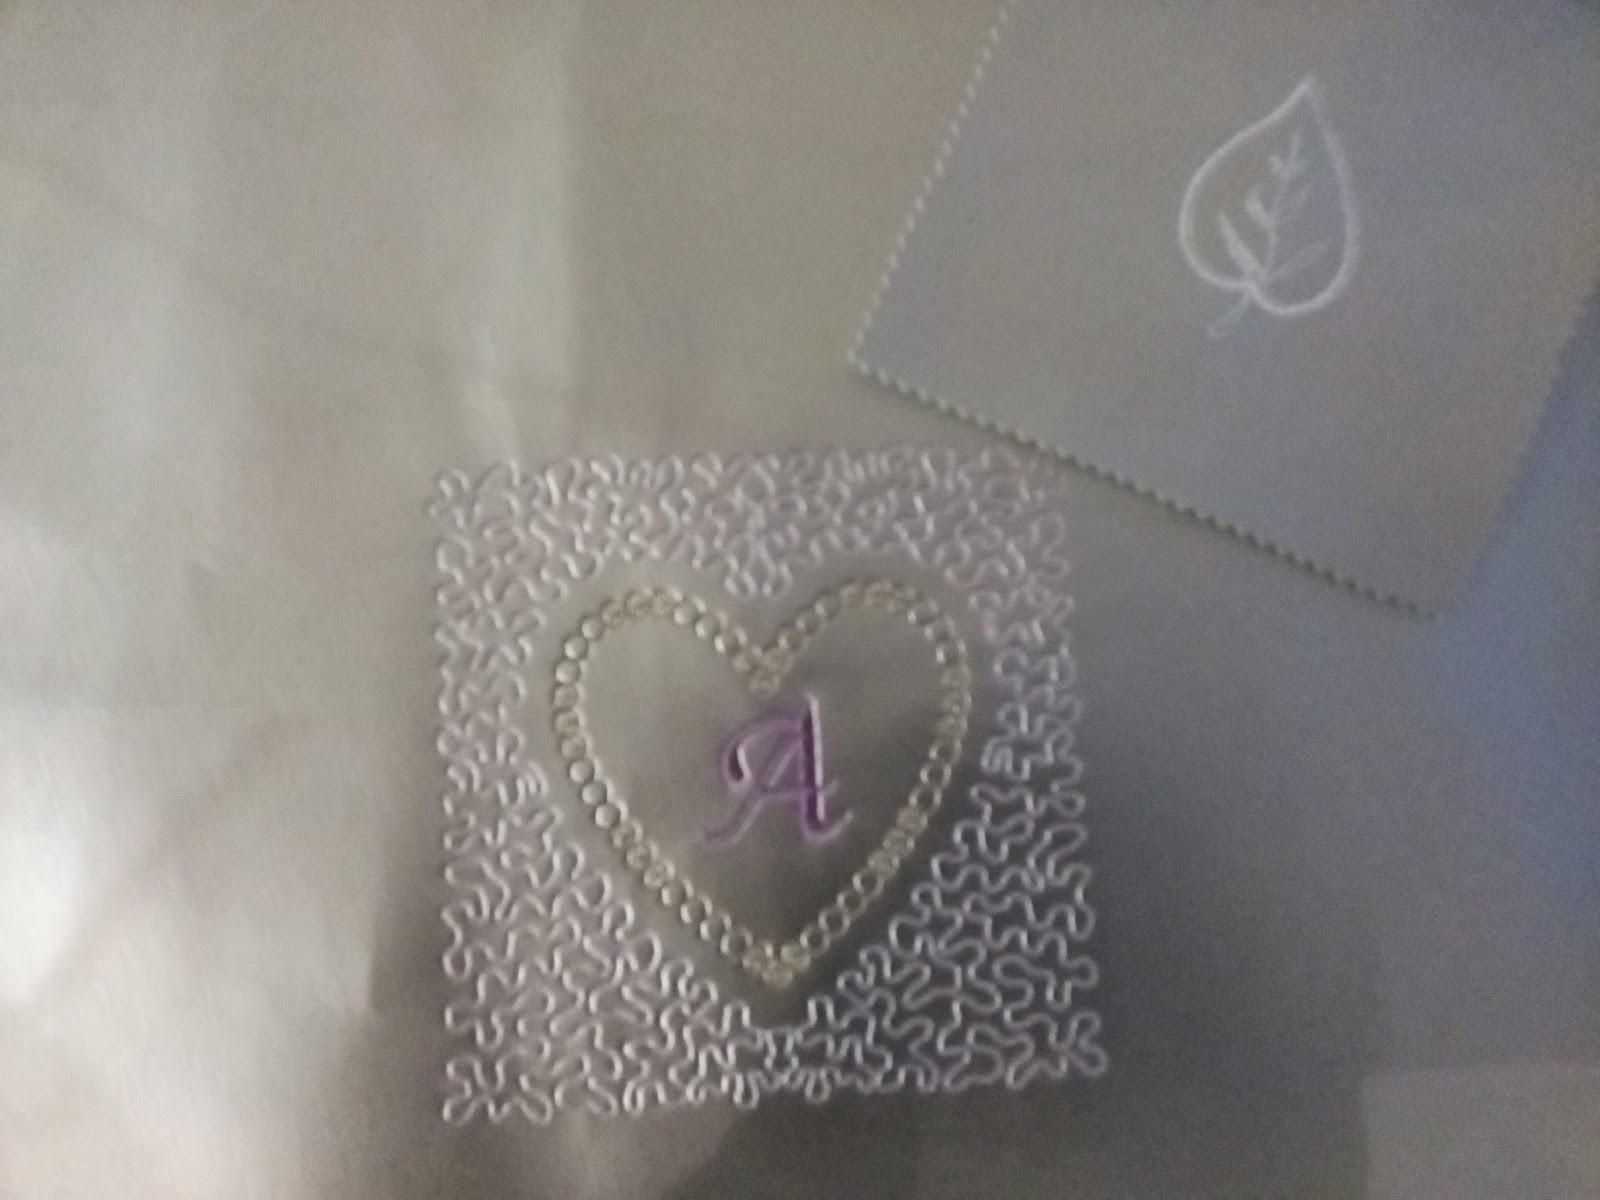
My embroidery machine is the wonderful Brother innov-is 800E and I totally love it. It is always worth telephoning Jaycotts to enquire about the current price by the way because there are often promotions coming up. Better still sign into the newsletters and be the first to hear about sales and promotions. Details are on the home page, so do take a couple of seconds now to sign up .Jaycotts.co.uk This is my chosen embroidery. It was easy to rotate the design on the touch screen so that it was facing the right way on my fabric.The screen shows that it is currently sewing colour 017 and shows the design it is stitching. The next colour is 202 and it will take six minutes to complete that part of the design and so on.
This is my finished embroidery. If you are tempted then please do telephone for more details or call in at Jaycotts for a demonstration I have to say that this machine has totally changed my sewing. When I first got it I was unsure how to use it, I have never used an embroidery machine before but I do assure you that it is so easy to use and you will be producing great results in a very short time.
This is the reverse side and you can clearly see how easy it is to remove the tear away stabiliser. Any small bits can be gently eased out with a pin.
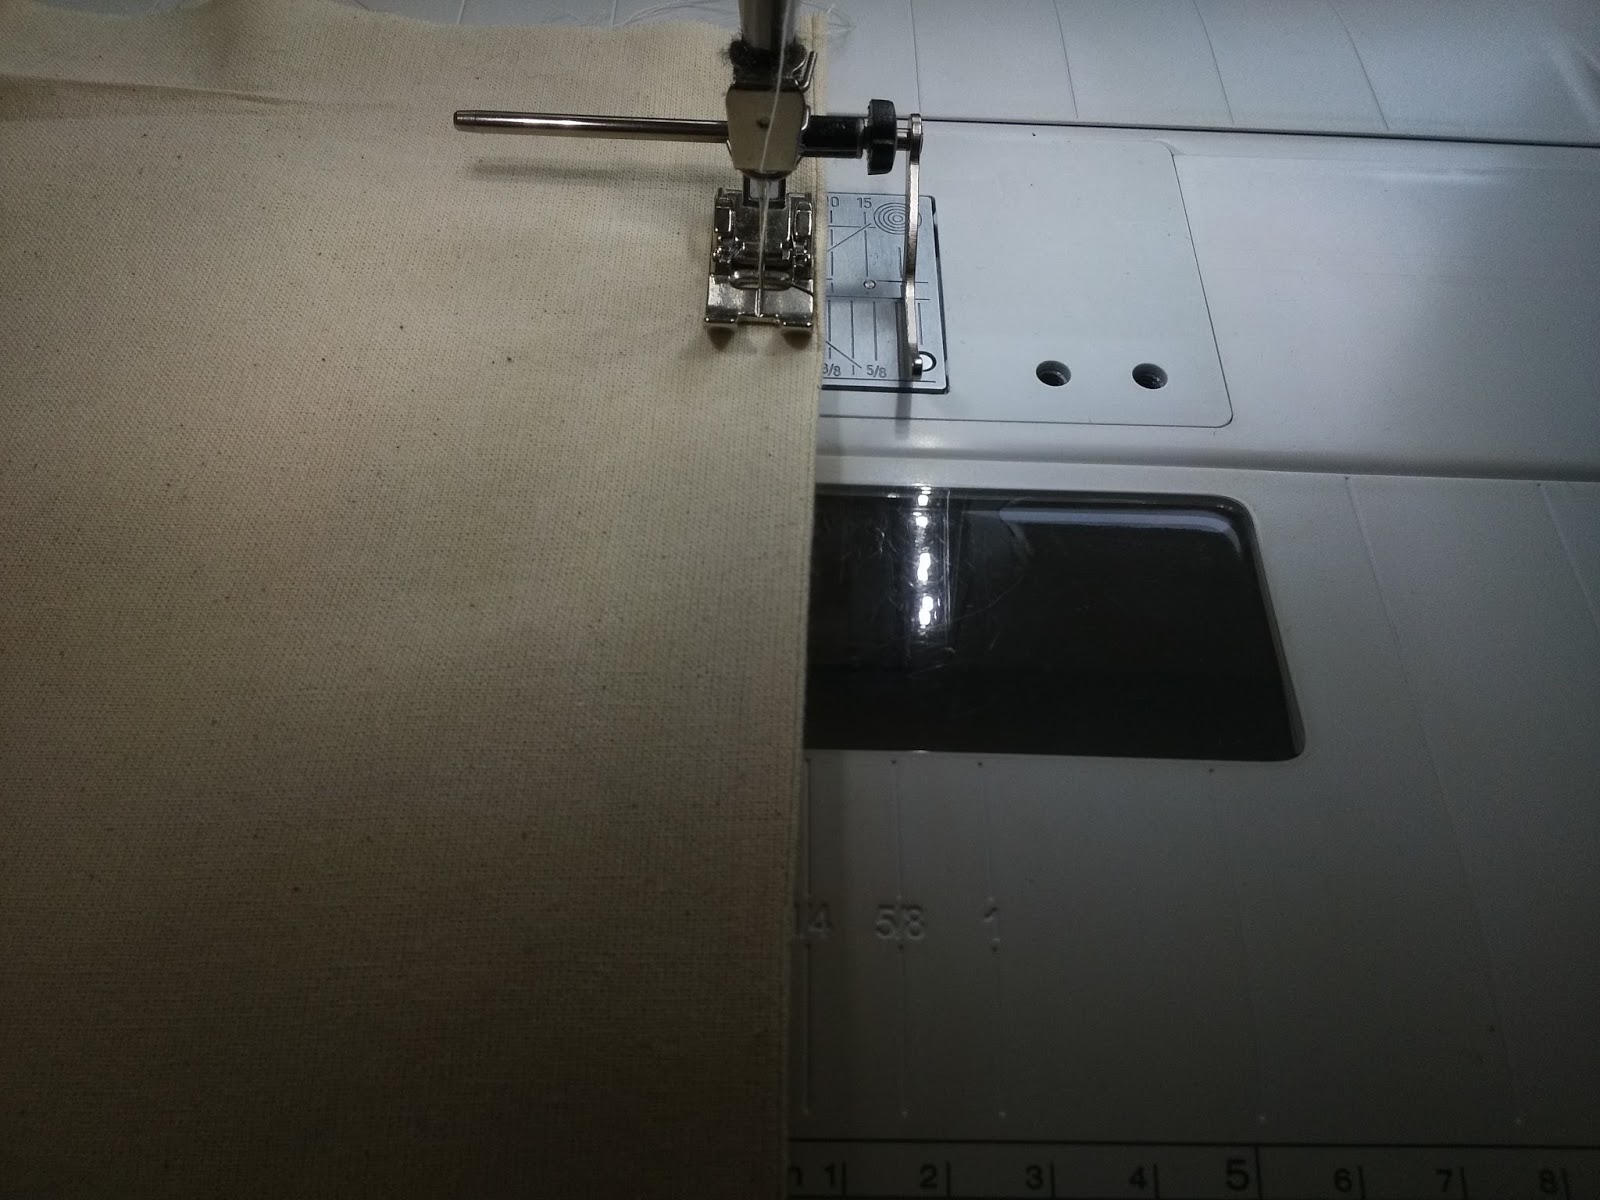
We are going to sew a French seam for strength, durability and neatness. In a French seam all the raw edges are enclosed and it really is a very useful process to learn. Making a simple bag like this is good for practising new techniques on. To sew a French seam pin the front and back WRONG sides together. Then sew a narrow seam around three sides leaving the top open.
Trim the seam fairly close to the stitching, press, turn it the other way out and press the seam flat.
Then sew the seam again, this time on the wrong side enclosing the raw edges within the seam. Normally you would stitch closer to the edge, but this fabric frays easily and a bag needs to be strong, so i stitched it slightly wider than I would say a blouse.
I made a video to show you properly how to sew the French seam so take a minute to watch it, it really is a very useful skill to have.
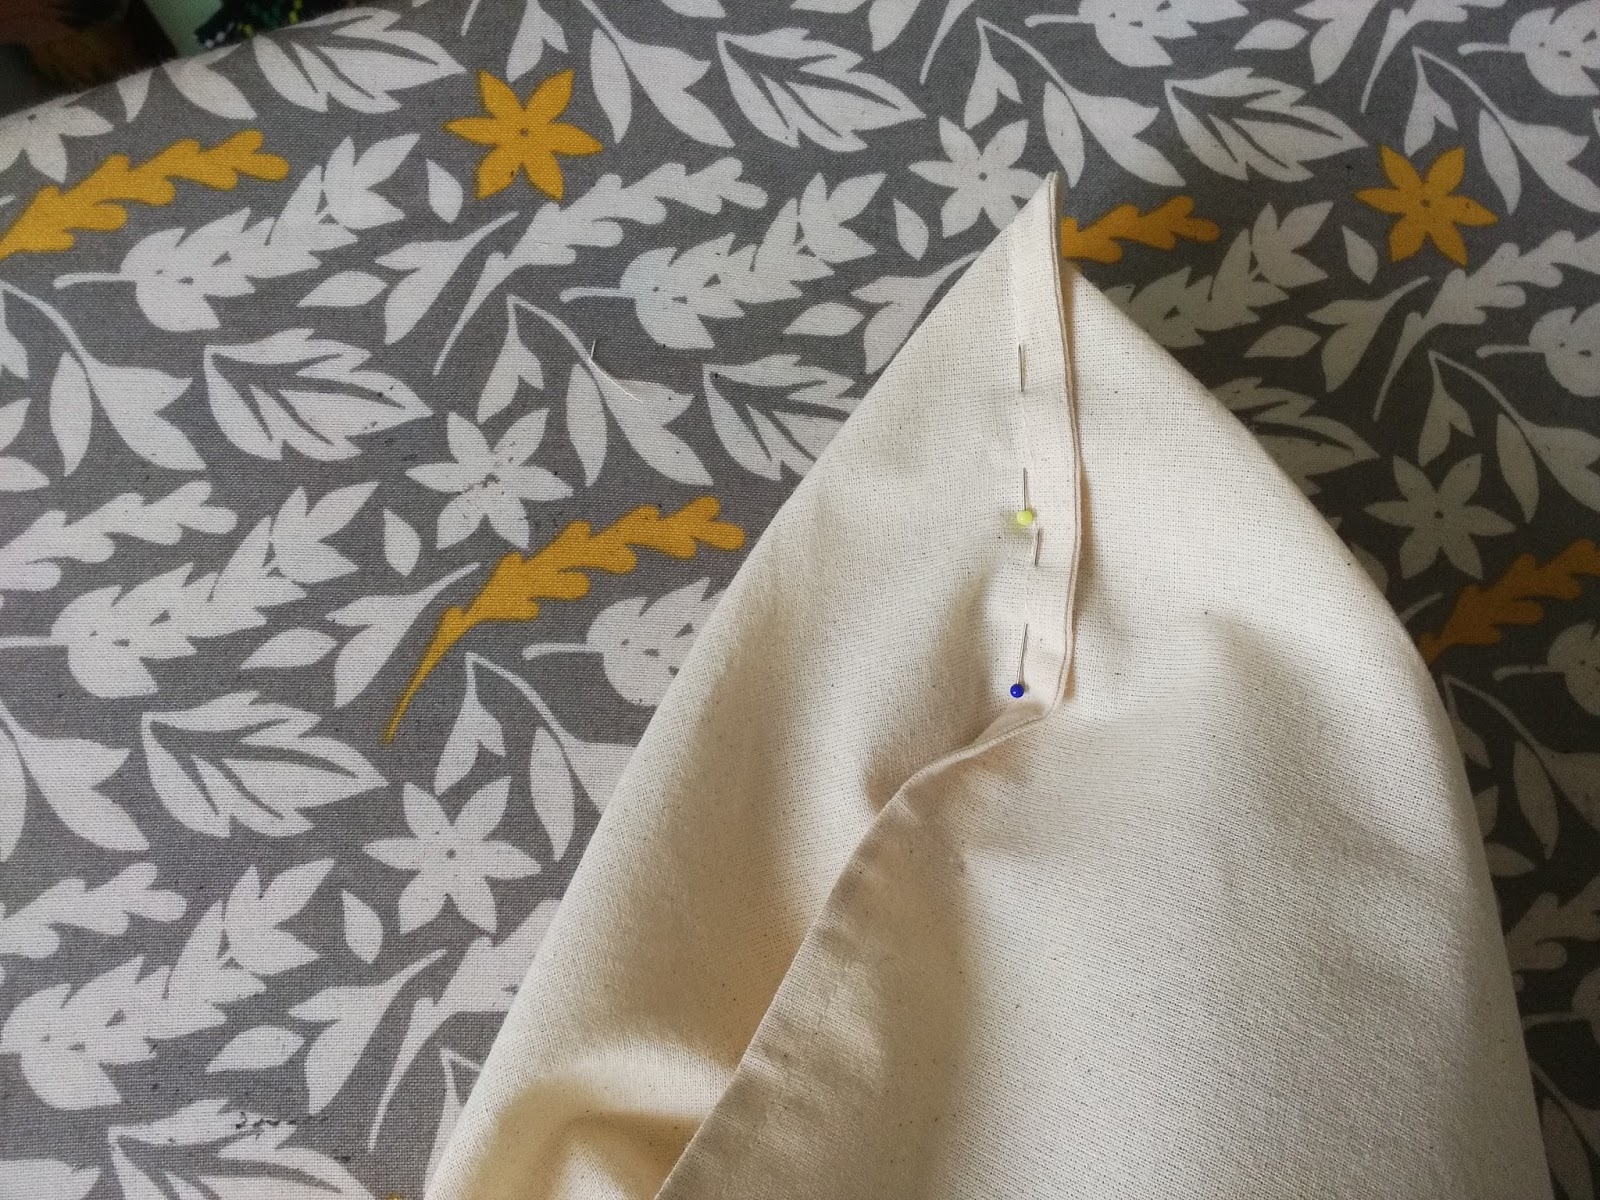
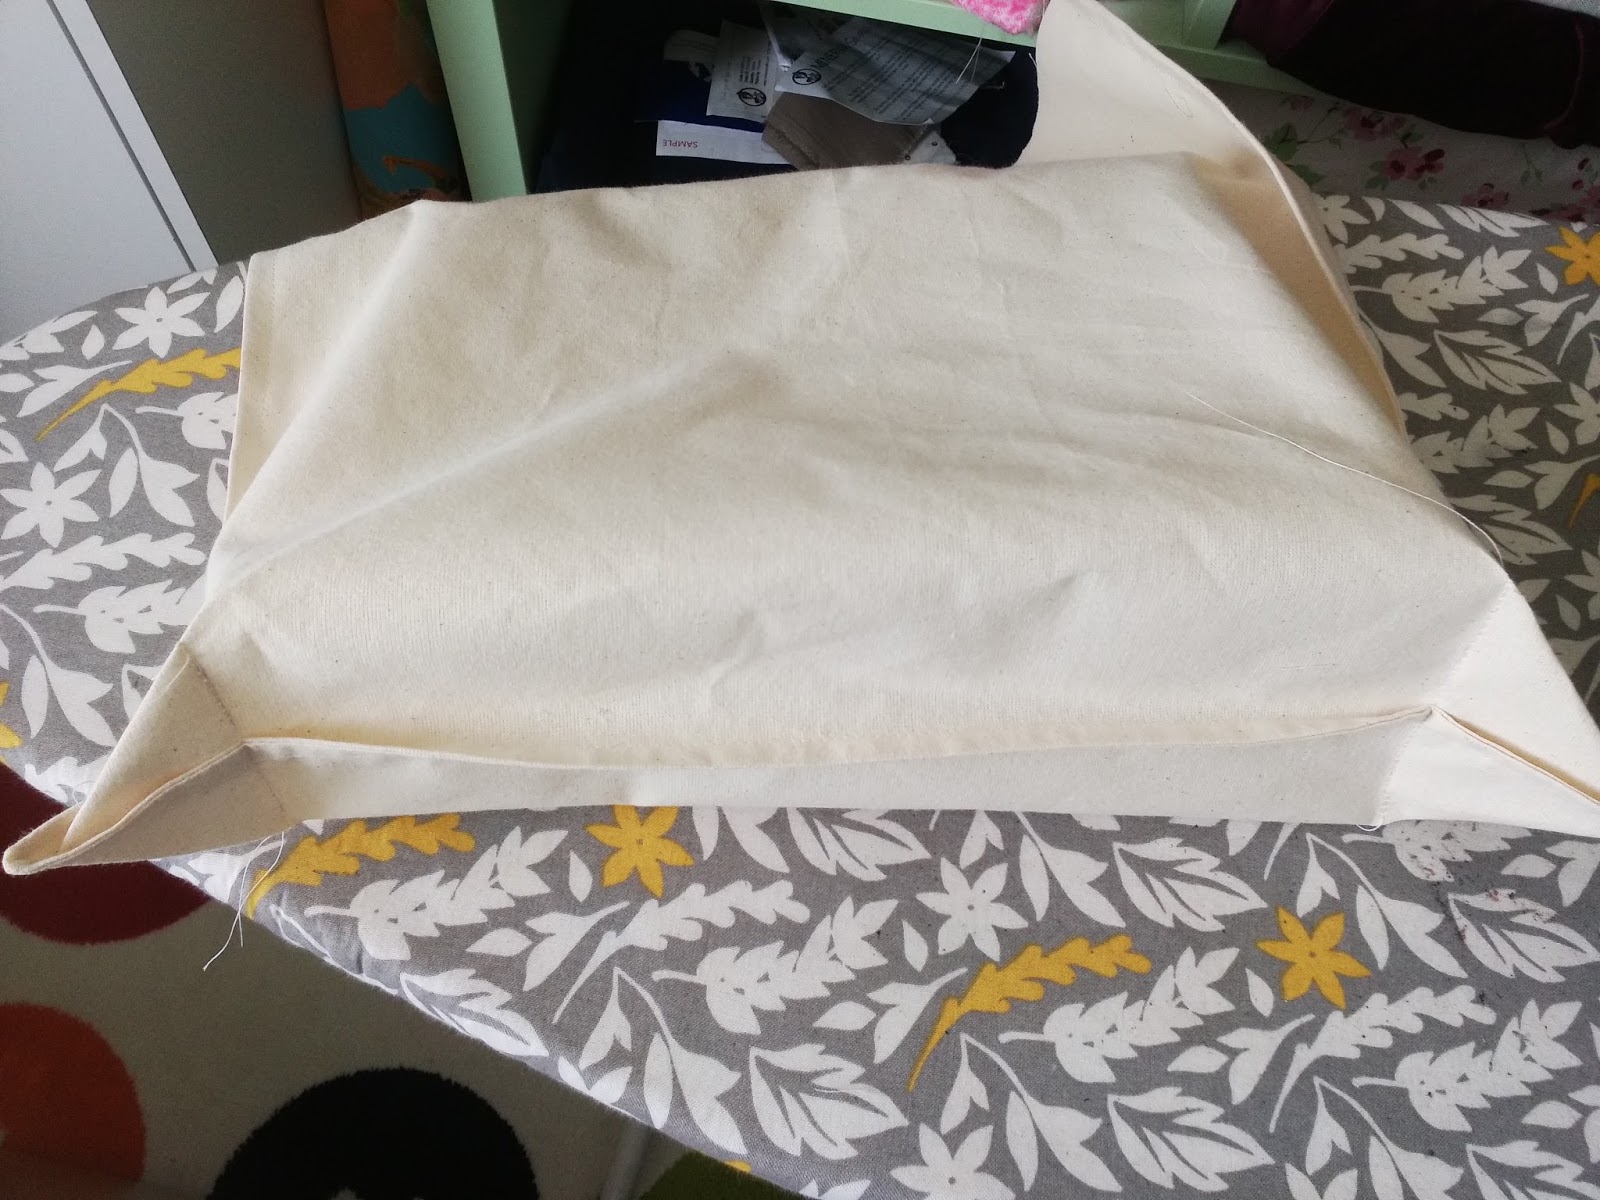
You can omit this next stage of you really want to, but try to have a go. To make the bag more professional and to make it more suitable for larger items I wanted to add a base. This is so easy to do.
On the inside of the bag, pin the corners together going exactly through the seams of the bottom and the side.
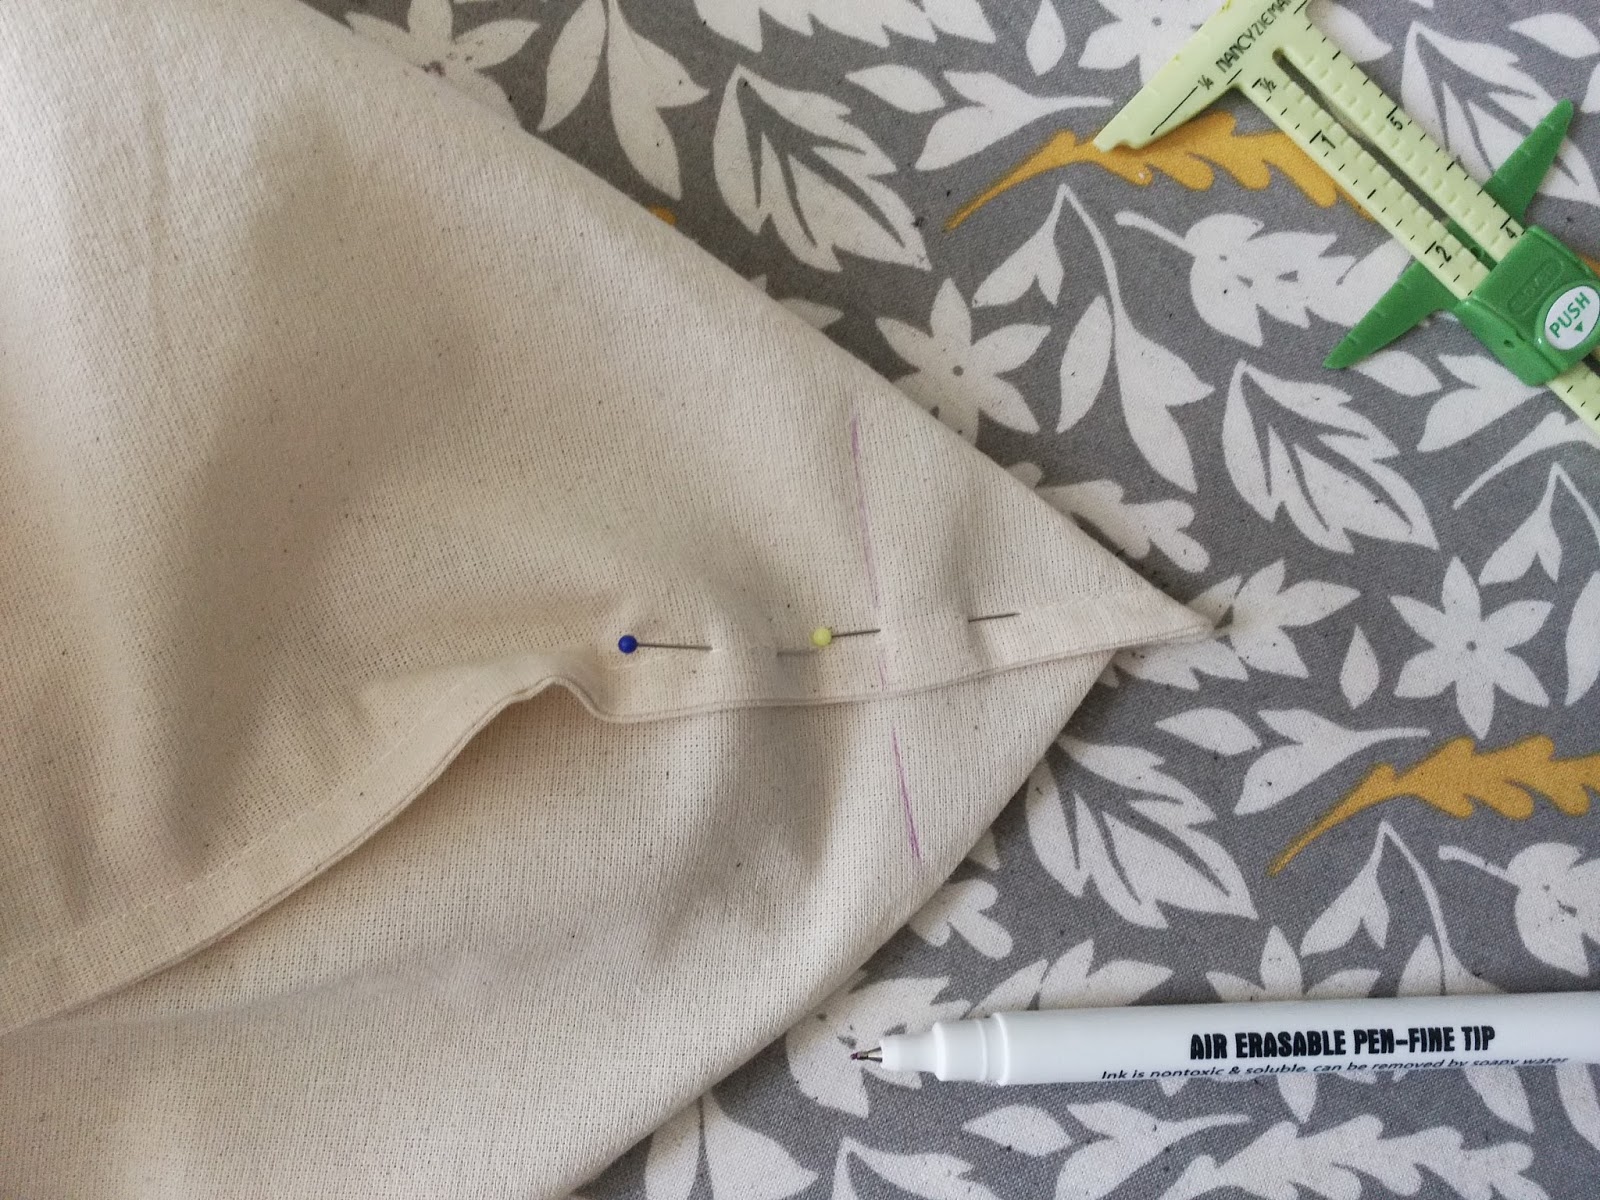
Then measure around 2" from the top and draw straight across the corner with a marker pen. There are quite a few different marker pens, both air and water erasable so do take a look, they are not expensive Marker pens
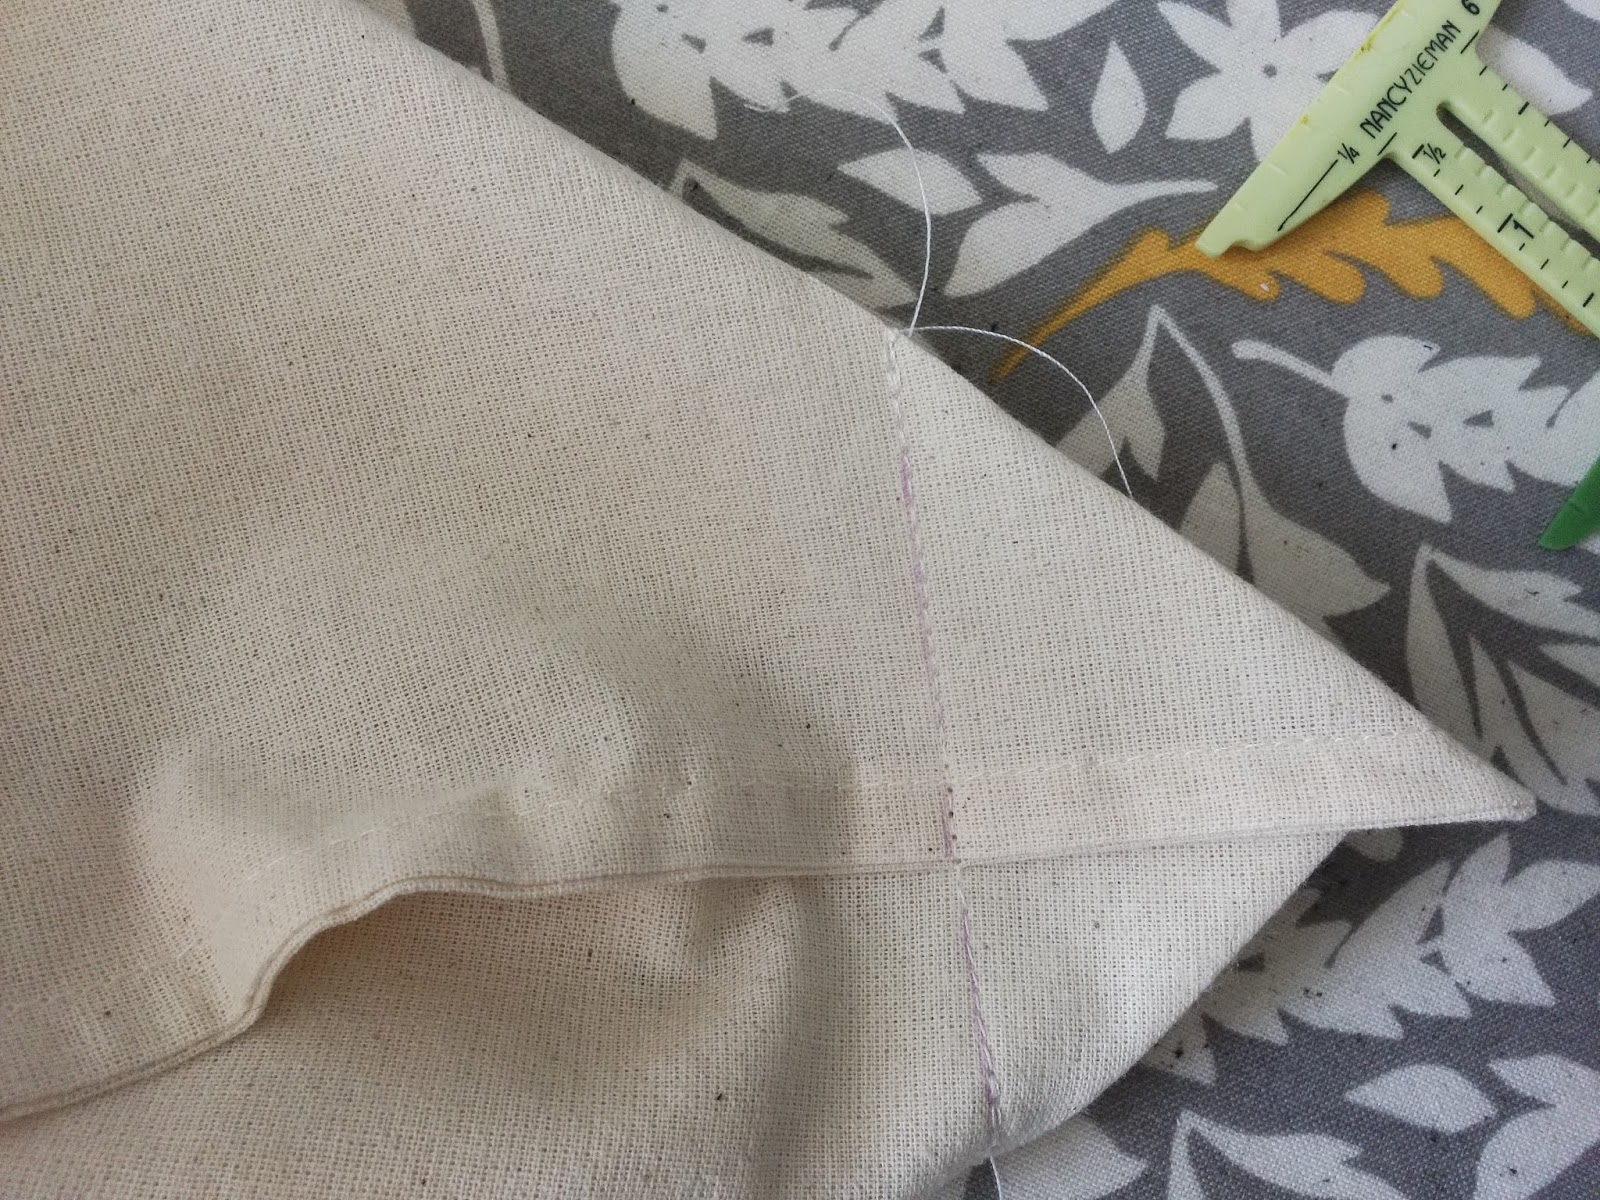
Then just stitch along the line fastening the start and finish of the seam so that it does not come undone.
This is the inside of the bag showing the corners which have been stitched to form a base.
And this is the right side which shows how lovely this simple trick looks. It does make the bag more practical too so it is worth taking time to do it.
If you do not want to make the corners on the bag then just leave them out. The bag looks just as good without as the picture above shows.
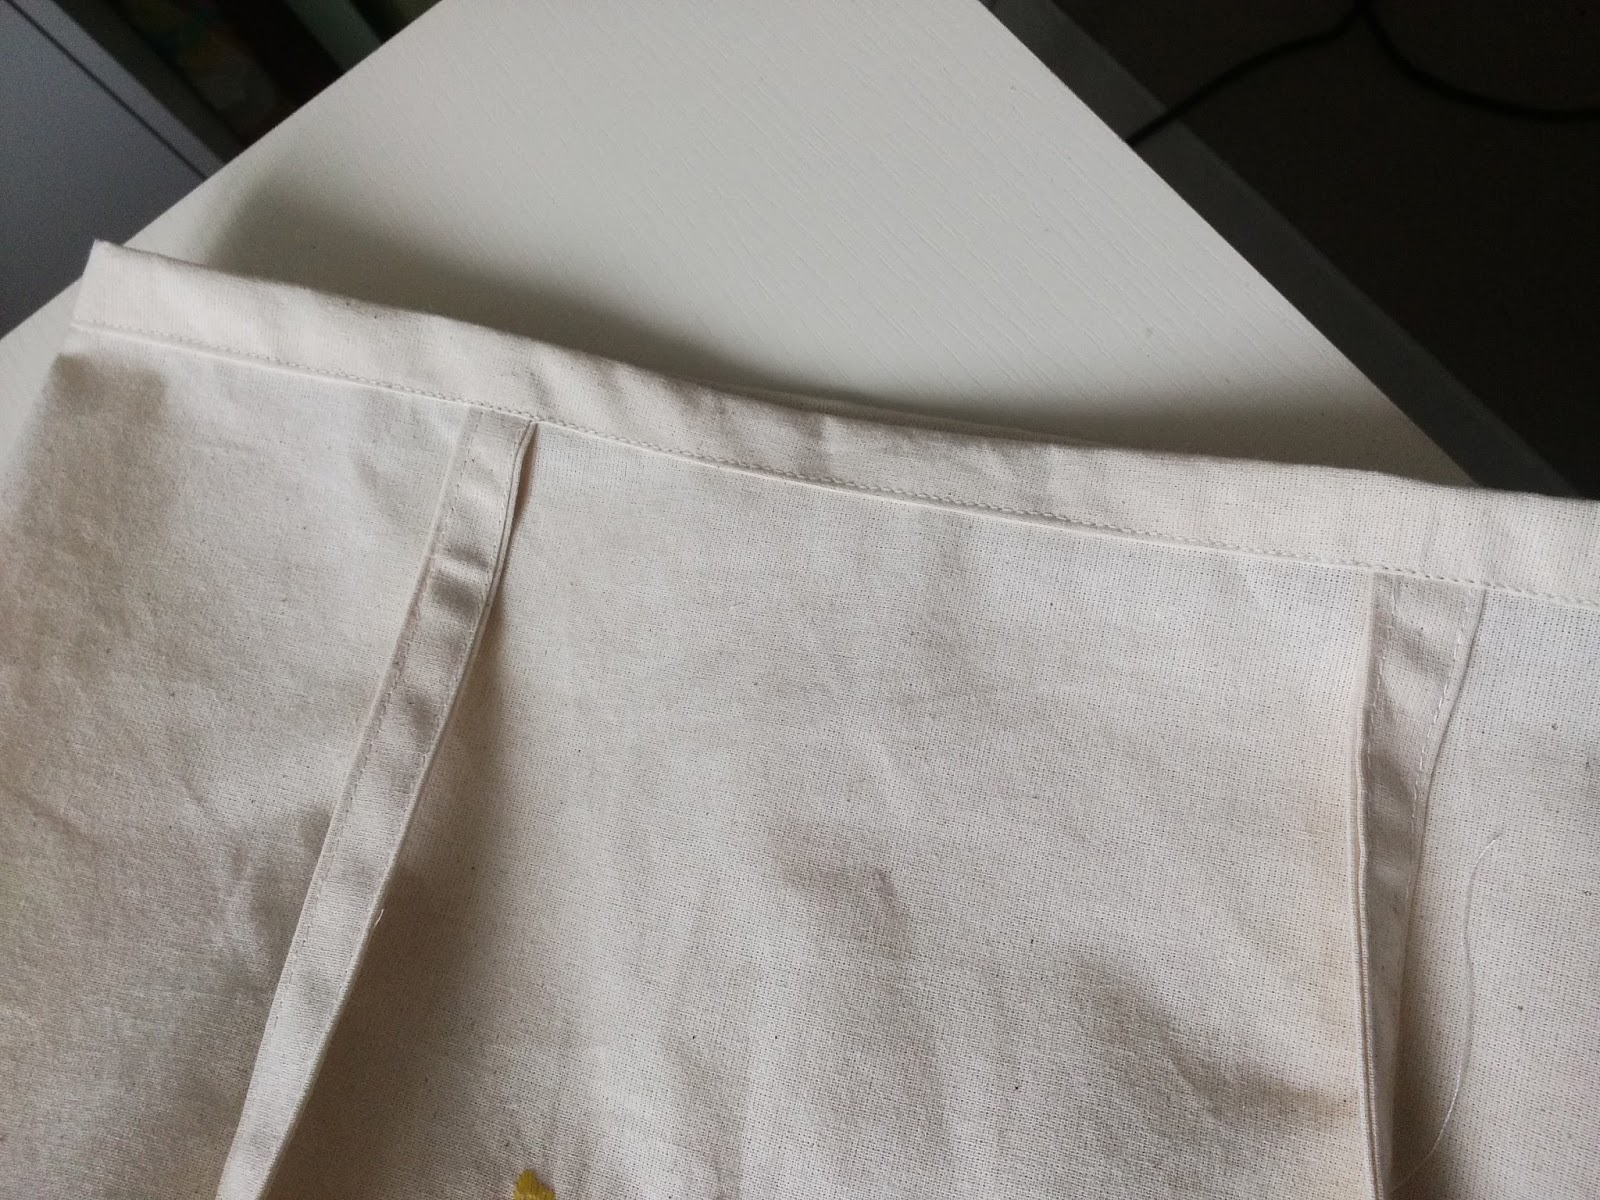
The next step is to make some straps. Decide how long you want them to be - do you want a shoulder bag, a bag to hold over your arm or even a crossover bag? Then cut two lengths of fabric long enough. Decide on the width too, on this size of bag cut the strips around three inches wide.
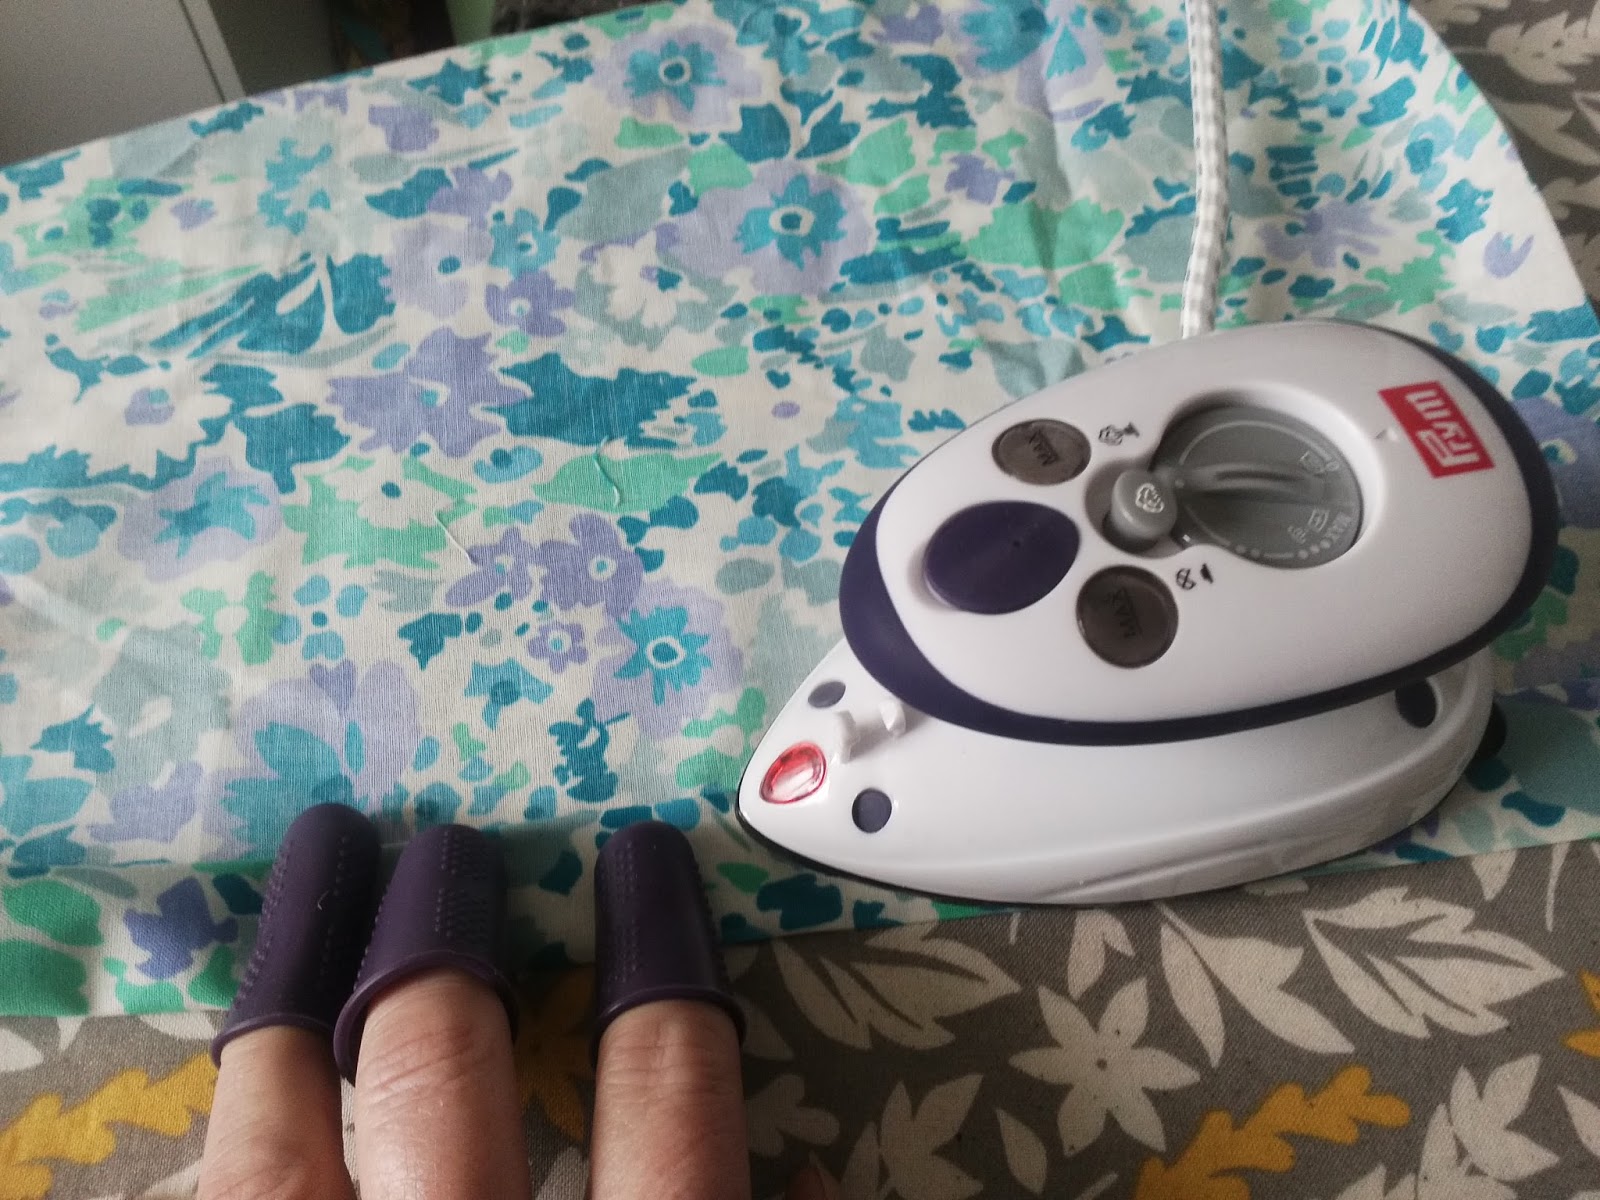
Find the centre by ironing the straps in half then press the sides to the centre.
When pressing small areas which you need to hold in place during the process it is important to protect your fingers. These finger guards from Prym at Jaycotts are the answer, inexpensive too, order yours here Finger Guards This mini iron is every bit as powerful as your full size iron, so take a look at it too. Mini Steam Iron
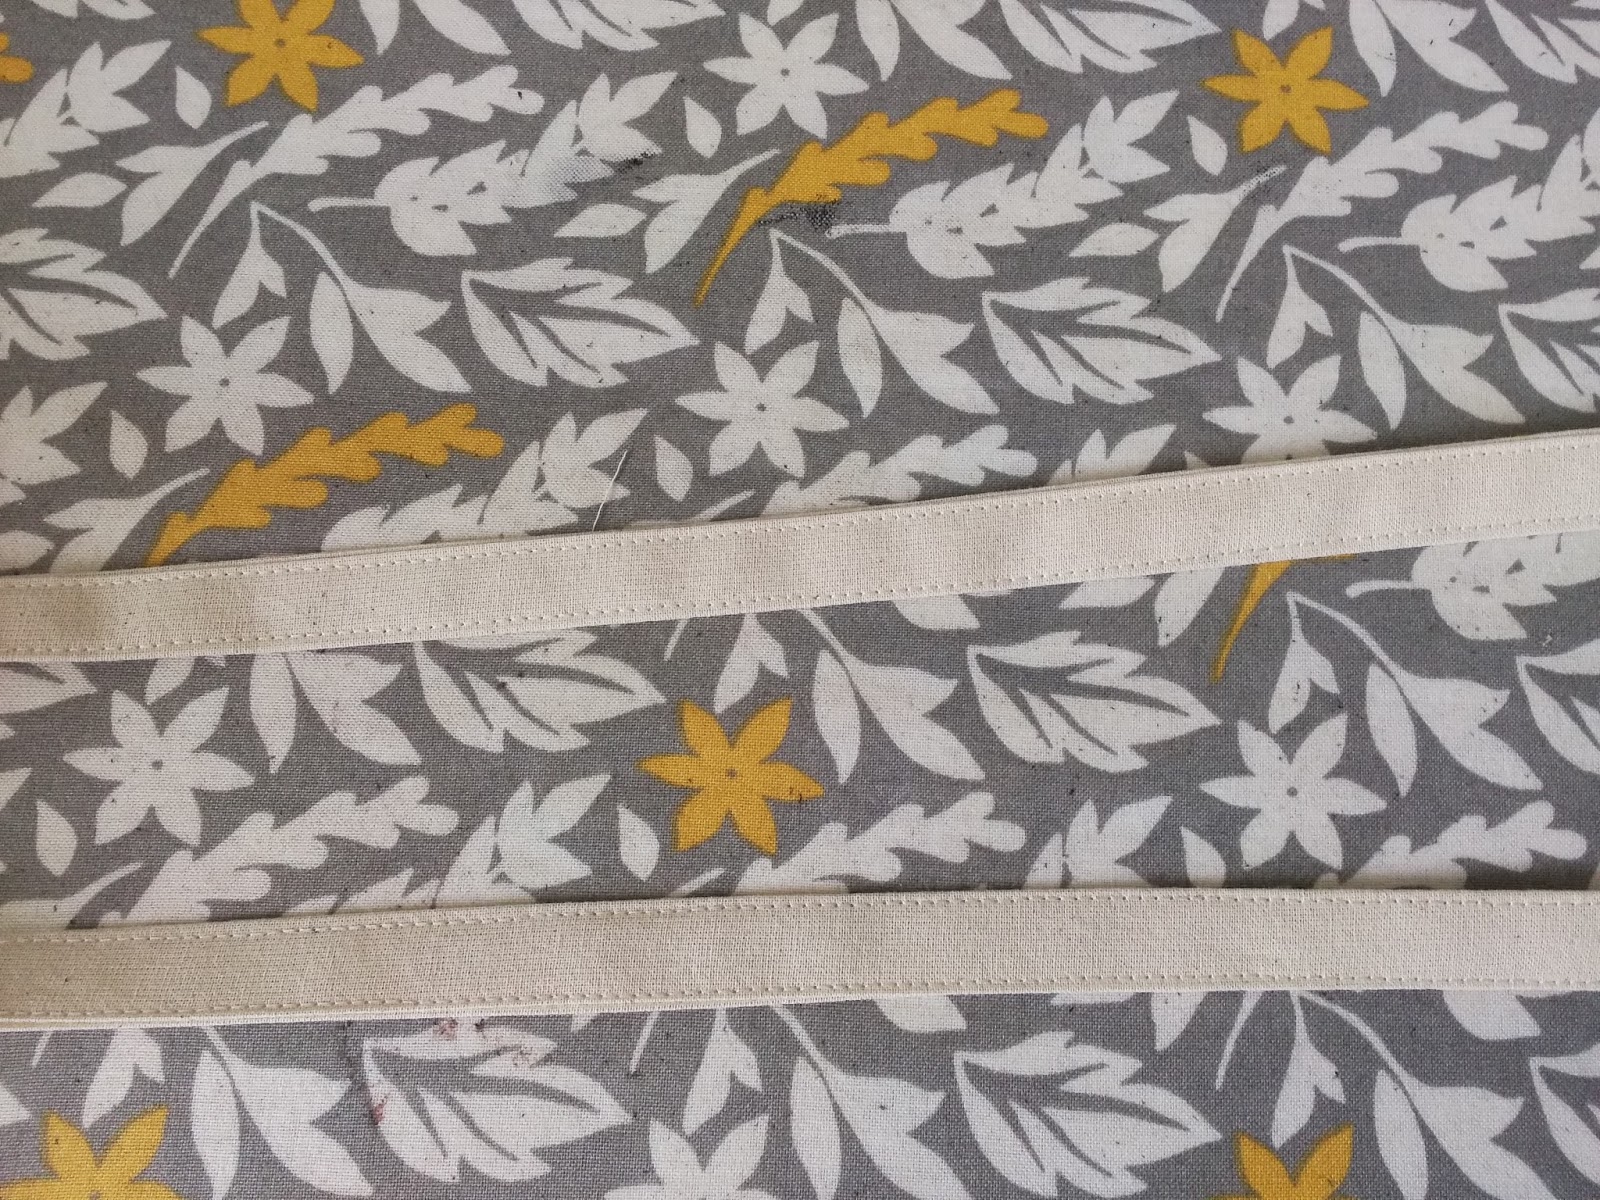
Fold each strap in half and top stitch close to the edges along both sides for strength.
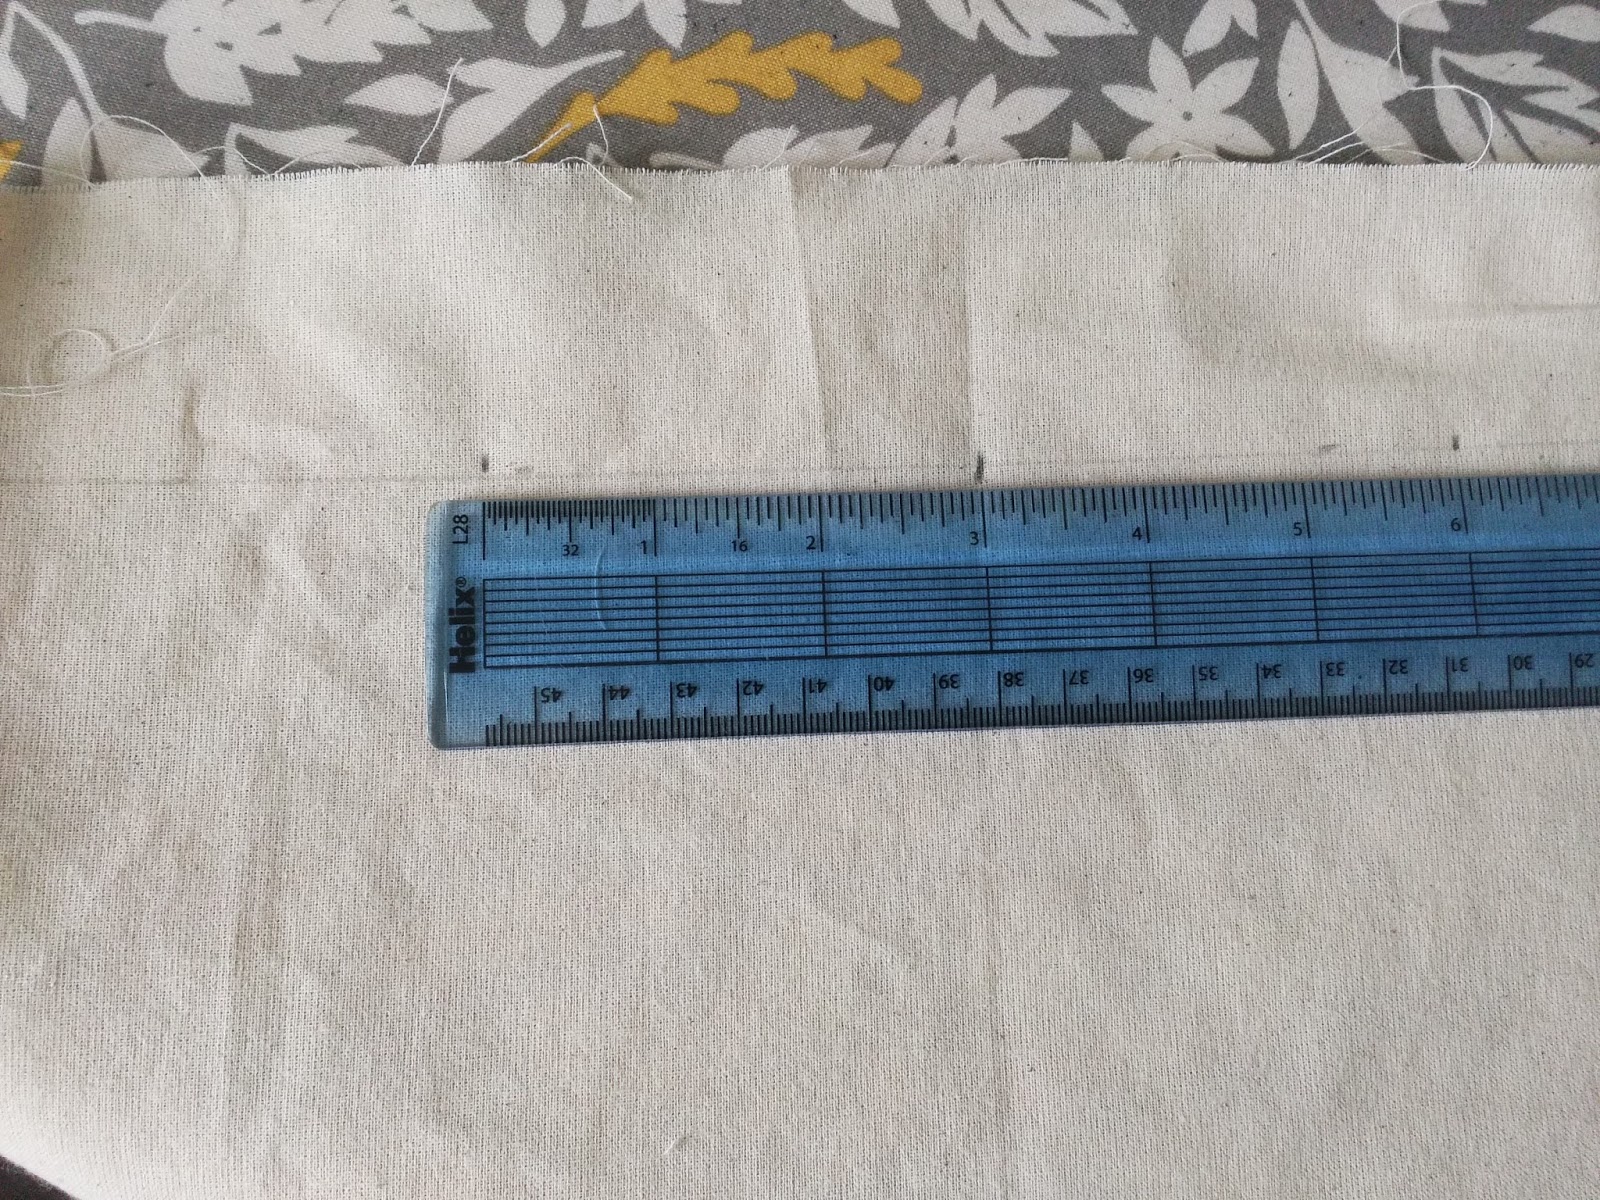
Mark the position of the straps by measuring out from the centre front and centre back. I placed mine four inches in from the centre
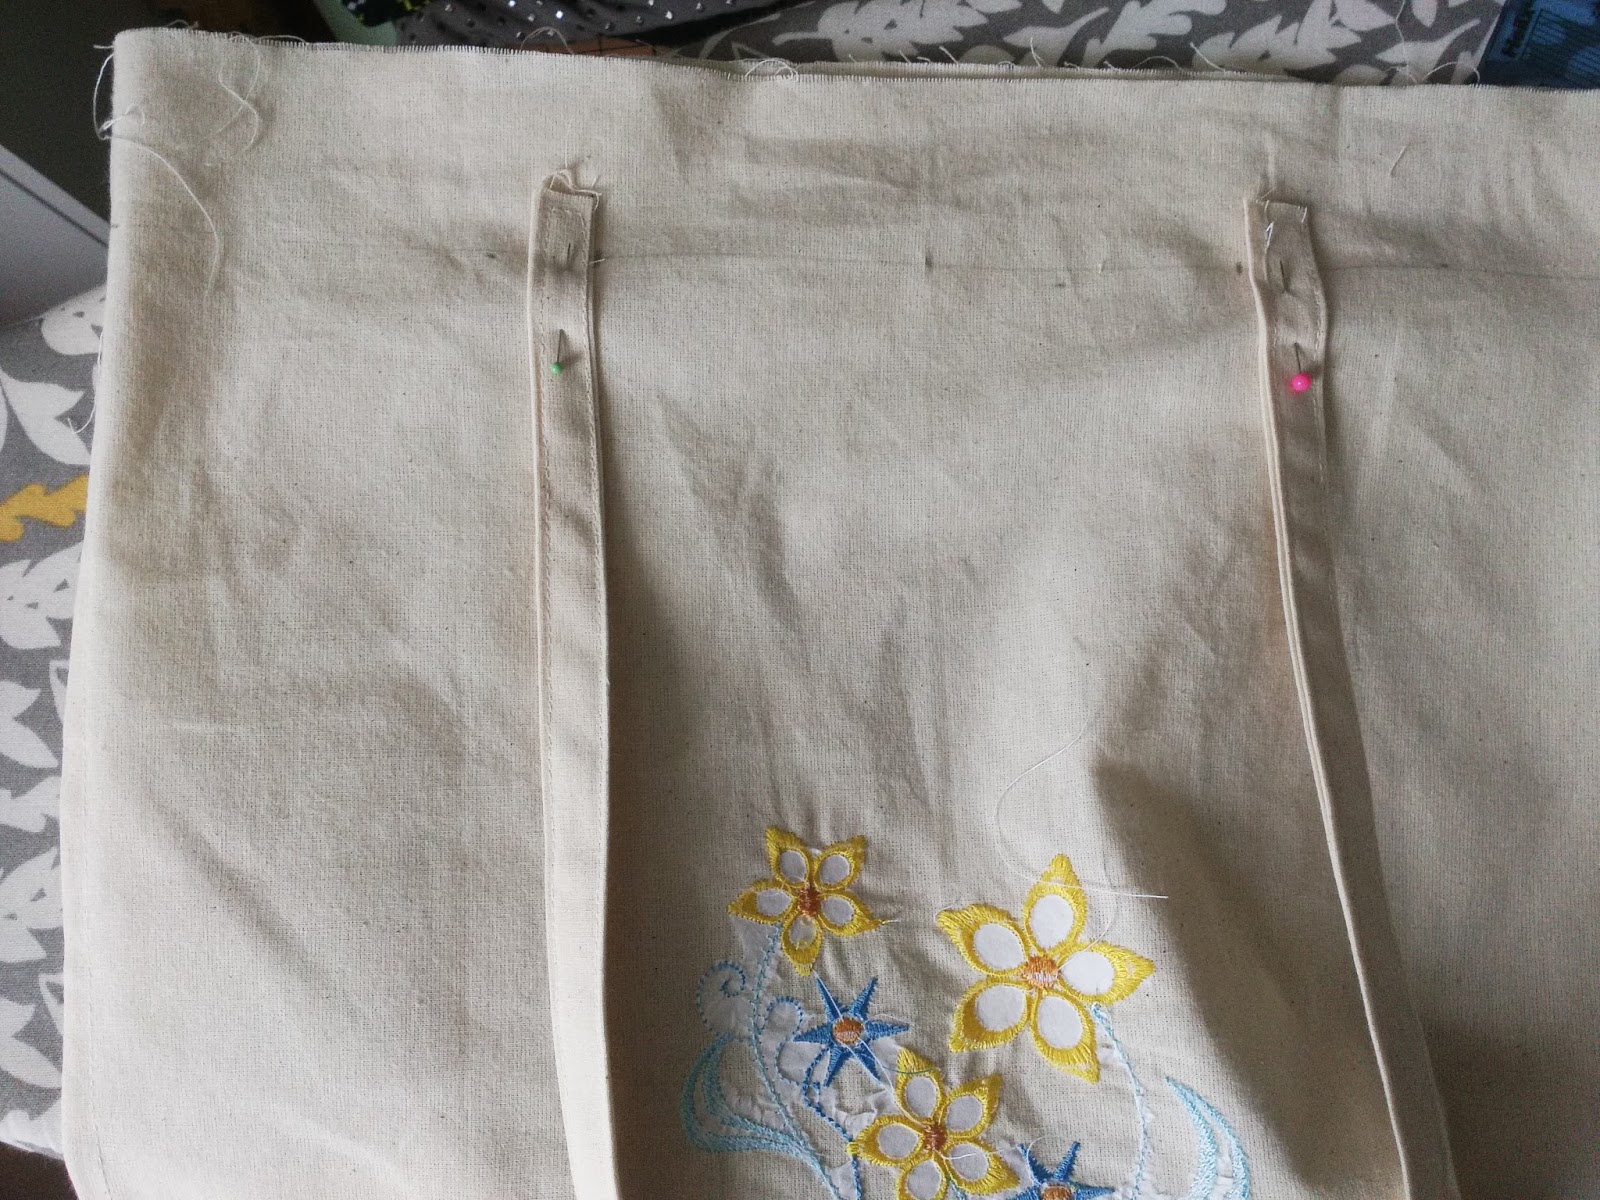
Baste the straps an inch from the top edge facing down
Fold the top over twice and top stitch along the top edge.
Fold the straps up and top stitch along the lower edge of the hem, I stitched over the straps a couple of times for extra strength.
And that is our first bag made.
Step two, make a lined Tote.
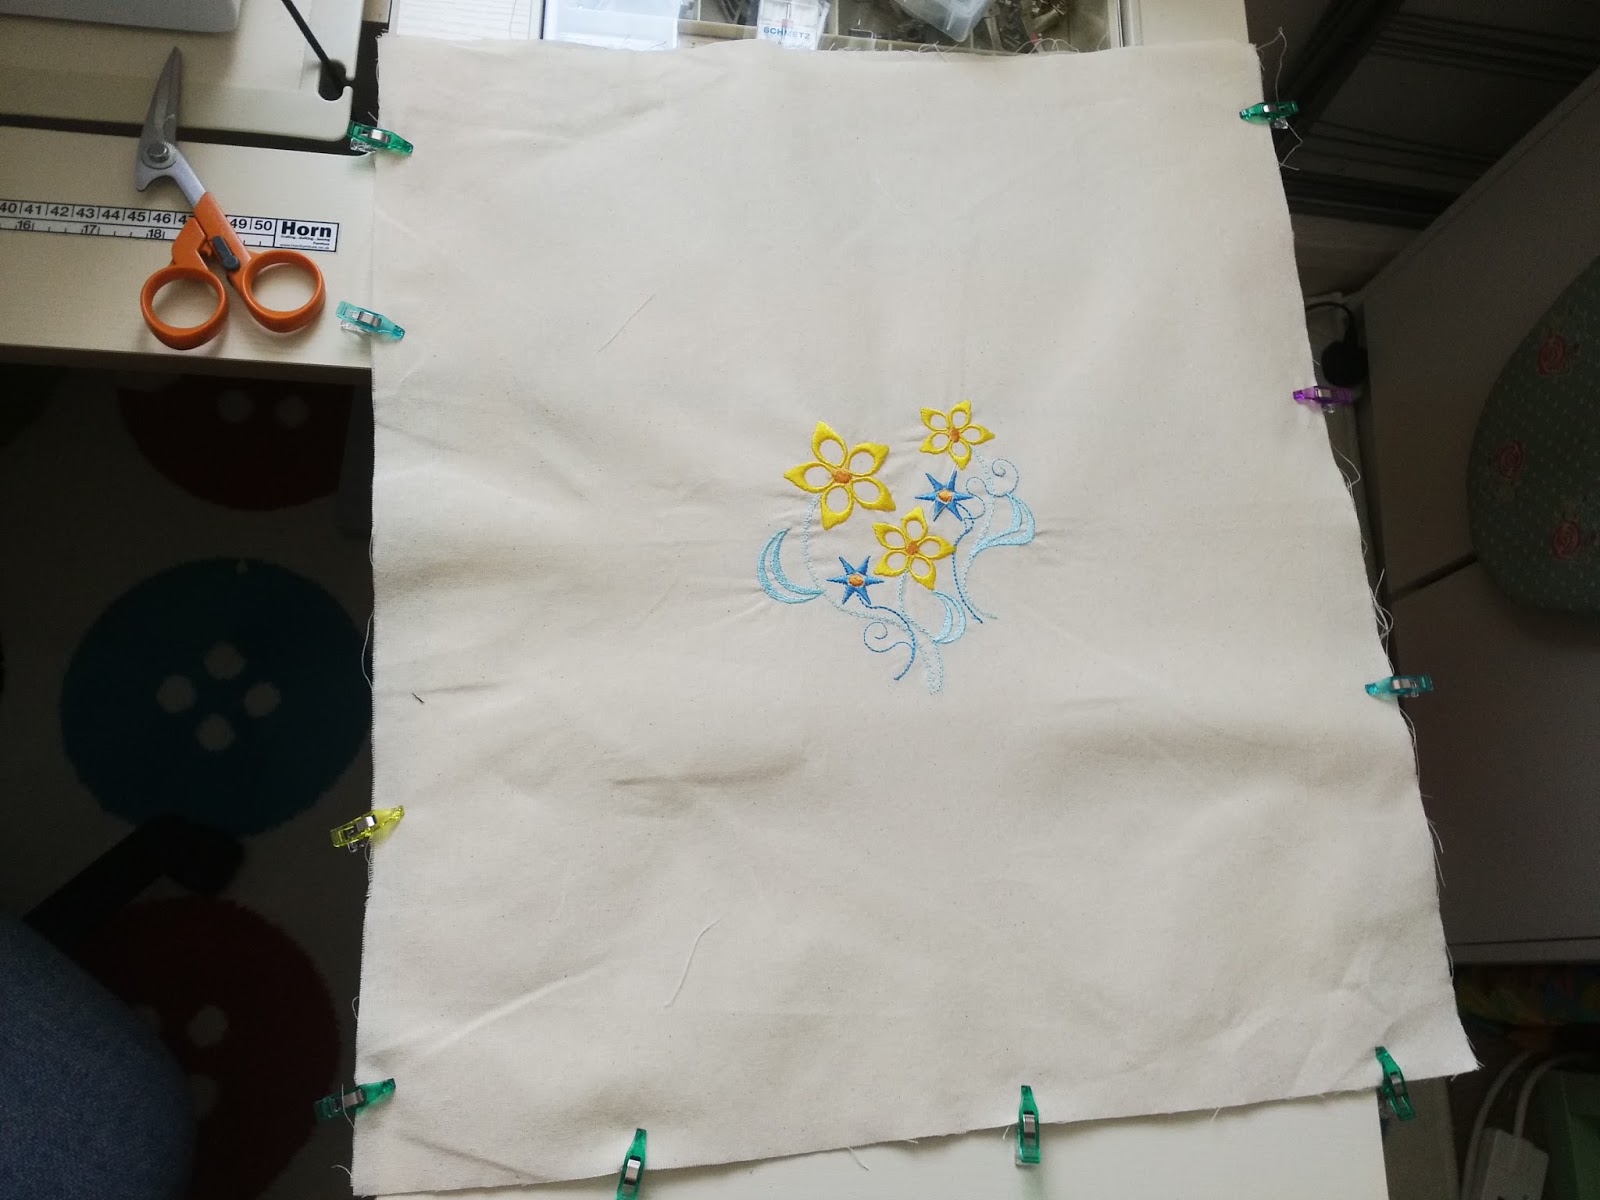
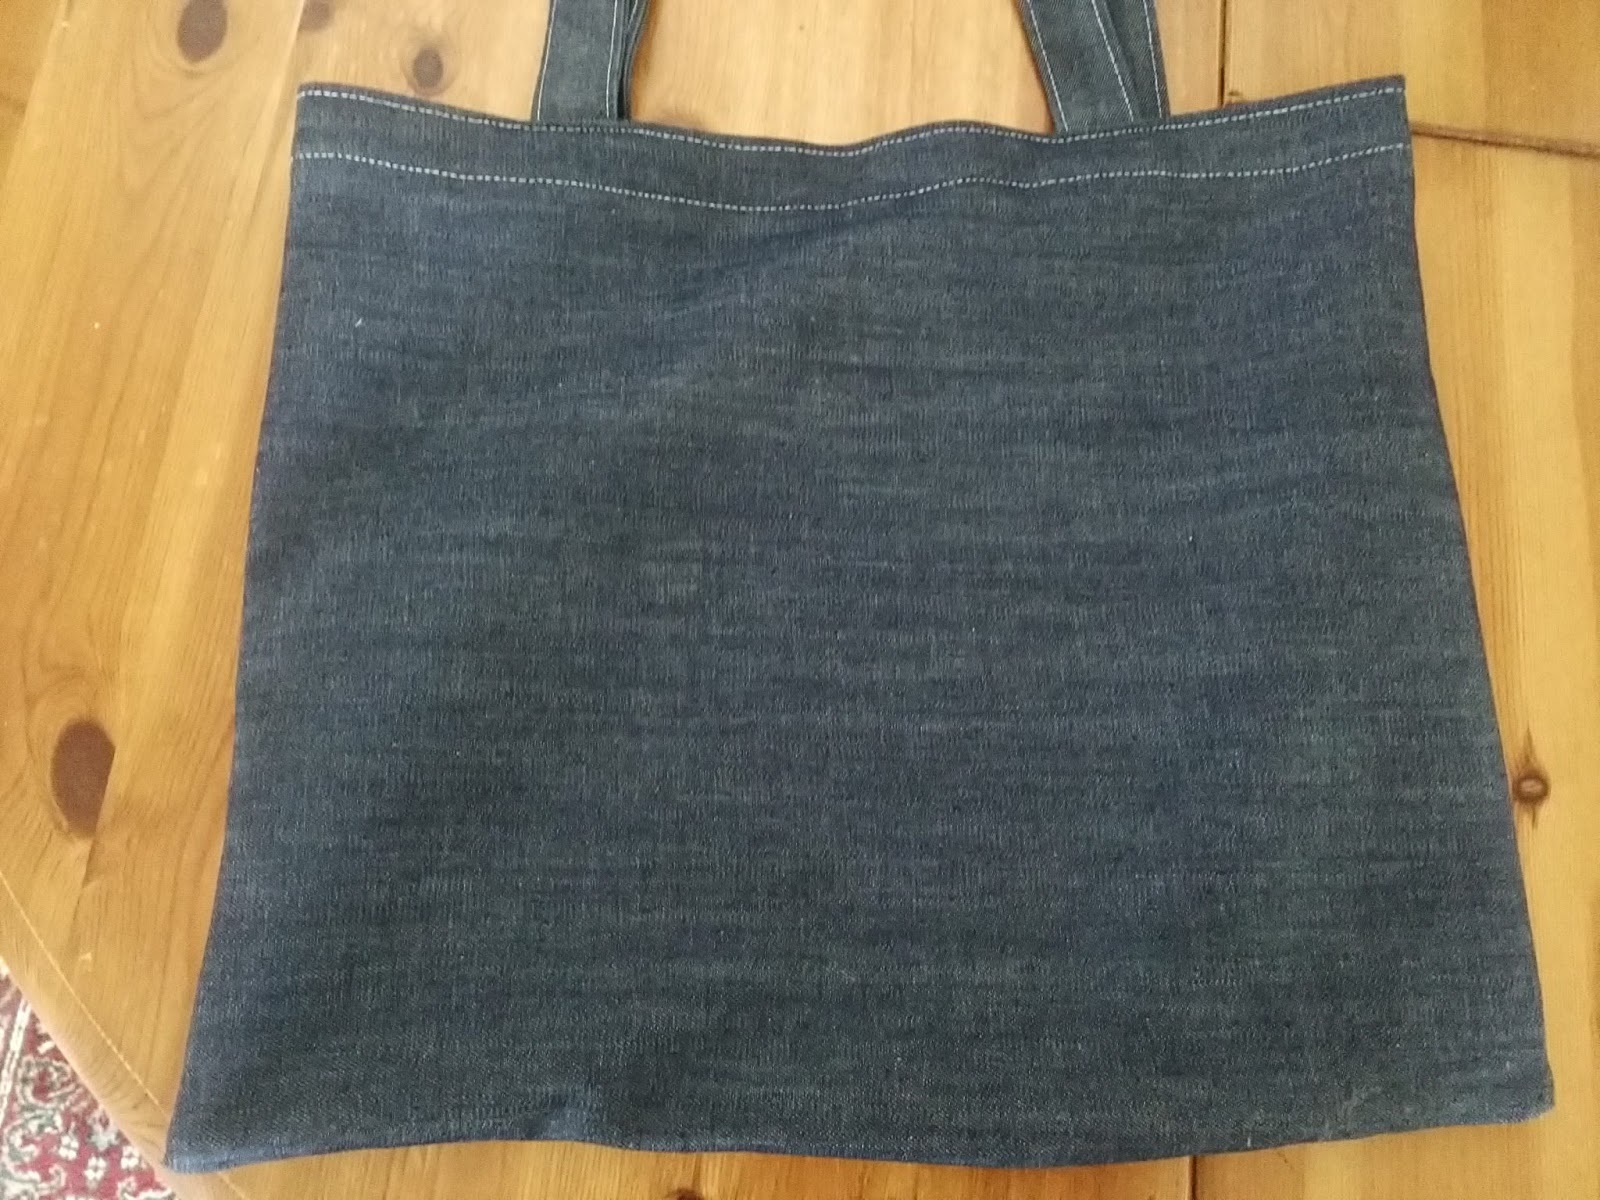
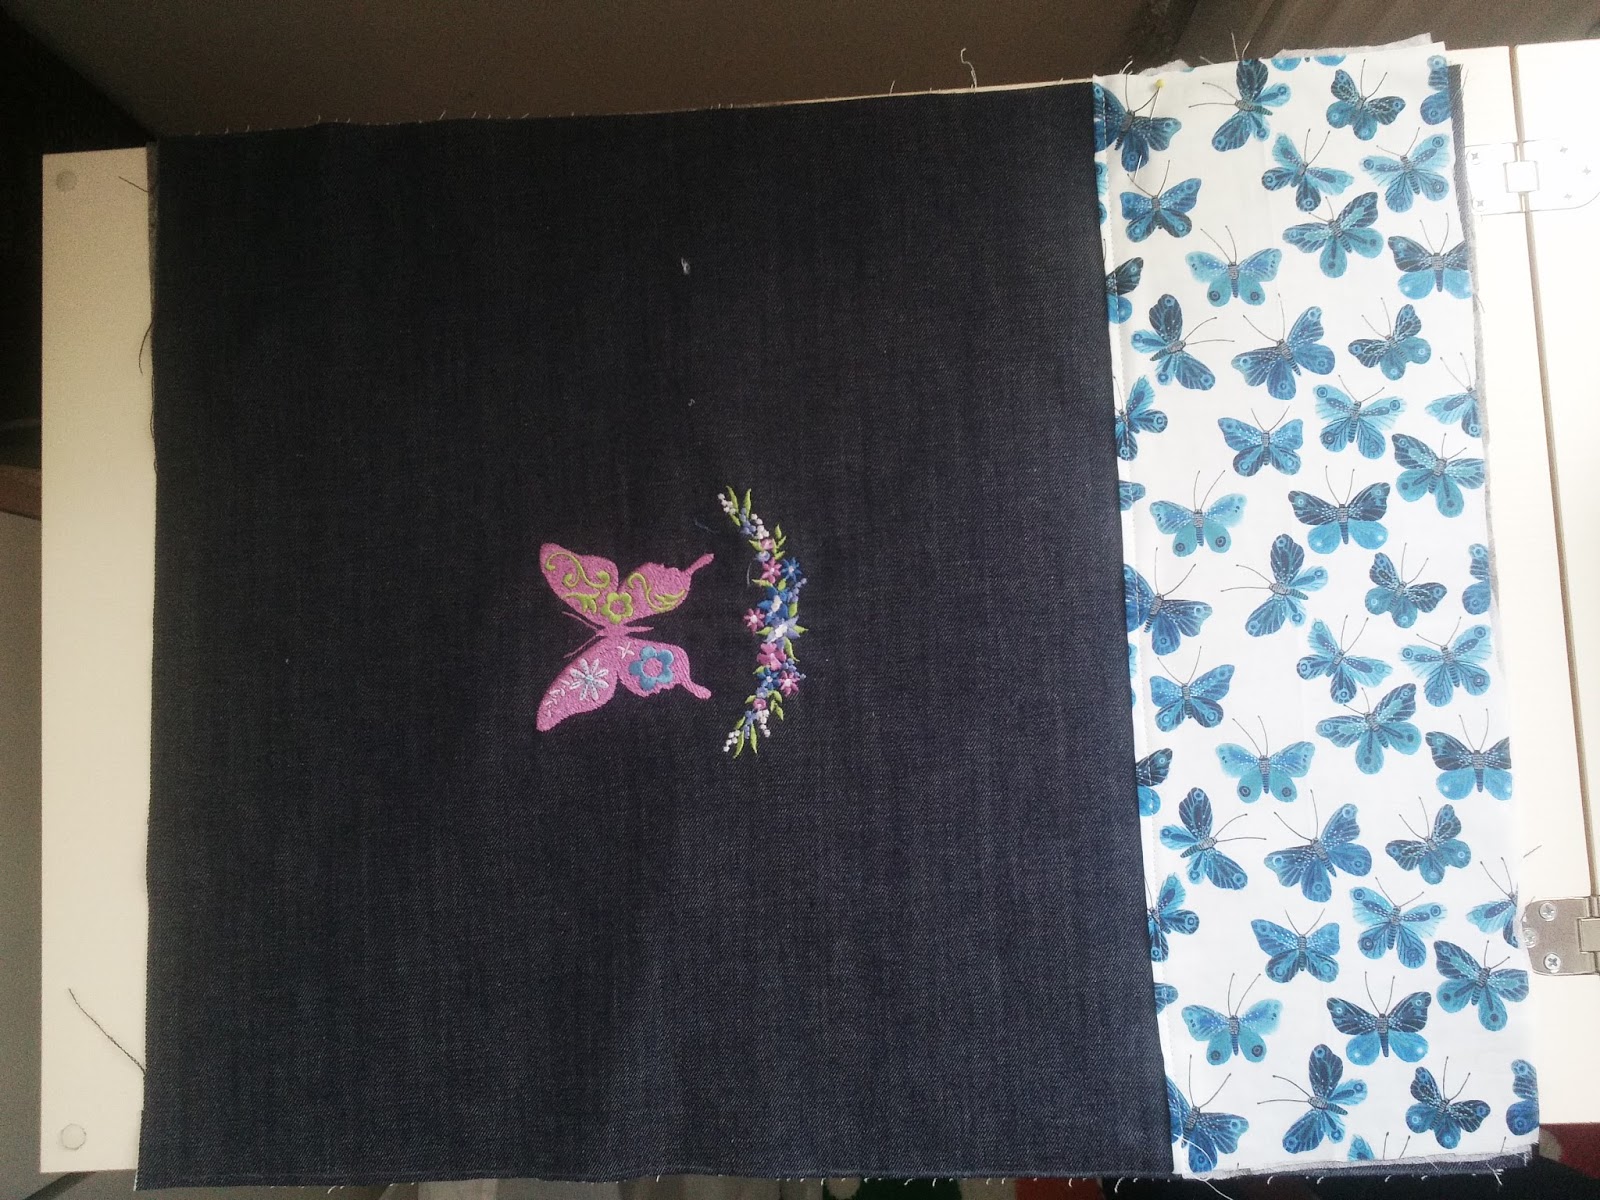
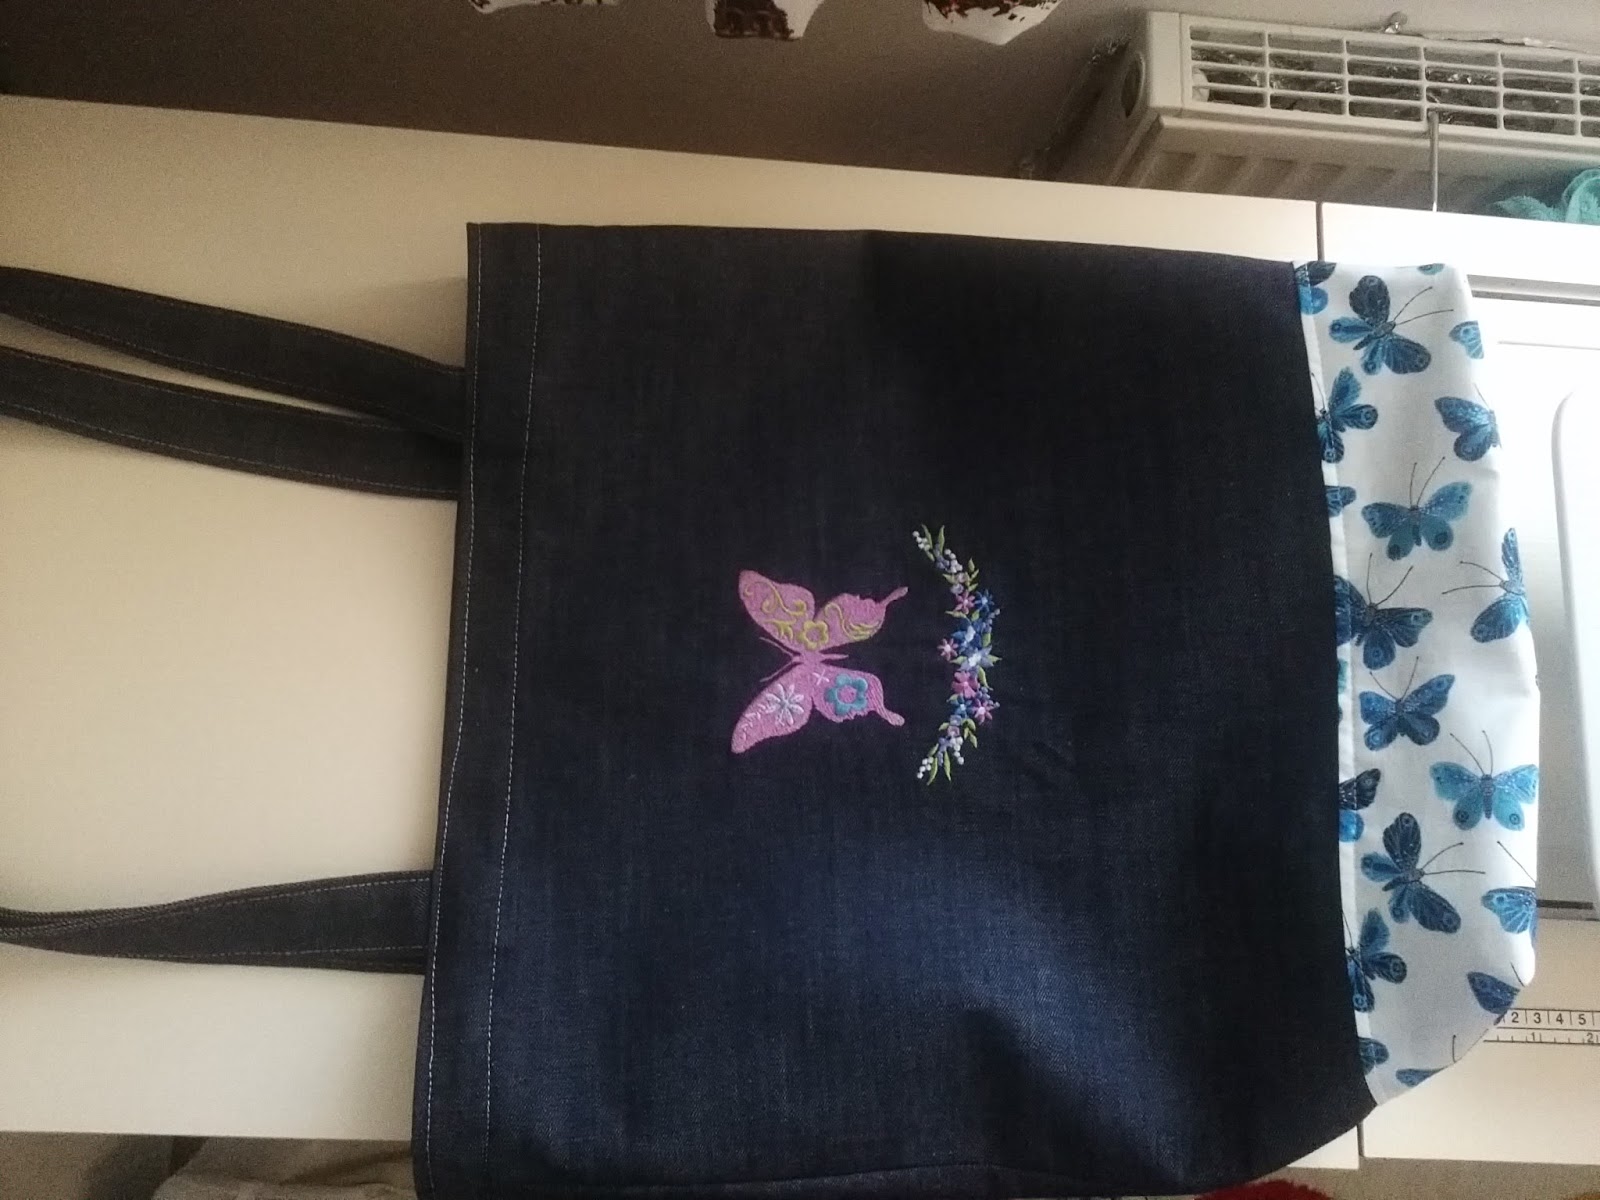
Cut your front and back out as before. I made this bag in denim slightly larger. Do pre- wash denim if you are using it, as the colour could bleed and ruin your outfit.
Cut lining pieces the same size. I also cut a strip of my lining fabric to add more interest to the front of the bag.
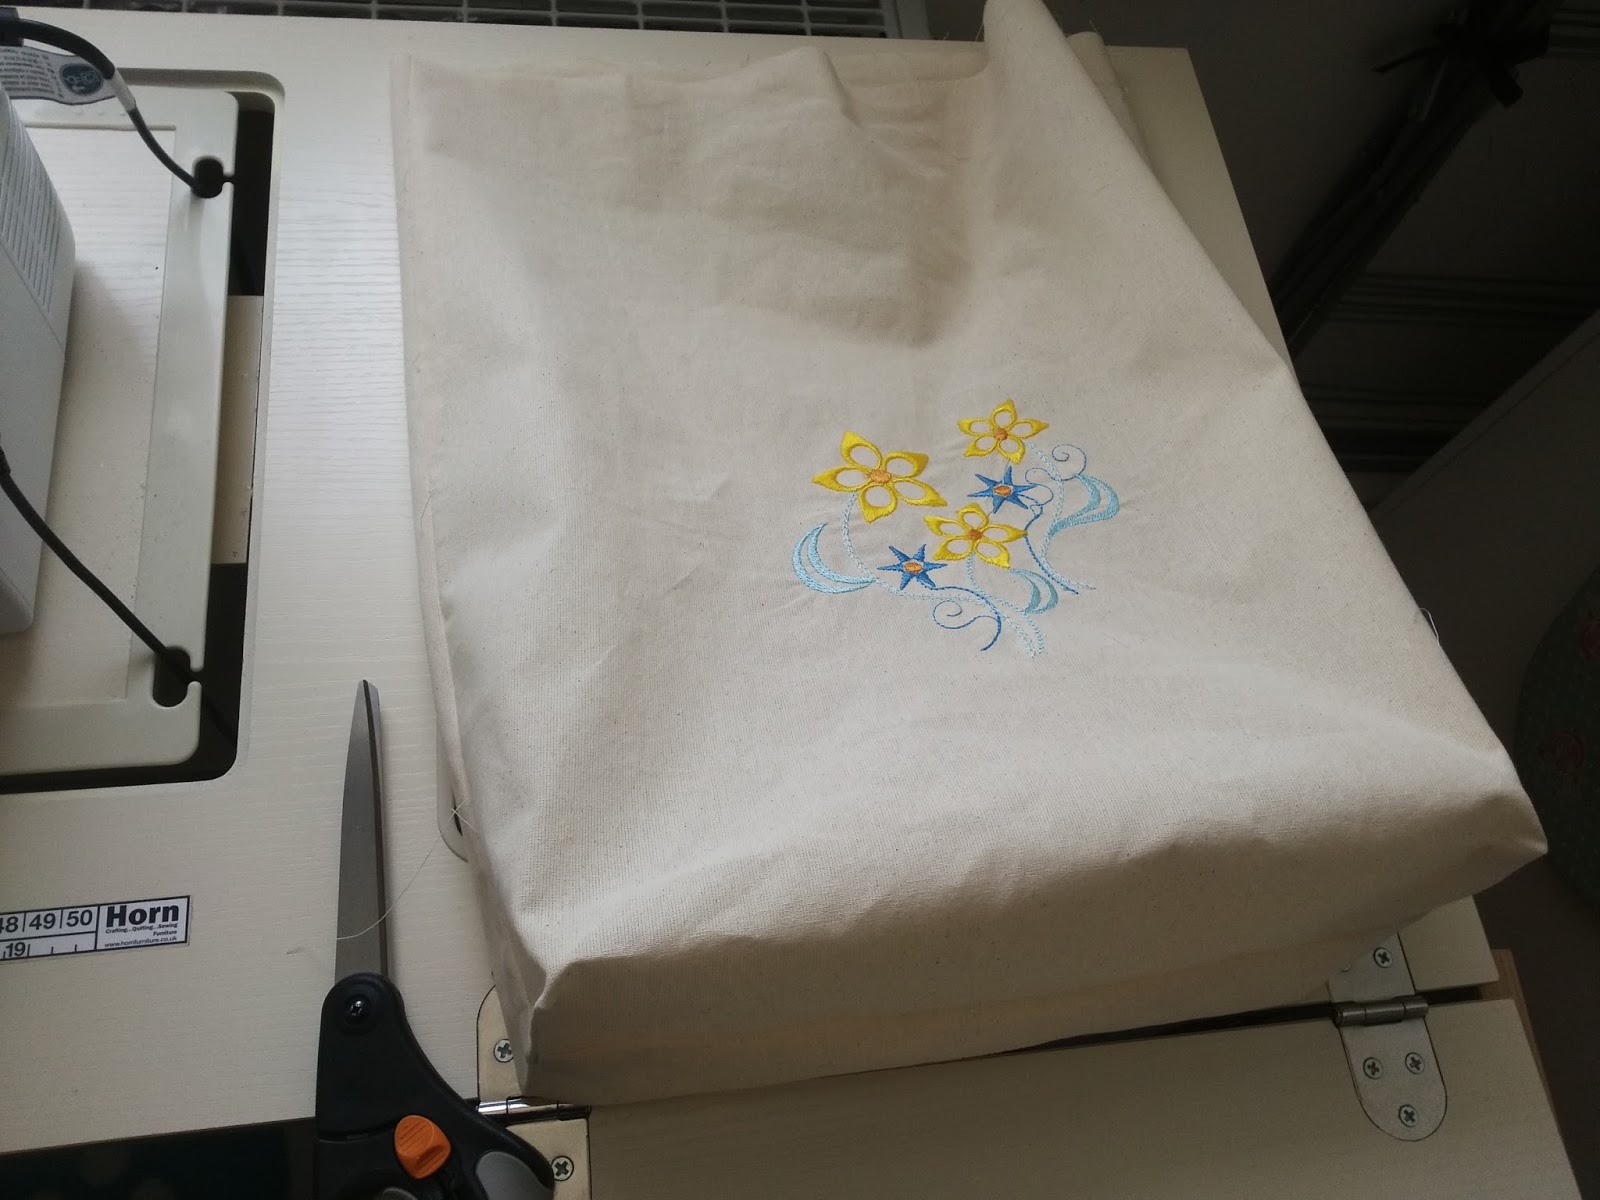
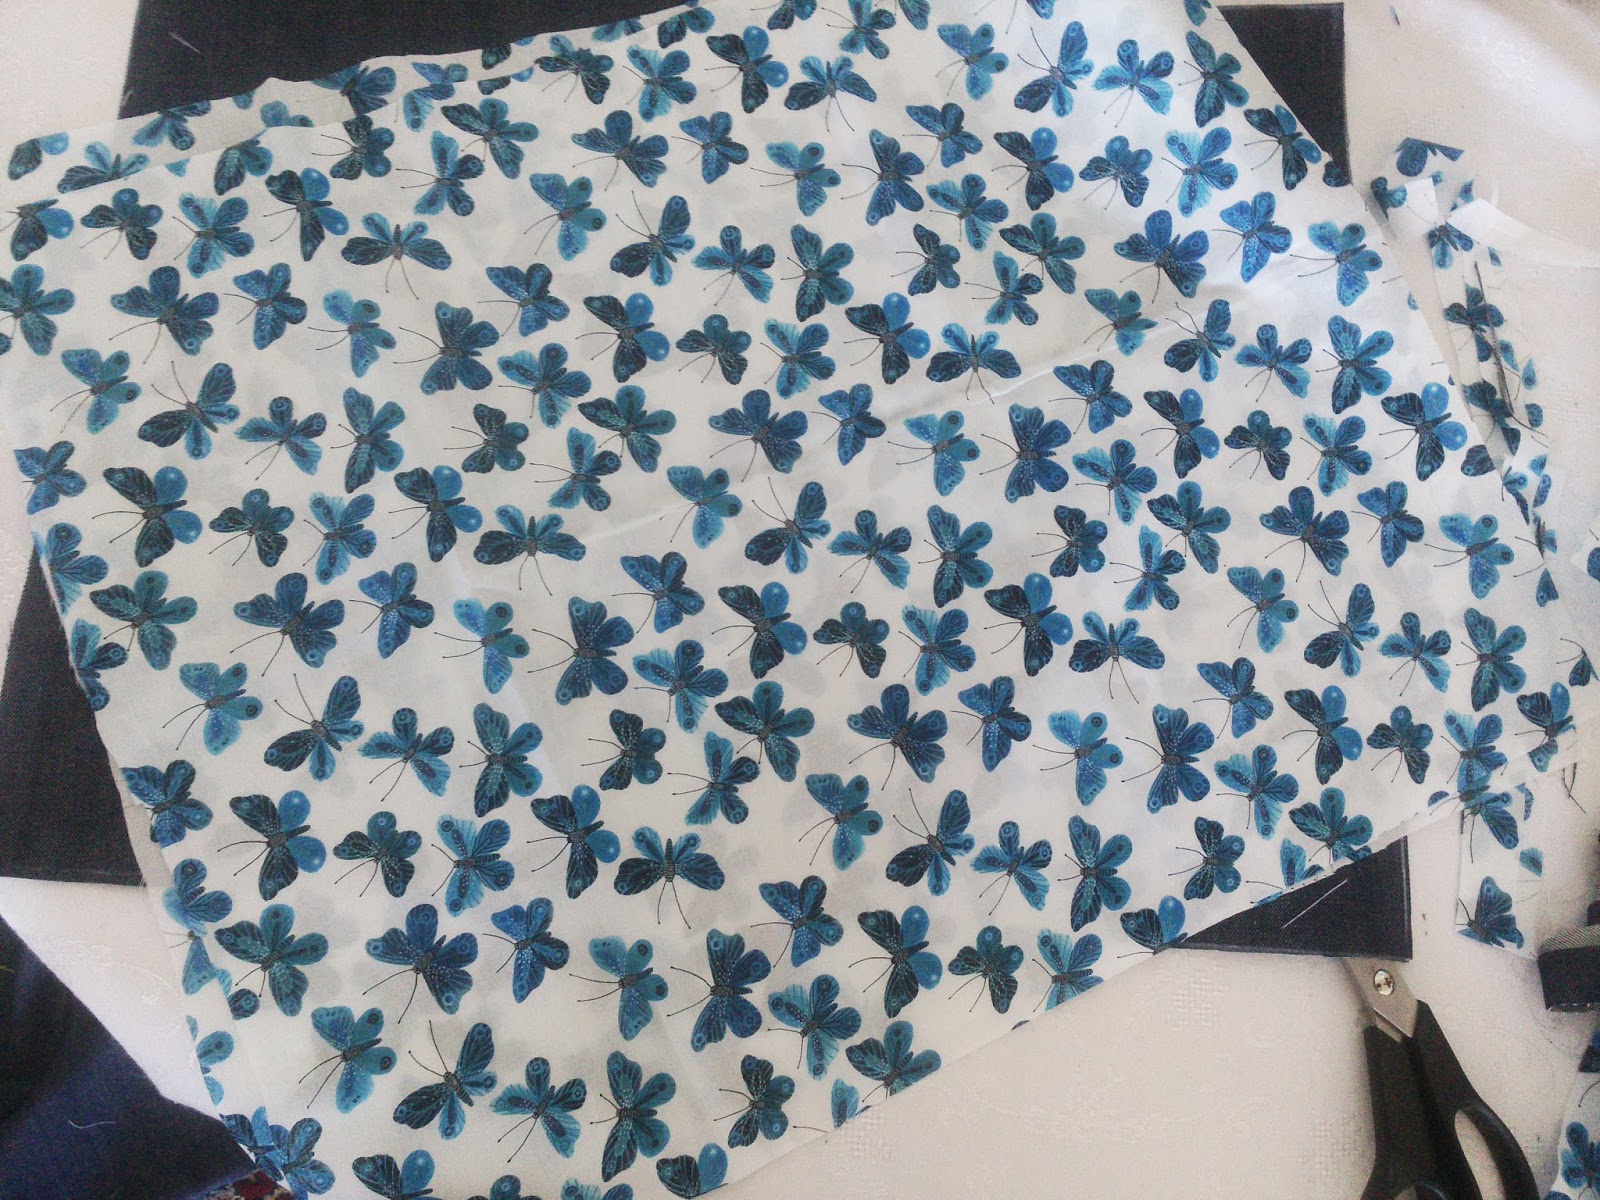
I want to add embroidery to the front of the Tote You can omit this or do some hand embroidery or hand or machine applique. I chose a butterfly design and added a border underneath. It was so easy to change the direction of the embroidery so that it stitched sideways.
This is my machine, it is the Brother Innov-is 800E Do telephone Jaycotts for more details and current price. Why not arrange to call in and test a few machines ? Chester is a lovely place to visit if you fancy a weekend away. The machine I have is this one Brother Innov-is 800E
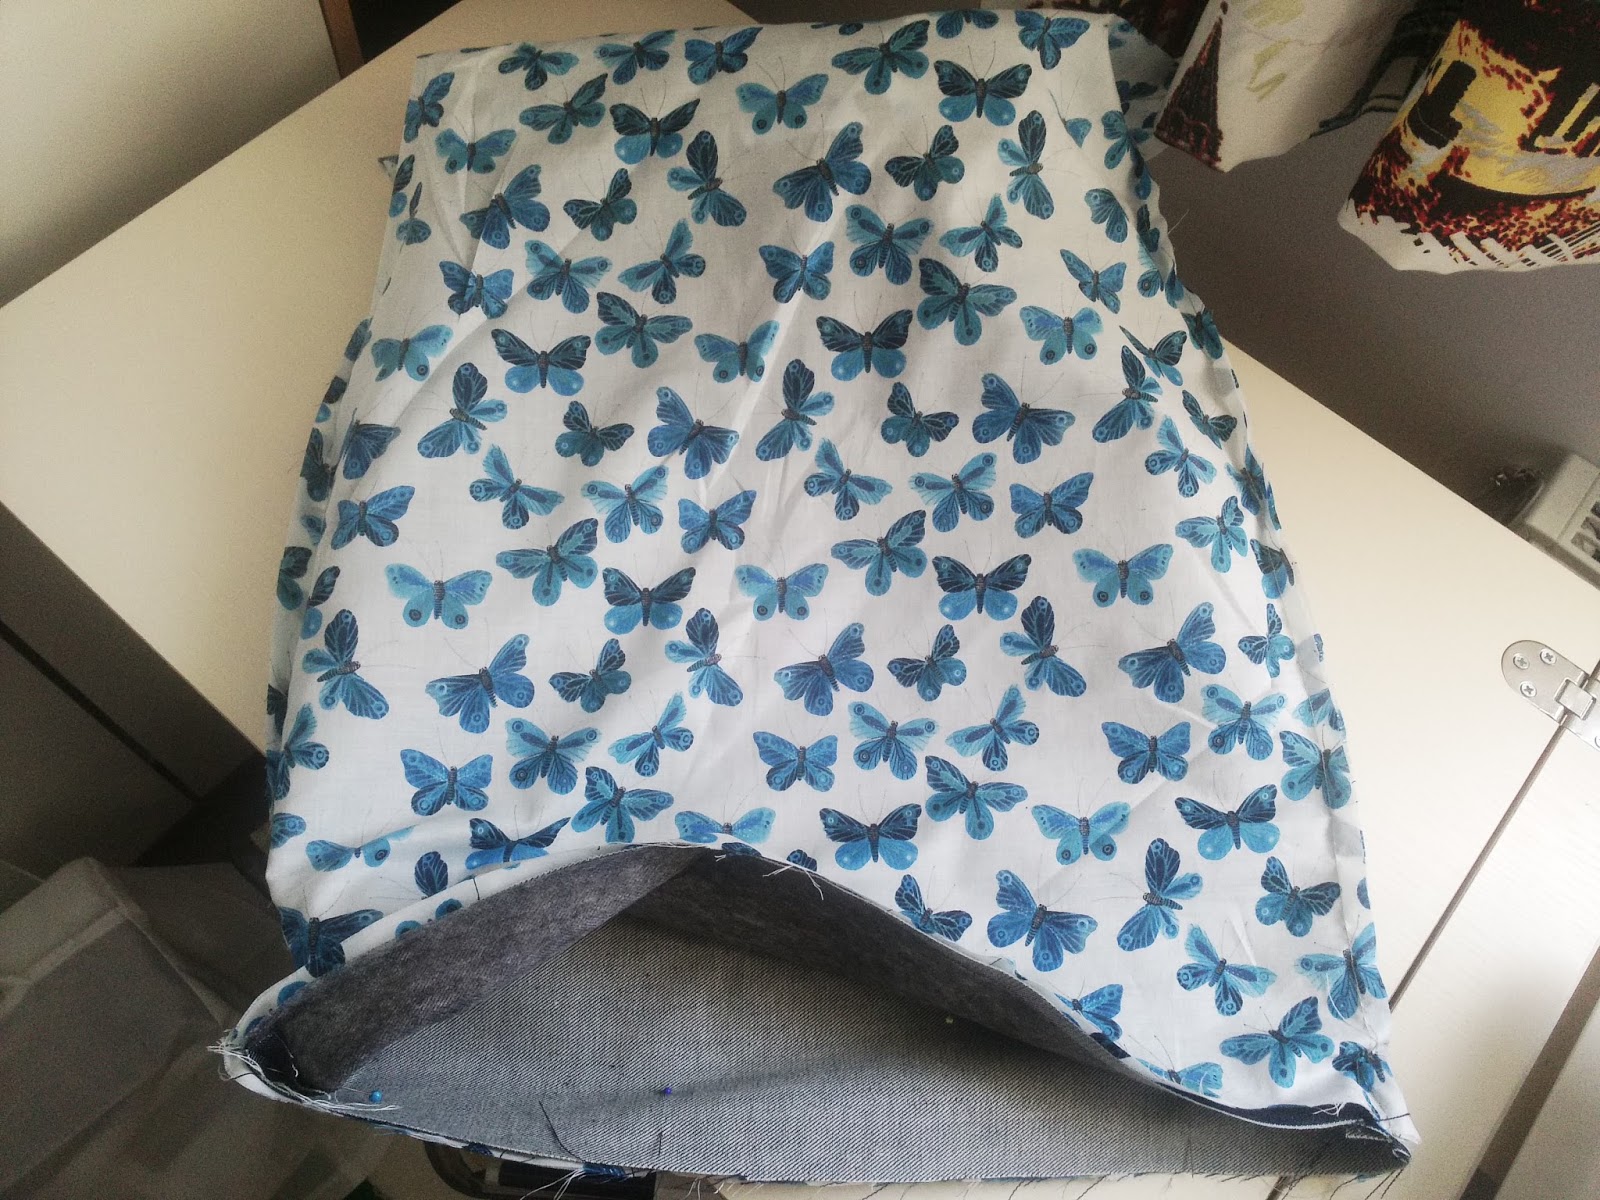
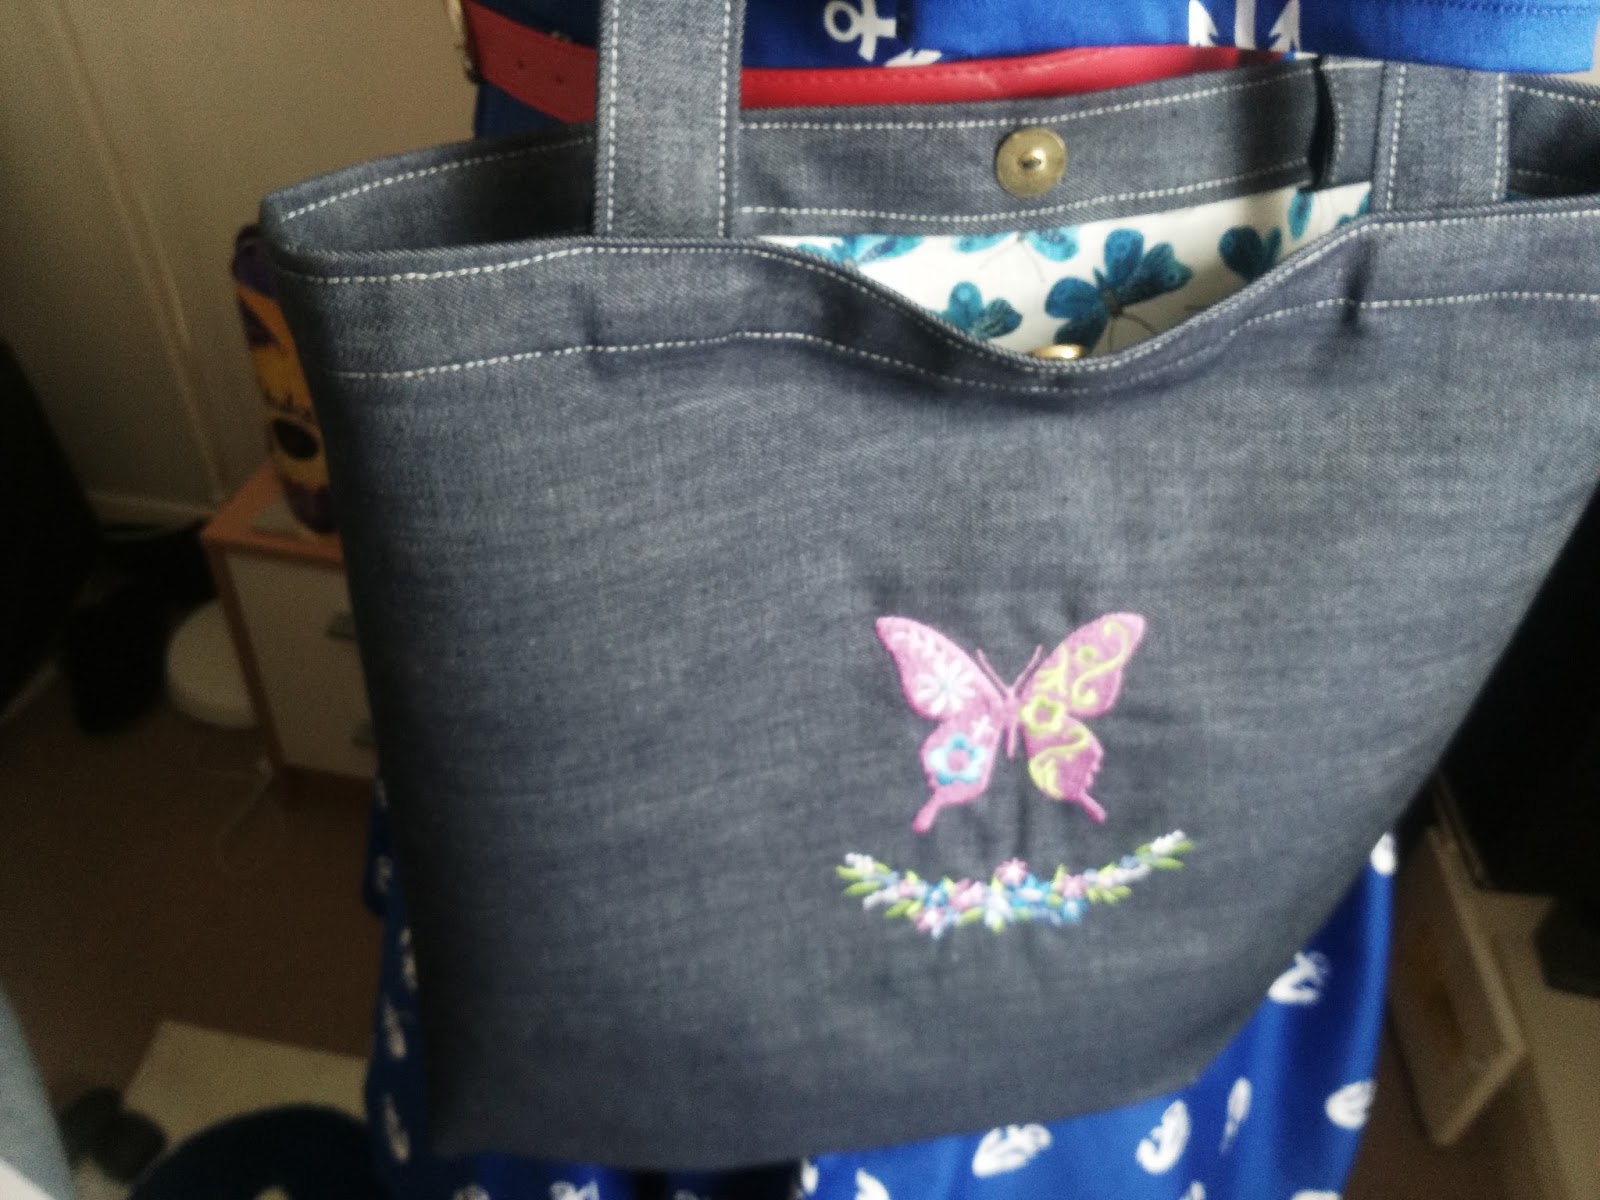
The embroidery is done and the decorative edge stitched on. (Turn the top under, top stitch along the top edge and baste the base and sides) Stitch the sides and base together right sides together, there is no need for a french seam as we are lining this bag. Stitch the corners of the base as before Make the lining up in the same way. Press both lining and outer shell.
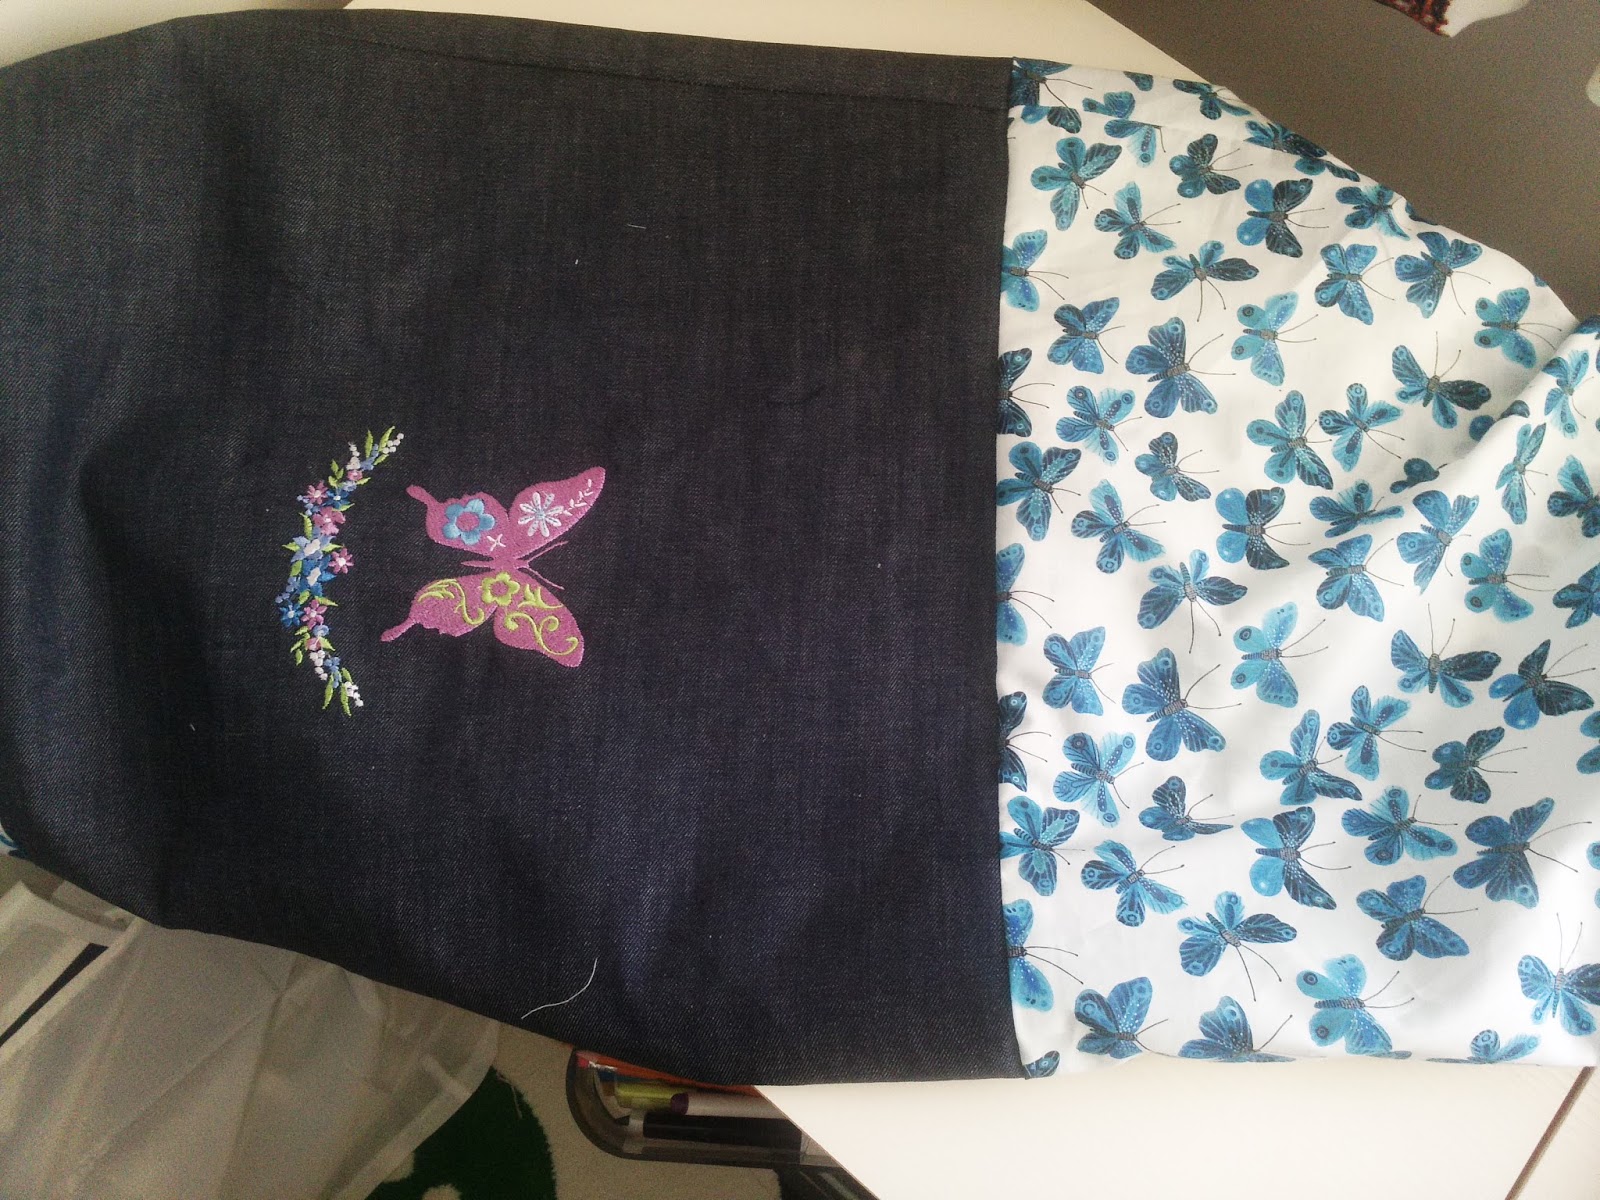
Put the bag inside the lining right sides together and stich along the top leaving a gap so that you can turn the bag right sides out.
Pull the lining through the gap and press. Close the gap with a ladder stitch or slip stitch Make the straps as before. I made them slightly wider than before.
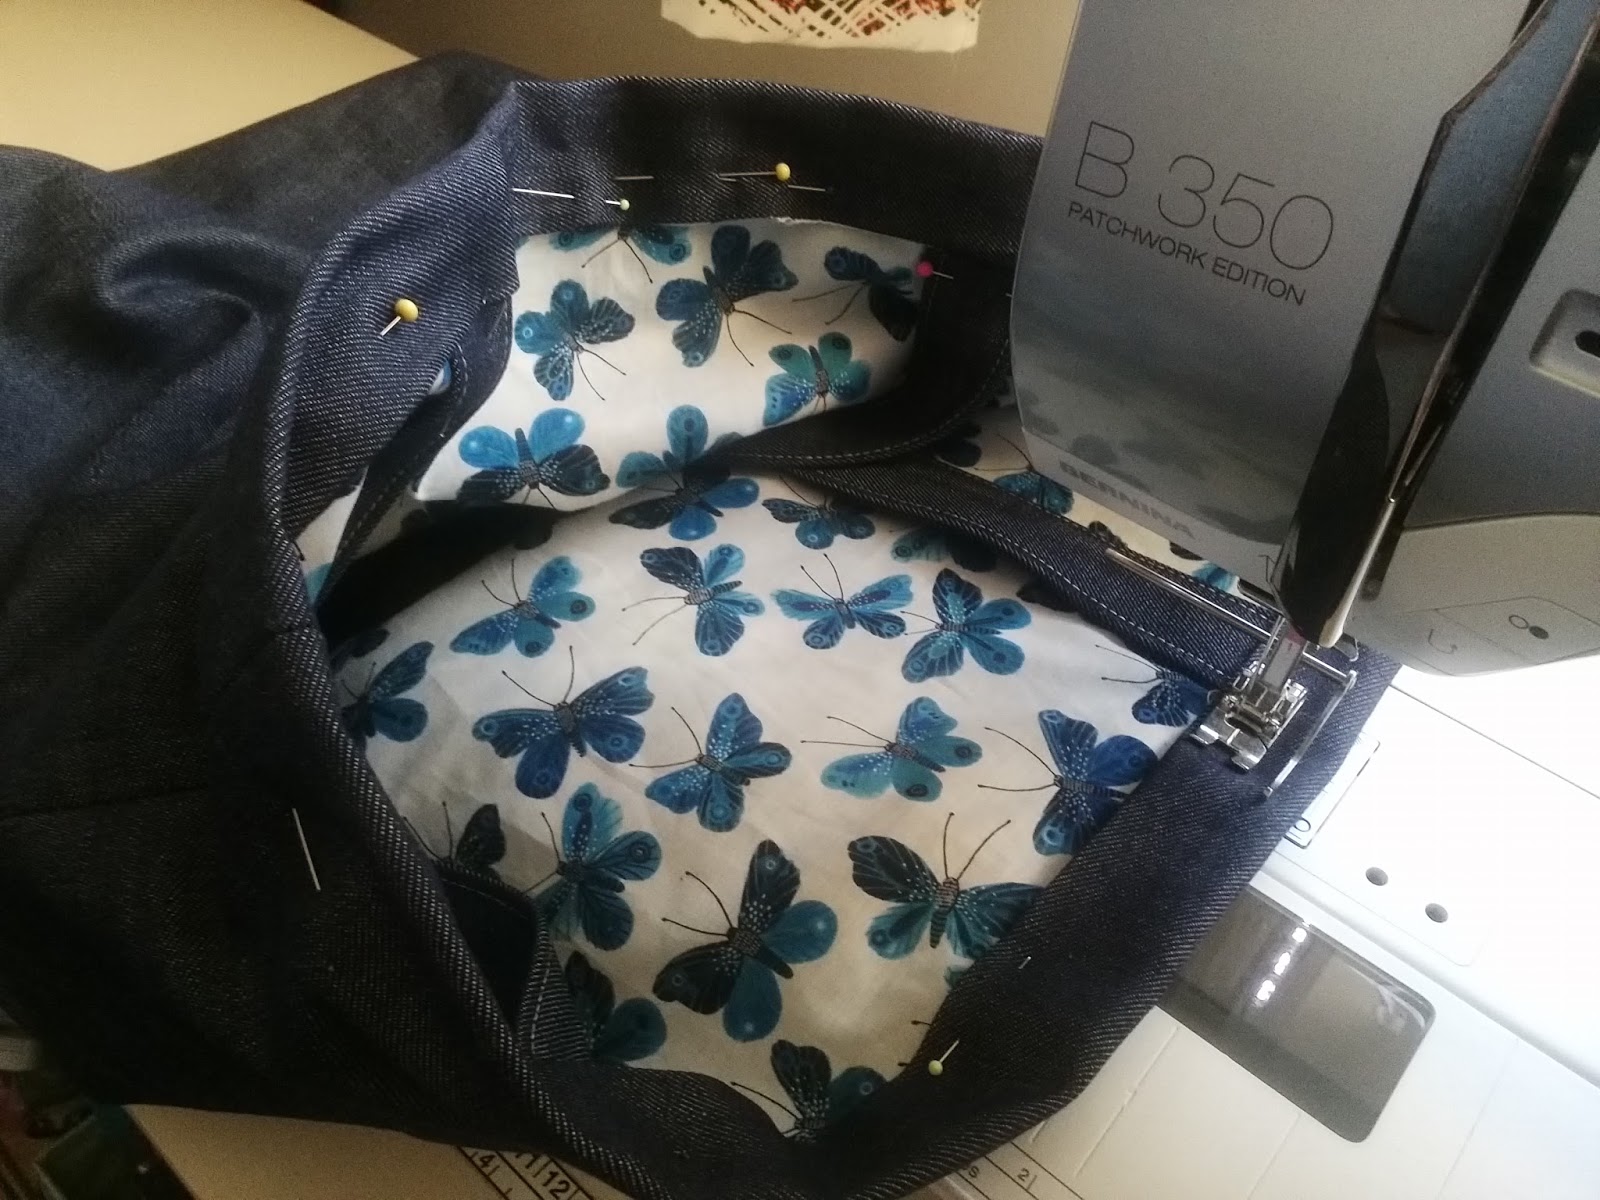
Baste the straps in place exactly as before . Continuing exactly as before turn the top over twice and then top stitch sewing the straps in place firmly.
And here is the finished bag. Very practical and roomy for shopping or sightseeing.
I added a sew on magnetic button to the top so that the bag closes.
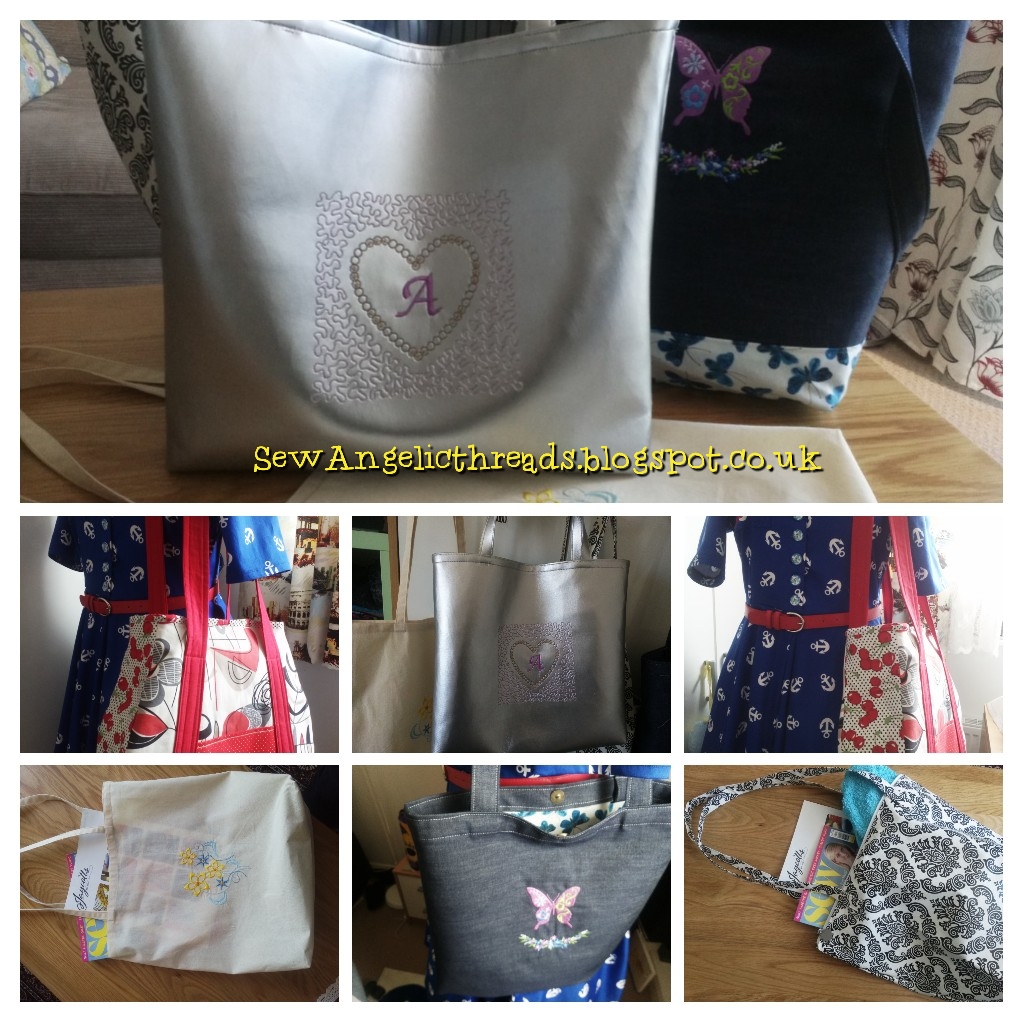
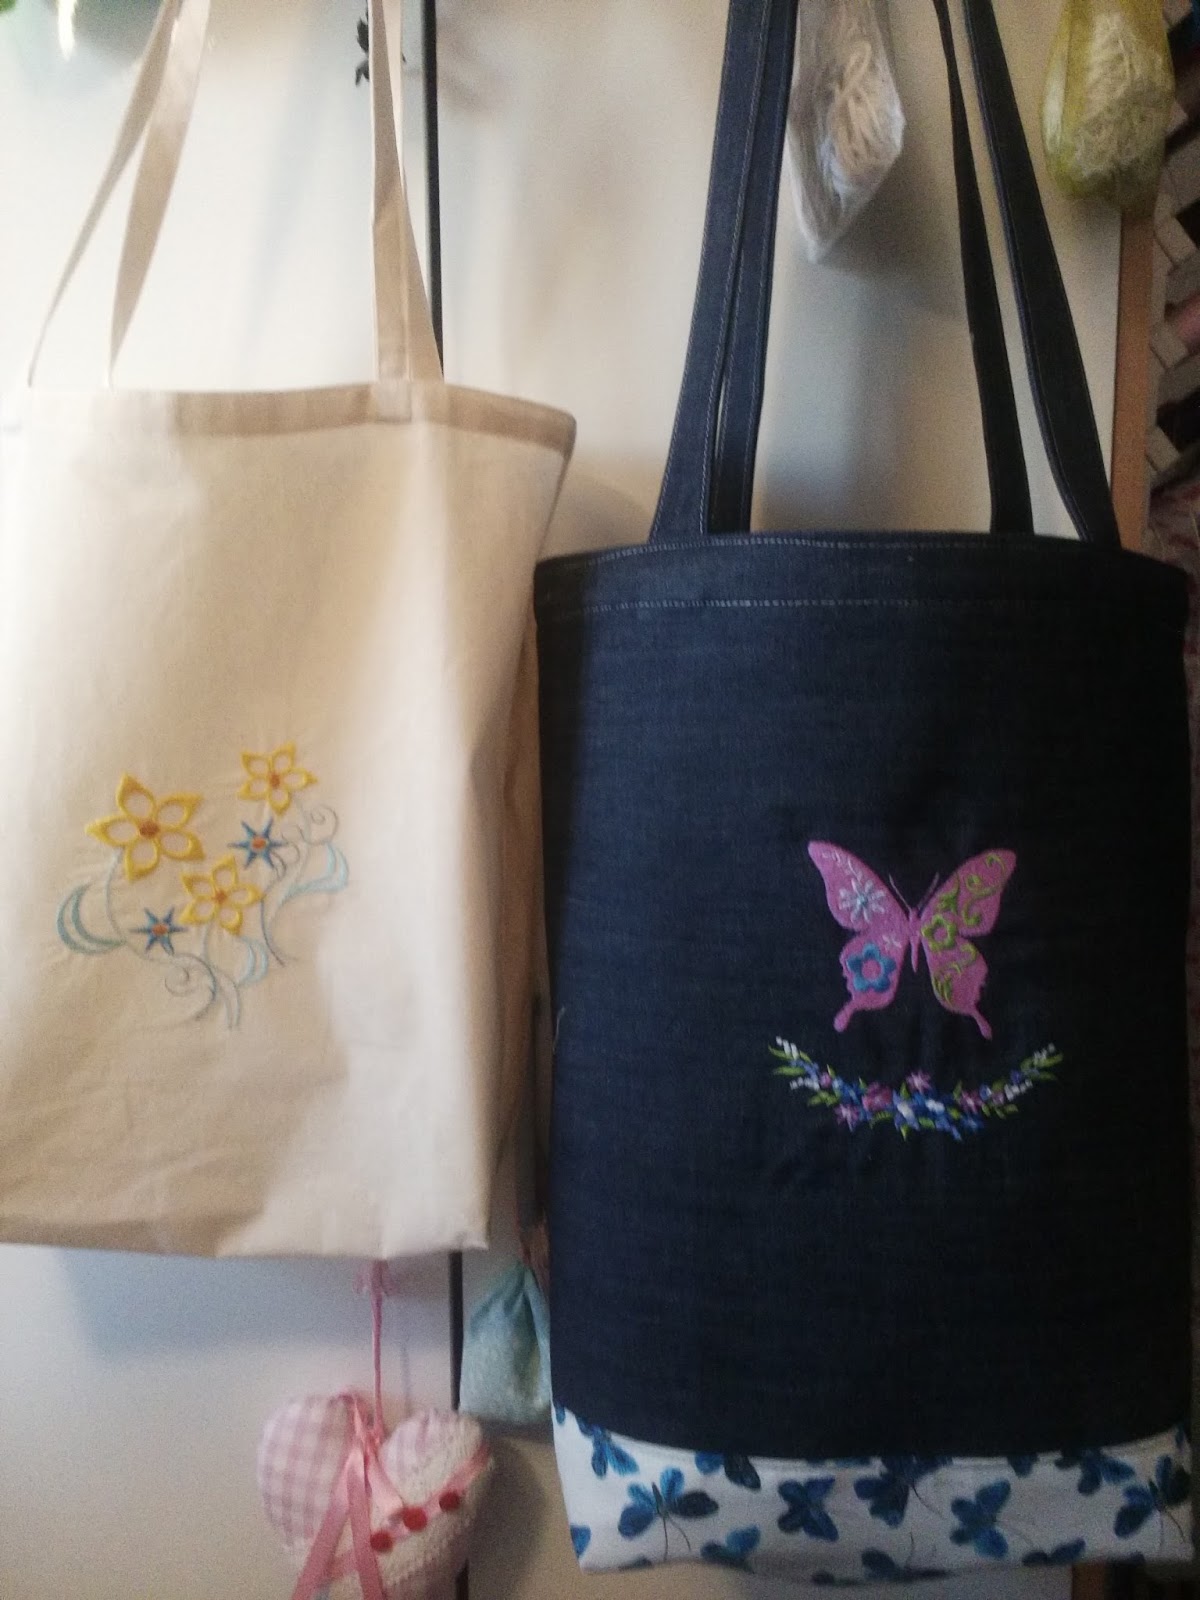
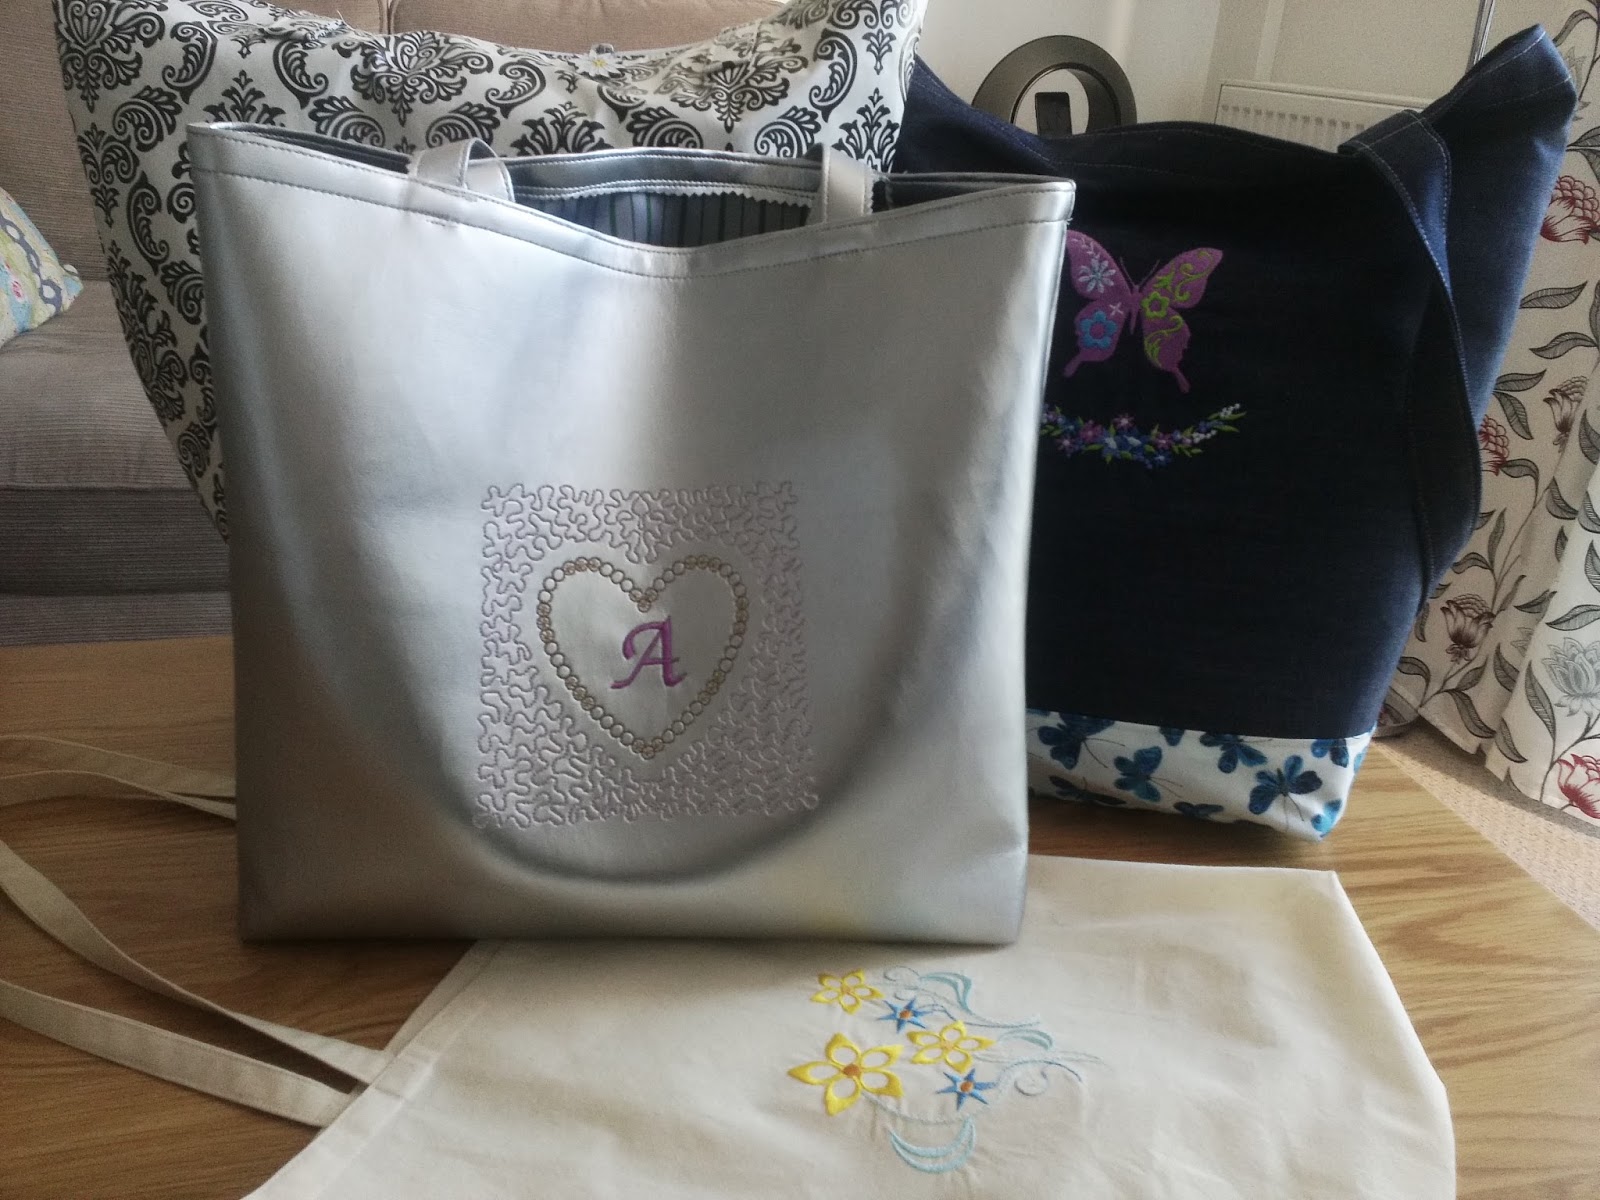
Here are my two totes , both made from fabric which i have embroidered, one lined one unlined.
The waterproof tote with zip
For this Tote I used some PVC which I got from Minerva Crafts. There is a huge selection on this morning, so choose which you love best Half s metre will be plenty for one bag. PVC fabric You must remember that you cannot pin this fabric or it will make holes and you cannot make a mistake or again you will leave holes. You also need to use a longer machine stitch as this fabric can tear easily if you pull the stitches too tight. I use Wonder Clips from Jaycotts there is a choice of sizes on this link Wonder clips
I chose a stiff taffeta for my lining. Clip the zipper tape to the bag front and backs , right sides together with the zip facing down. Baste. Clip the lining, again right sides facing and clip it on top of the zip so that it is sandwiched between the bag and the lining. Stitch. Trim the zip if necessary to shorten it by stitching over the end a crew times and then trimming the end of the zip off.
You can press PVC as long as you use just a warm iron and a pressing cloth. Open the pieces out and right sides together stitch the bag together starting from the side, across the bottom and up the other side. Do the same with the lining leaving four inches open at the side . Stitch corners in the base if wanted Turn right sides out and slip stitch the opening in the lining. Press carefully as before.
Make handles and stitch them into the bag facing down. Then turn them upwards and top stitch all around the bag top. I stitched the handles on after inserting the lining. However if you want to you can see the handles onto the bag before you put the lining in however you will need to place some very firm sew in interfacing underneath your stitching line because PVC will tear if heavy items are put into the bag regularly.
This would make a perfect beach bag. It is plenty big enough to hold your towell, sunscreen and magazines.
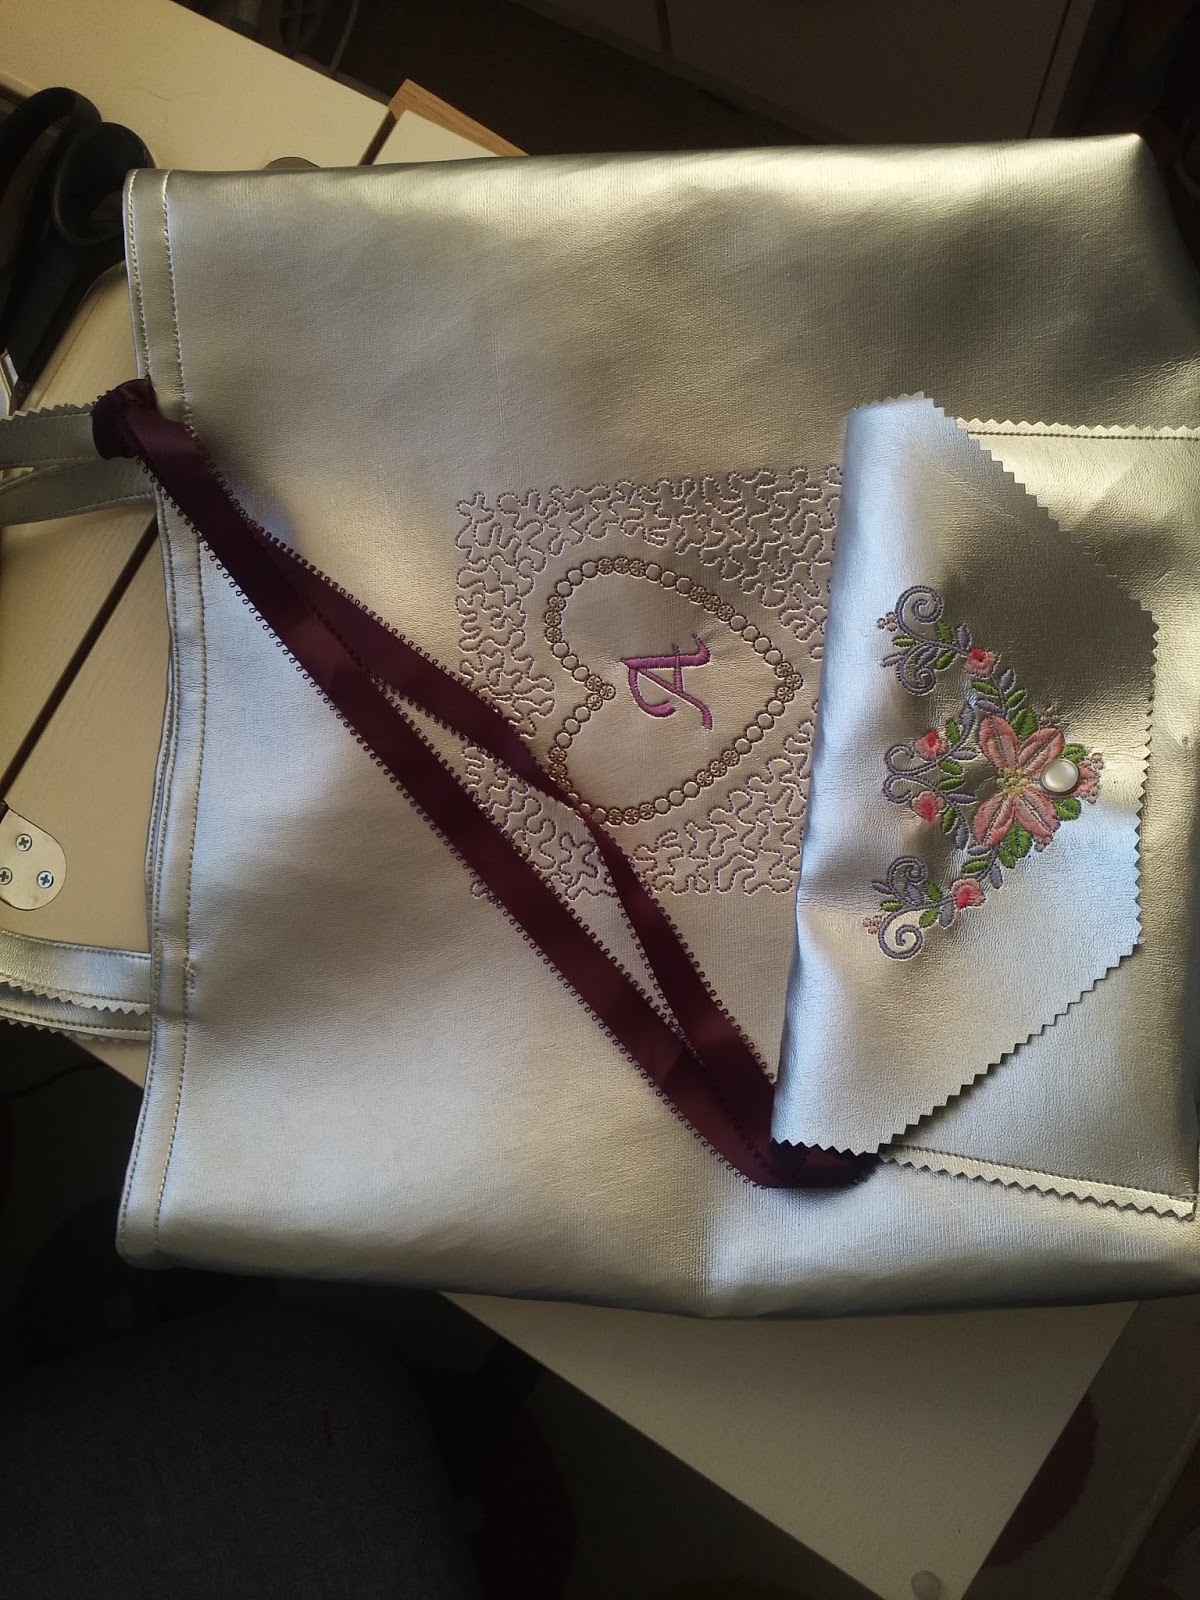
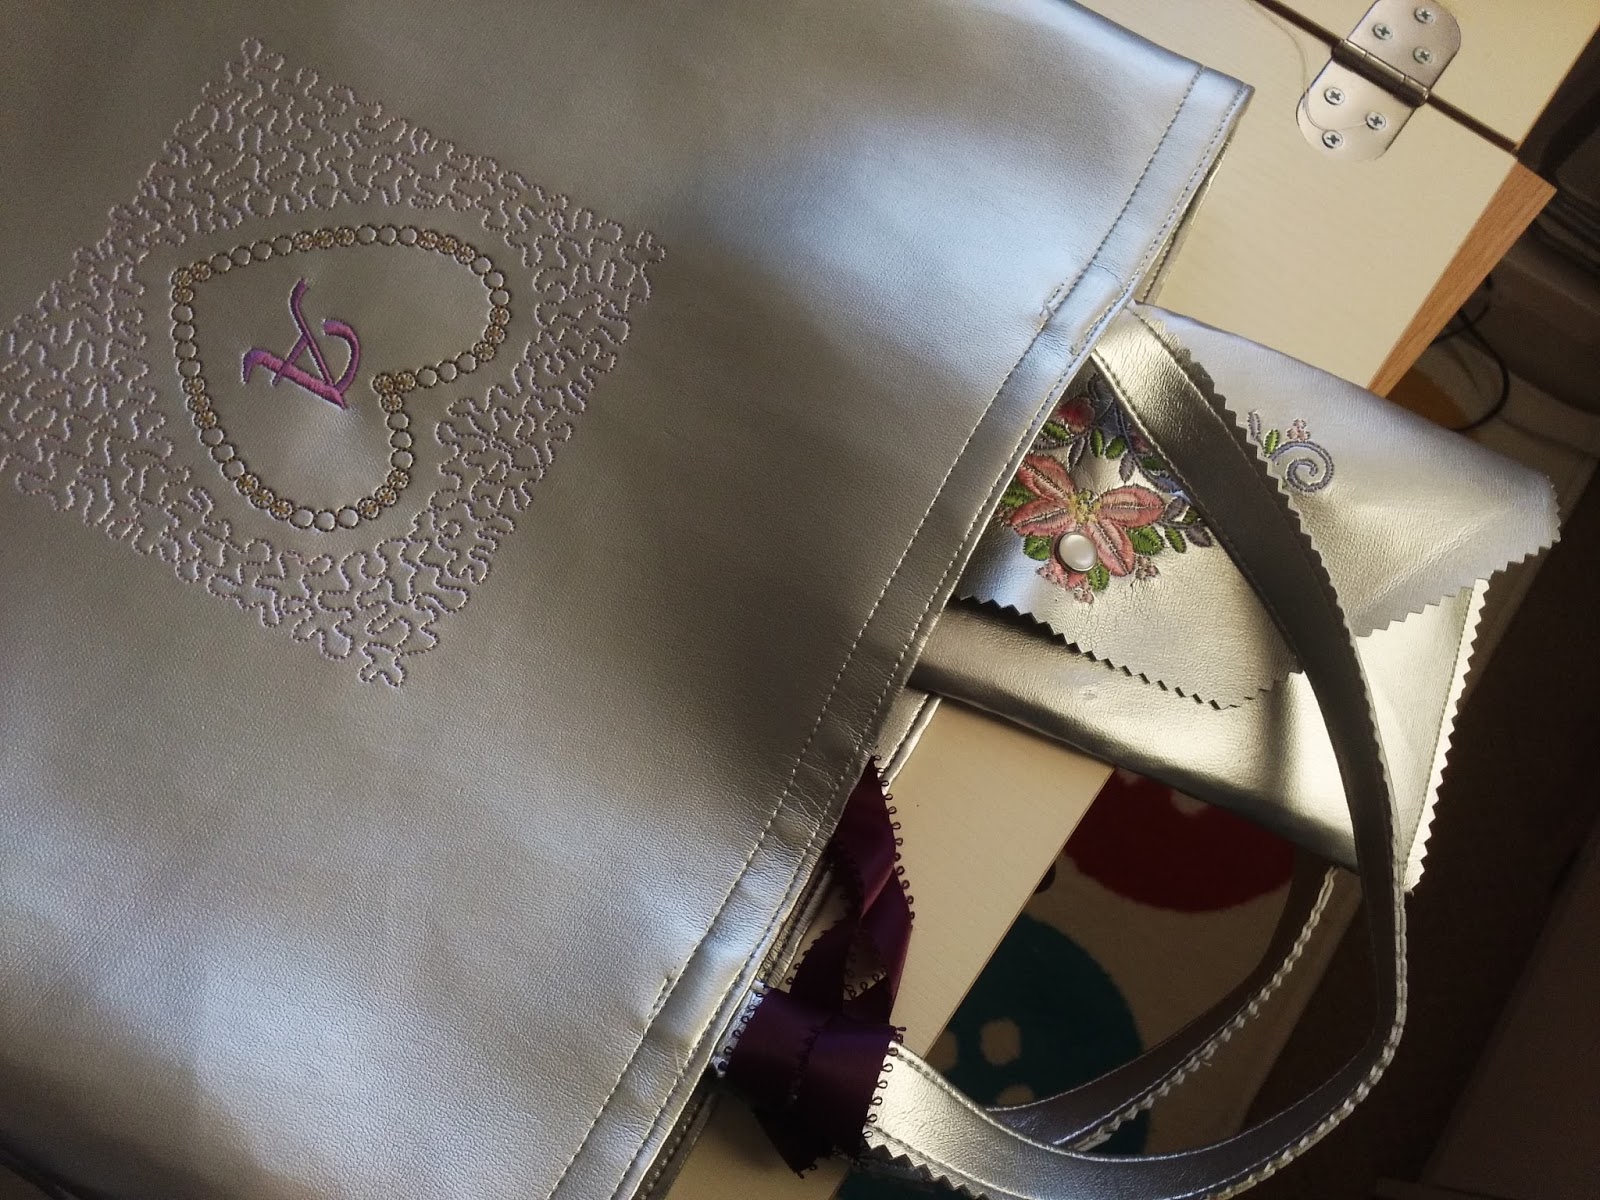
The silver faux Leather Tote
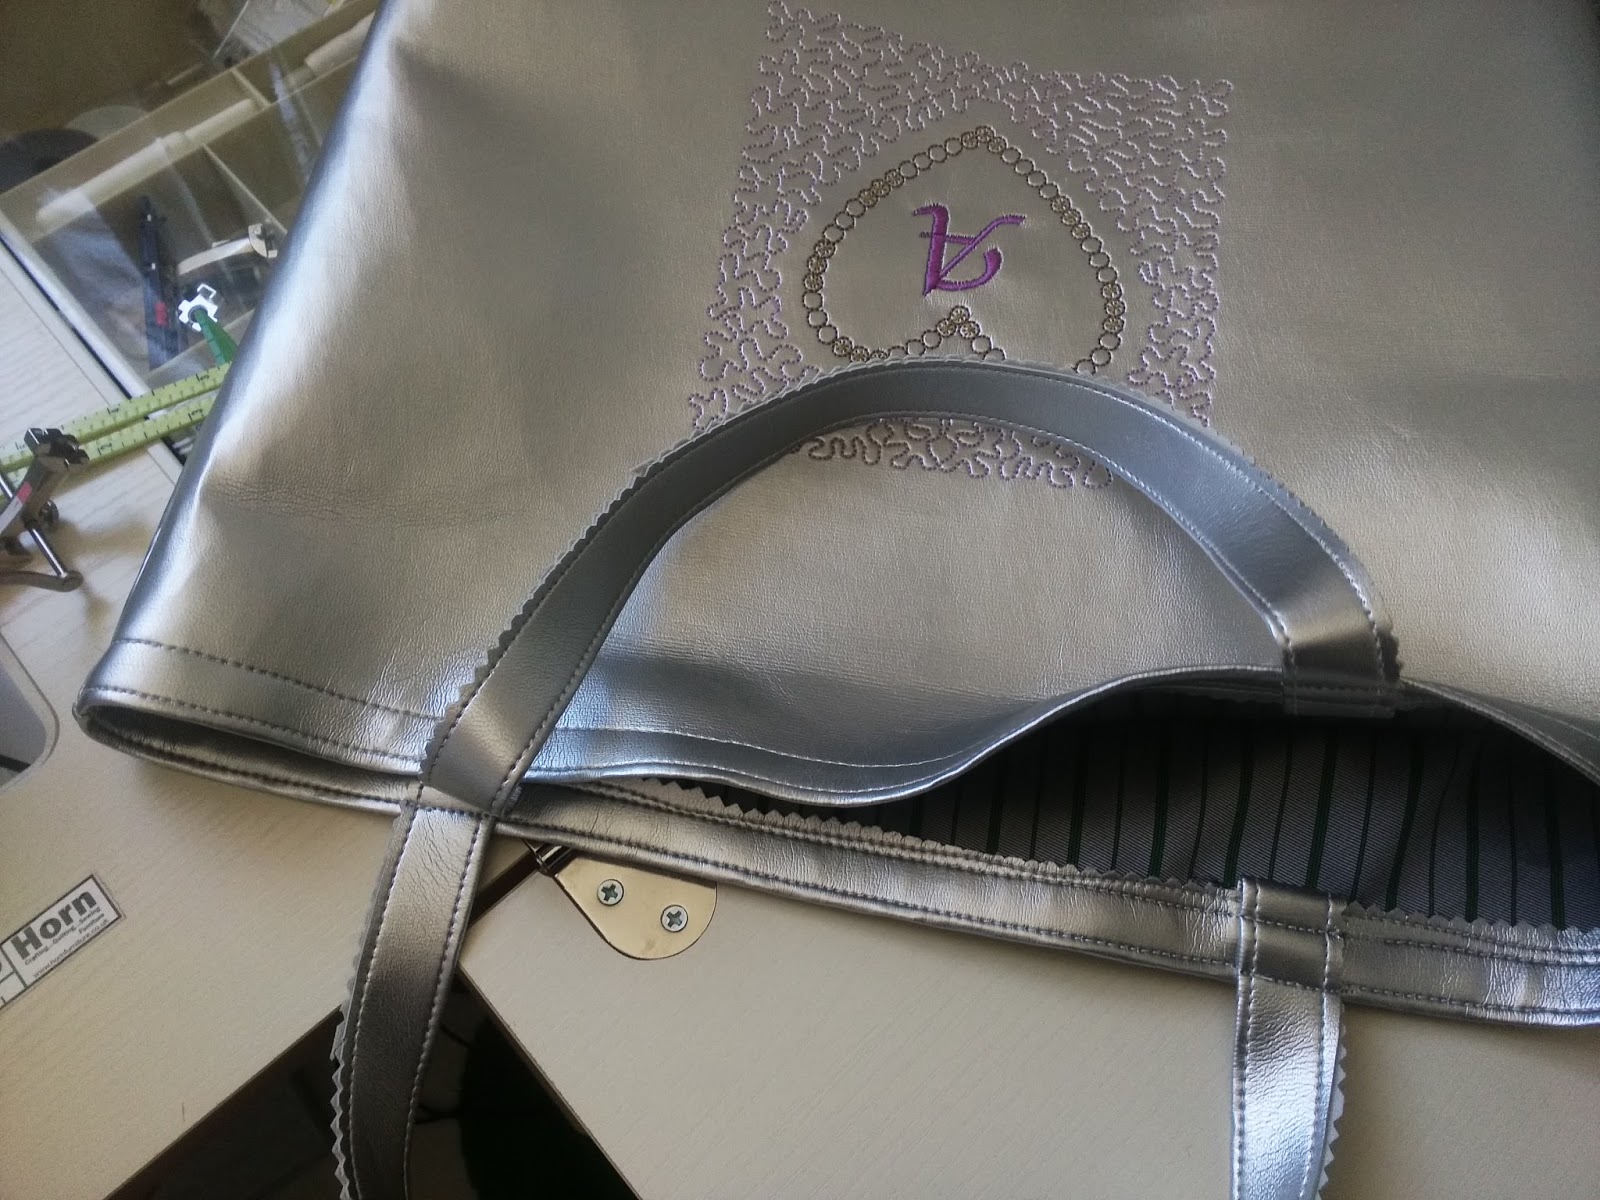
This beautiful PLEATHER as it is called is available from MinervaCrafts Silver Pleather I wondered if it would embroider and was delighted that embroidery looks stunning on it. It is very easy to embroider and to sew but you need to watch out for a few things. Do not pin. It will leave holes Do not use clips, they will leave marks Do not hoop in your embroidery hoop, it will leave marks.
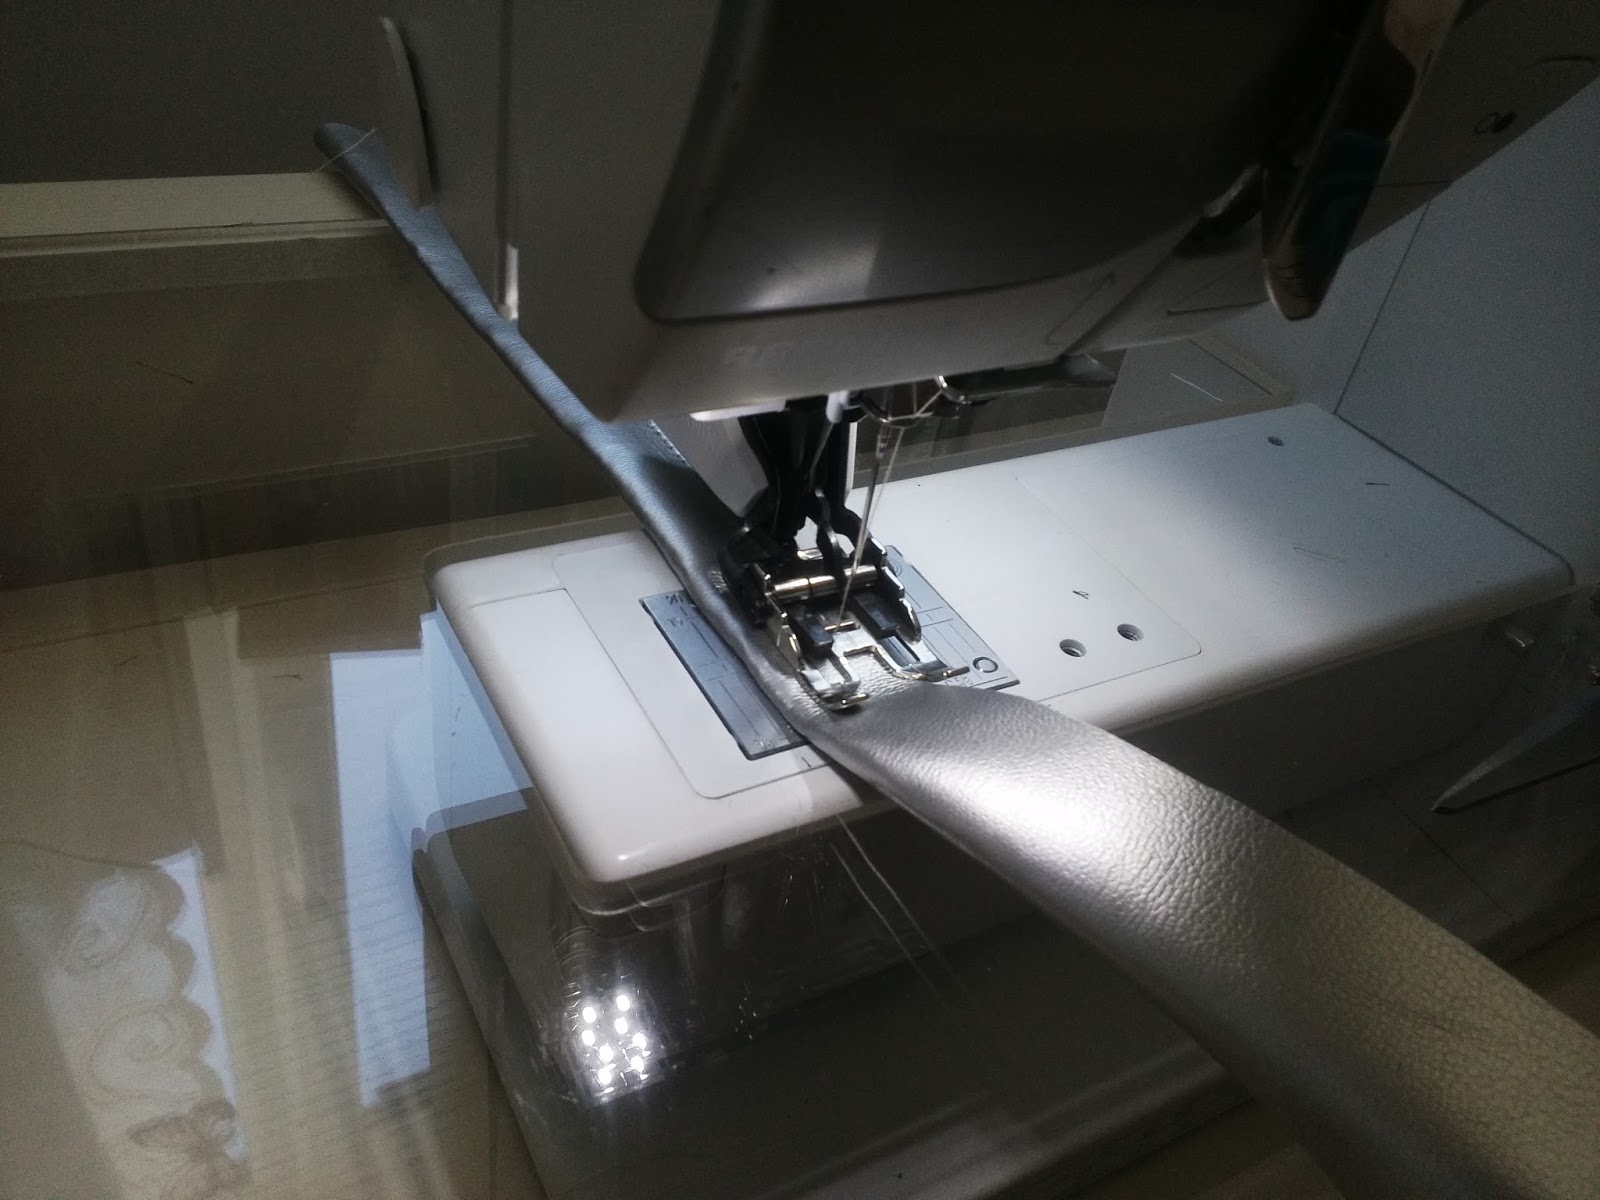
Make the bag up exactly the same as the simple lined tote. But you will need to use a temporary adhesive and Gunold or a self adhesive stabiliser , Filmoplast under the embroidery hoop and stick the pleather on top of the hoop. Do Practice first. Do test the adhesive too because some could damage the fabric. You need to sew the seams with a leather needle and you need to embroider with a larger embroidery needle a size 16 if you have one Machine embroidery needles Both needles will be blunt after this project and will need throwing away. When you sew the seams you must clip the sides together inside the seam allowance to avoid spoiling the fabric. I trimmed the inside of the top with pinking shears as I folded it just once only. I also folded the handles in half without turning the ends in and i trimmed the raw edges with pinking sheers.
This is a really lovely bag, perfect for when you are dressed up but need to take a book and a drink or shoes and so on with you.
So, this is my collection of bags which I made without a pattern, but before we look at a commercial bag pattern I have another idea for you ;-
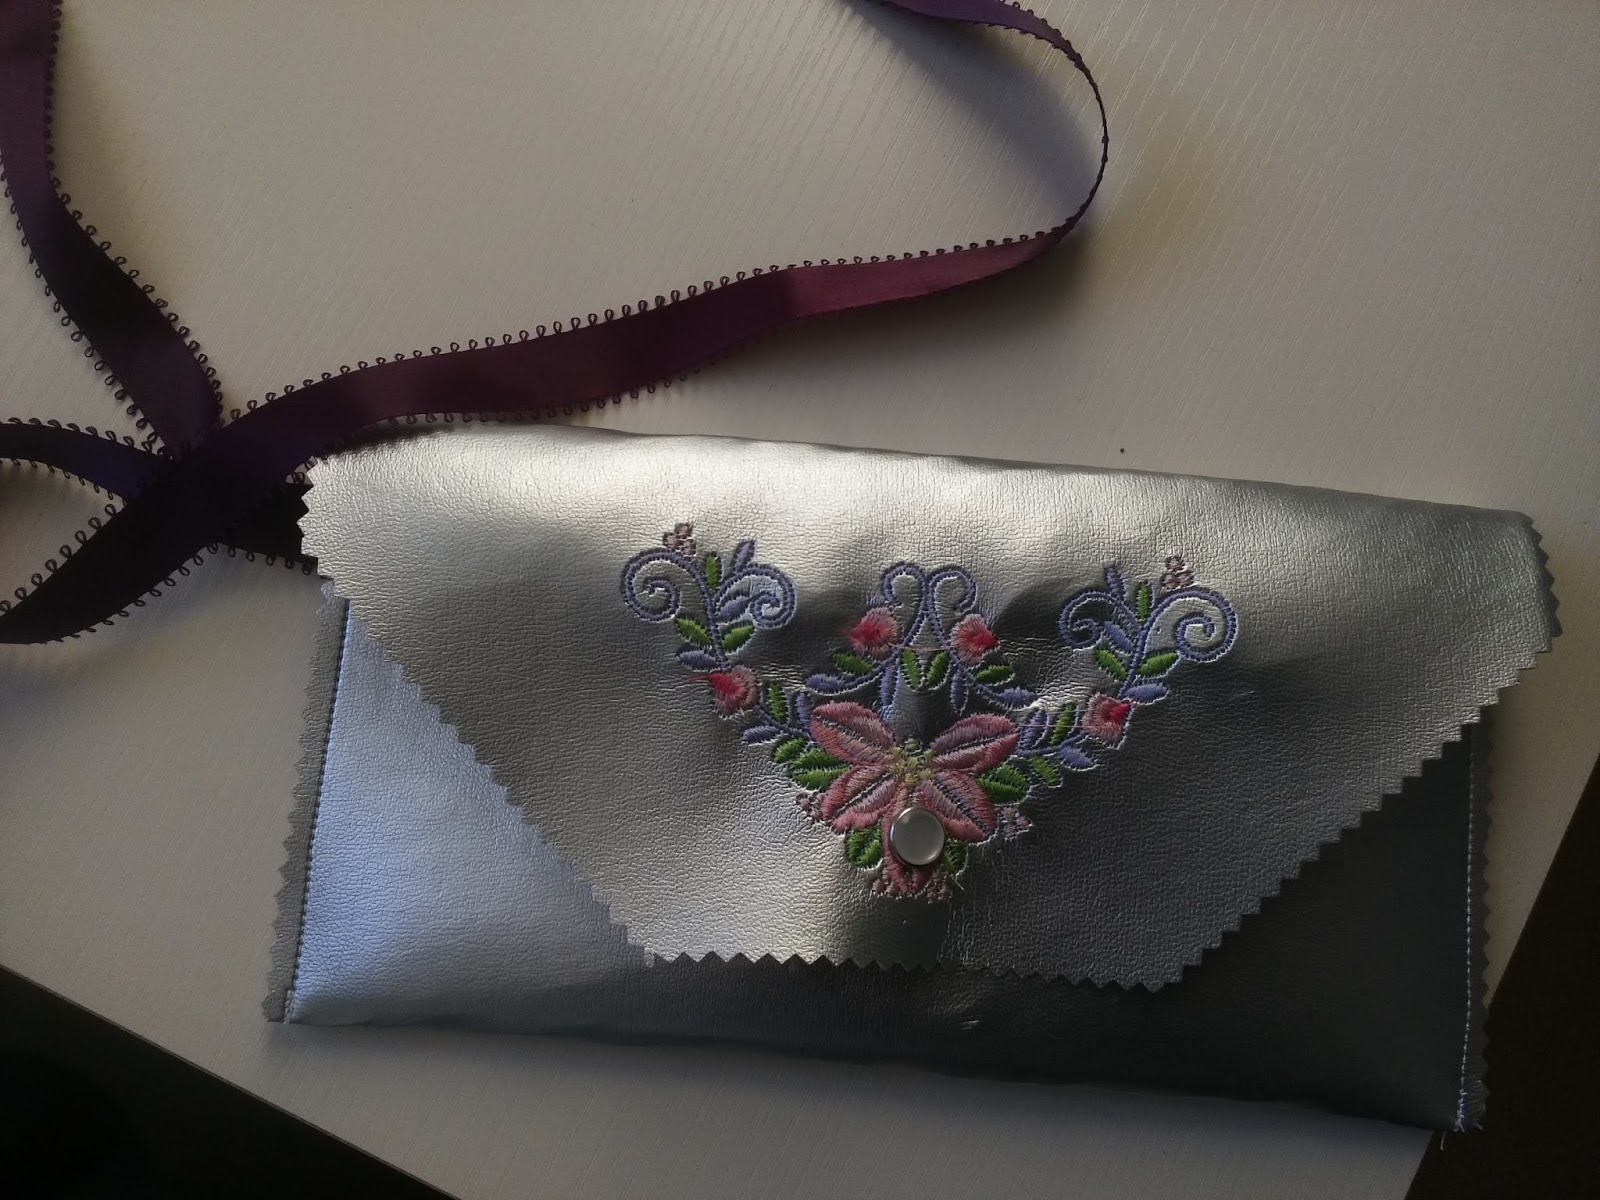
This is a very simple purse which I made with the silver faux leather. I cut one piece, embroidered the flap and used pinking shears all around the edge. I then top stitched the sides and added a popper to close . For security I added a doubled length of ribbon to the side seam .
This ribbon can then be looped over one of the handles and the little bag placed inside the Tote bag to give you somewhere secure for your money or tickets etc.
This is a great idea and can be made in fabric instead. You could close it with a zip or a button if you prefer so why not make one to match your bag?
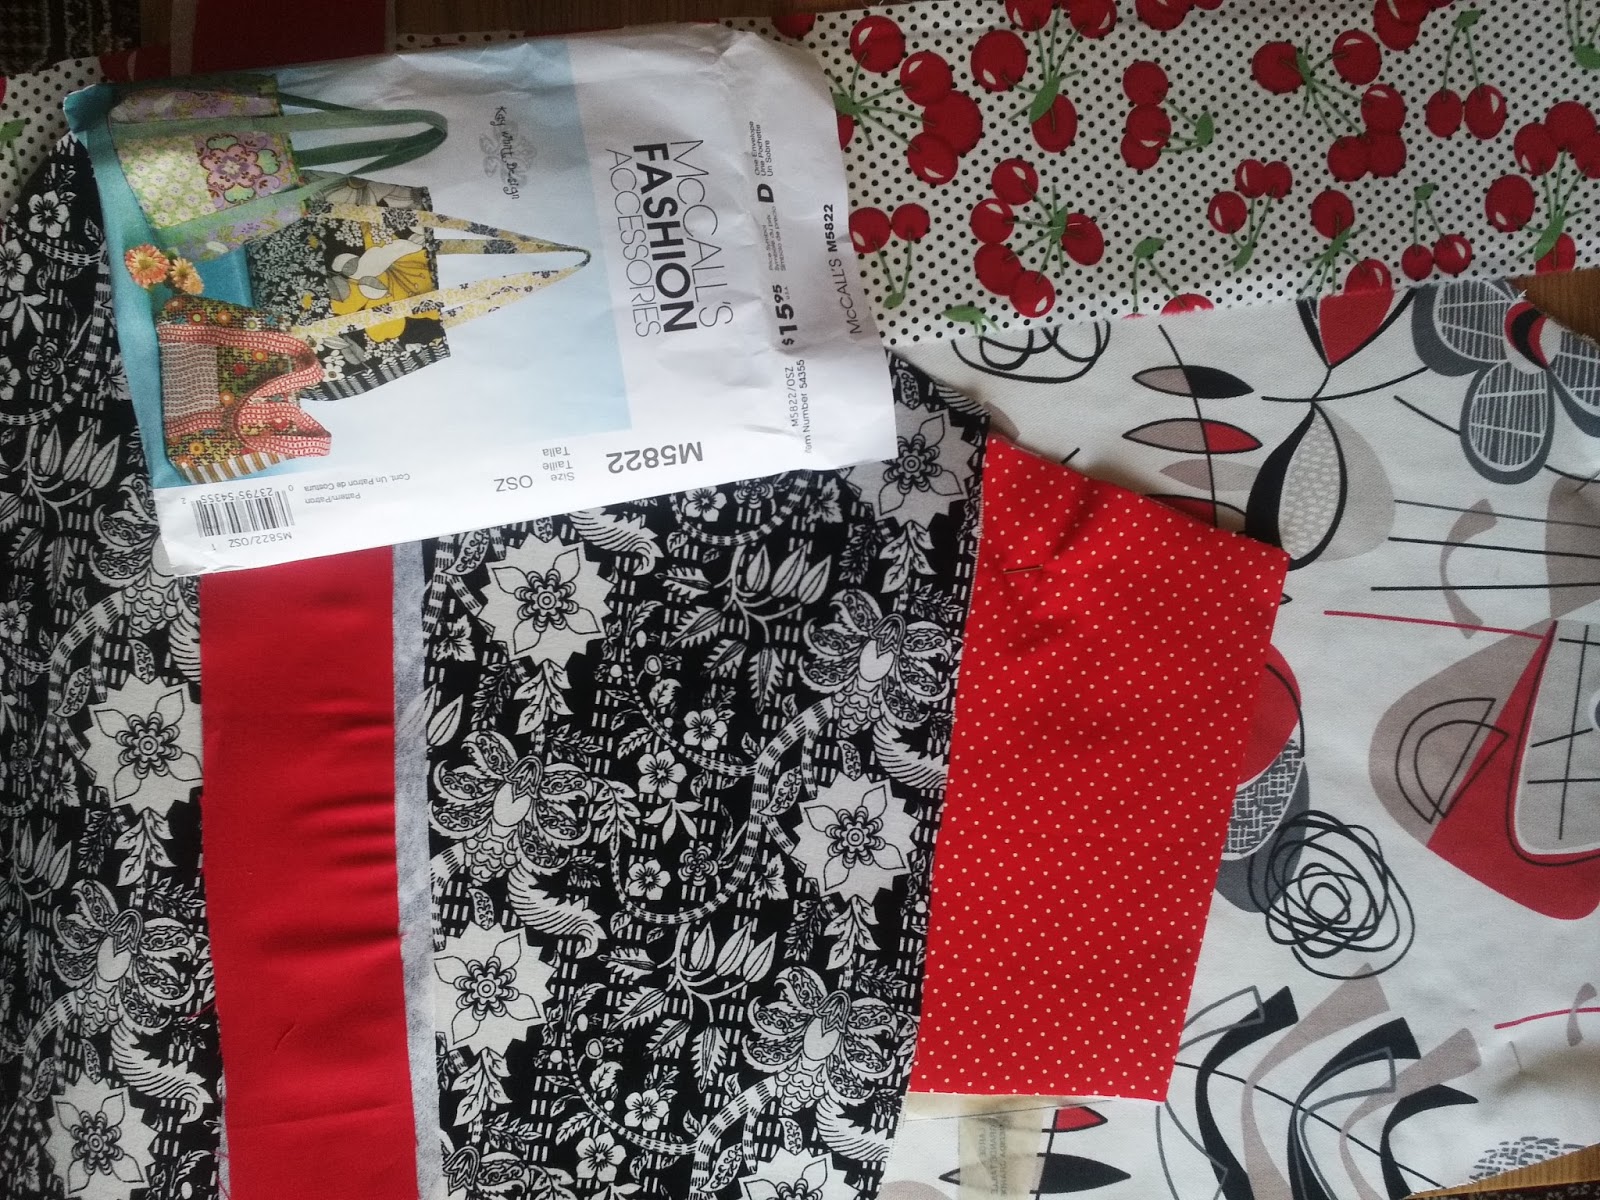
Making a Bag using Mccalls M5822 pattern
Making a bag like this is very different to our simple tote bags. The pattern I used is this one Mccalls Bag pattern I used coordinating prints from my stash and didn't have to buy any fabric. There are three sizes and I made the largest size.
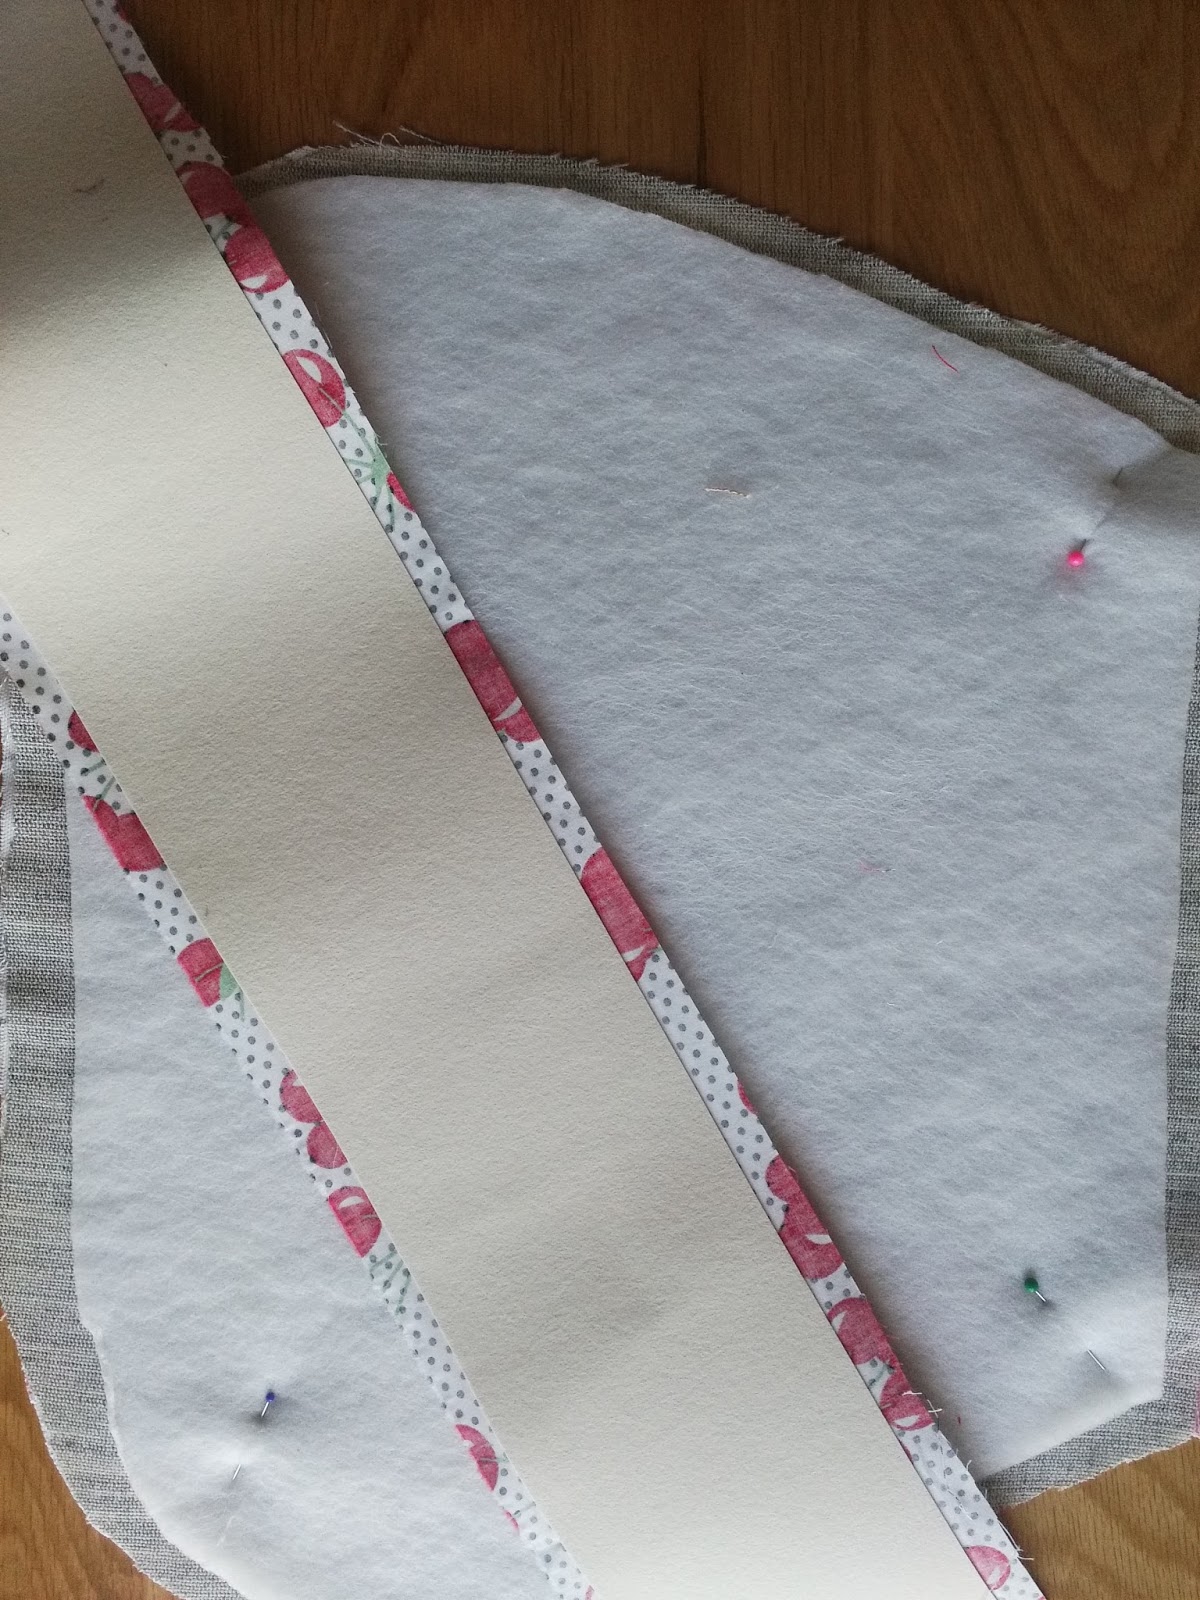
You do need specialist products which can prove expensive. The pattern calls for one metre of volume fleece Volume Fleece which is meant to go on top of the same amount of Decovil Decovil . These specialist products are extremely expensive and i looked for ways to use less. Decovil is very stiff and it makes the bag rigid. I decided to use it only on the side and base piece only. For the sides I used a fusible woven interfacing Woven interfacing and put the volume fleece on top of that. I guess the woven interfacing to the lining pieces too as mine was rather thin. I did not interface the straps.
Before sewing any seams i trimmed all the interfacings back to the seam allowance otherwise it would not have turned right sides out easily.
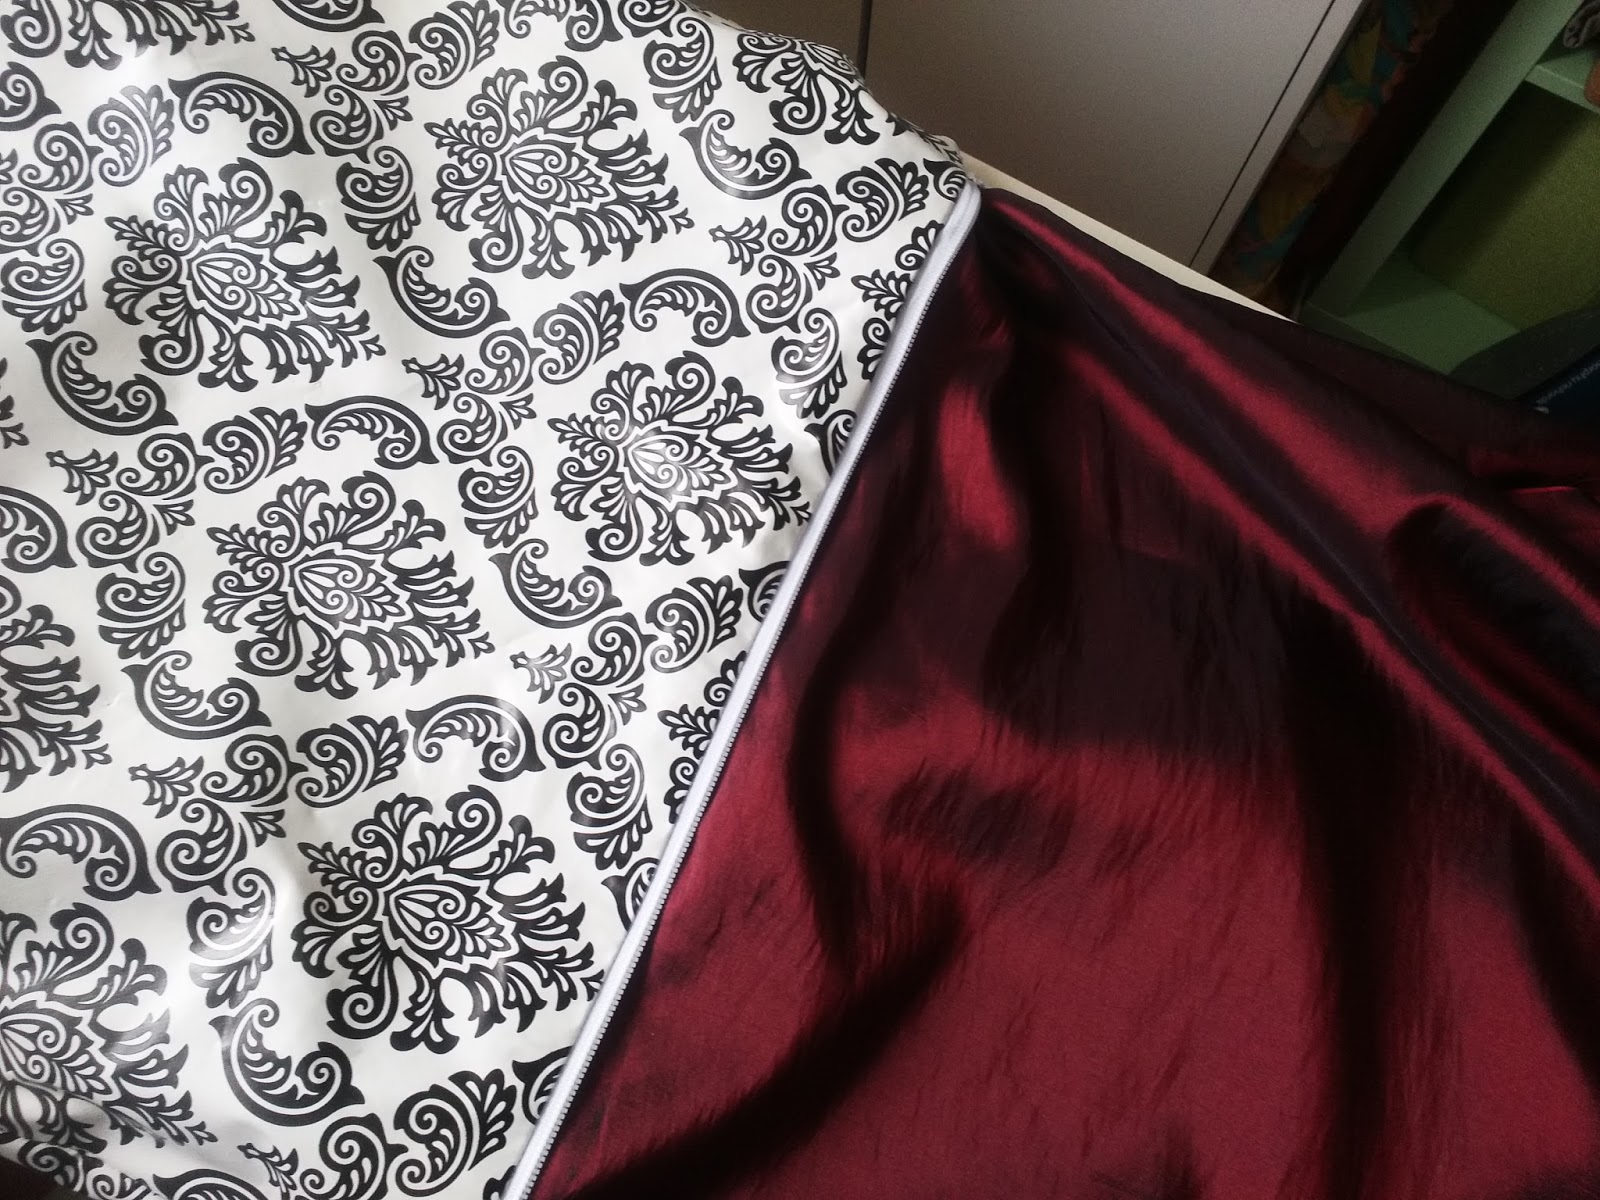
I found that I had to read through the pattern instructions a couple of times to fully understand them and I found that the straps were far too long so I trimmed them back by about ten inches. I feel that the way to get a lovely looking bag is to make sure that your fabrics coordinate in colour, texture and design so I took time to choose my fabrics carefully. For the lining I chose a black and white hand printed batik fabric .
This is the shell of the bag made up, the most difficult part was attaching the side and i found that using a lot of pins,and I do mean a lot, and my walking foot was the only way to proceed.
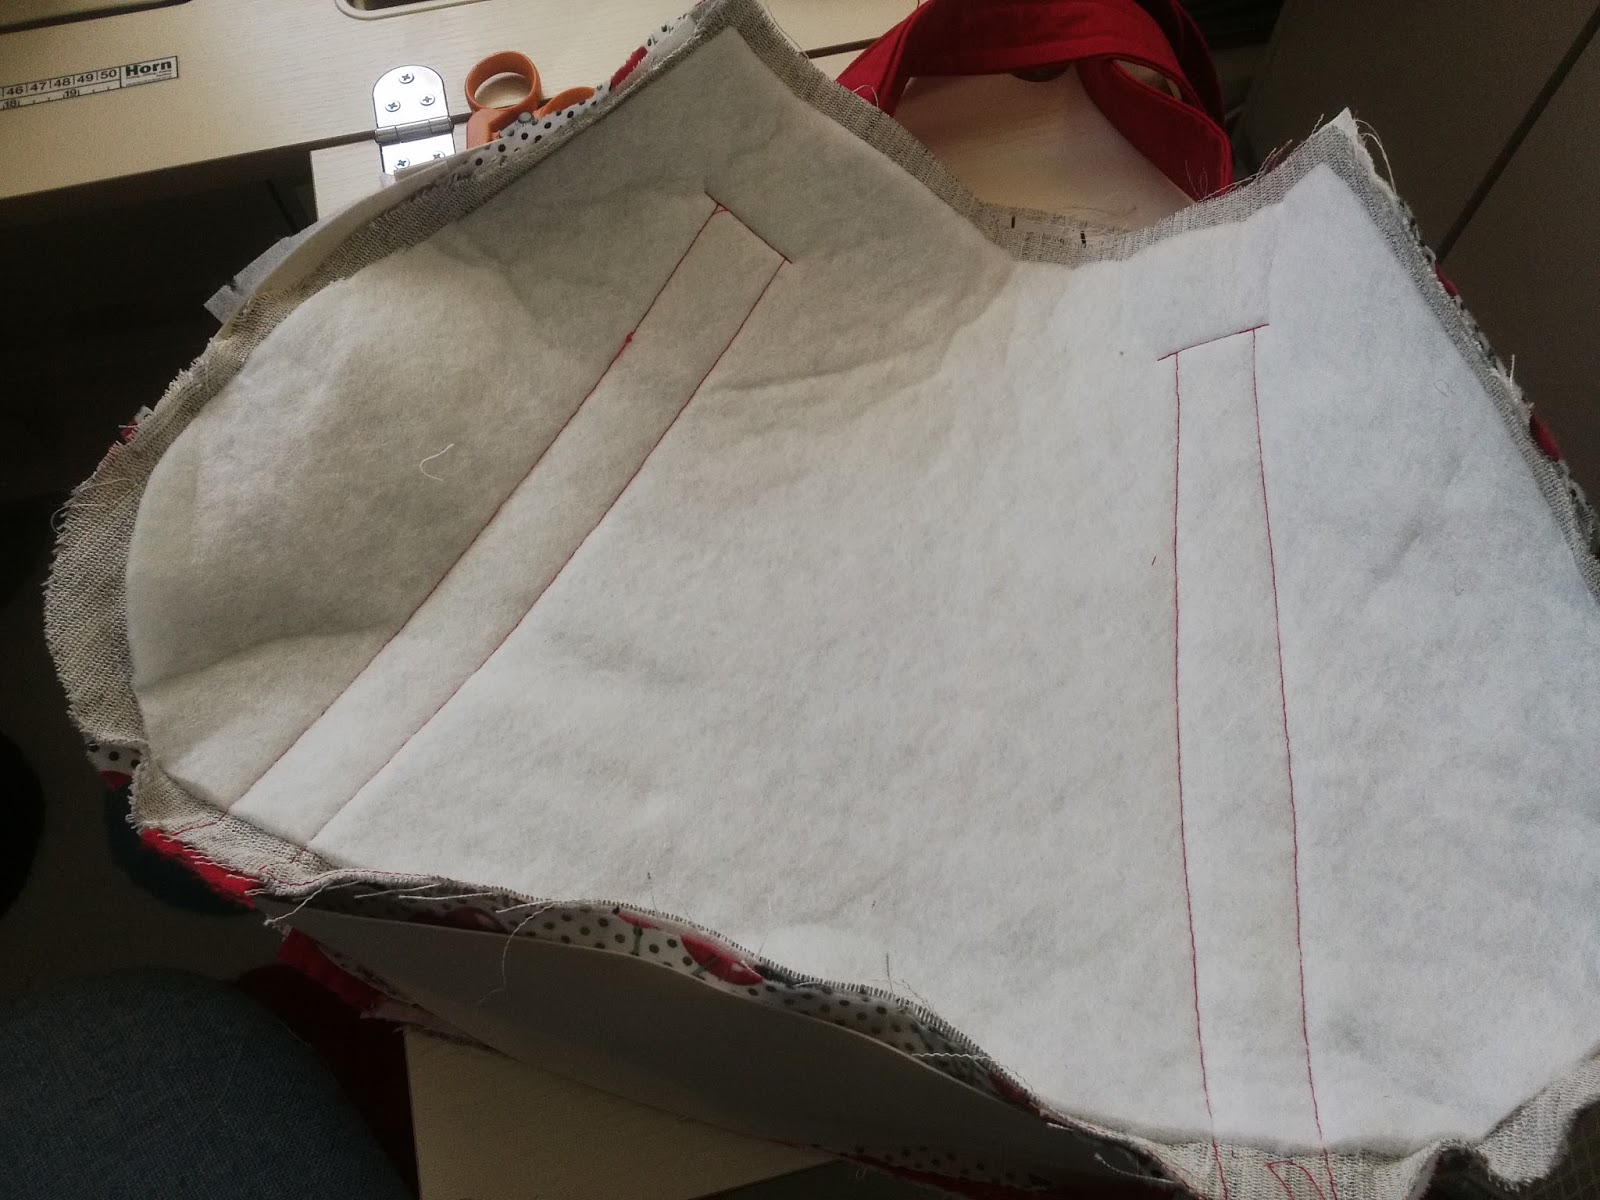
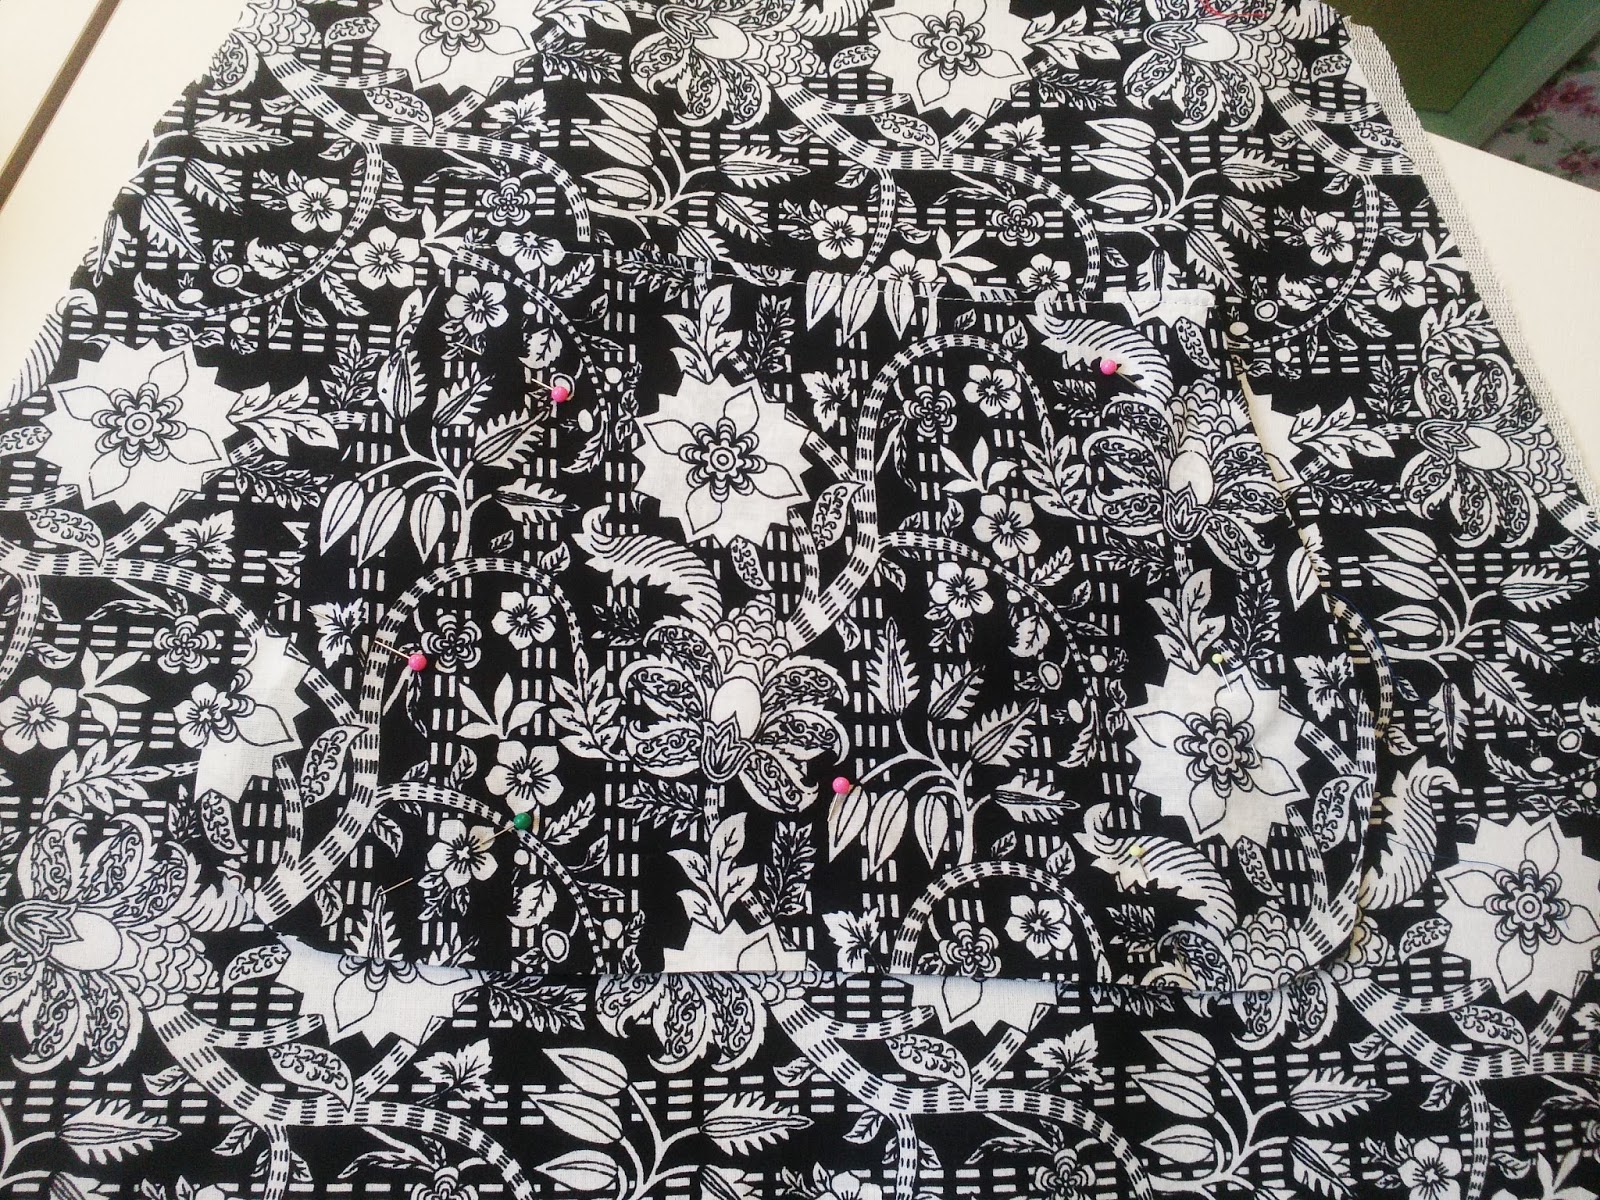
Although you cannot see them clearly the lining has pockets sewn on so do that before you make up the lining.
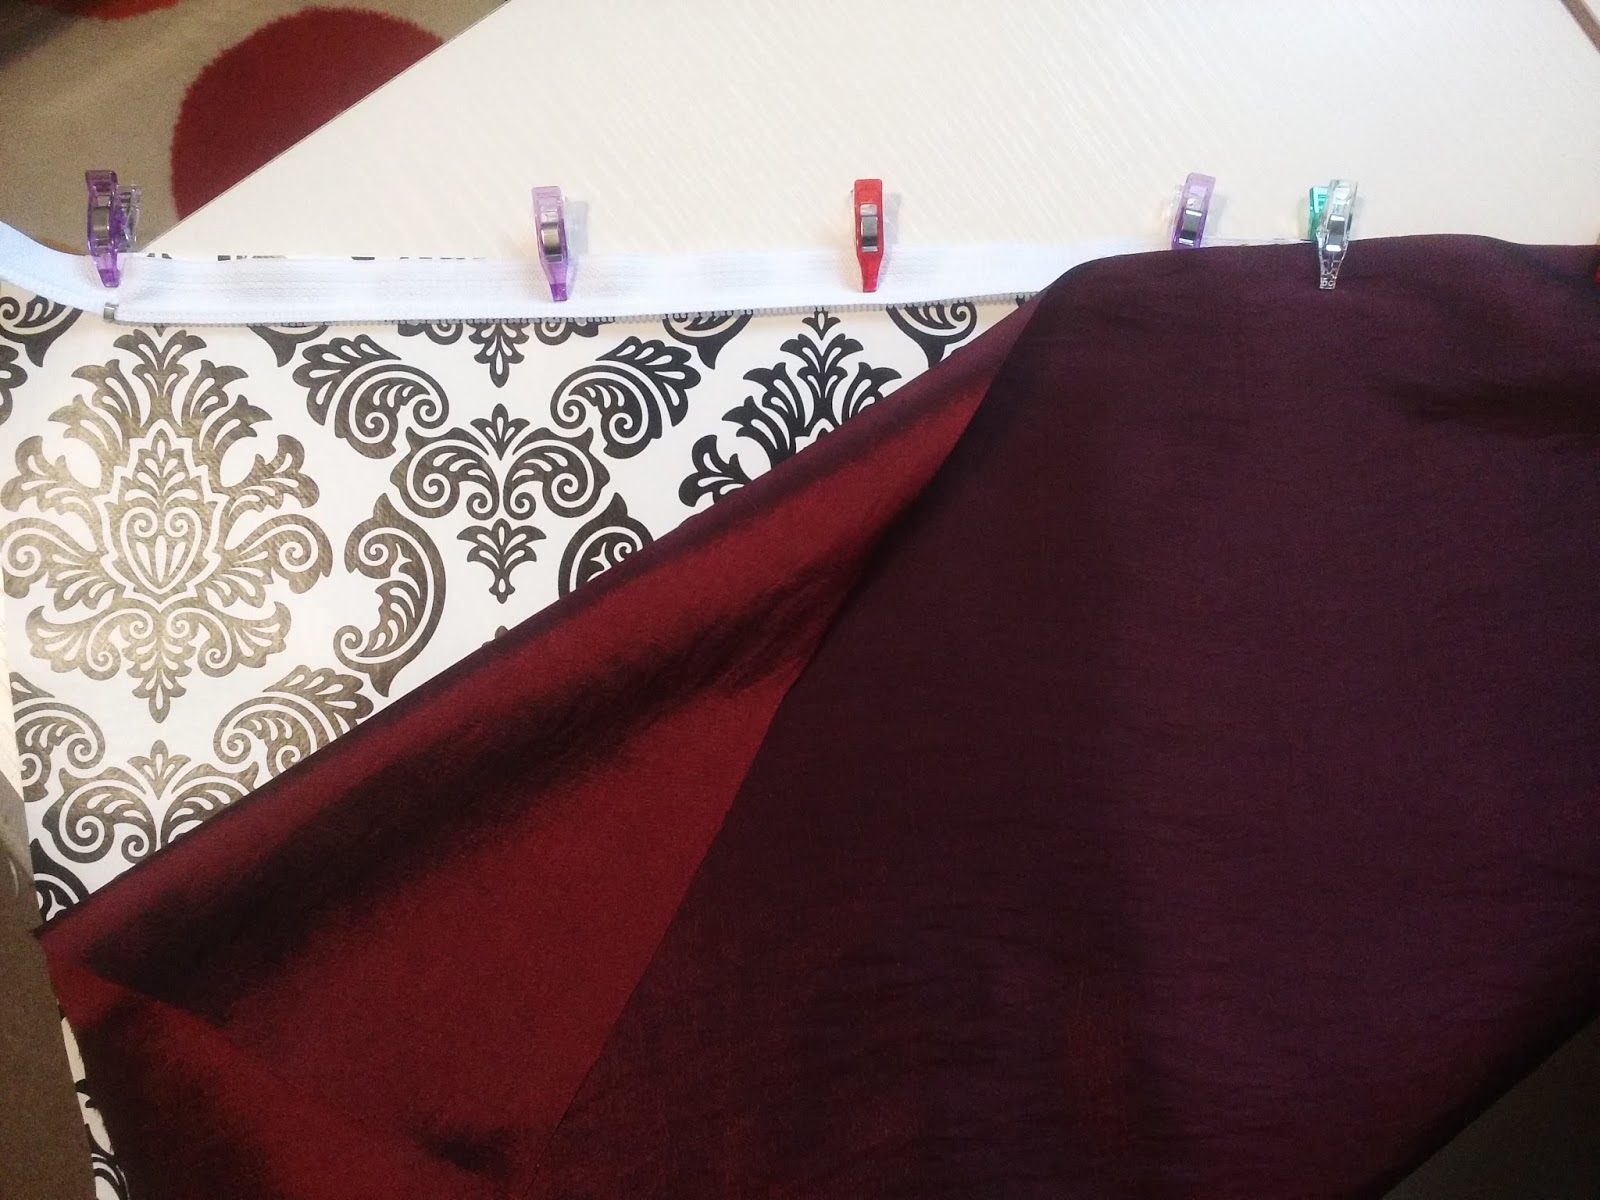
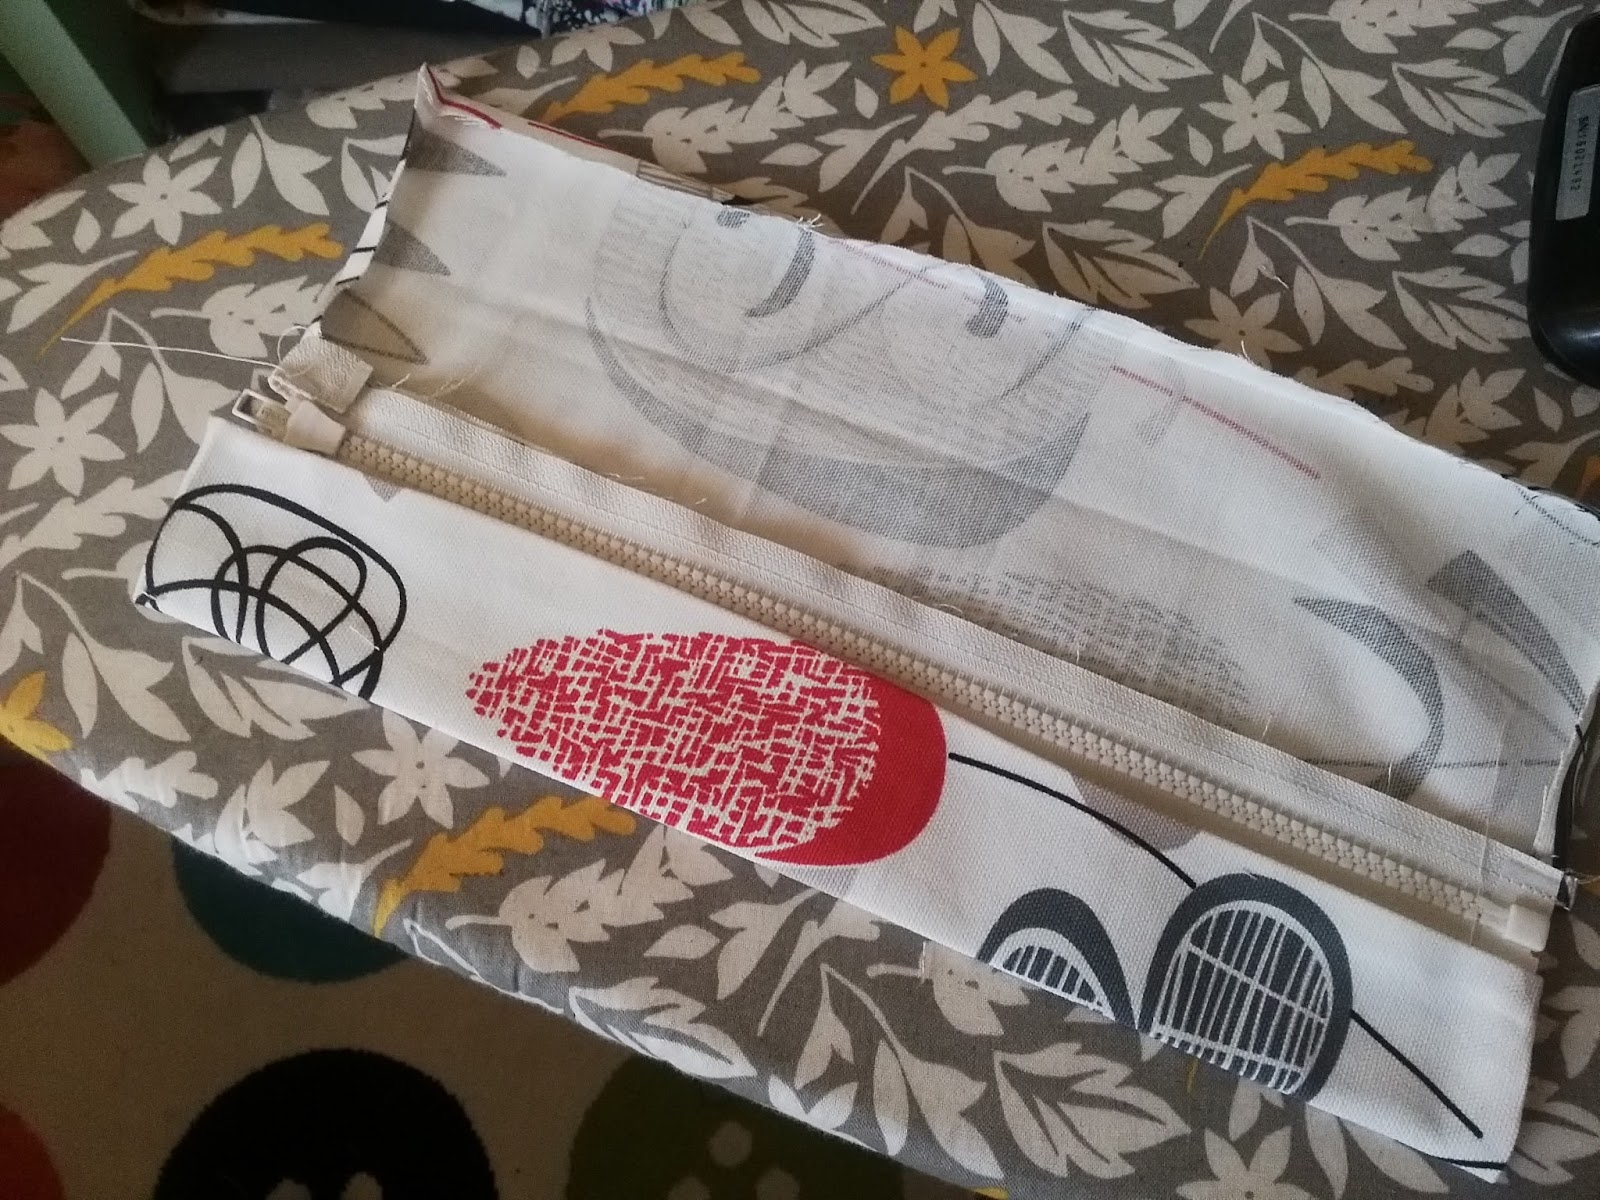
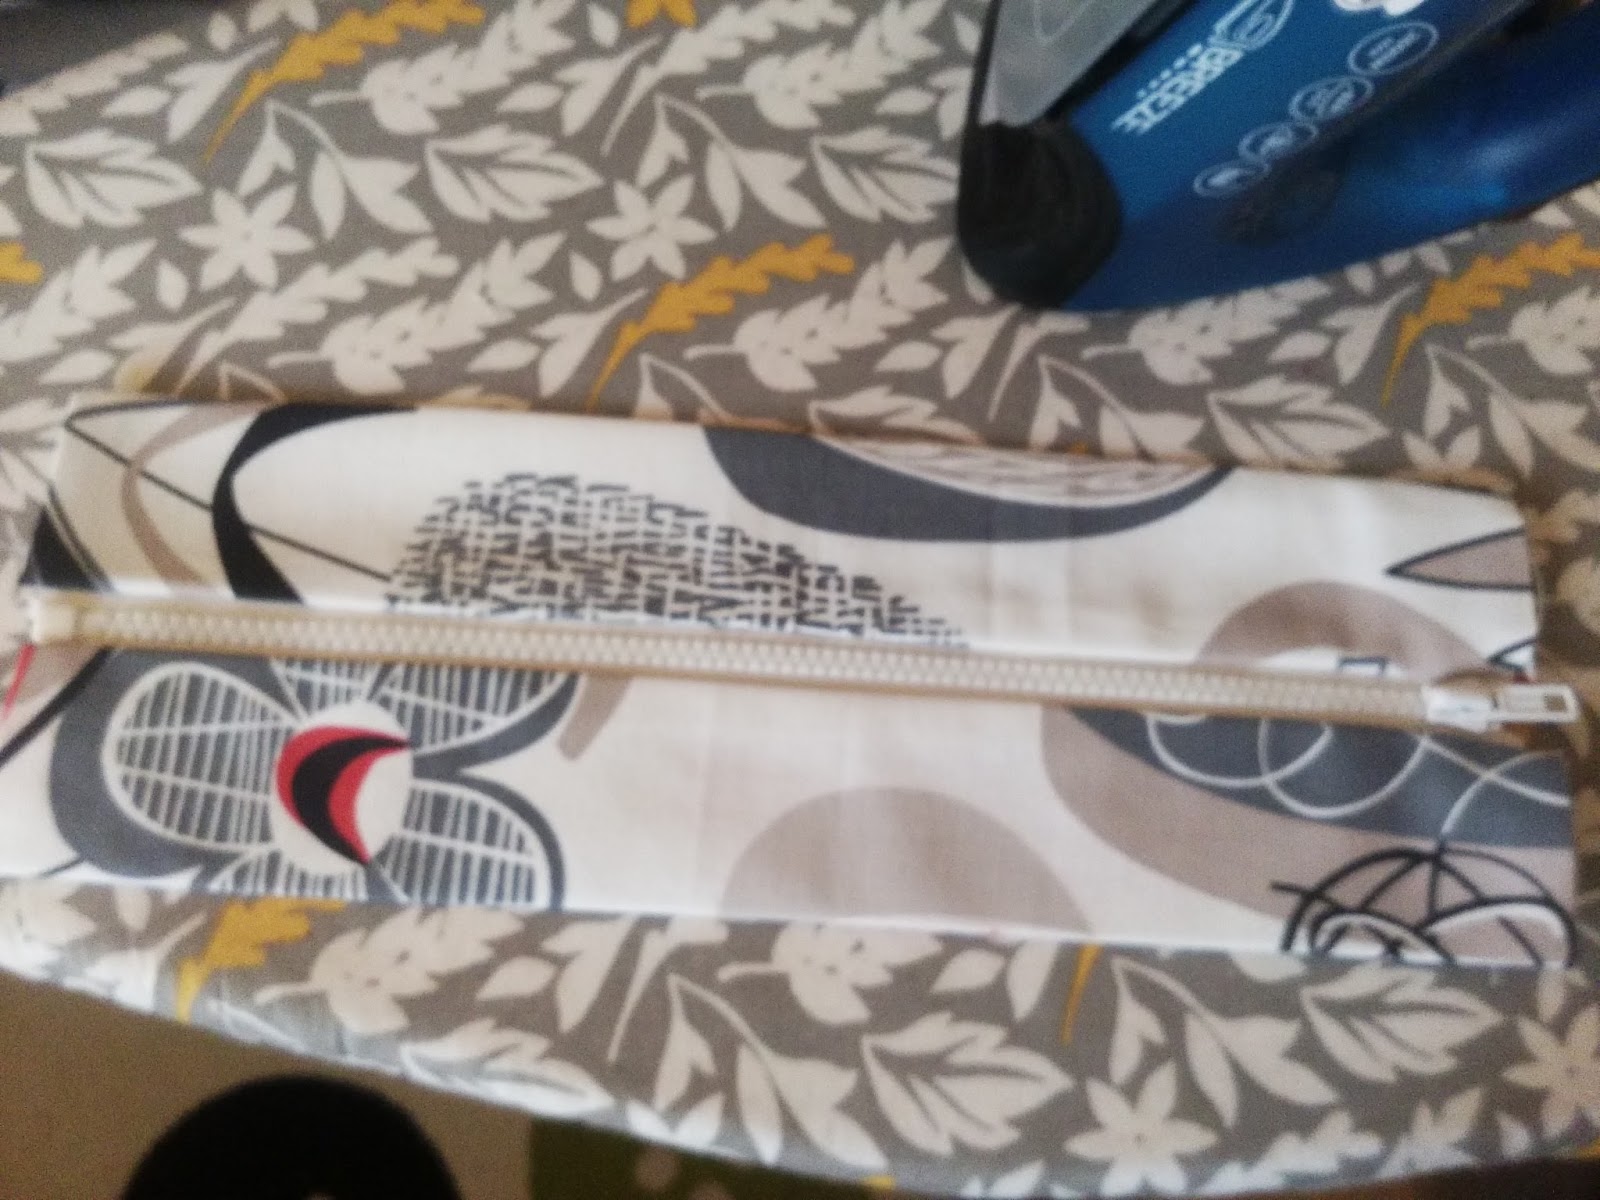
Next comes the top of the bag where we need to place a zipper. Jaycotts have some beautiful zips especially for bags, Bag zips they do make your bag look more professional
The instructions show you how to sew the zipper one side at a time to the centre of the tops and then fold and stitch them to form self lining.
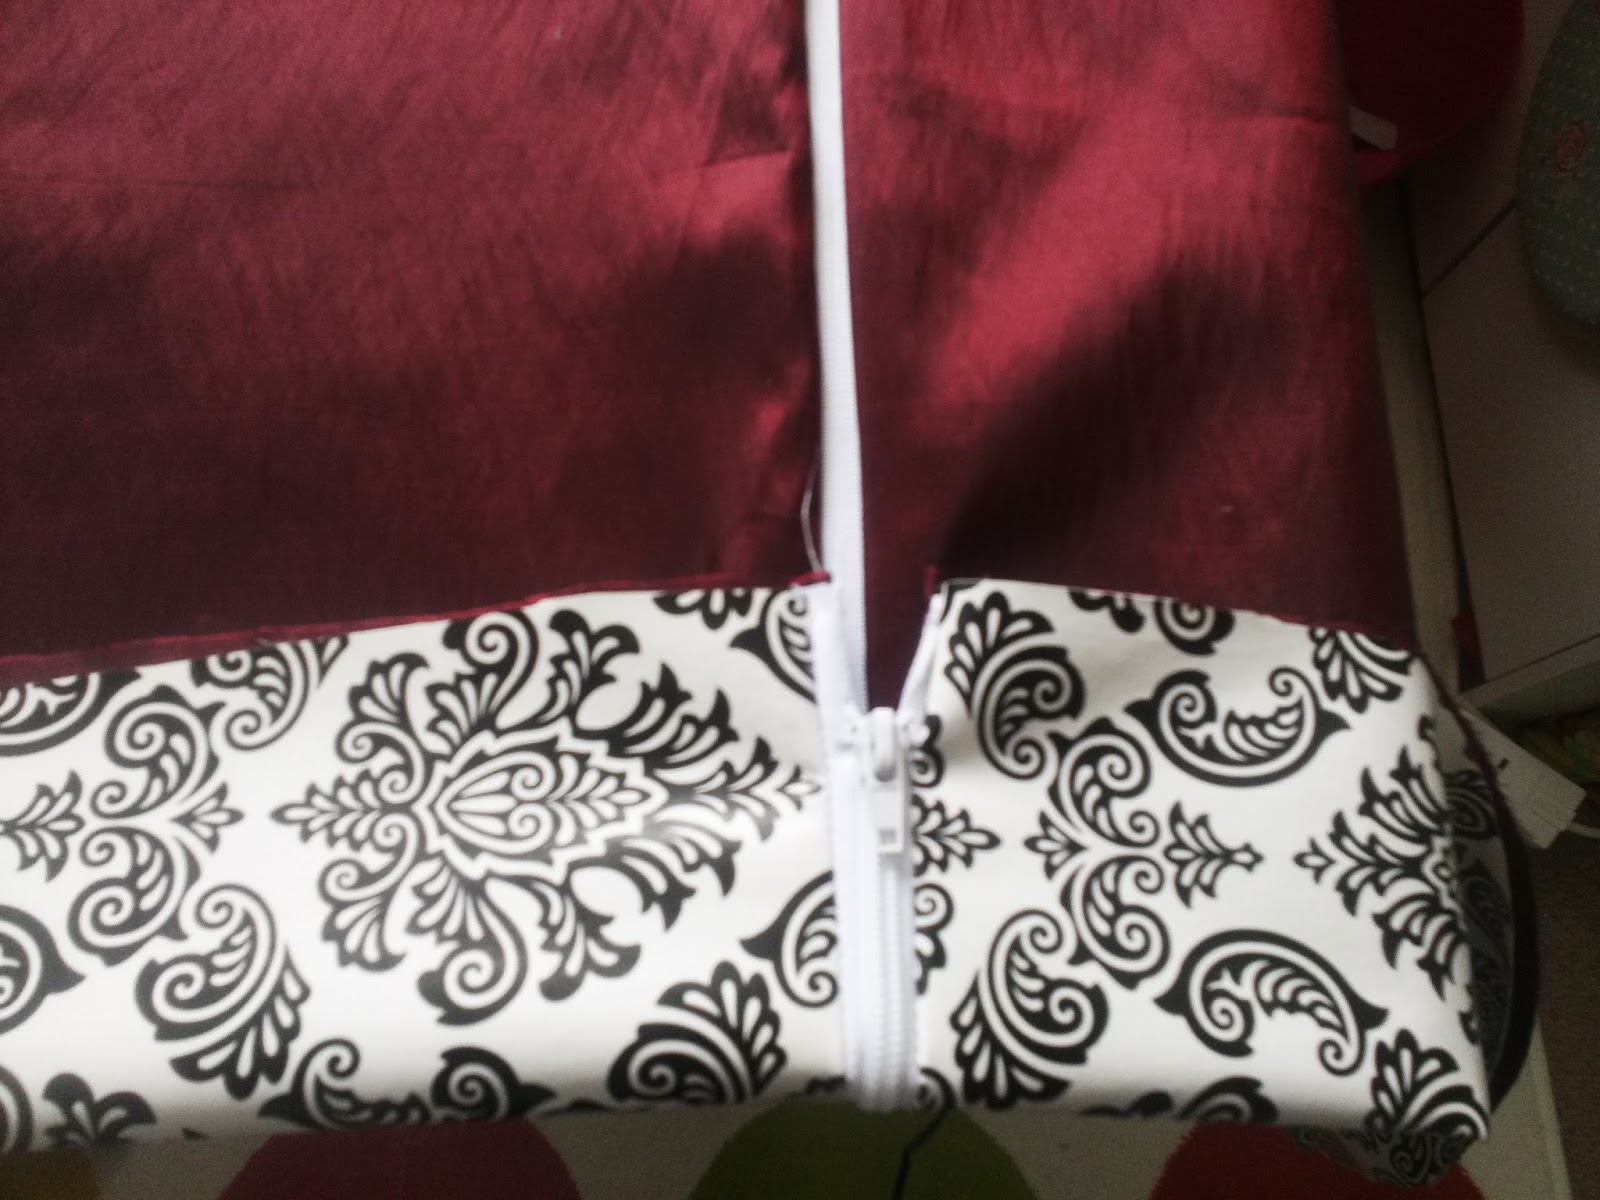
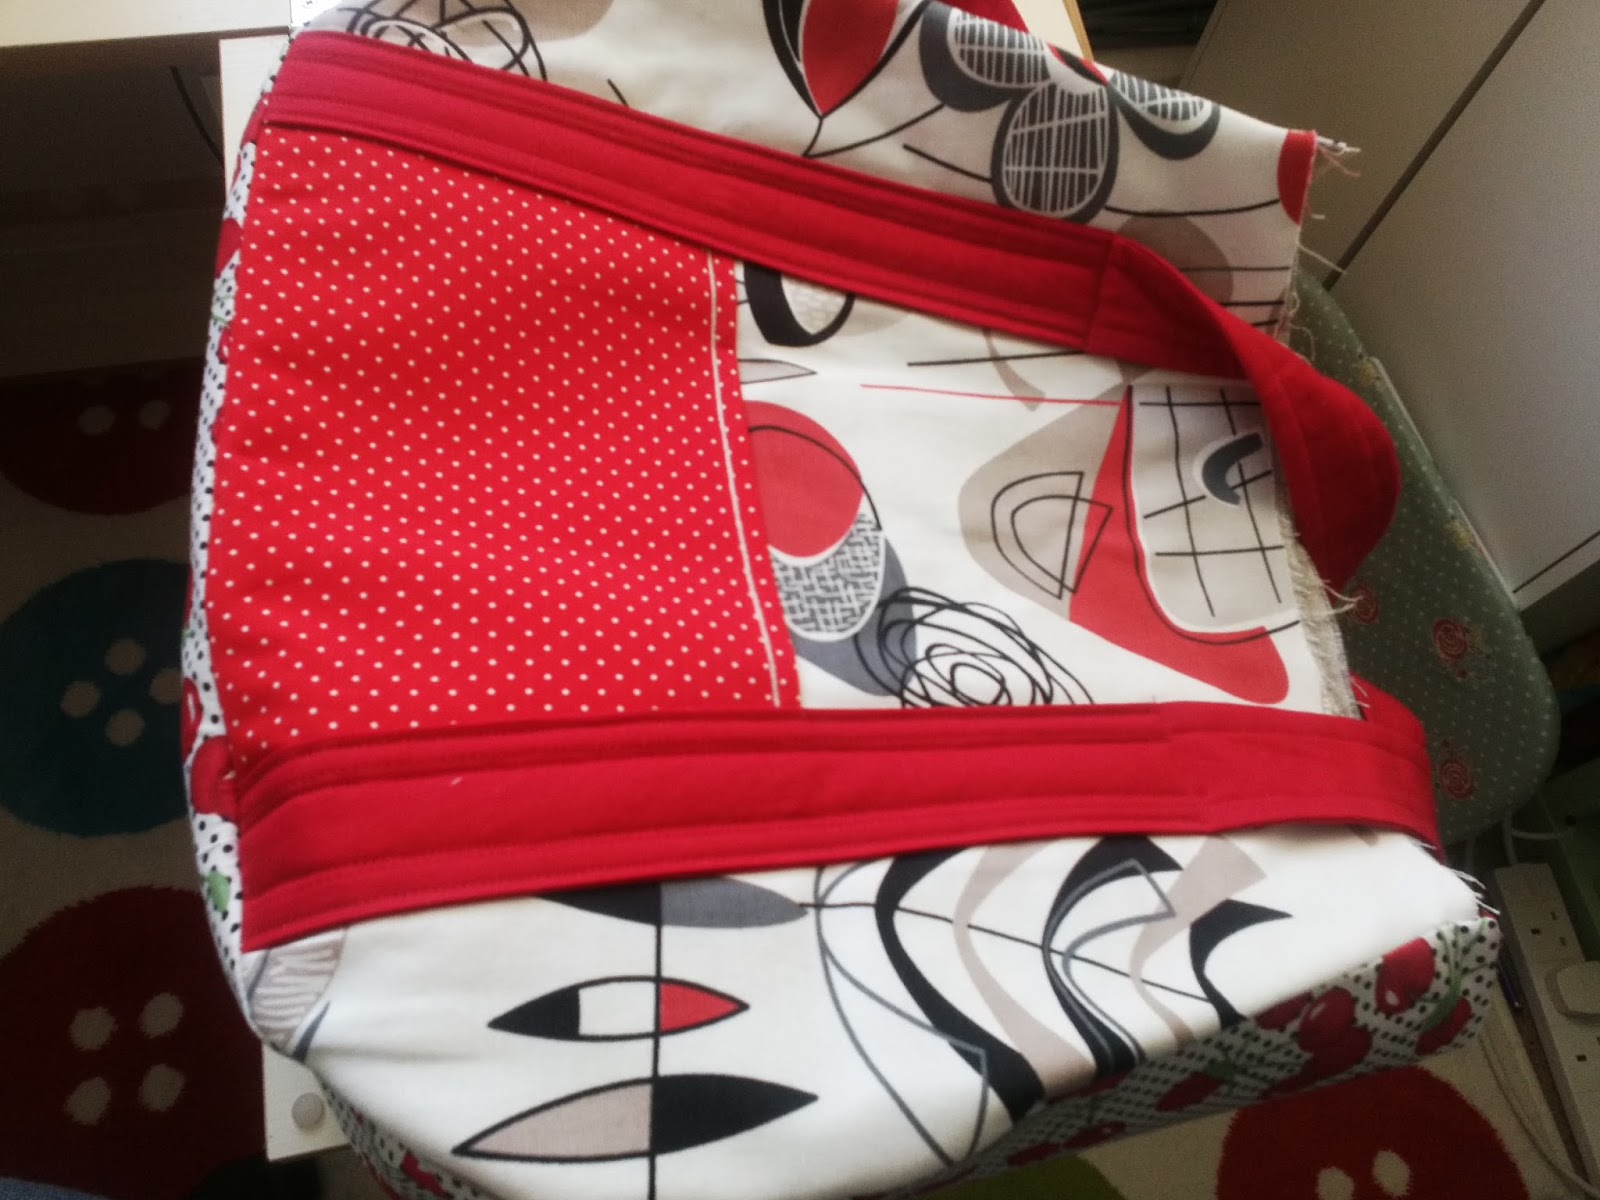
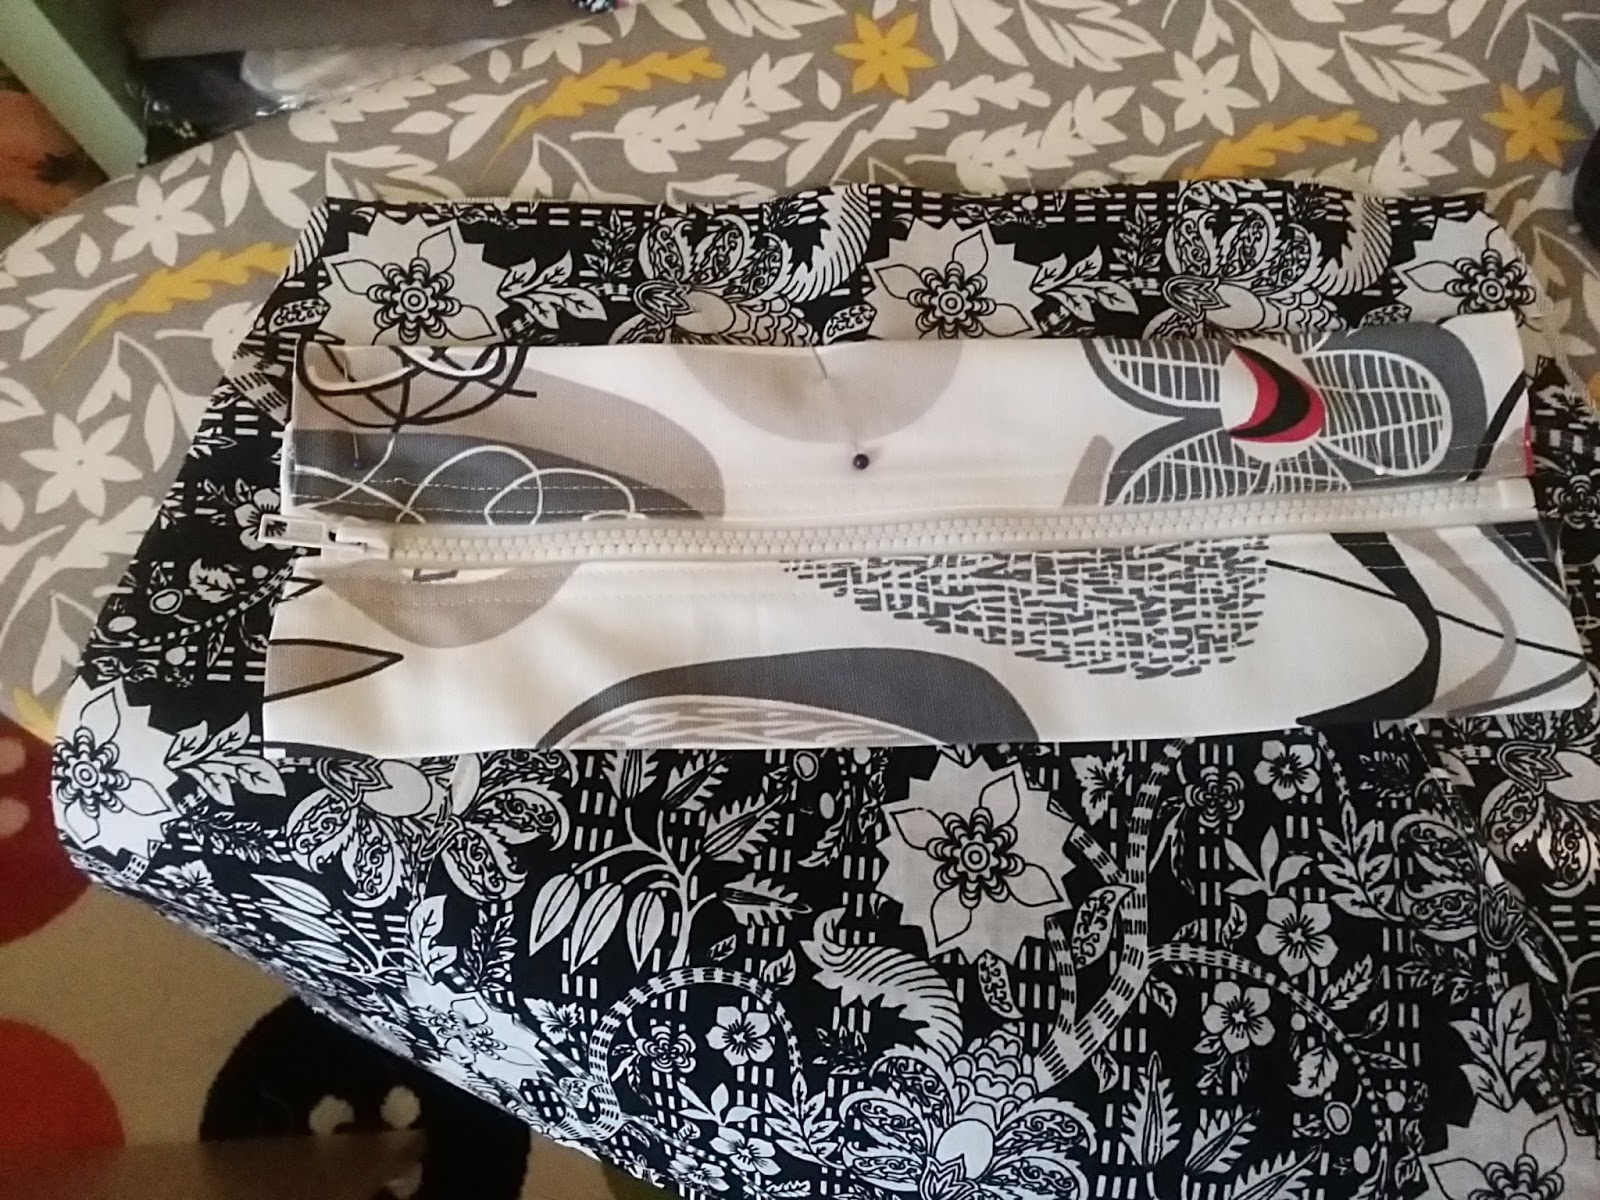
Then the zip and bag topmost stitched to the lining before placing the lining wrong sides together inside the bag. The other tricky part where you will again need a lot of pins is stitching the lining and the bag together around the top. You are now dealing with a very bulky stiff bag. Once you have done that then trim the top and stitch your top binding on right sides together, fold it over and turn the seam allowance in. I then top stitched close to the edge of the binding to hold it in place.
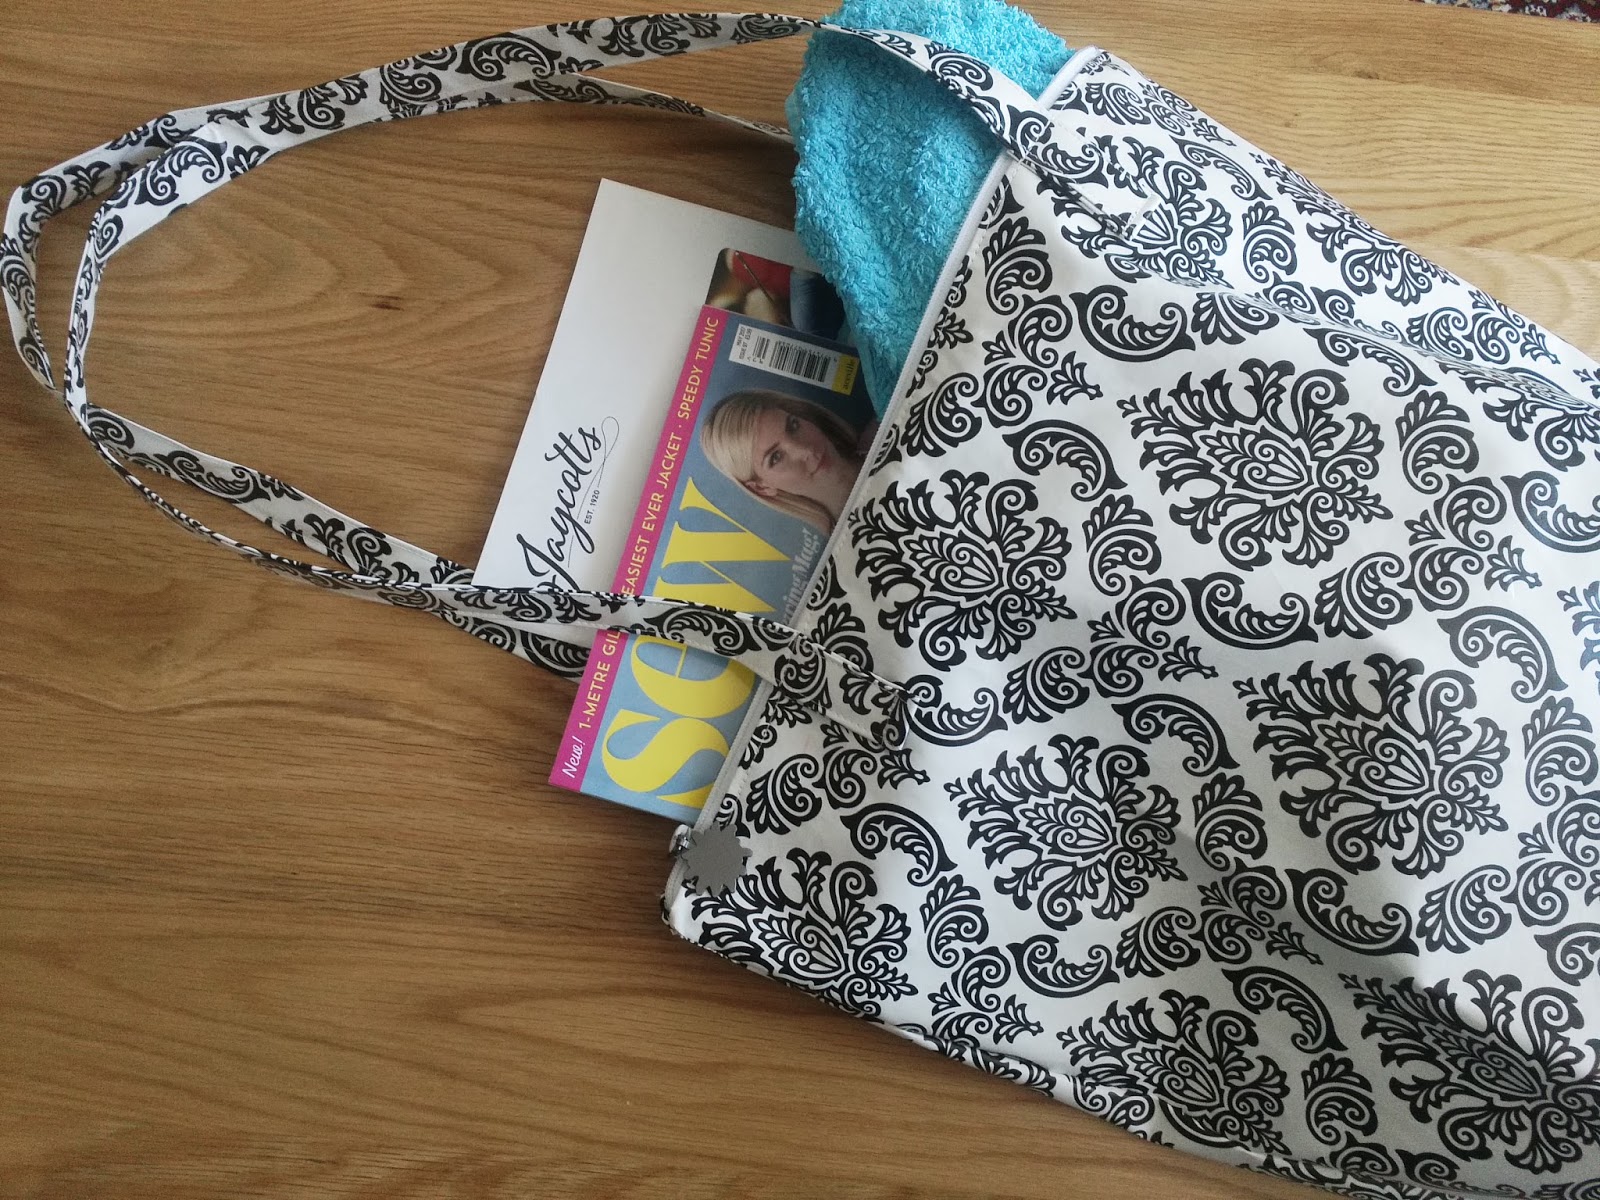
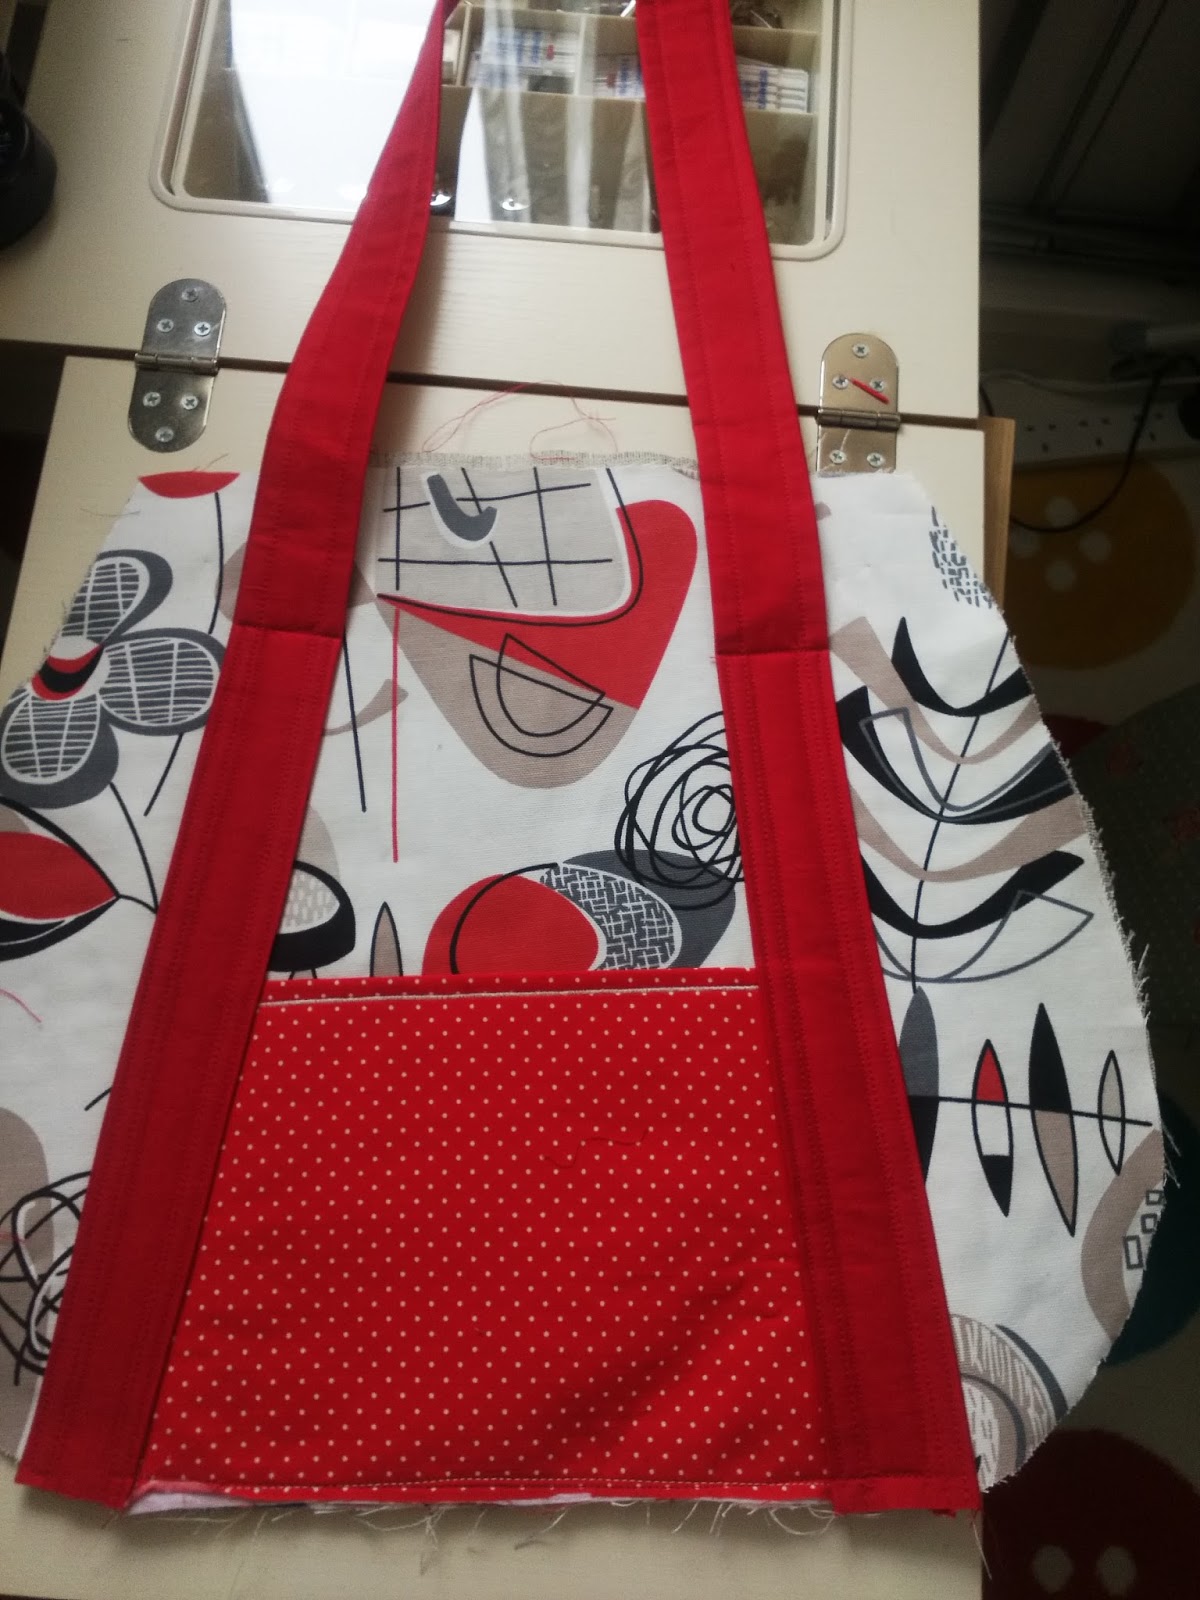
This is the finished bag which I have to say I am delighted with.
I hope that I have given you some inspiration and that you will make some bags for yourself or as gifts. They are easy to sew and use up fabric scraps which would otherwise be discarded. The bag which I used a commercial pattern to make is superb and I am very proud of it. I am now thinking of making a carry on cabin bag ( check your flight companies allowed dimensions and weight ) and a gym bag would be most useful.
You will have lots of ideas yourself, and they take no time at all to make.