In this post I will be making a really easy wrap skirt, perfect for the summer holidays and also a simple sleeveless top using the all in one facing method for a really neat finish. I will also be demonstrating some of the functions of the
Brother Innov-is 10A from jaycotts.co.uk which is one of their best selling machines.
This post is suitable for total beginners.
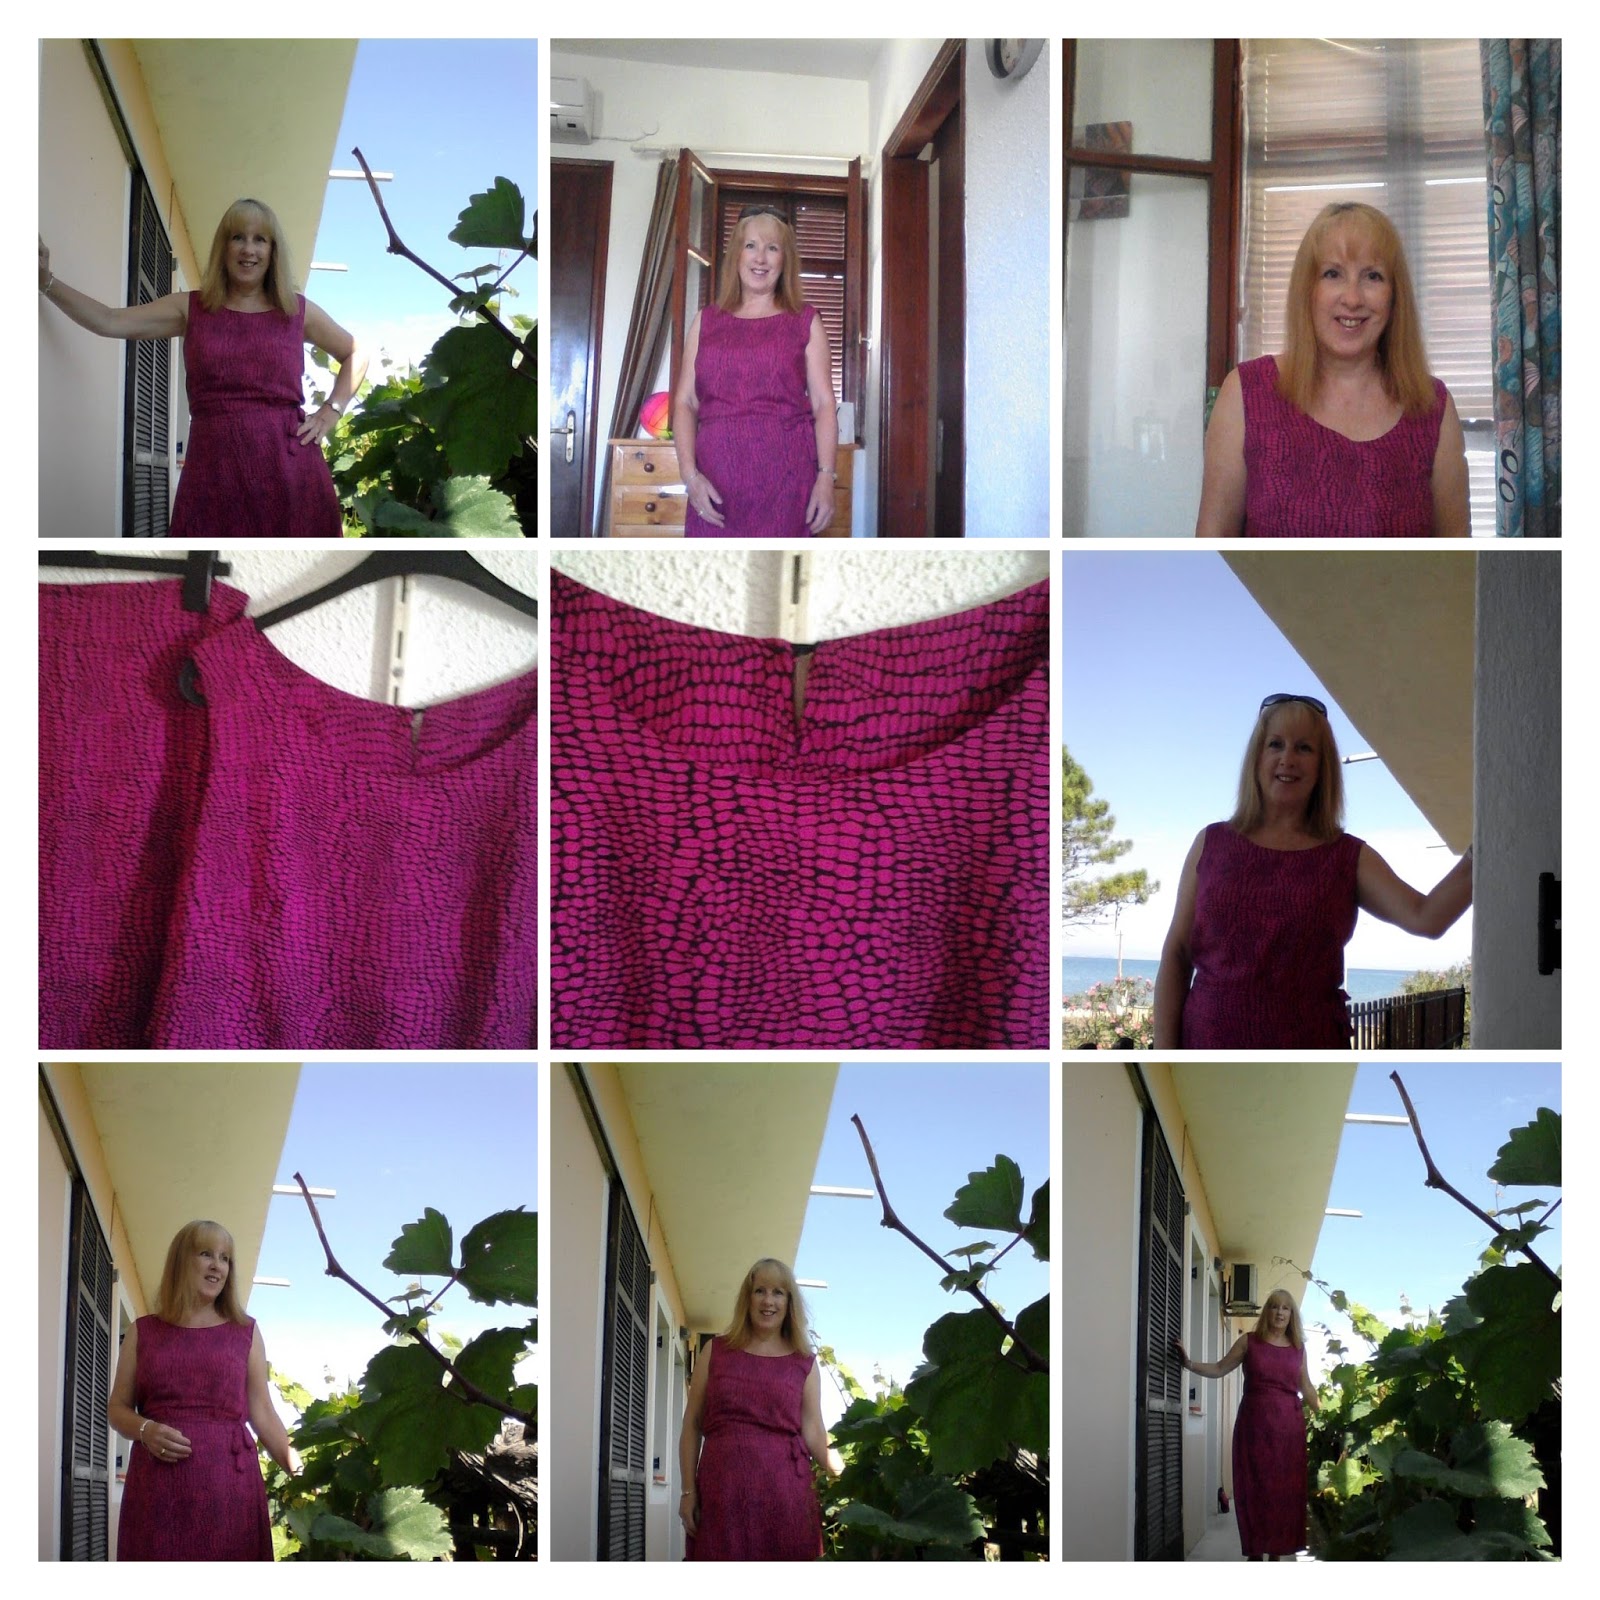
I set out to make a simple wrap skirt to cover my legs from the hot sun in Corfu and ended up making a top as well because there was so much fabric left over
Skirt and top combinations always work well on holiday as you can build many outfits from them. The skirt is a great cover up when you come off the beach and I found that the top looked fantastic with white crop pants.
This is the machine I used to make this outfit, I do highly recommend it for value and for versatility. It is a machine that is not daunting for a beginner yet can grow with you with the addition of a few accessories and different feet.
The Brother Innov-is 10A from jaycotts.co.uk. telephone them on 01244 394 099 for the current best price or use the contact form for any enquiries
HERE
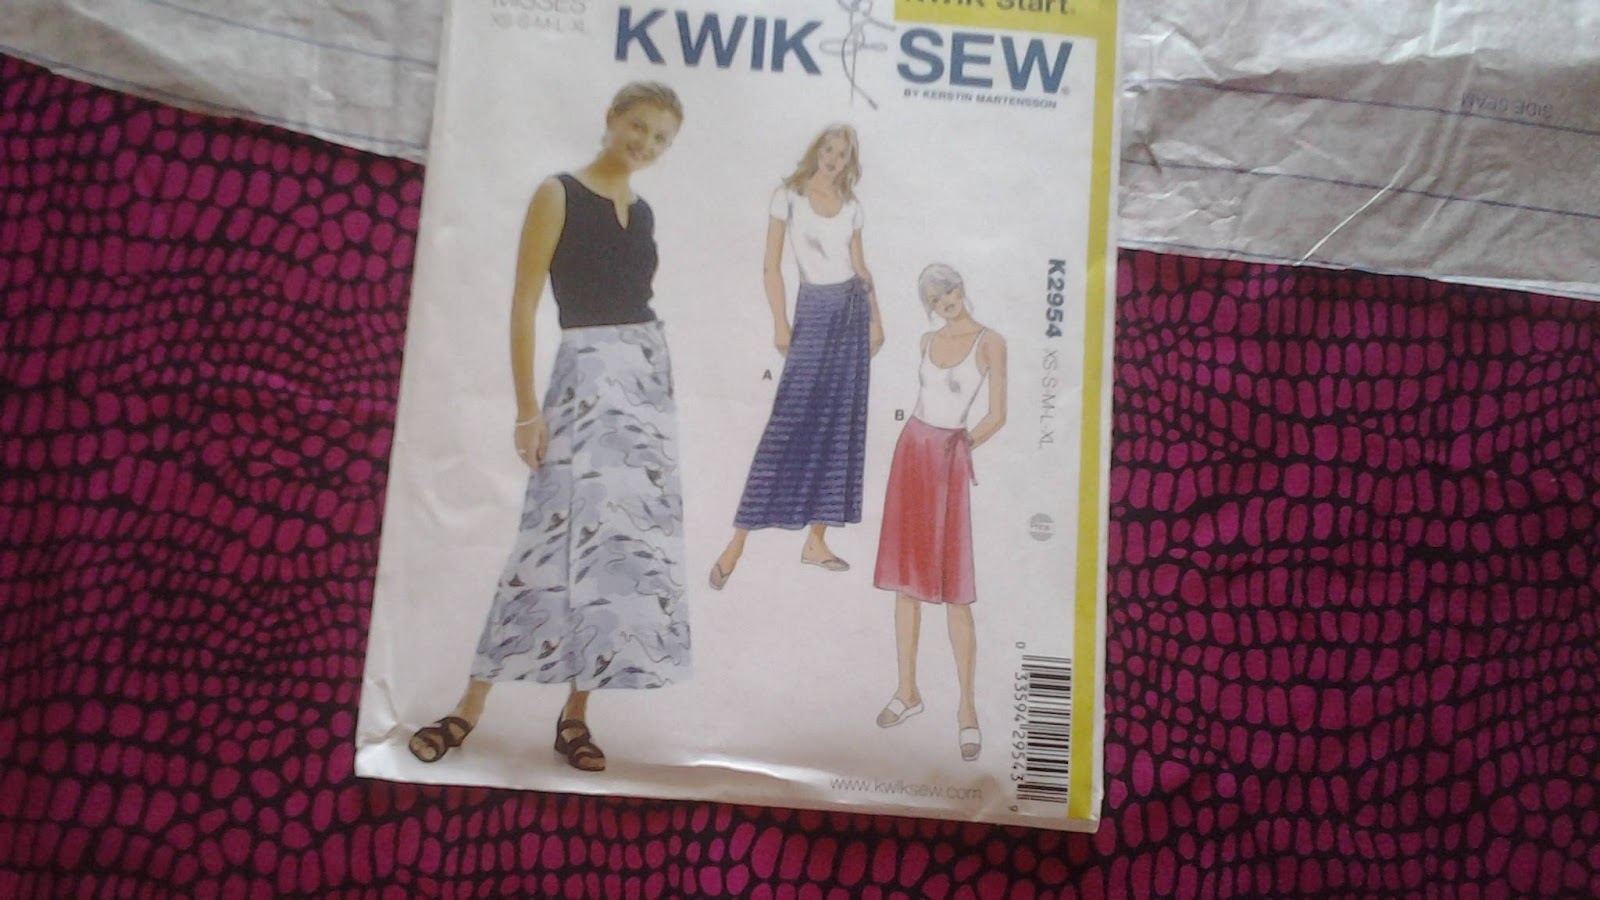
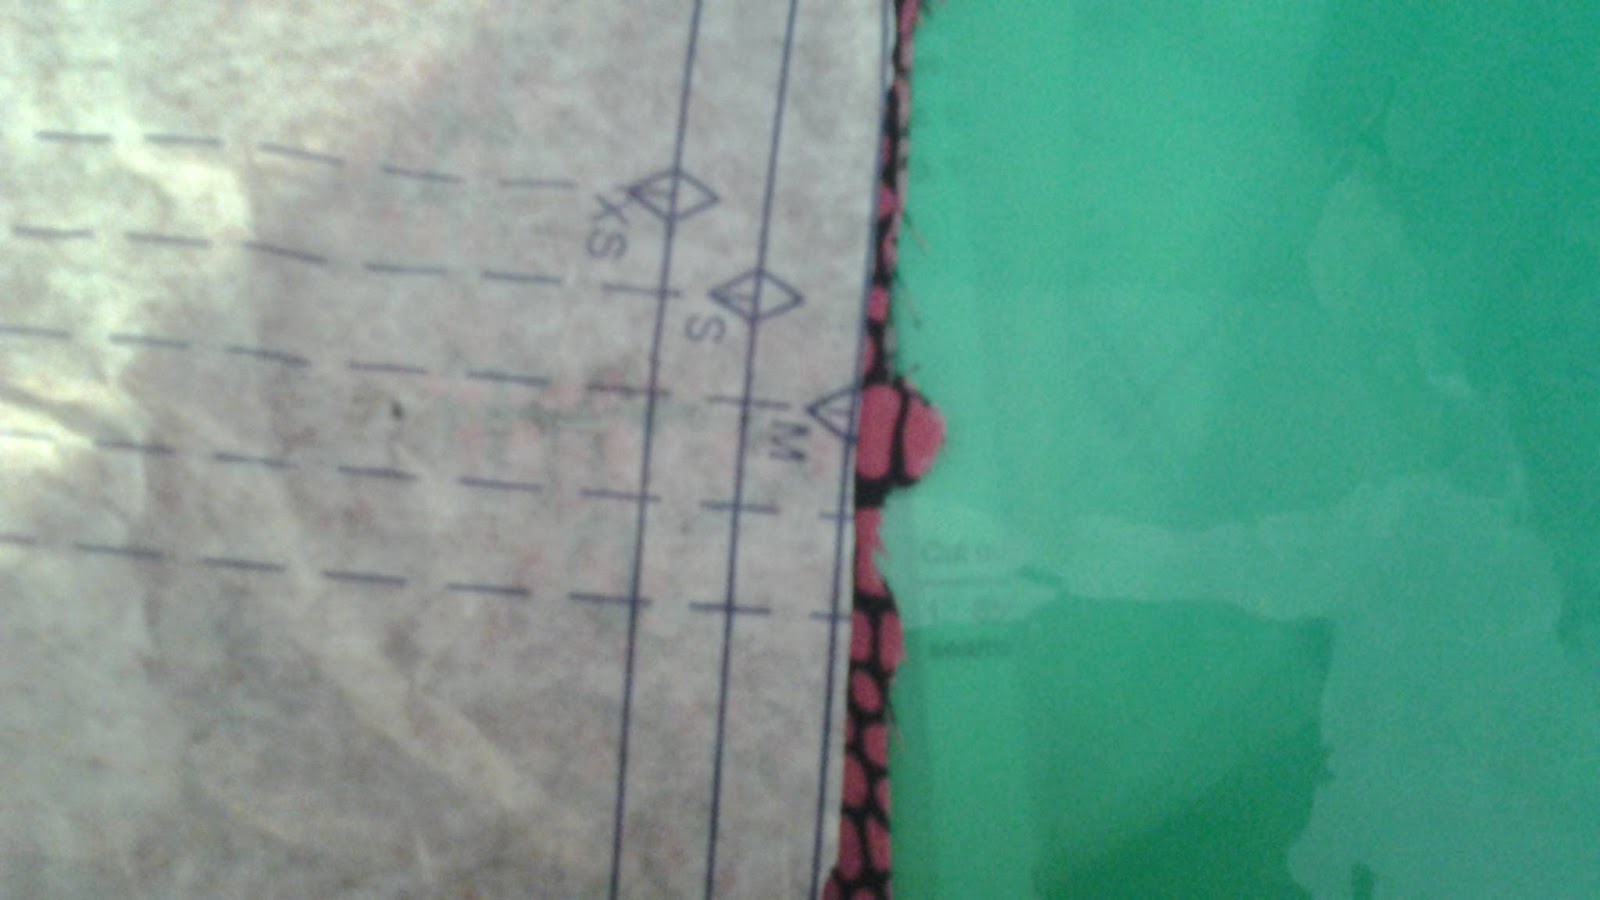
The pattern I used is
Kwik Sew 2954 from jaycotts.co.uk which is very easy to sew and suitable for anybody new to sewing. The pattern is straightforward and the instructions easy to follow. There are long and short versions.
When you purchase a pattern always look at the back of the pattern envalope as it will tell you exactly what type of fabric the design works well with and the amount needed. It also tells you what else you need, for example interfacing, buttons and so on. This design fastens with a tie at the waist and all that you need apart from the fabric is some medium weight iron on interfacing for the waistband. This is what I used
Vilene iron on interfacing Please, never buy cheap interfacing, it is just not worth it. You only need a small amount so a metre or so will last a long time.

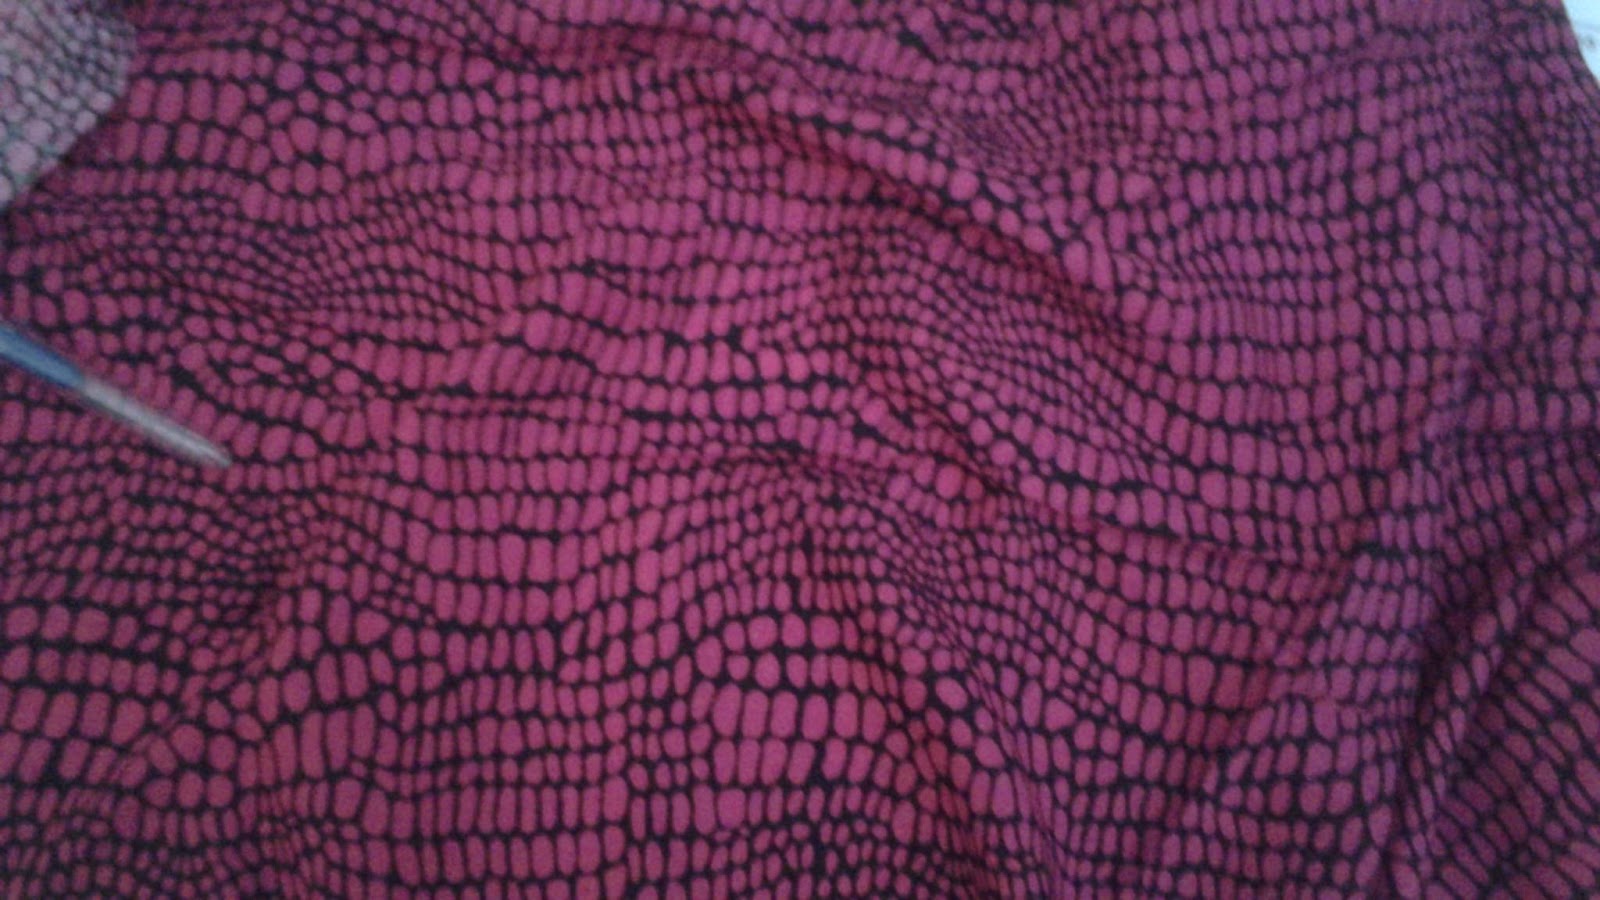
I chose a
Viscose dress fabric from MinervaCrafts.com I am not going to tell you which design you should use, because there is plenty to choose from on the link, so do choose something YOU like - we all have different tastes and sewing a garment is personal to you. MinervaCrafts.com have an amazing selection of fabrics to choose from at all prices and the only problem you will have is restricting yourself to just one length!
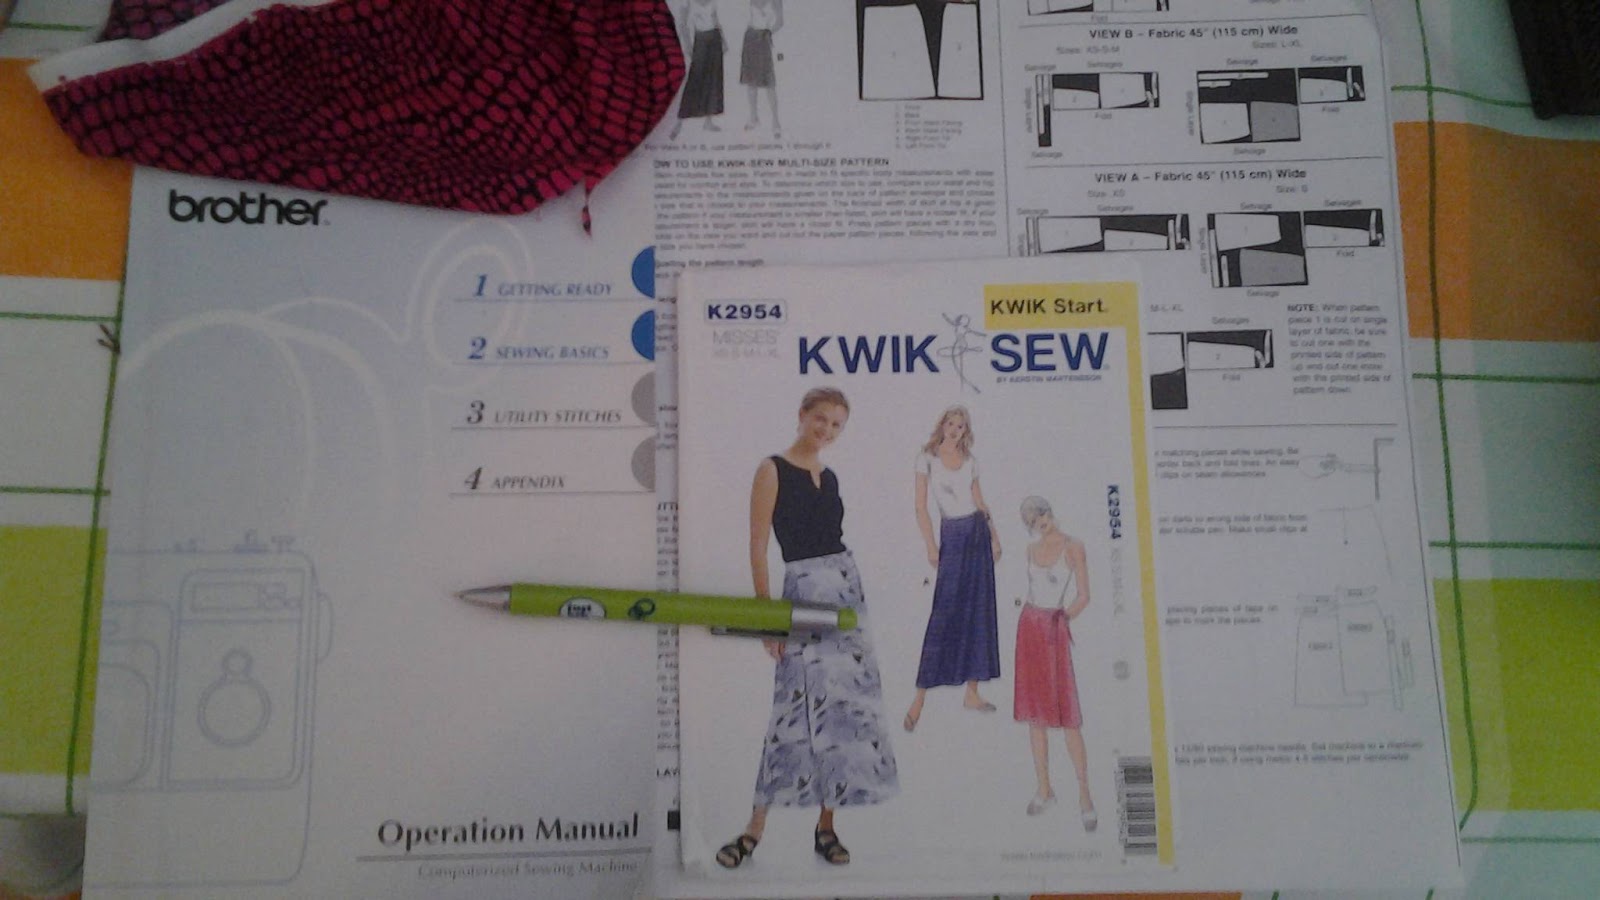
Before you do anything else wash and iron your fabric just in case it shrinks after you have made it up and then gather together your sewing machine manual, the pattern instructions and a notebook and pen. I always make notes in a book when I am making a garment for a blog post to help me to write it up later, but I also make notes on the pattern instructions as reminders when I come to use the pattern again. Dont be afraid to write on your pattern pieces and instructions.
The pattern instructions give clear instructions on the cutting out process, but there are a couple of things I do not agree with and would never do.For example it tells you to mark notches on your fabric by making little cuts into your seam allowance. Please don't, it is very bad practise. Always cut outwards around the notches in case you need to pinch a bit of seam allowance for extra room or in case your fabric frays. Cutting notches into the seam allowance weakens the fabric at that point
Another thing I am against is the use of marker pens, they sometimes do not disappear as claimed and can spoil a garment. I always use iether tailors tacks or tailors chalk to mark darts, dots, centre back and so on
They do have one good idea and that is to use a small piece of masking tape to stick on the back of each fabric piece to write on which piece it is. For a beginner this is a useful trick.
So, mark and stitch your darts, pressing them towards the back then stitch the sides to the back.
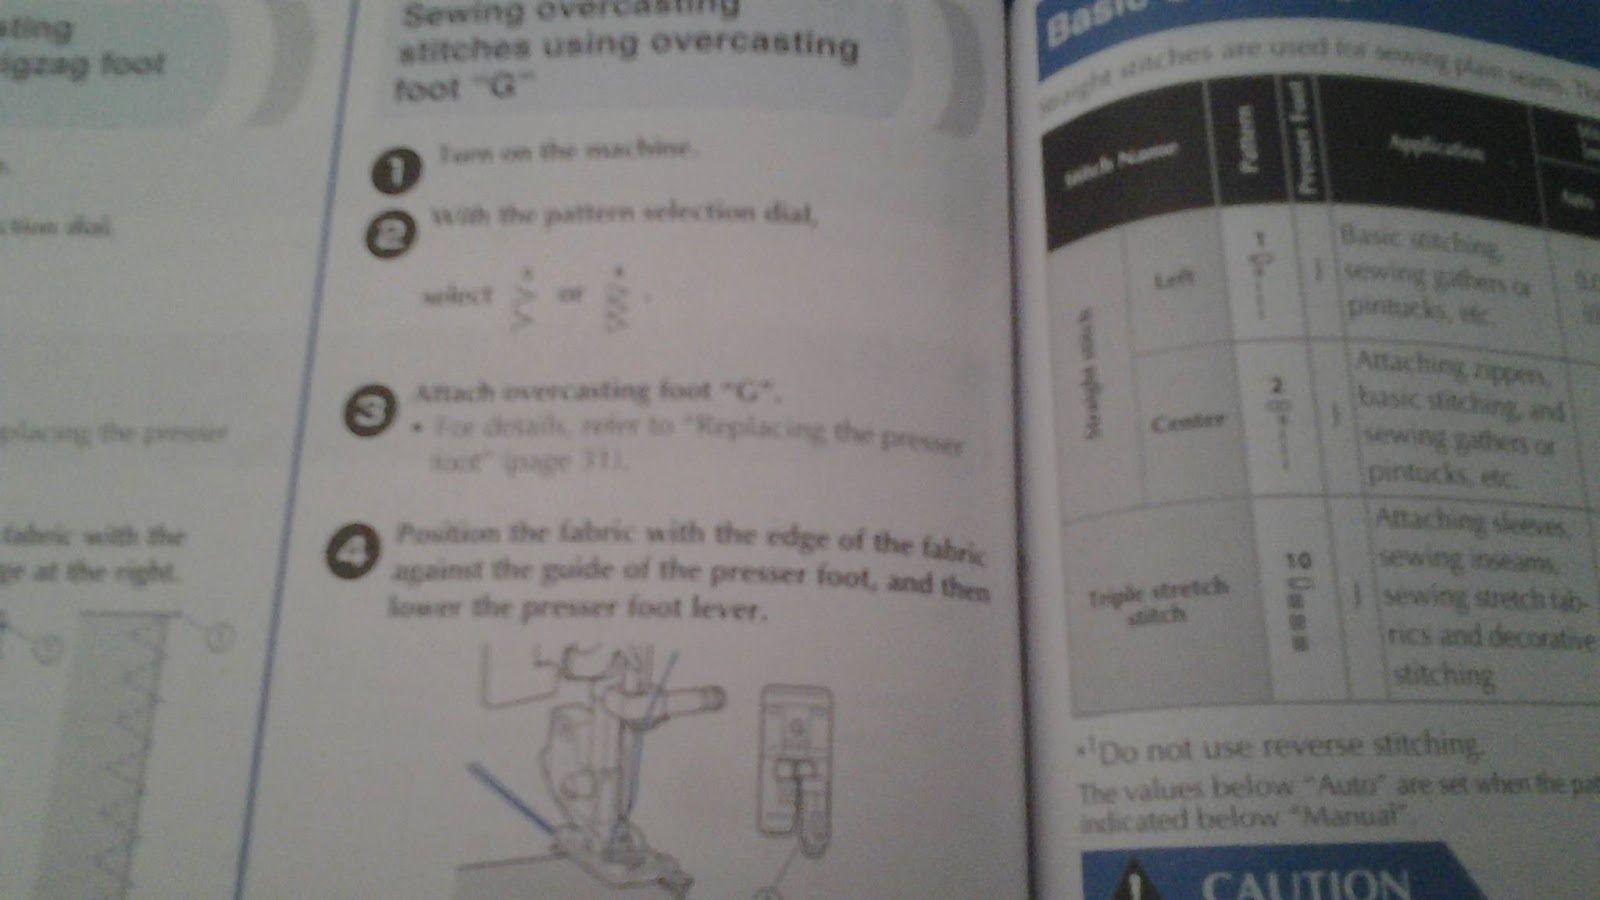
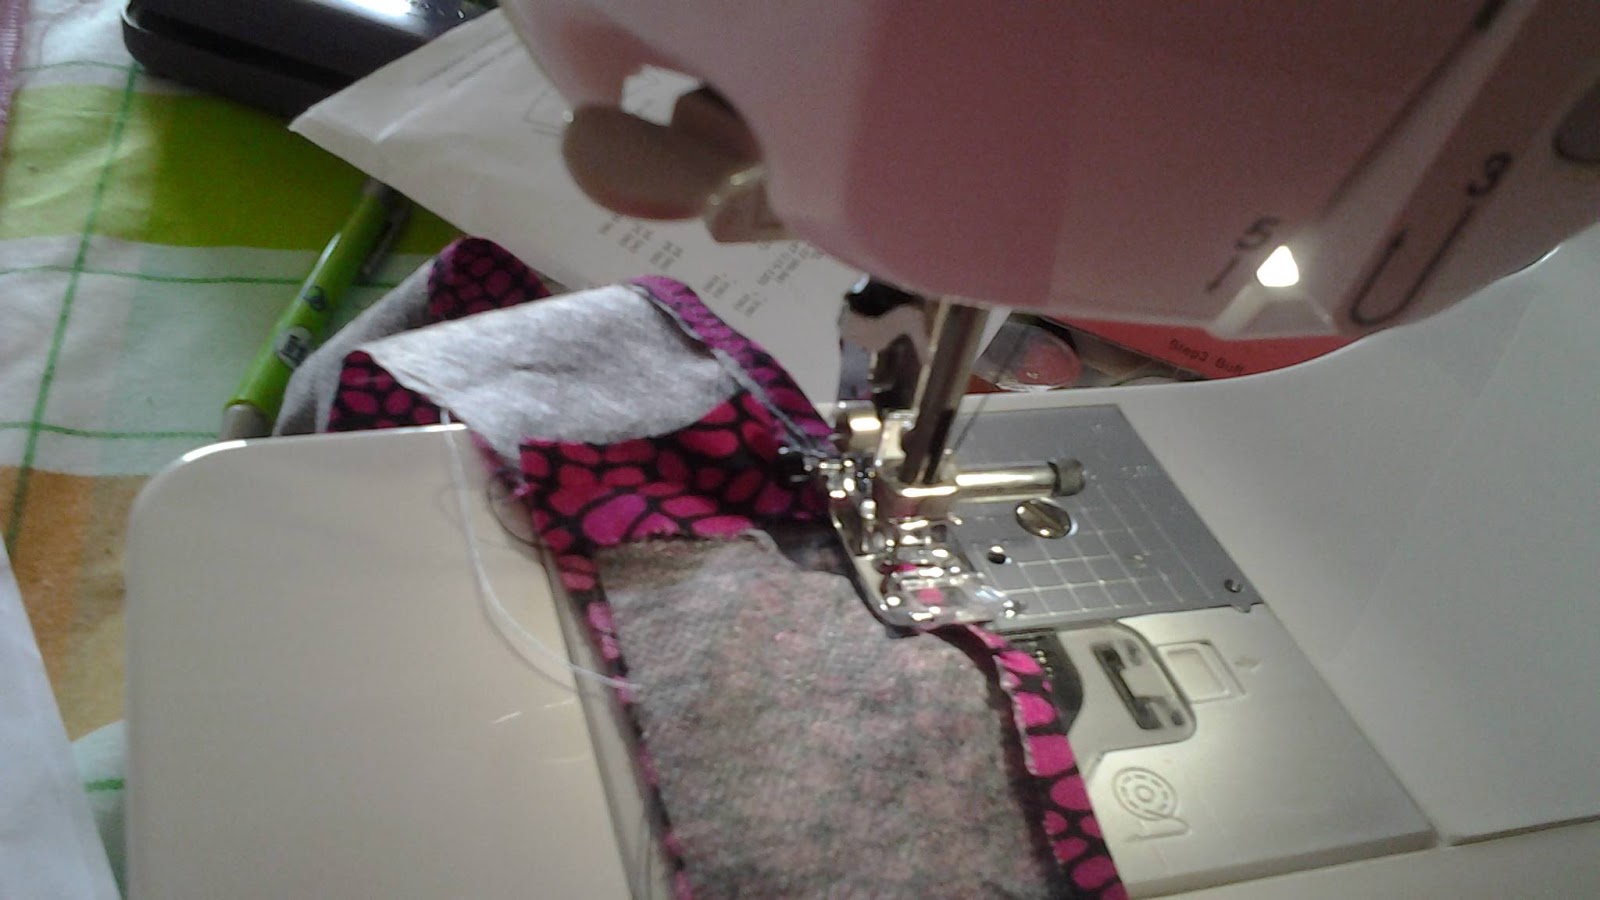
I am not going to use my overlocker on this garment ( its at home actually) instead I am going to use the overcast function on the sewing machine itself. Most modern machines have this facility although you may need to purchase a special foot.
If you have never used your sewing machine to overedge seams then please refer to your manual for settings. Even though I have been sewing for a number of years I still keep my manual handy and love experimenting with the various functions.
For this particular machine turn to page 52 and 53 and attach the overedge foot G.
To overedge the seam you need to first trim it. Then attach the foot to the machine and select your stitch which is very easy to do on this particular machine, you just turn the dial to stitch 5 or 6 depending on the thickness of your fabric. Test it out on a piece or spare fabric because you can adjust the stitch width or length if necessary.
Then line up the fabric with the edge of the fabric against the guide on the presser foot , lower the presser foot lever and slowly start to sew.
Make sure that the stitches come right to the very edge of the fabric.
Neaten both side seams and press towards the back of the garment
Attach your interfacing to the waistband pieces then join them together at the side seams. Trim and press the seams open.
Hem the bottom edge of the waistband
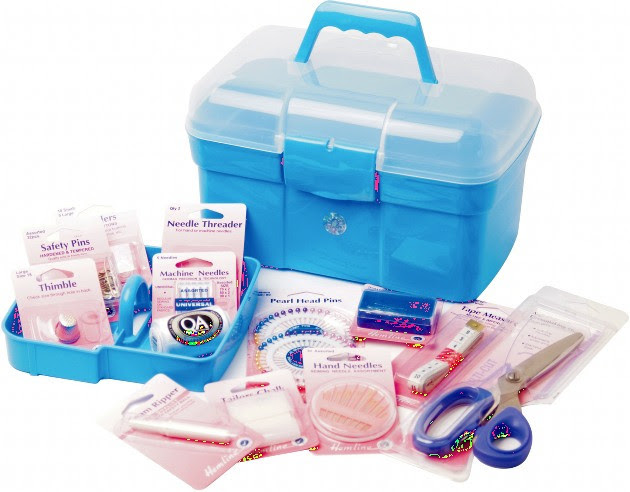
I wanted to tell you about this great value
Sewing box and contents from Jaycotts.co.uk it contains everything a sewing beginner needs. You need something to keep your sewing equipment in and this would also make a great gift.
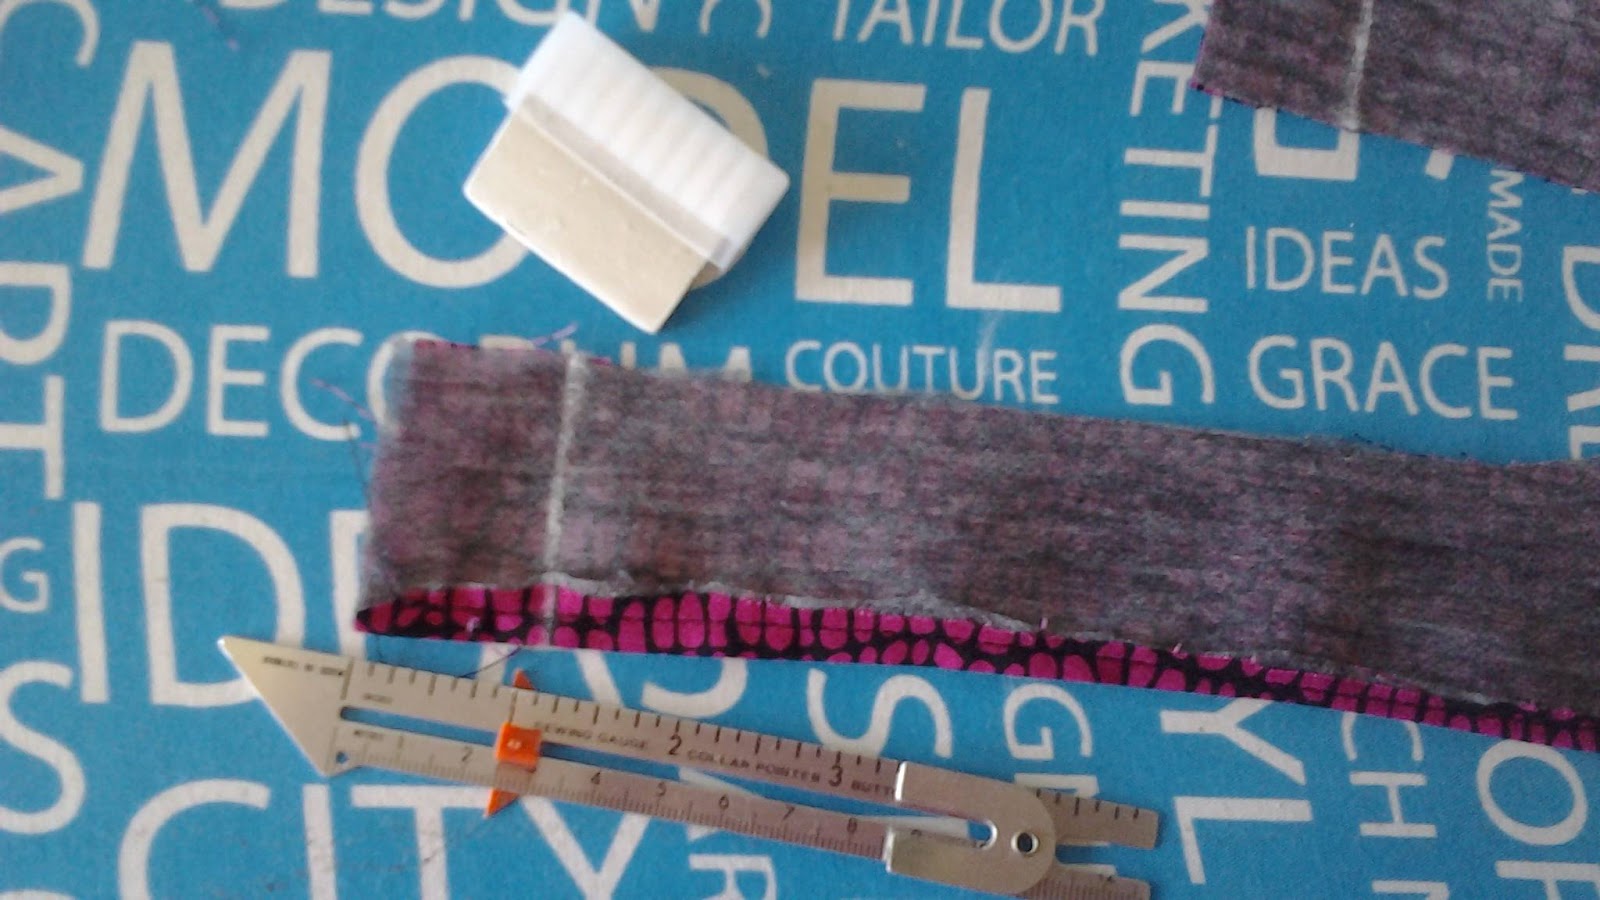
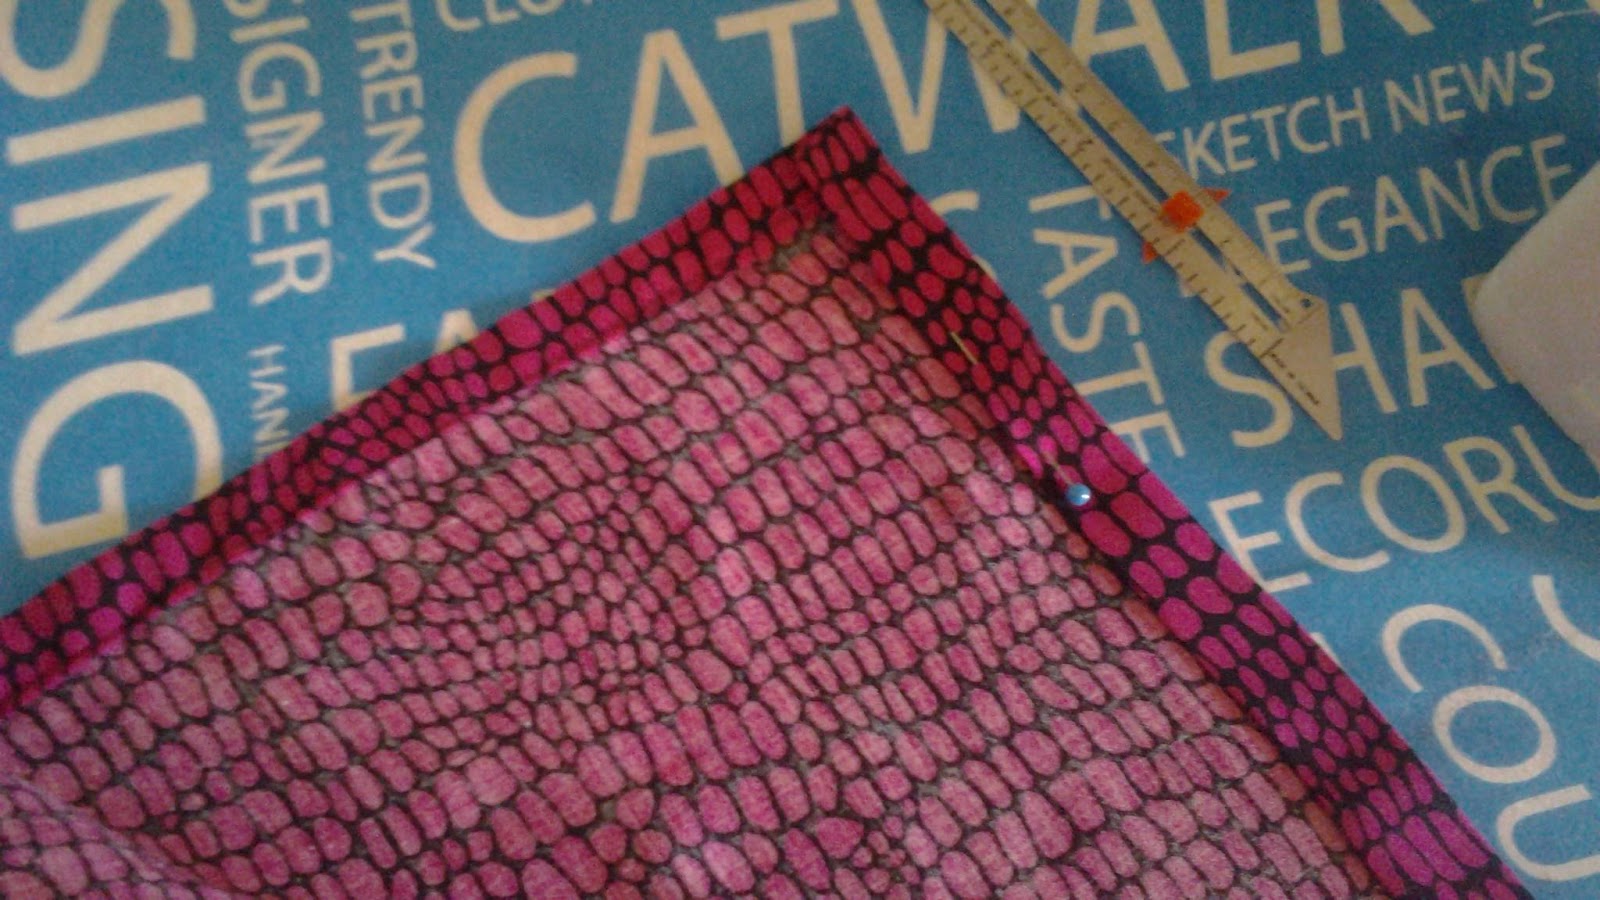
You need to use tailors chalk and a ruler to mark a line one inch in on both ends of the waistband next.
Attach the waistband to the skirt matching all notches and seams. Trim the seam and press it open.
There is a process called "understitching"which holds facings in place with no visible stitches on the right side of the garment. To do understitching on this garment sew the seam allowance onto the waistband as close to the seam as possible. This row of stitches will only be seen on the reverse of the skirt.
Then fold the waistband over and press it flat.
Make the ties, one long,money short by stitching your 5/8"seam along one short edge and pivoting at the corner stitch the long edge. Trim the seam and turn right sides out using the rounded end of a pencil, making sure to push the corners square. Press.
Pin the ties to the skirt with the short tie on the right of the skirt, and the longer left tie on the left side of the skirt. Follow the pattern instructions if you are not sure how to position the ties. Stich the ties in place along the line marked earlier.
You now need to cut close to those lines removing an inch of waistband and tie, but DO NOT cut the skirt itself.
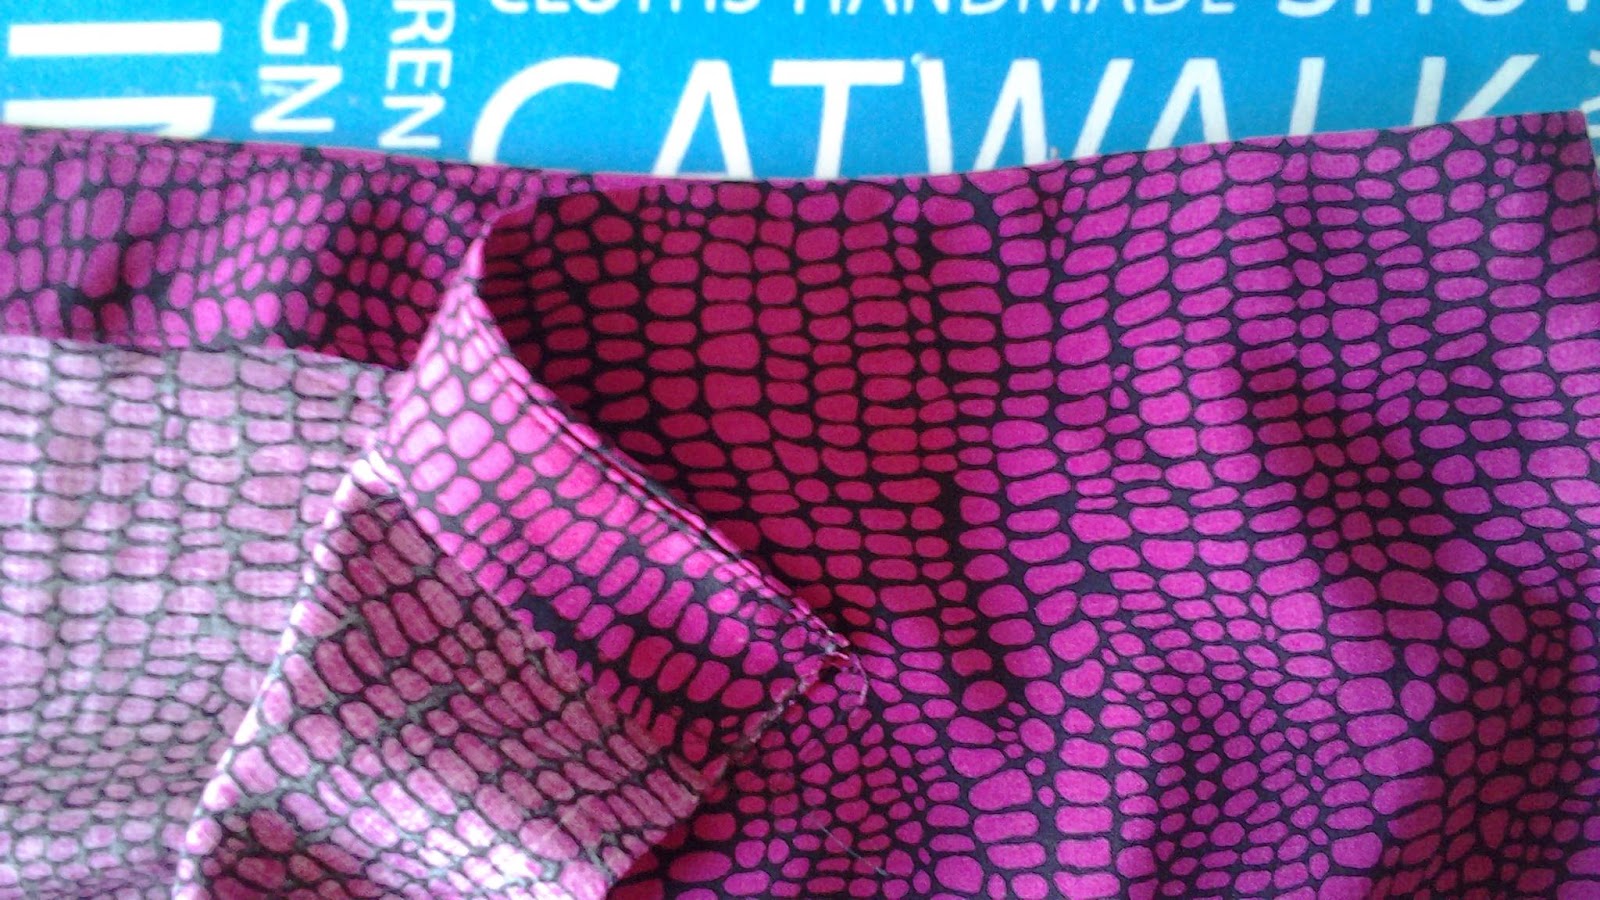
Measure an inch in all along the skirt fronts, press and fold the raw edges under. Press again and top stitch close to the edge.
The pattern tells you that you can leave the ties to wrap around your body as they are or to make a buttonhole to thread the tie through. This is a great opportunity to try out your buttonhole foot, and makes for a neater finish to the skirt.
Turn to the page in your manual which tells you how to use the buttonhole foot specific to your machine. For this machine you will find the instructions on pages 56 and 57. Attach the foot to your machine, pull down the buttonhole lever and open the button guide to its longest position. Select buttonhole stitch #14.
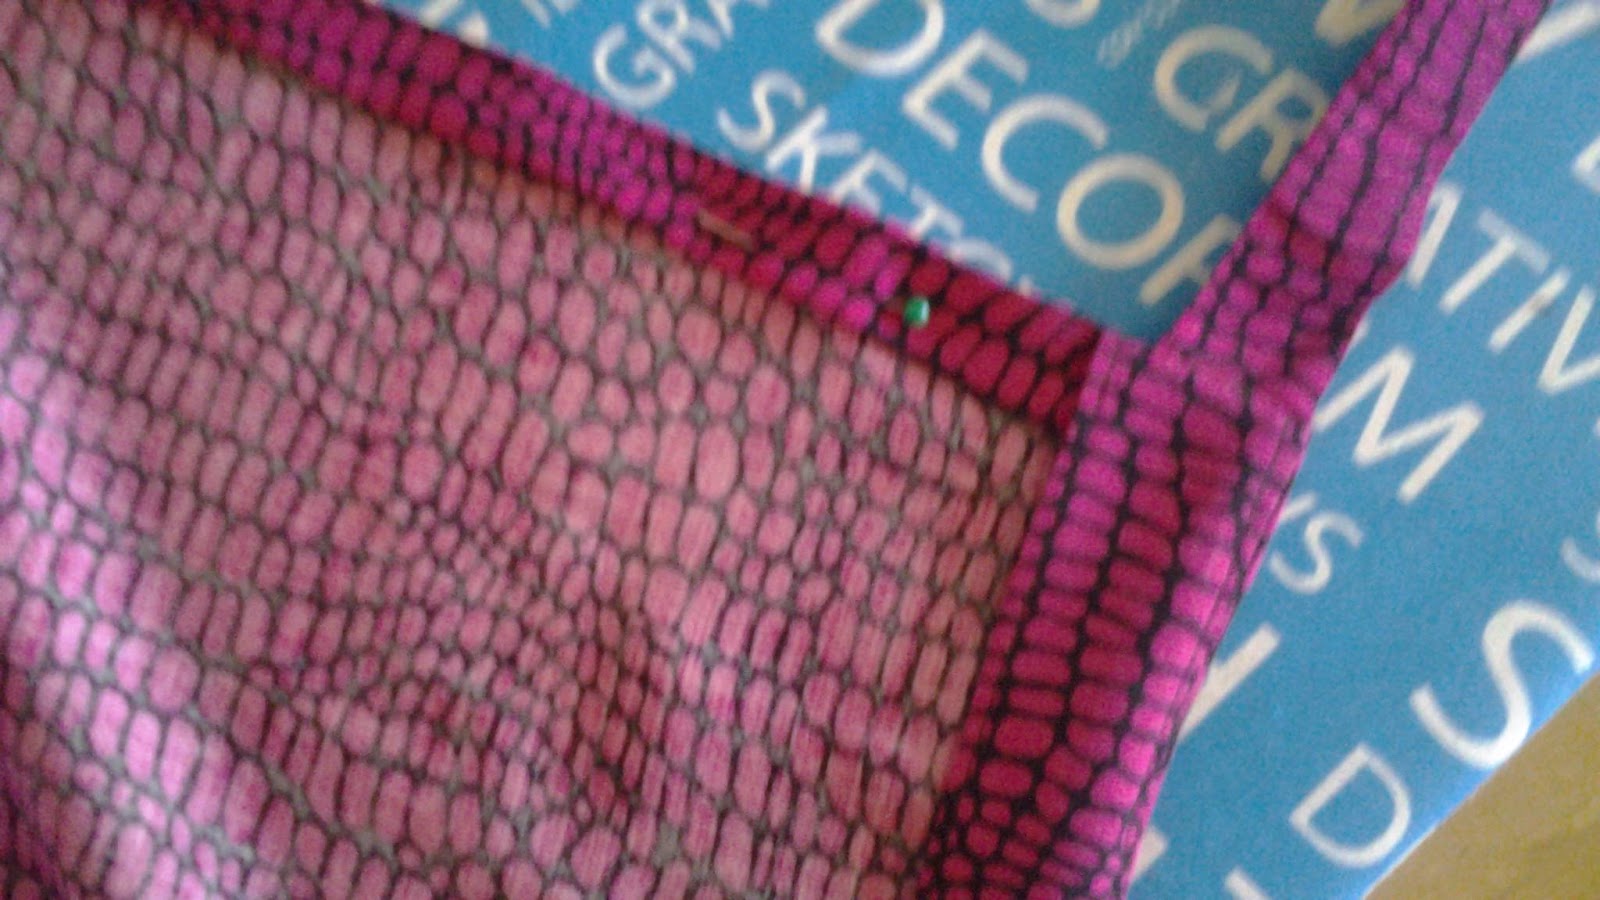
Practise on a spare piece of fabric and make sure the tie fits through it easily, mark the position of the buttonhole one inch from the left side of the skirt and sew it carefully. Cut the buttonhole open with great care using sharp pointed scissors.
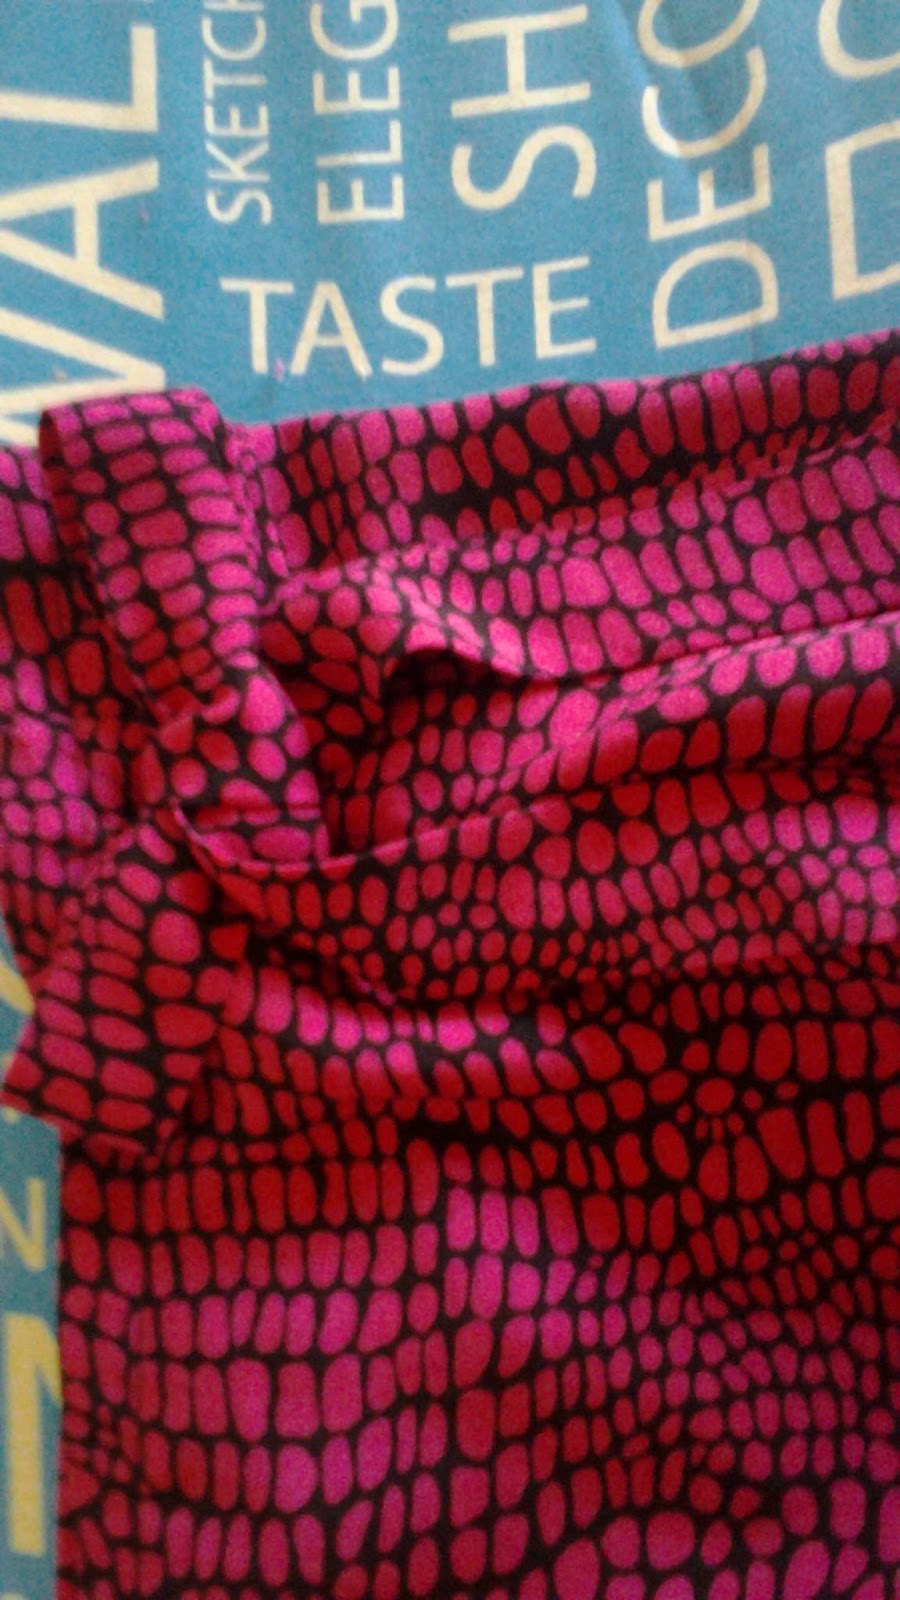
This is what it should look like with the tie threaded through. If you are a total beginner then patterned fabric which has a simple print not requiring much matching is a great option as tiny mistakes (we all make them) do not show as much.
Top stitch the top and bottom of the waist
The tie threads through the buttonhole and then ties in a bow at the side holding the skirt securely in place.
Finish the hem in exactly the same way as you did the sides, and give the whole thing a good press.
There are plenty of shell top patterns, this is similar to the self drafted one I use. Every year I make a few of these tops for holidays, they cost next to nothing and are quick to sew.

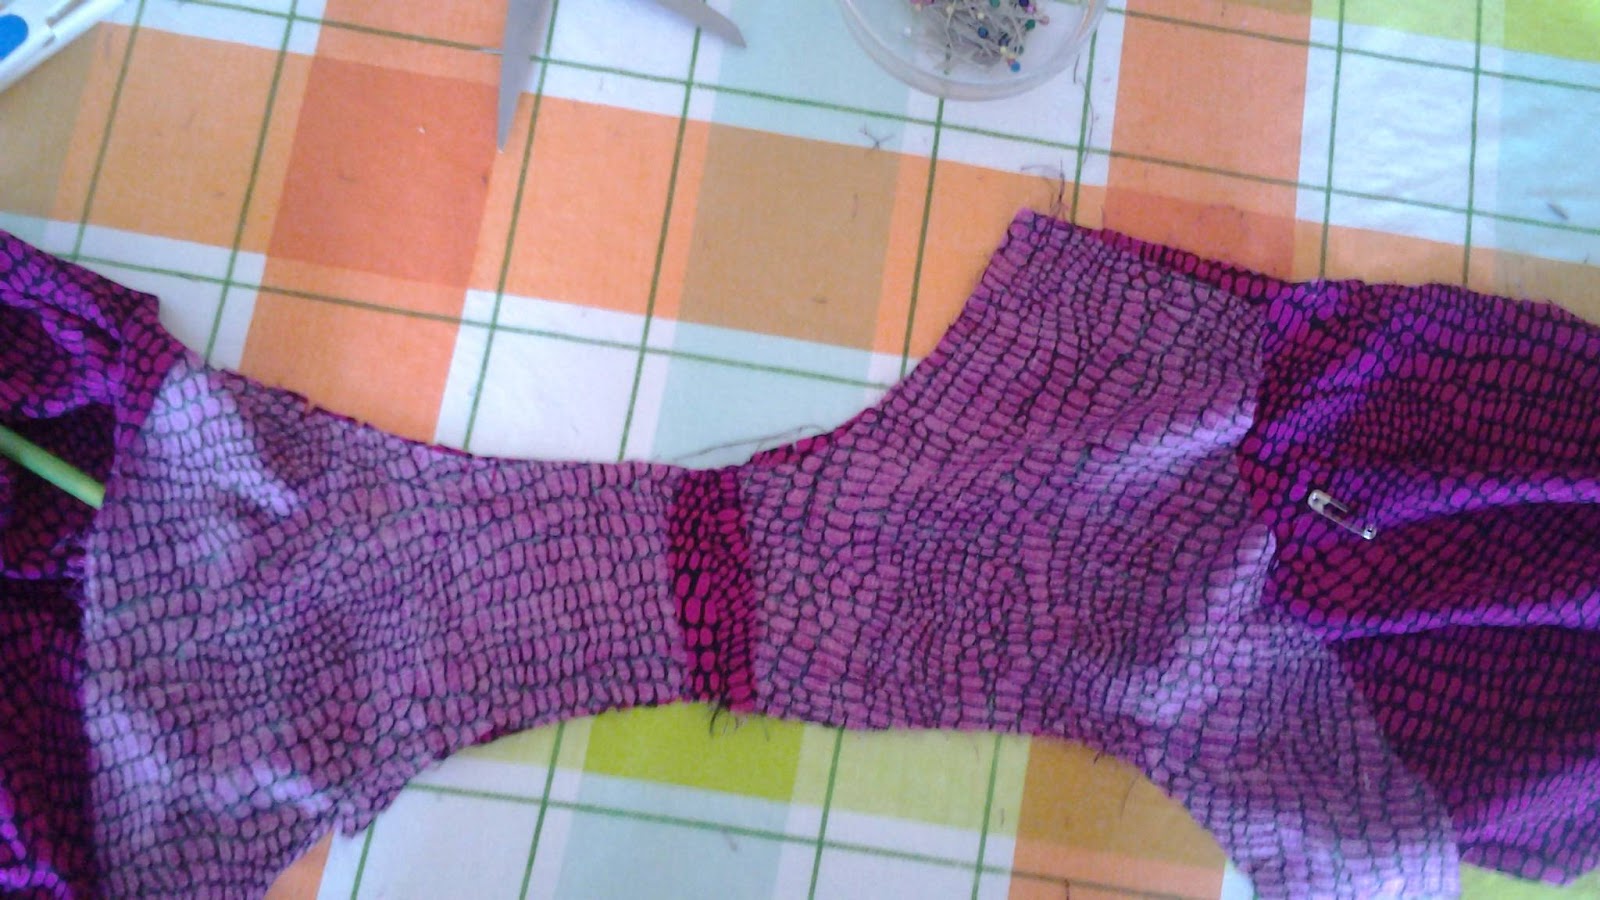
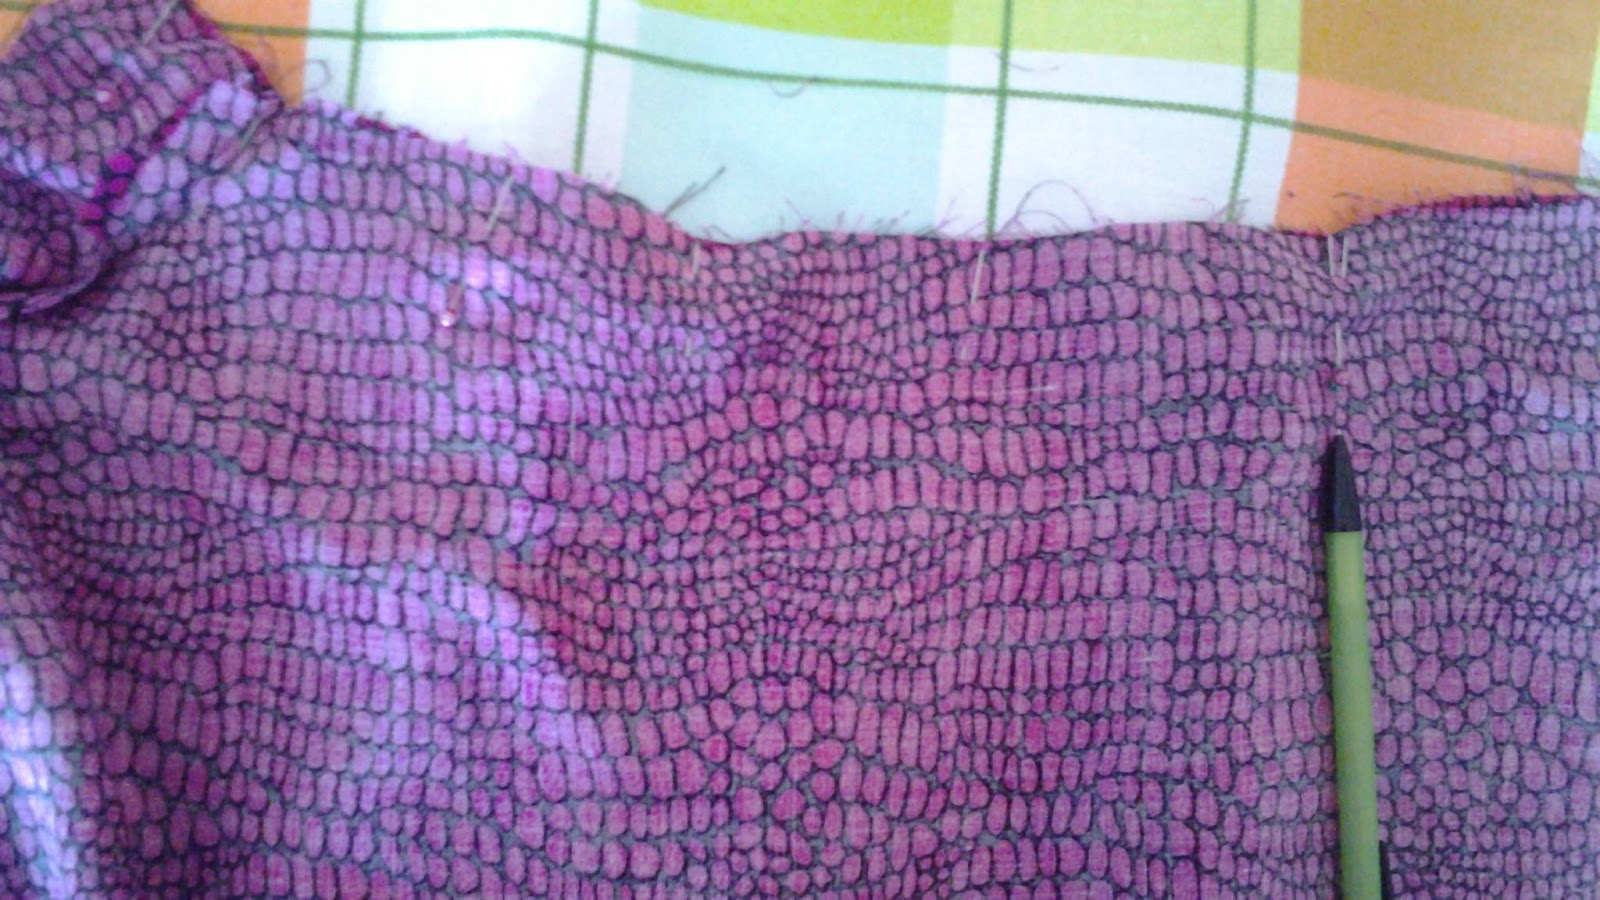
Stitch your darts and then join the front to the back at the shoulders and do the same with the facing. Please note that the facings should be interfaced but I was away from home and had run out!
Pin the facing to the top, right sides together all along the neck edge and sleeve edges.
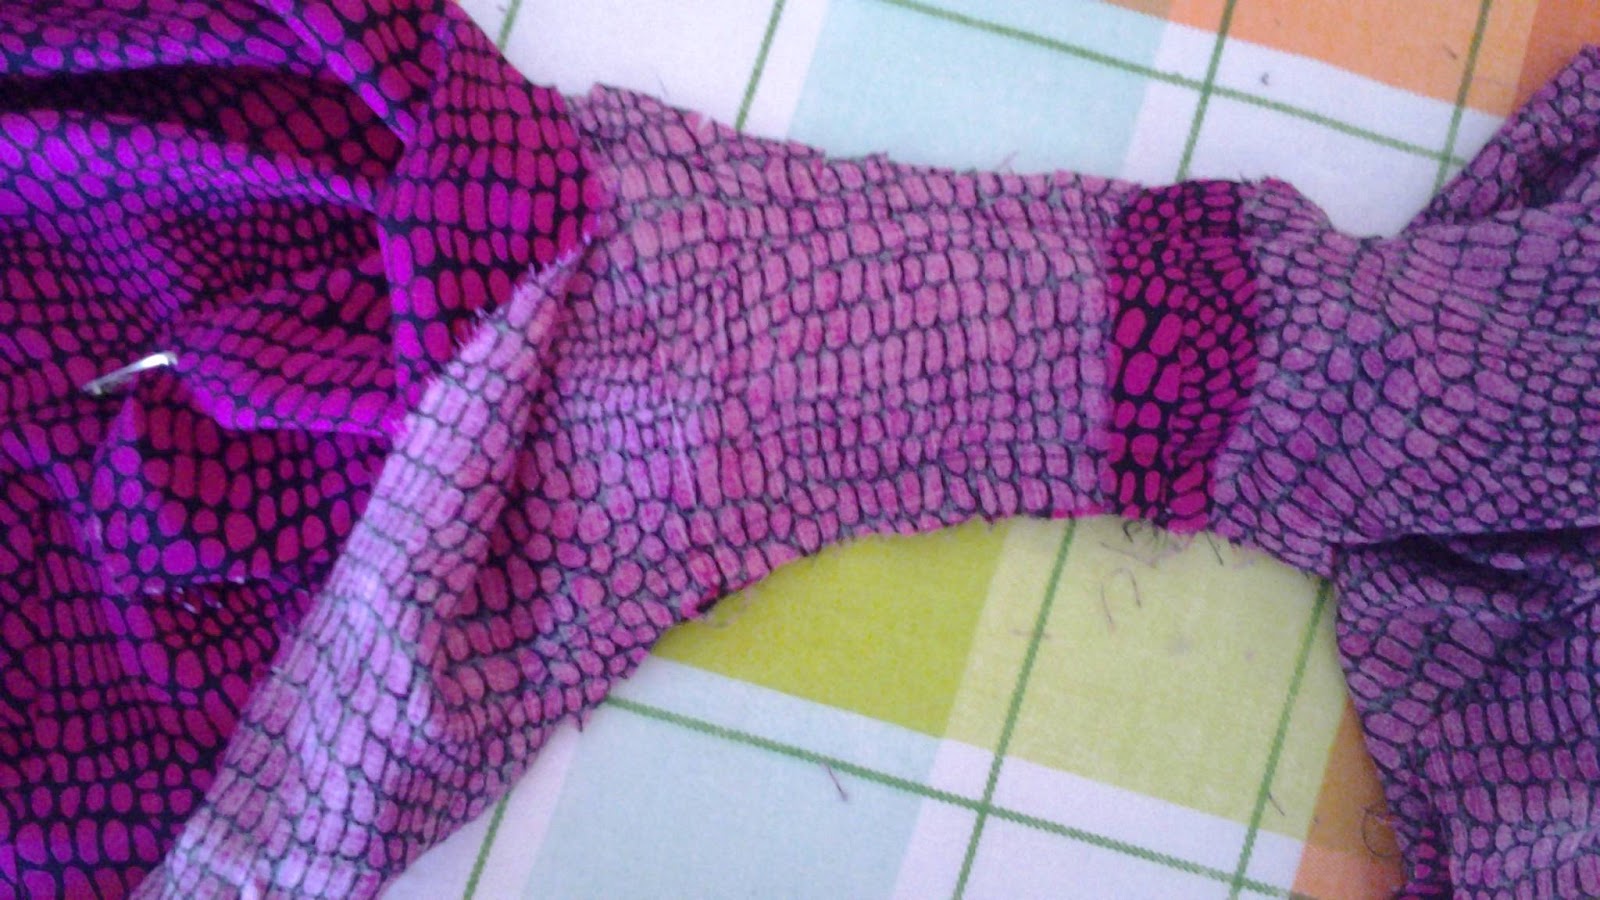
Trim the seam allowance and clip the curves. Press.
Then attach a safety pin to the bottom of a back piece and thread it through the chanel created at the shoulder. Do the same on the other side.press the shoulders making sure that the seams are flat.
Mark where the back opening starts and stitch the centre back seam to that point. Stich the facing together to that point too. Neaten the centre back seam. Neaten the edge of the facing
Right sides together, stitch down from the centre back neckline to the centre back seam. Turn the whole thing the right way out and press.
Join the side seams in one operation by folding the facing up and stitching from the top of the facing to the hem.
Please note that I lengthened my top by four inches and so I marked a point where I wanted vents to go at the sides and stitched down to those points. I wanted a longer top so that I could tuck it in to wear with the skirt or wear it loose with pants.
Stich a ribbon button loop and self covered button to the top of the back.
If you have done vents as I did then measure the seam allowance and press and fold just as we did on the skirt fronts and hem, stitching close to the seam edge. Turn up the hem in the same way.
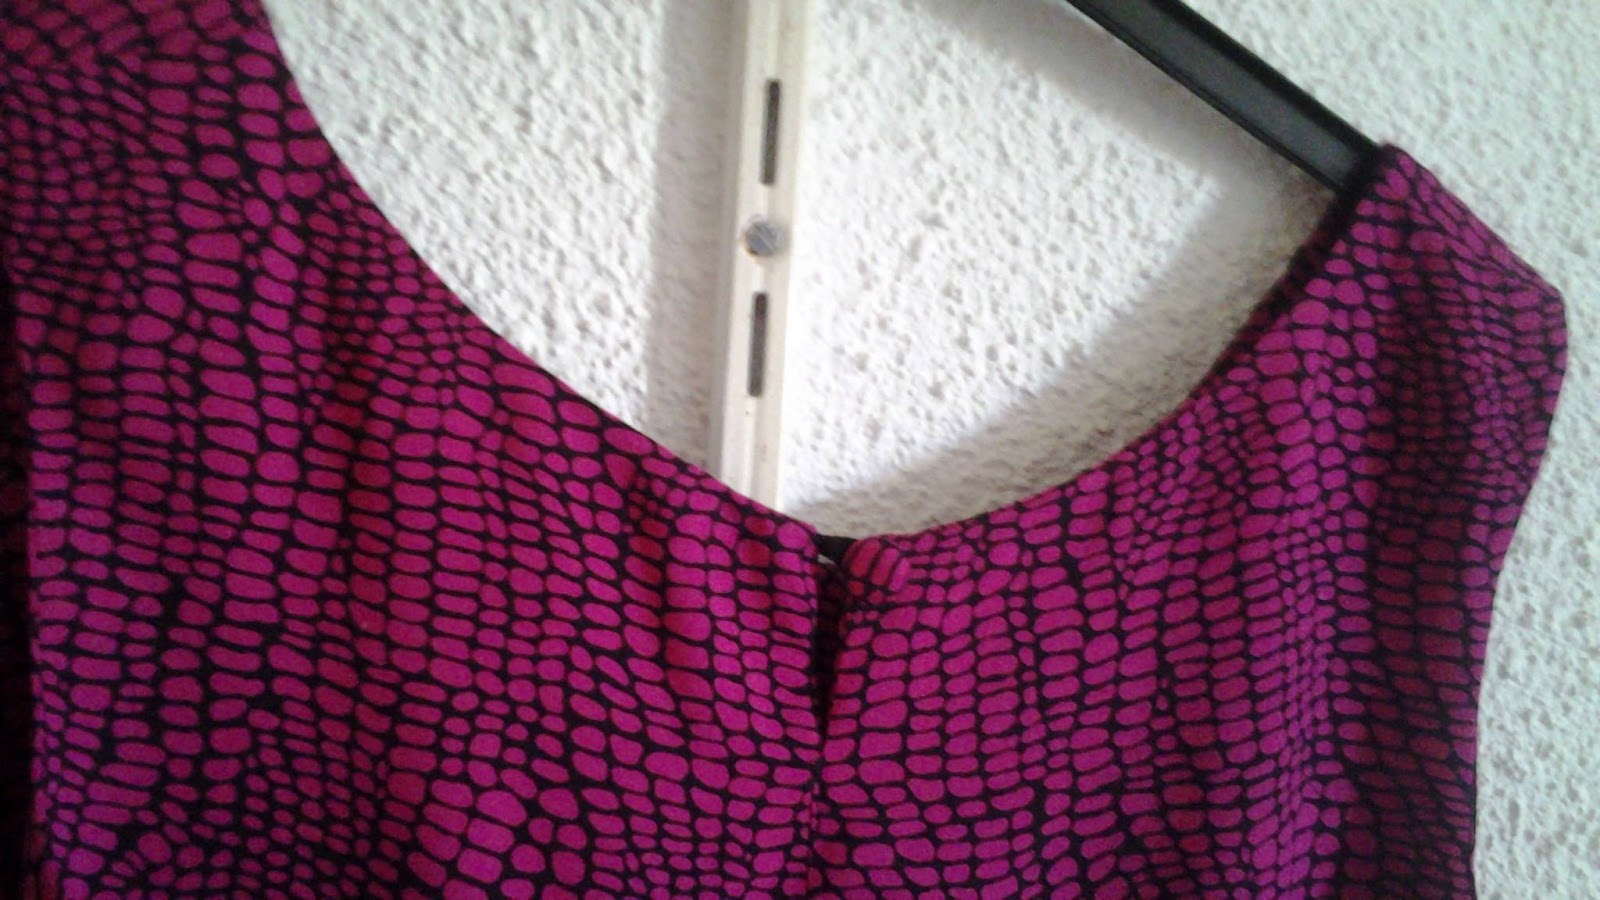
This is the back of the top where the button and button loop were attached
And this is the front. This method of sewing an all in one facing is easy to master on most sleeveless dresses and tops and I always use it when I can.
The top and skirt are so versatile for holidays especially when weight limits are so tight.
This is the top worn with jeans, although you cannot see them!
And these pictures show the whole outfit worn together.
I am very fond of MinervaCrafts.com so do look at their web site, they sell quality fabrics to suit all budgets and the customer service is excellent.
I want to say a huge a thank you to Jaycotts.co.uk and to MinervaCrafts.com for the trouble you went to to get me a sewing machine, patterns and fabrics sent over to Corfu. This is why I highly recommend them, their customer service really does go way beyond normal
Thank you very much indeed Alex and Vicki, what you did for me was amazing and I am forever grateful.
Angela x