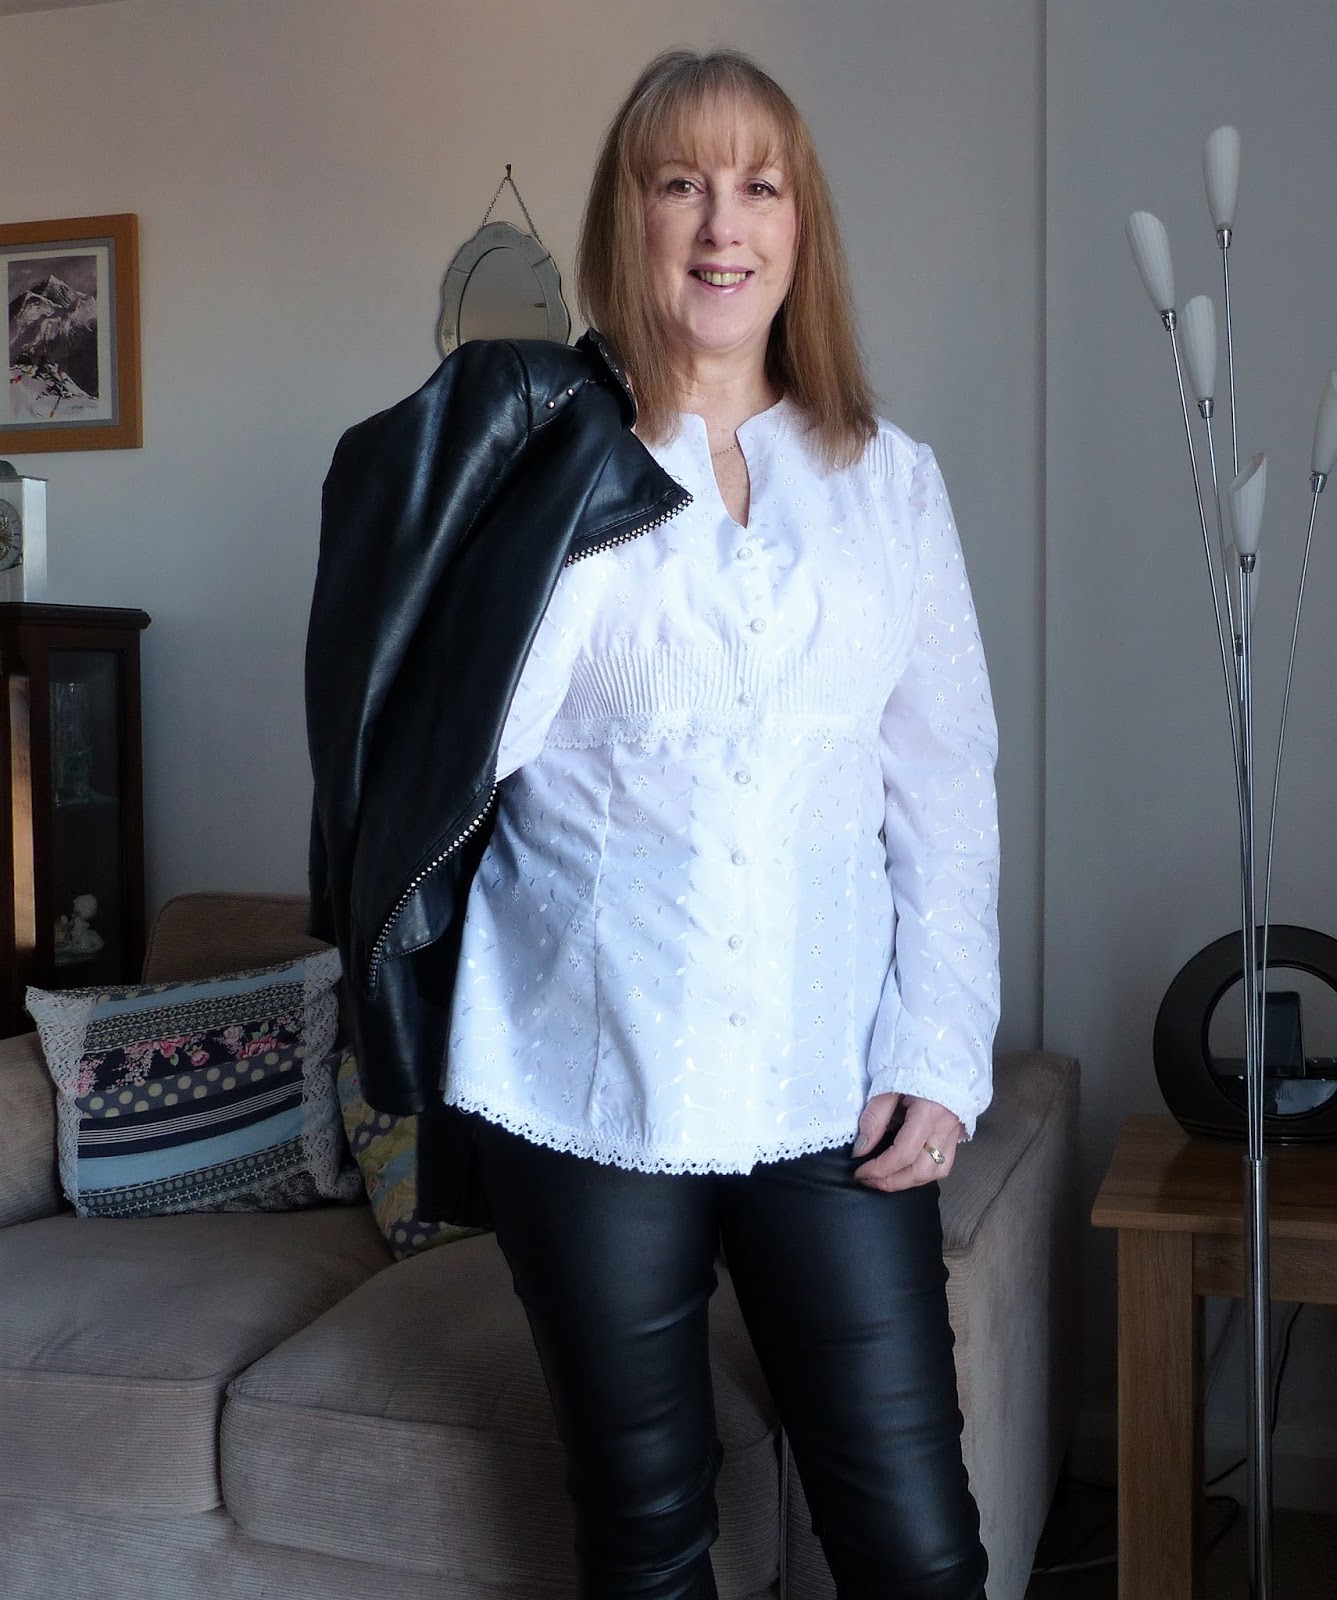
This is how I made my beautiful lace pintucked blouse and how I wear it without looking too "girly"
If you don't have a pair of leather trousers do go and try some on right now, they are an effort to get into I admit, well my skinny ones are , but they are the most comfortable thing ever. I love lace but for me it needs to look edgy rather than girly, so this pretty blouse will be worn with my leather pants and upcycled leather biker jacket. I will show you how I blinged my jacket later.
To give you a view of what we are going to make this is the front whilst It is being worn. The shape is very flattering with a fitted waist and lots of pintucks to create shape.
I must stress that if you do not want to do pintucks then gathers are quite acceptable, but do at least try them
This is what you need
- Butterick Pattern from Jaycotts.co.uk on the link here Butterick B6133
- A pintuck foot for your machine. Do take advice as to which one is suitable for your own machine. The link here shows which are available but do contact Jaycotts and they will guide you to the right one if you are not sure Pintuck foot
- A twin needle Twin needle
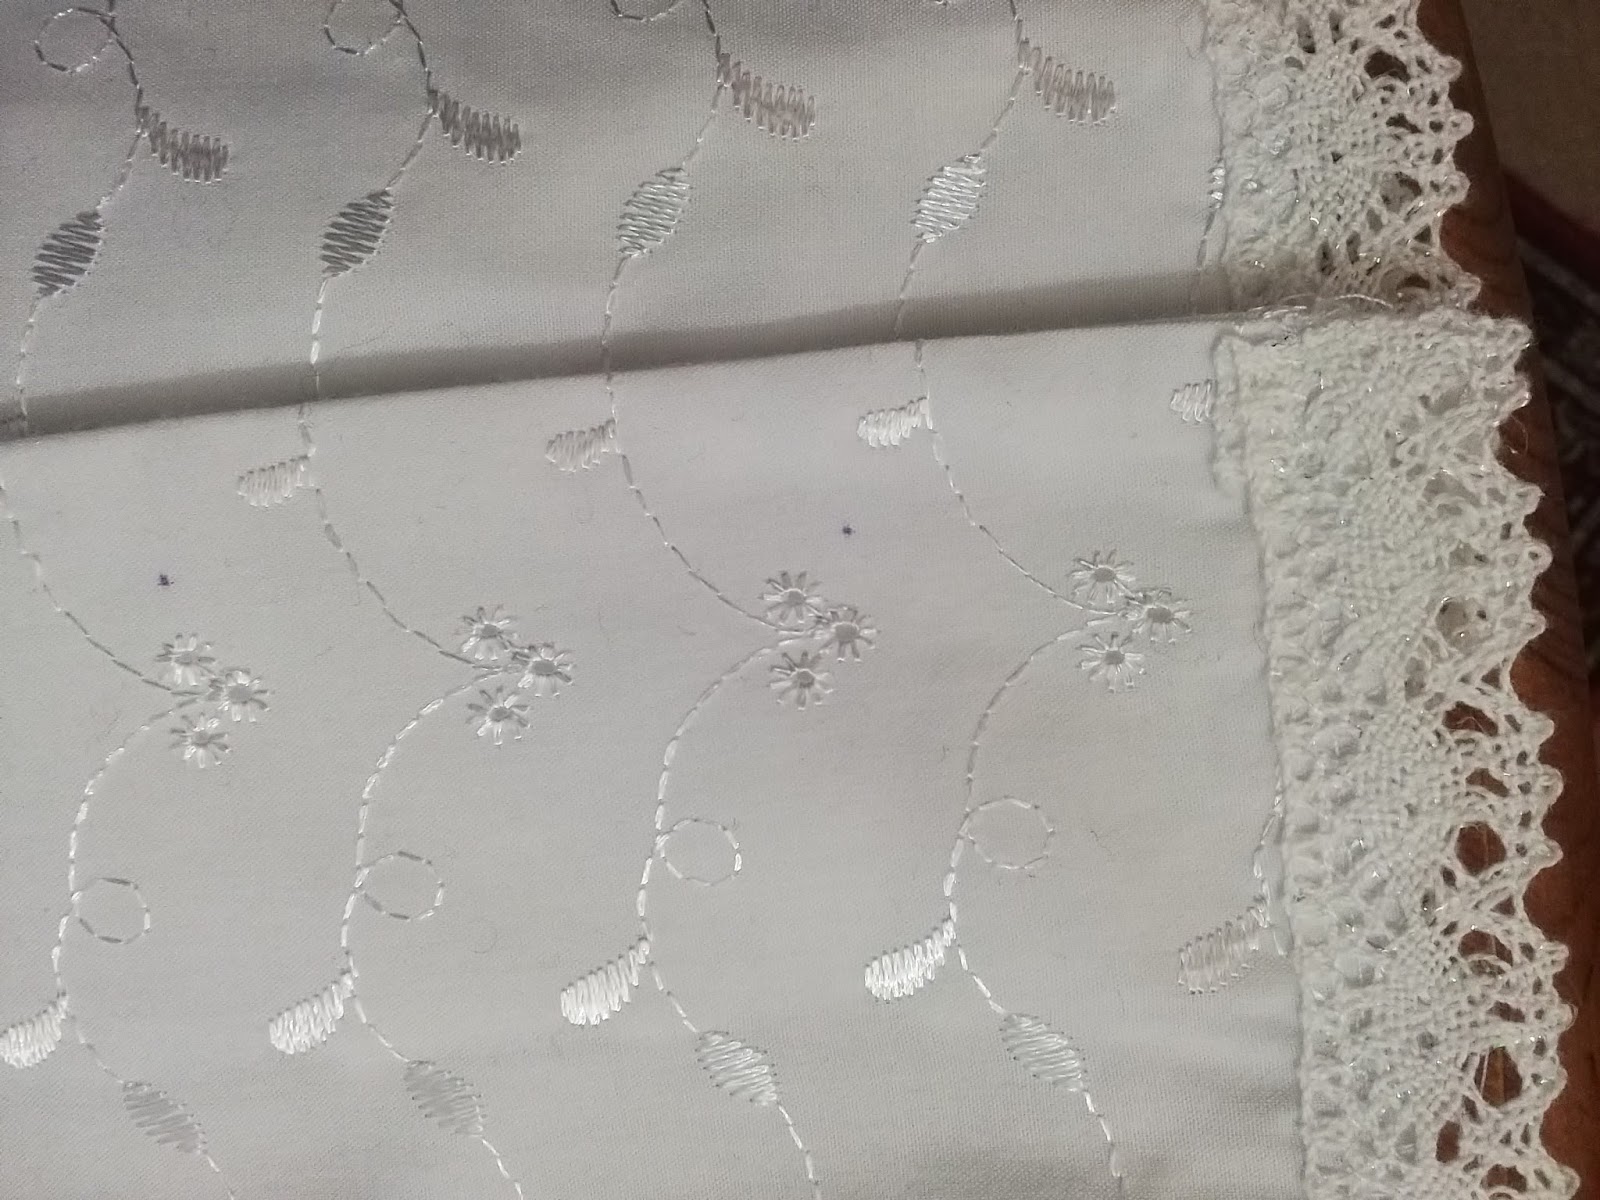
- Some fabric. I used Broidery Anglaise from MinervaCrafts Broidery Anglaise but you could equally use a cotton lawn.
- Lace trimmings, whatever you fancy. Minerva has a good stock. Like Jaycotts I have shopped with MinervaCrafts for more years than I can remember!
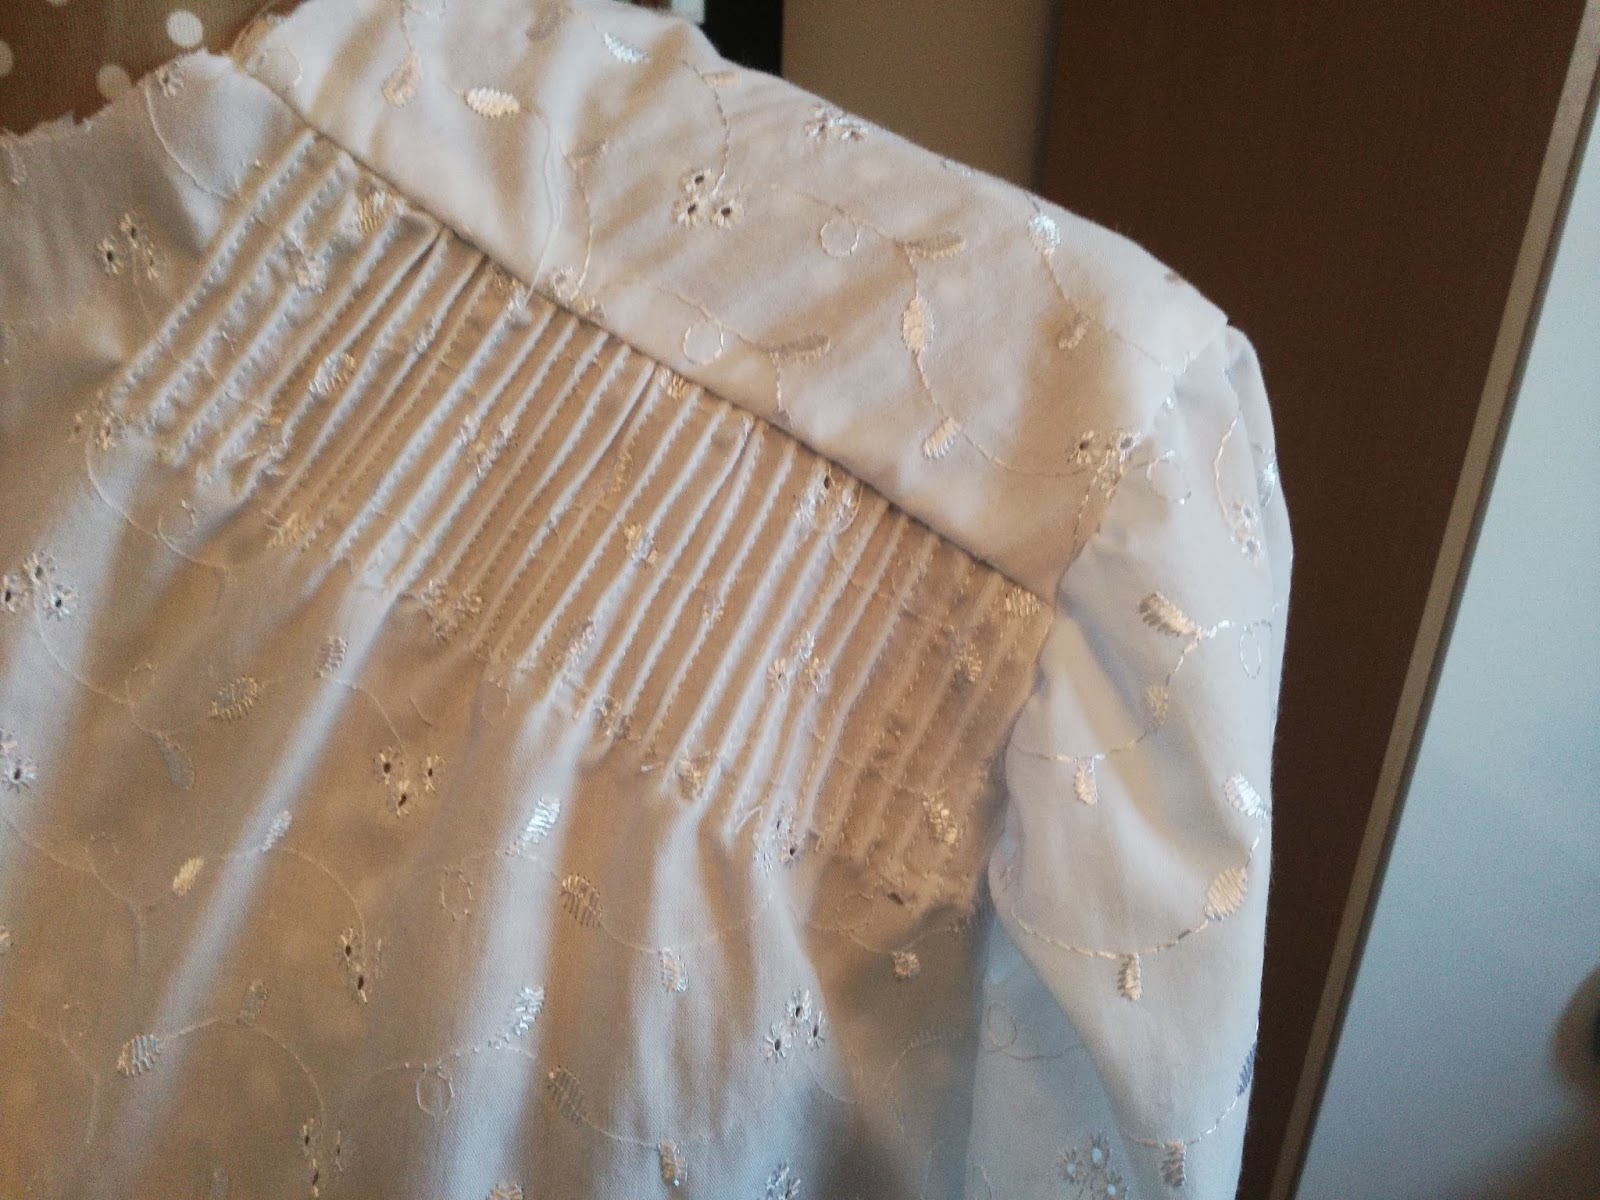
The pintuck foot has grooves in the base which when used with a twin needle, the two rows of stitches pinch the fabric together to form a tiny pleat. There is an instruction leaflet with the foot if you need some help. You will probably need to tighten your upper tension a bit to get a more pronounced tuck, but please don't mess with your bobbin tension, you will regret it.
I do suggest that you practice before you start on the actual garment. It is easy to do and quickly becomes addictive! It is however time consuming so decide before you start how much of the garment you are going to work your pintucks on. I made two versions of this blouse. This white one has pintucks everywhere the pattern said to gather. It took me two days to complete them all. But I also made a black version and just pintucked the front yoke.
Have you ever wondered what the hole is for in the centre of the base plate of your sewing machine? I didn't know either until Alex Jaycott explained!It can be used to make beautiful corded pintucks!If you look closely you can see piping cord going in through the front and up through the hole in the base plate. It is easy to do, just refer to your machine manual if you are not sure how to remove the base plate ( tip, this is a good opportunity to get a brush out and remove any lint accumulated around the bobbin area )
You will need some piping cord. This is where I became inventive. I discovered that the thinnest size of piping cord I have,size 00, was still too thick. However it did unravel easily and when I split it into three, each strand was perfect! Other options if you cannot find exactly what you need include crochet cotton or six strand embroidery thread.
You need to work a sample of the pintucks , I suggest an inch, in order to calculate how much you need to do on each pattern piece. This is necessary because pintucks take less fabric than gathers. It was easy in the end, I worked out that if I created pintucks along the entire edge of the pattern piece it would fit perfectly. (If you are doing gathers just follow the pattern markings and gather within the notches)Before you do anything though run a line of tacking stitches where you want each pintuck to stop.
This is my first few corded pintucks, beautiful don't you think?
The pattern instructions are easy to follow so once you have pintucked or gathered each piece then follow the making up instructions in the pattern envalope.
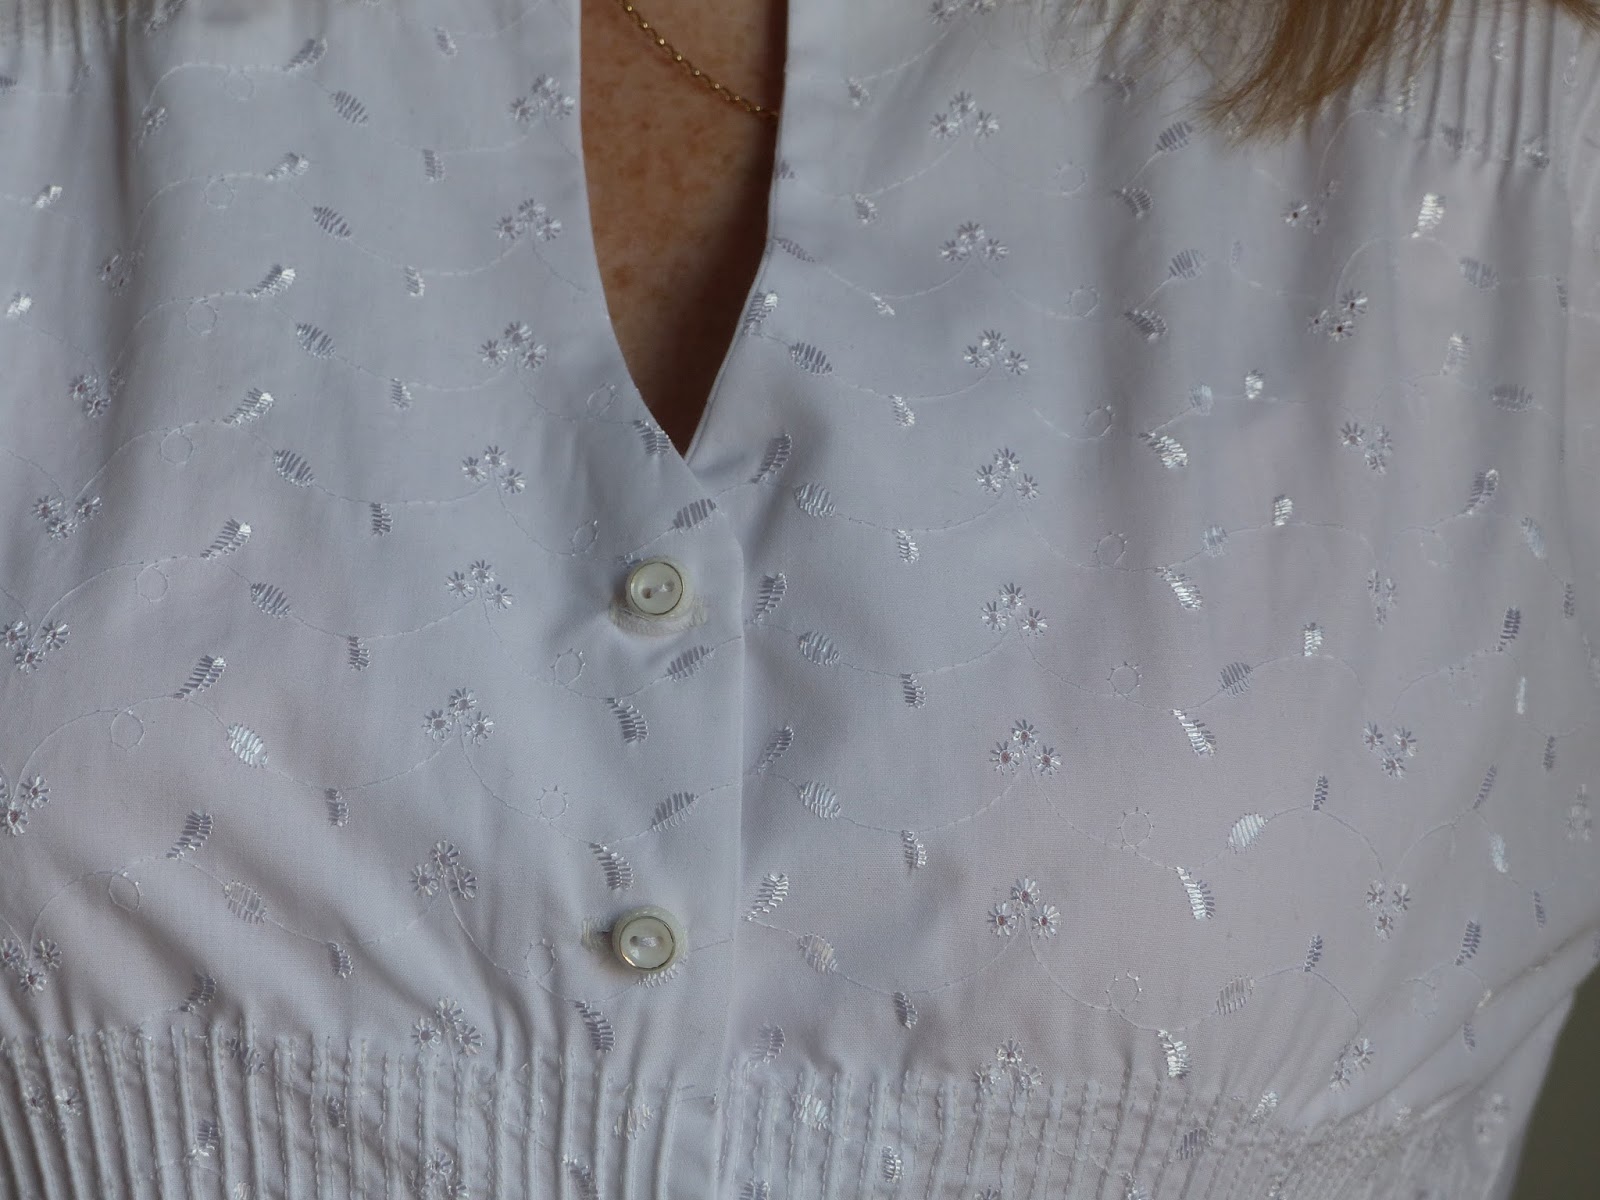
I added cotton lace to the waist stitching it all the way round before inserting the sleeves.I also added lace to the sleeve band, for this version I made long sleeves
This is the back ready to have the side seams sewn. Once you have done that insert the sleeves , add the facing, and then overlock the bottom edge. I put lace all round the bottom edge, tacking and then topstitching in place on the right side of the garment.
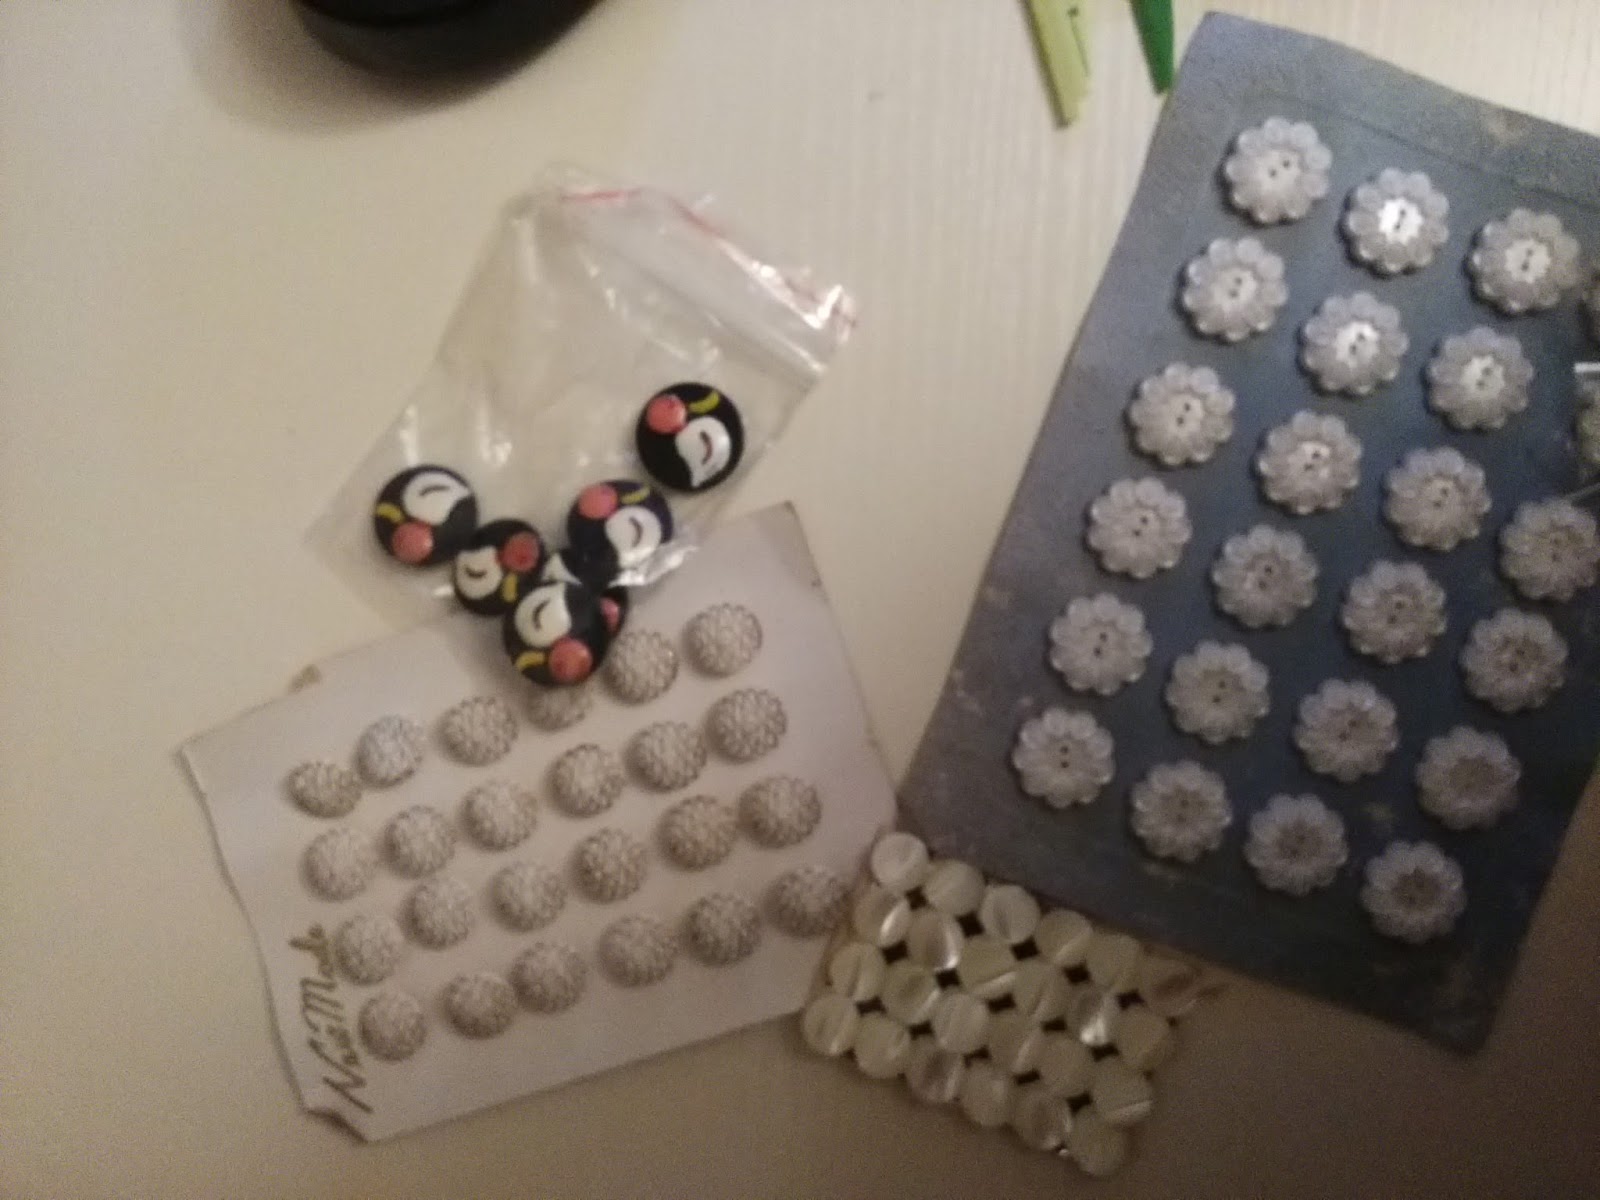
These are the buttons I eventually found to go on my blouse. I did struggle to find a pure white button I admit. These are glass and very very old.I have an interesting story for you. I was button hunting when I came accross this lady The Swagman's DaughterLong story, but she cleared out some warehouses in Malta and came across one particular building..
Inside this old building near to Valetta,there is a dark room right at the back .It had been locked up since the 1950s and when it was opened up it was found to be full of boxes of very old buttons , hundreds of them, from the 1920s and 1930s from France, Italy, Germany, and Bakelite ones from the UK. There are other things too so do look at the web site . It is a real treasure trove and the best thing is there is so much stock that most of the boxes have not been opened yet!
I have bought a few I have to admit. The ones I chose for this blouse are made from white glass with a tiny gold circle painted on. They are irregular and incredibly beautiful, obviously hand made.
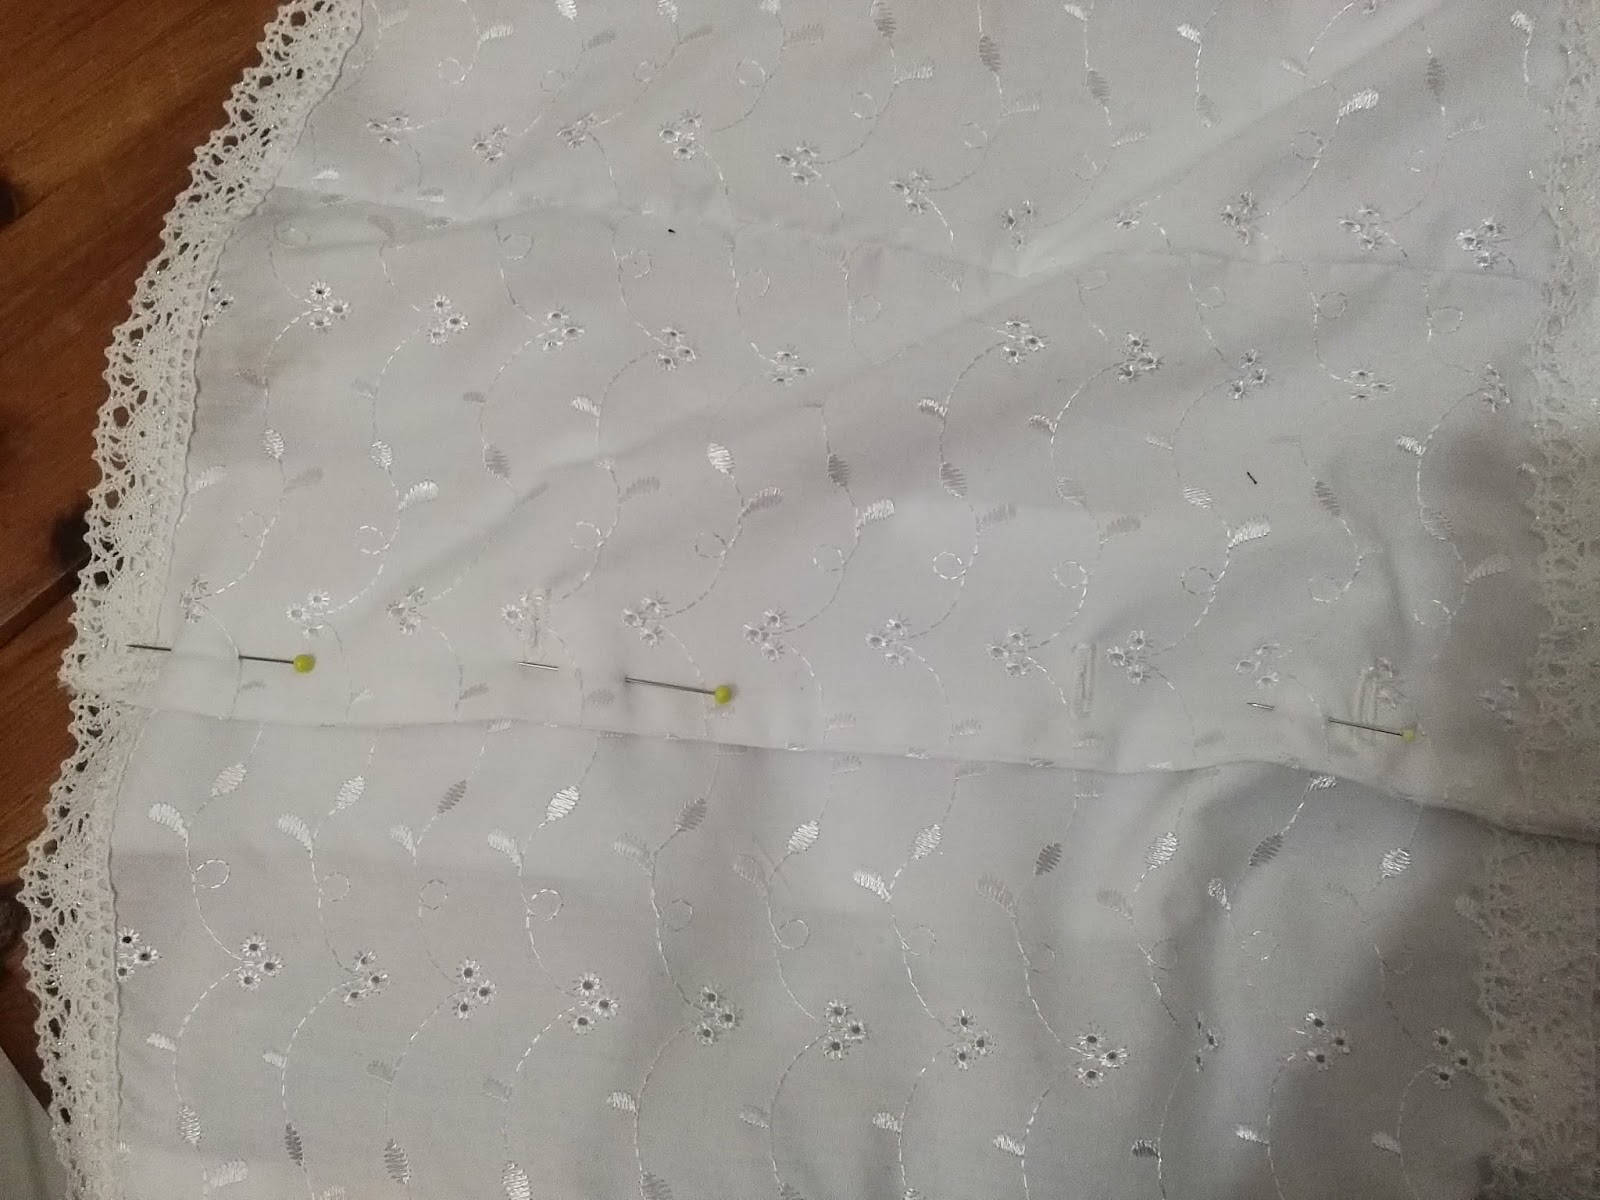
So now we come to marking the buttonholes. It is ever so simple if you are lucky enough to have one of these gadgets. Simflex guage it makes measuring buttonholes (and pleats) an absolute dream. Do treat yourself if you do not have oneYou also need a marker pen Marker pens - just put a tiny dot where you want the buttonholes to end, close to the edge of the garment, on the right side for women.
You can just about see the tiny dots marking the place where I want my buttonholes to finish. You can also see the lace edging around the bottom.
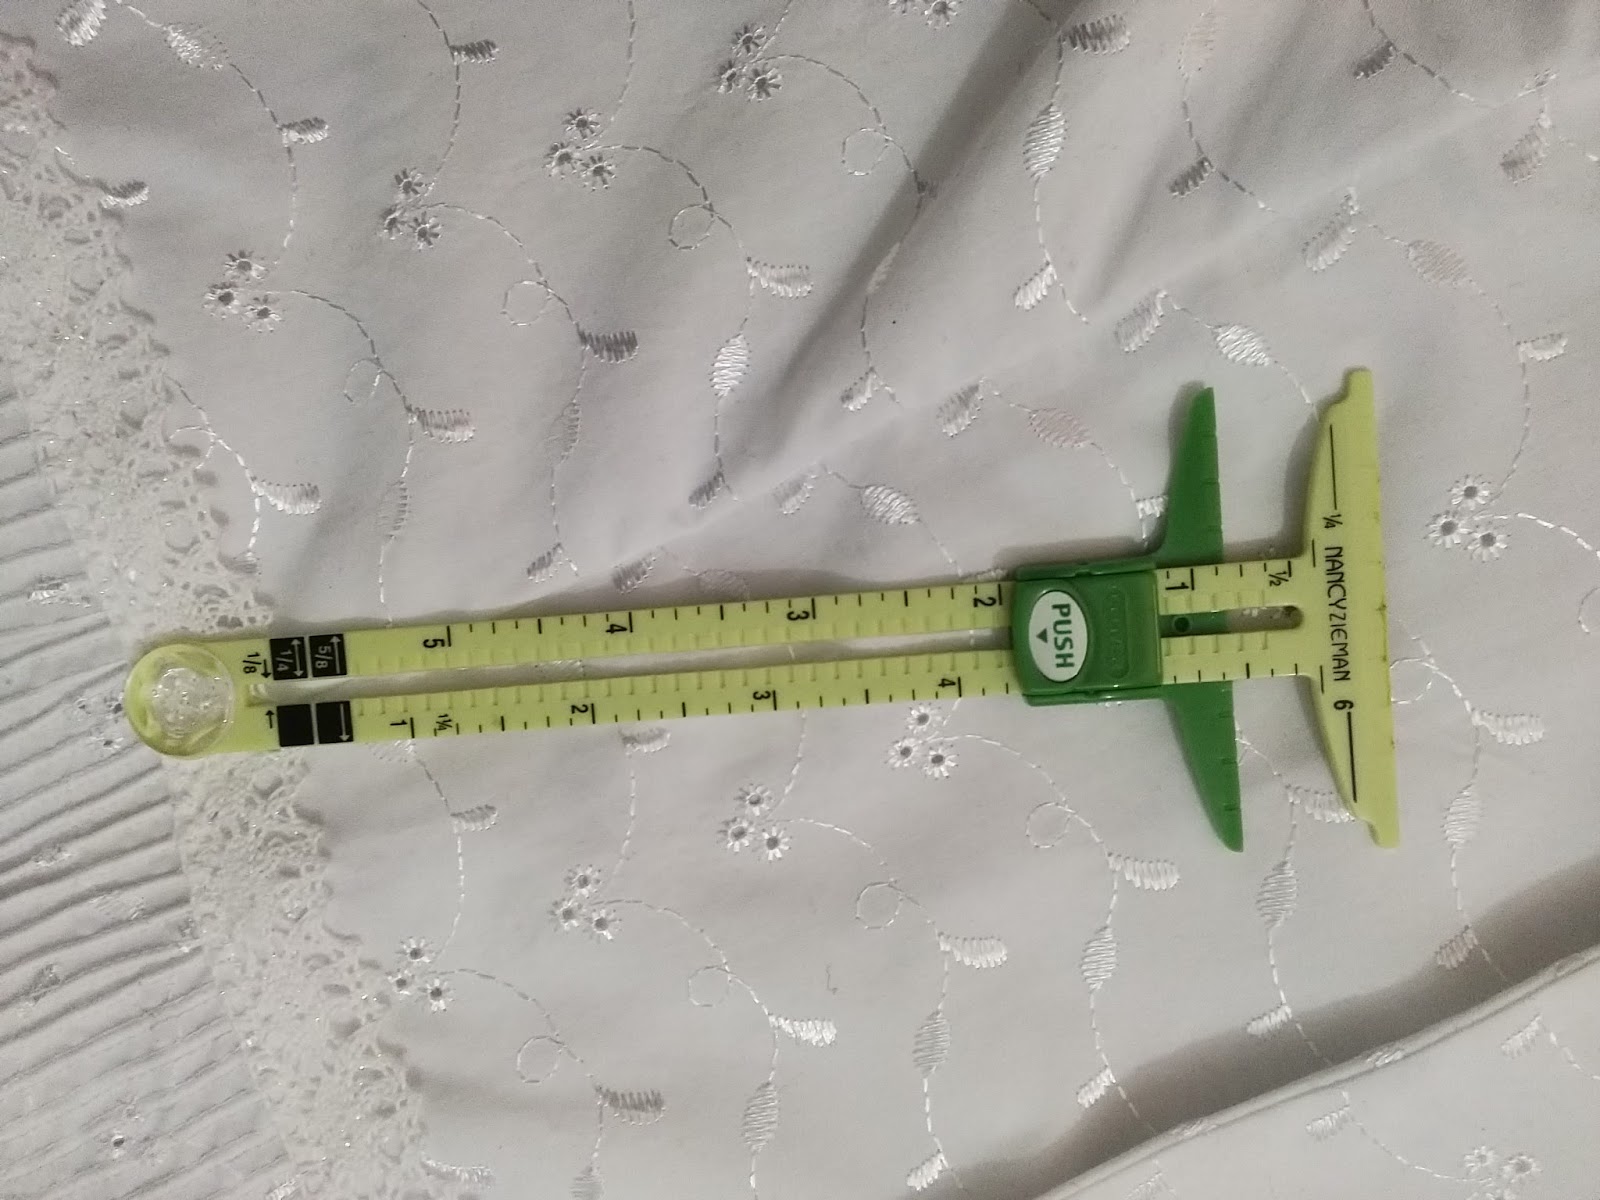
There are other tools you can use to measure your buttonholes if you do not have a simflex guage. This sliding guage is another of my favourite tools Sliding guage you do need some sort of measuring tooling your work box so choose ones you know you will enjoy using
I have a confession, when I don't feel like sitting in my sewing room I sit at my dining table and use this lovely machine.this particular model has now been upgraded to this one Brother innov-is 15 which is equally lovely . It is a delight to use and is perfect for anybody who needs a machine with all the necessary functions at a good price. It is a machine which grows with you as you become a more experienced sewer and I love it.
I have a further confession, I always use this machine whenever I want to make buttonholes. It comes with this foot and all you do is clip it in place, insert your button, turn a dial to select a buttonhole and that's it! You can see where the button has been placed, the machine automatically sews the perfect buttonhole to fit! Marvellous.
This machine makes the most delightful buttonholes ever and as I said whenever I want to make them out this machine comes. I have never had a poor result. I also take this machine with me whenever i am giving a lesson or attending an event etc
Before you make one single buttonhole on your garment you must do a trial one first, mimic your actual garment by using two layers of fabric with interfacing in between. Don't skip this step, you need to make sure it is exactly the right size for your button.
Once the buttonholes are made and cut with sharp scissors pin the edges closed and one by one start to sew your buttons on. You need to use double thread which has been waxed for strength.
You can see how pretty these buttons look, they are very delicate against all the lace. I used eight in all.
This is the back view of the finished garment
And the side view
This is a version I made with short sleeves and a lace bow on the front.
This is my old leather bomber jacket, which I do wear a lot when I am going out in the evenings.I added a diamanté zip and some studs to the front, it is quite old and battered but the leather is so soft after years of wear.
There is a lot more diamanté and embroidery and studs at the back. It is really easy to add embellishments to an old garment and means you will wear it and not have it stuck in the back of your wardrobe.
Next time I am staying with lace and talking overlockers when I will be making a lace dress with lingerie to wear under it in the form of a jersey underslip.
I hope you enjoyed reading this post, if so please let me have some feedback, it is always appreciated.
Angela x
#