Fast Shipping!
Free for Orders £25+
Free for orders over £25

|
I wanted to show you how to make some very easy Christmas decorations and table accessories. These are perfect for you to sew with your children as no special skills are needed for any of these.   You will need a pattern . This one is by Simplicity - available here : Simplicity 8035 There are other simple toy pattern's in the range so do take a look. You will need some felt pieces in assorted colours, I bought mine from Minerva Fabrics. There are plenty of colour choices plus some sparkly ones. I used sparkly felt in white, green and black as well as other plain colours. You choose which ones you like best, there are no Rules! 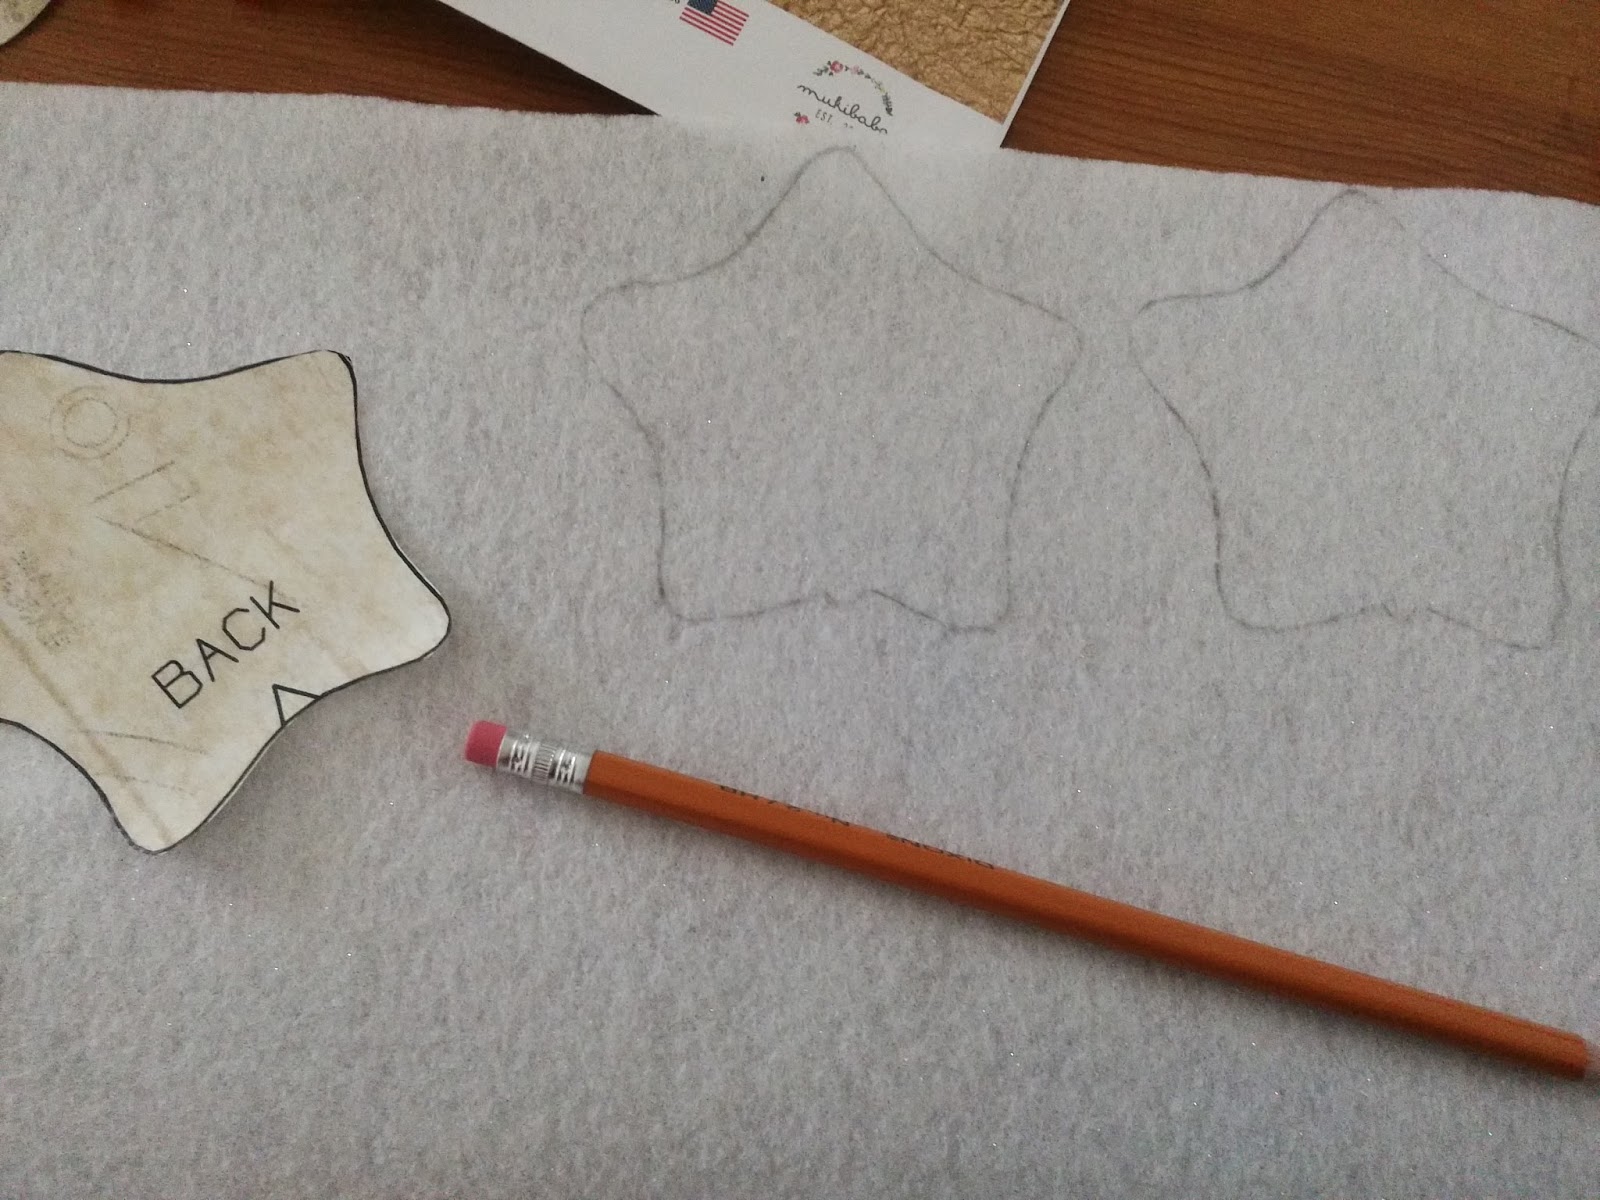 When making the smaller ornaments I found it easier to photocopy the pieces and to cut them out in thin card so that I could then draw around them on the wrong side of the felt to make cutting out easier. I am starting with the stars which I think are really cute, and I am using white felt which has a sparkle all over it. Cut the felt shapes out and mark the position for the eyes and the mouth. You will need to embroider the mouth with a back stitch or a stem stitch. The eyes are safety eyes and are available from MinervaCrafts you will need various sizes according to which decorations you are making. The sizes are included on the back of the pattern envelope The cheeks are made by colouring them with a soft red pencil. Once you have done the features sew two stars together with a blanket stitch, or even a straight stitch or to be honest any stitch you fancy so long as it is small. Enclose a hanging thread at the top. This can be ribbon or string or a thick embroidery thread as I used. Remember to leave a gap so that you can stuff it. 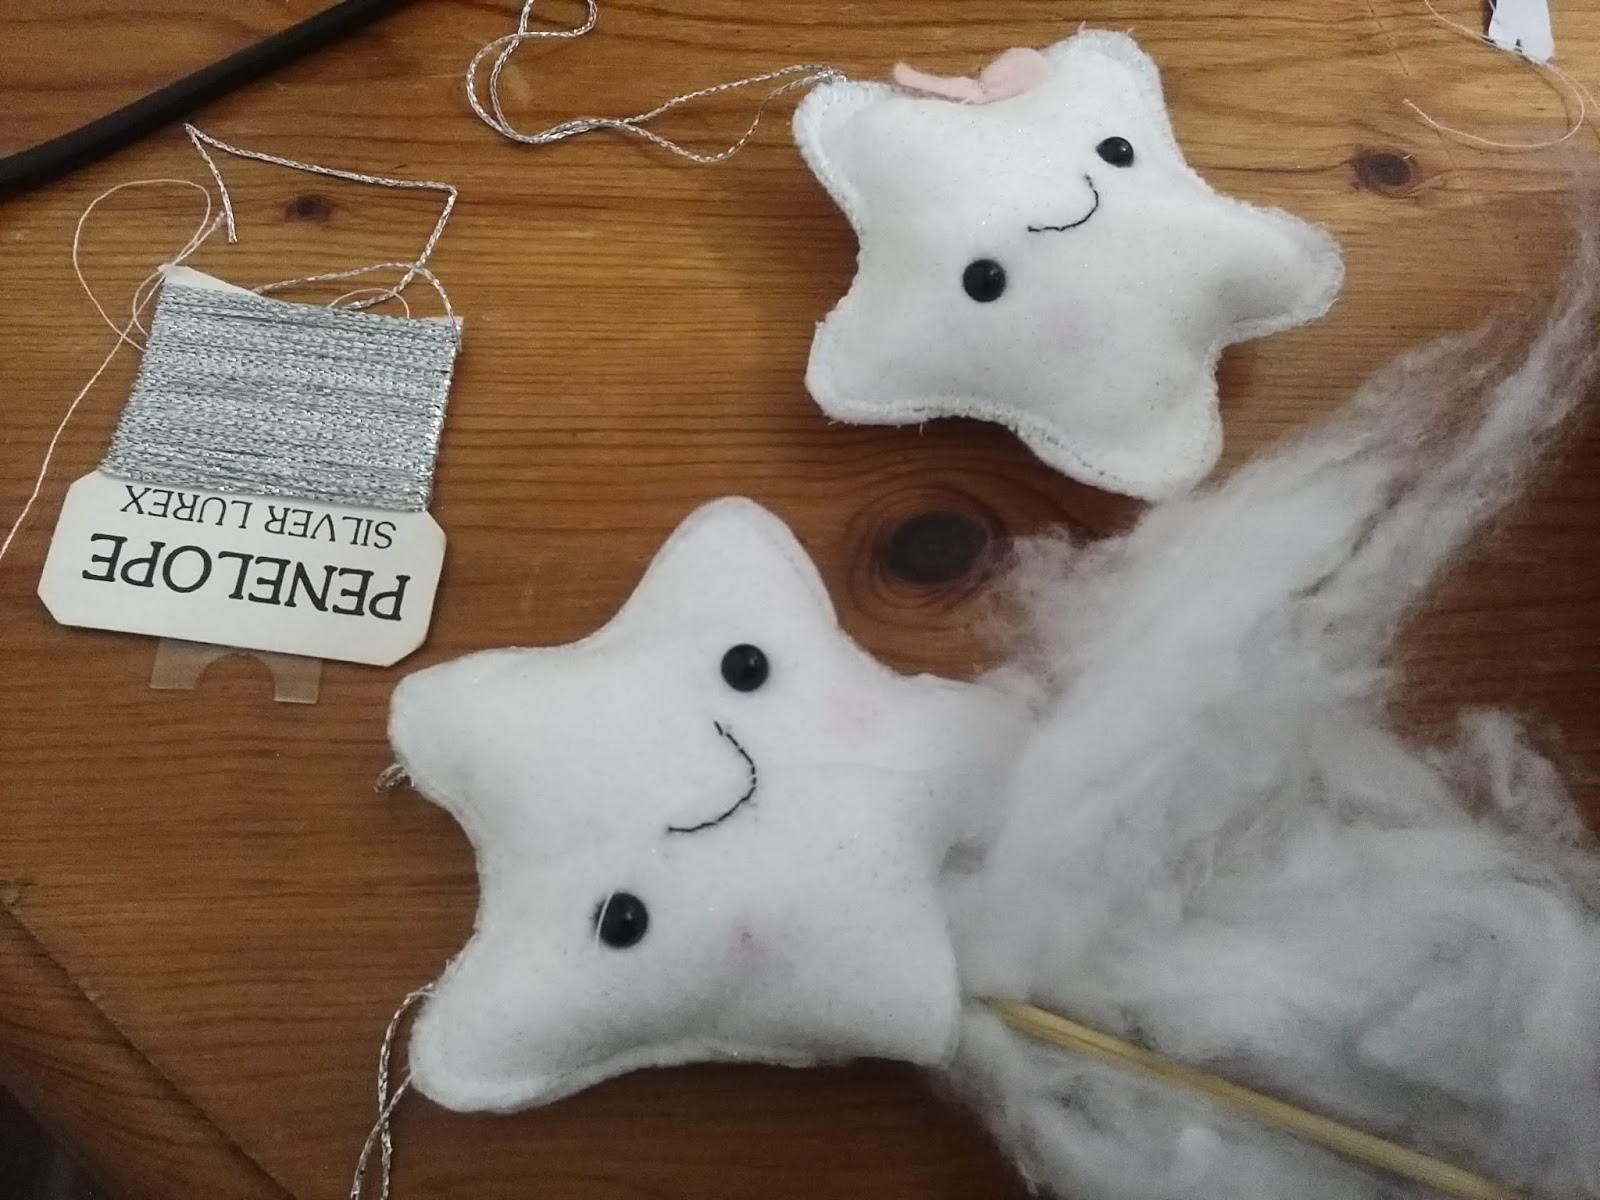 Then sew up the gap and sew on a felt bow, which is just a small rectangle of felt gathered in the middle and sewn on by hand .   This is the start of my Star family.  Cut out the holly in green felt and stitch it on along with a tiny red pom pom. He also needs a felt bow tie which you make exactly the same as the bows in the stars. For the buttons you could glue on tiny felt circles or just make a dot with an indelible ink pen.
The other toys in this pattern are all made the same way. The Yeti is made from some fur fabric but if you do not have any use some cuddle fleece or similar.  You will notice a Christmas tree sat among the ornaments. There is no pattern for him, but he is easy to make too. I will show you how to make more decorations. 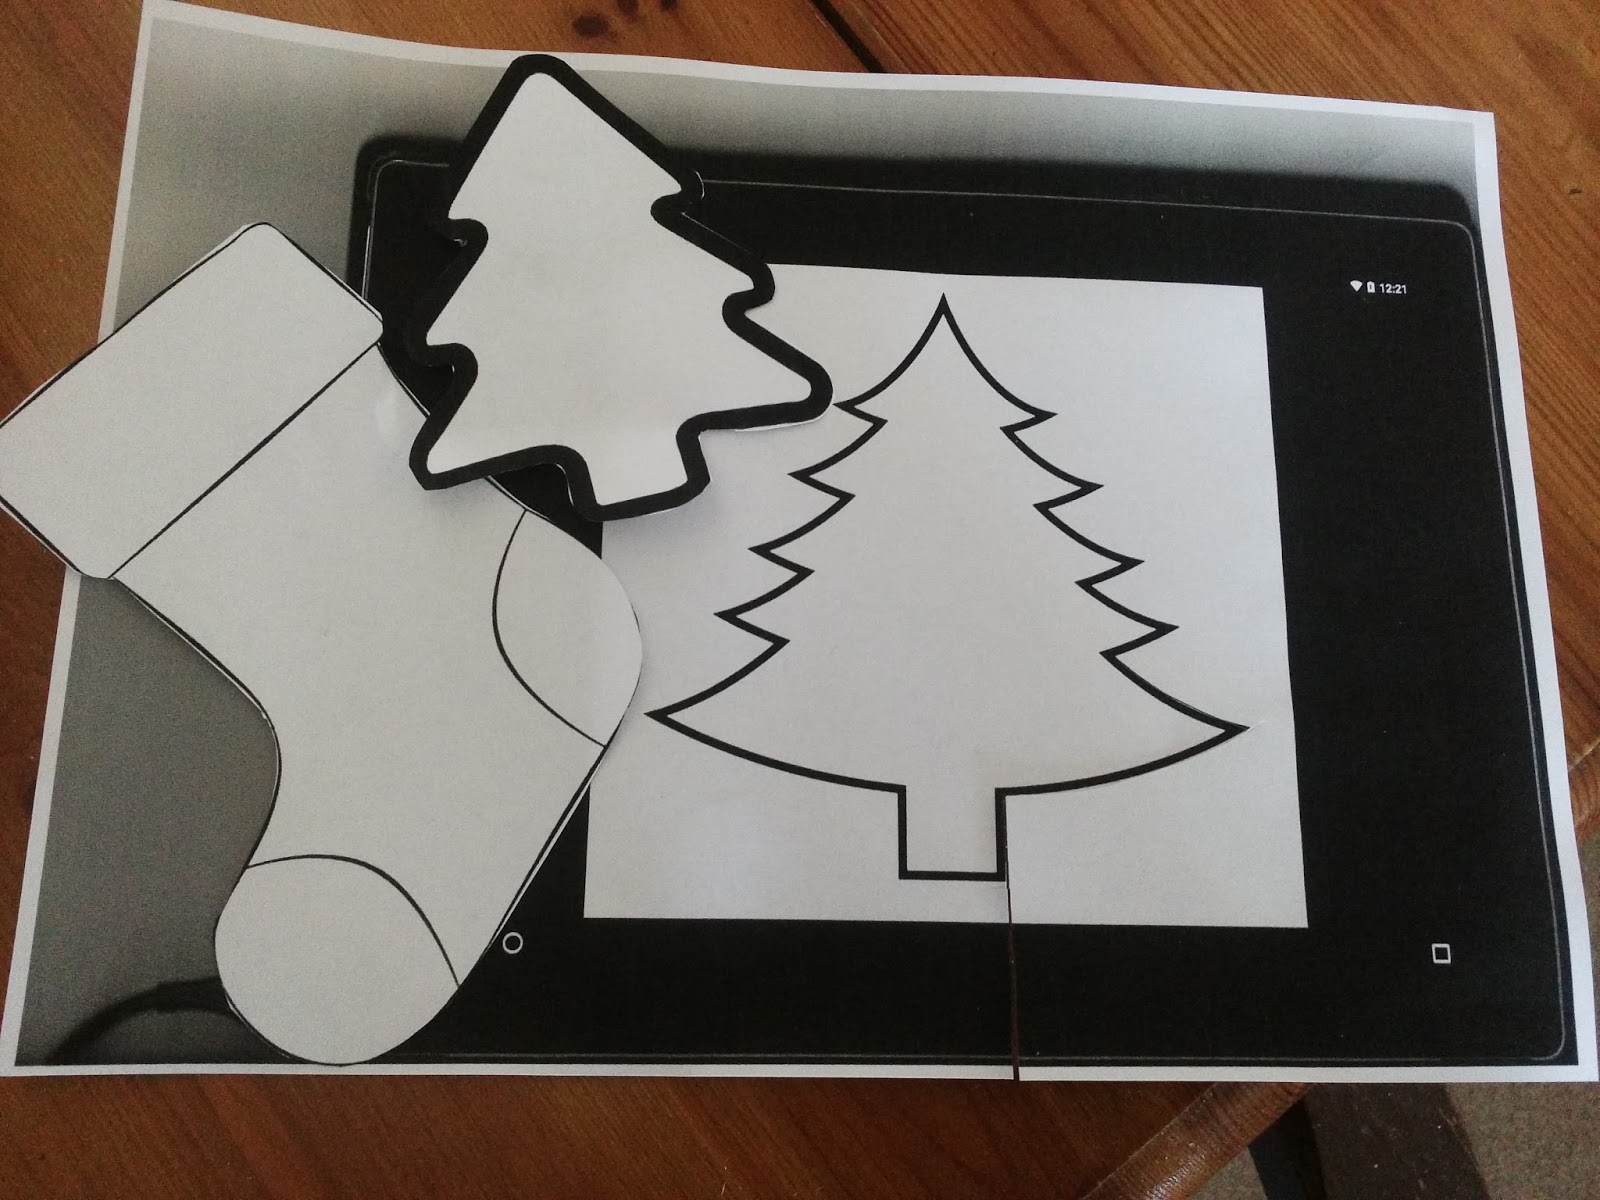 If you are good at drawing then draw some other Christmas shapes into thin card and cut them out. Hearts are also a good choice as are snowmen.
I made two Christmas trees, one is stuffed and has features made from safety eyes and an embroidered mouth. You will find that these wonder clips are so much better than trying to hold two pieces of felt together with pins. They come in various quantities and sizes Clover Wonder Clips I love them and use them as much as possible in place of pins.  When you sew your tree decorations together it is nice to use a metallic thread or a variegated thread. For the metallic threads you will need to use a metallic needle , they have an elongated eye which helps prevent the thread from shredding. Machine needles for metallic thread For some of my decorations i used a variegated thread Variegated thread and used some fine ricrac as a hanging thread. I also used various colours of Gutterman Sulky metallic thread when I was making them which add extra glitter to your project. 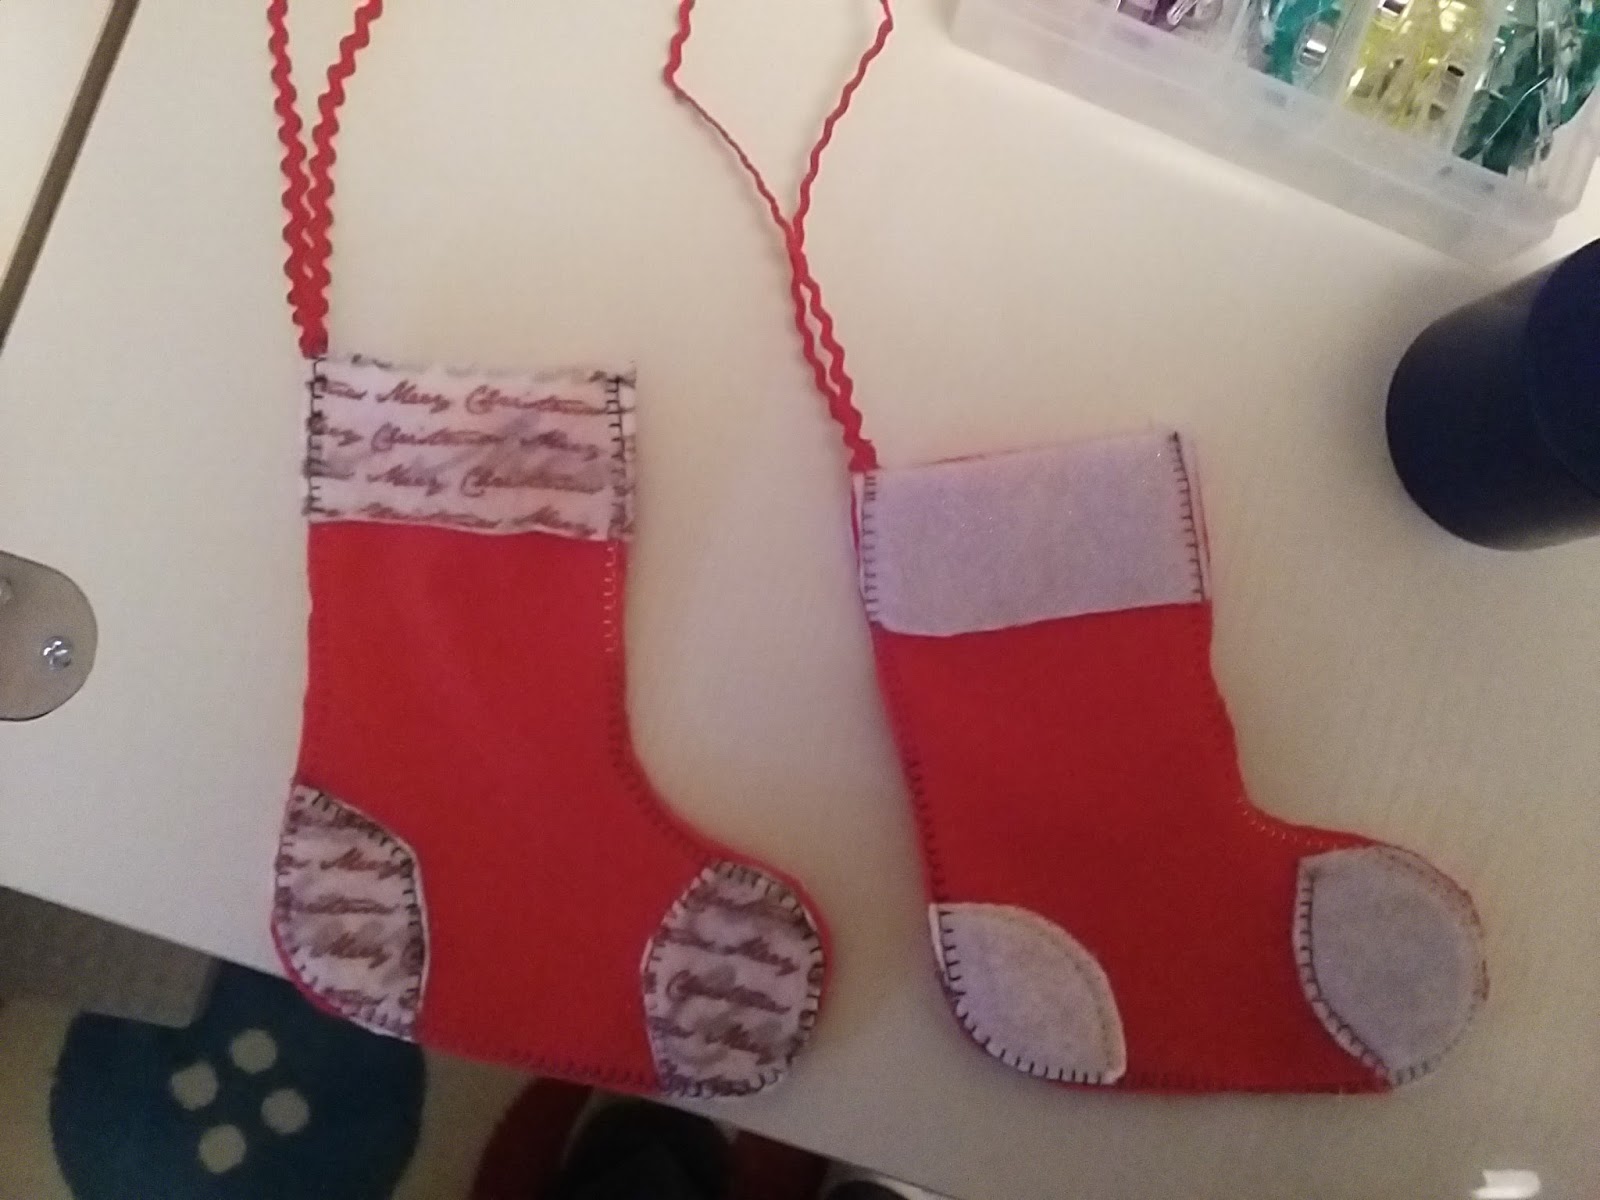 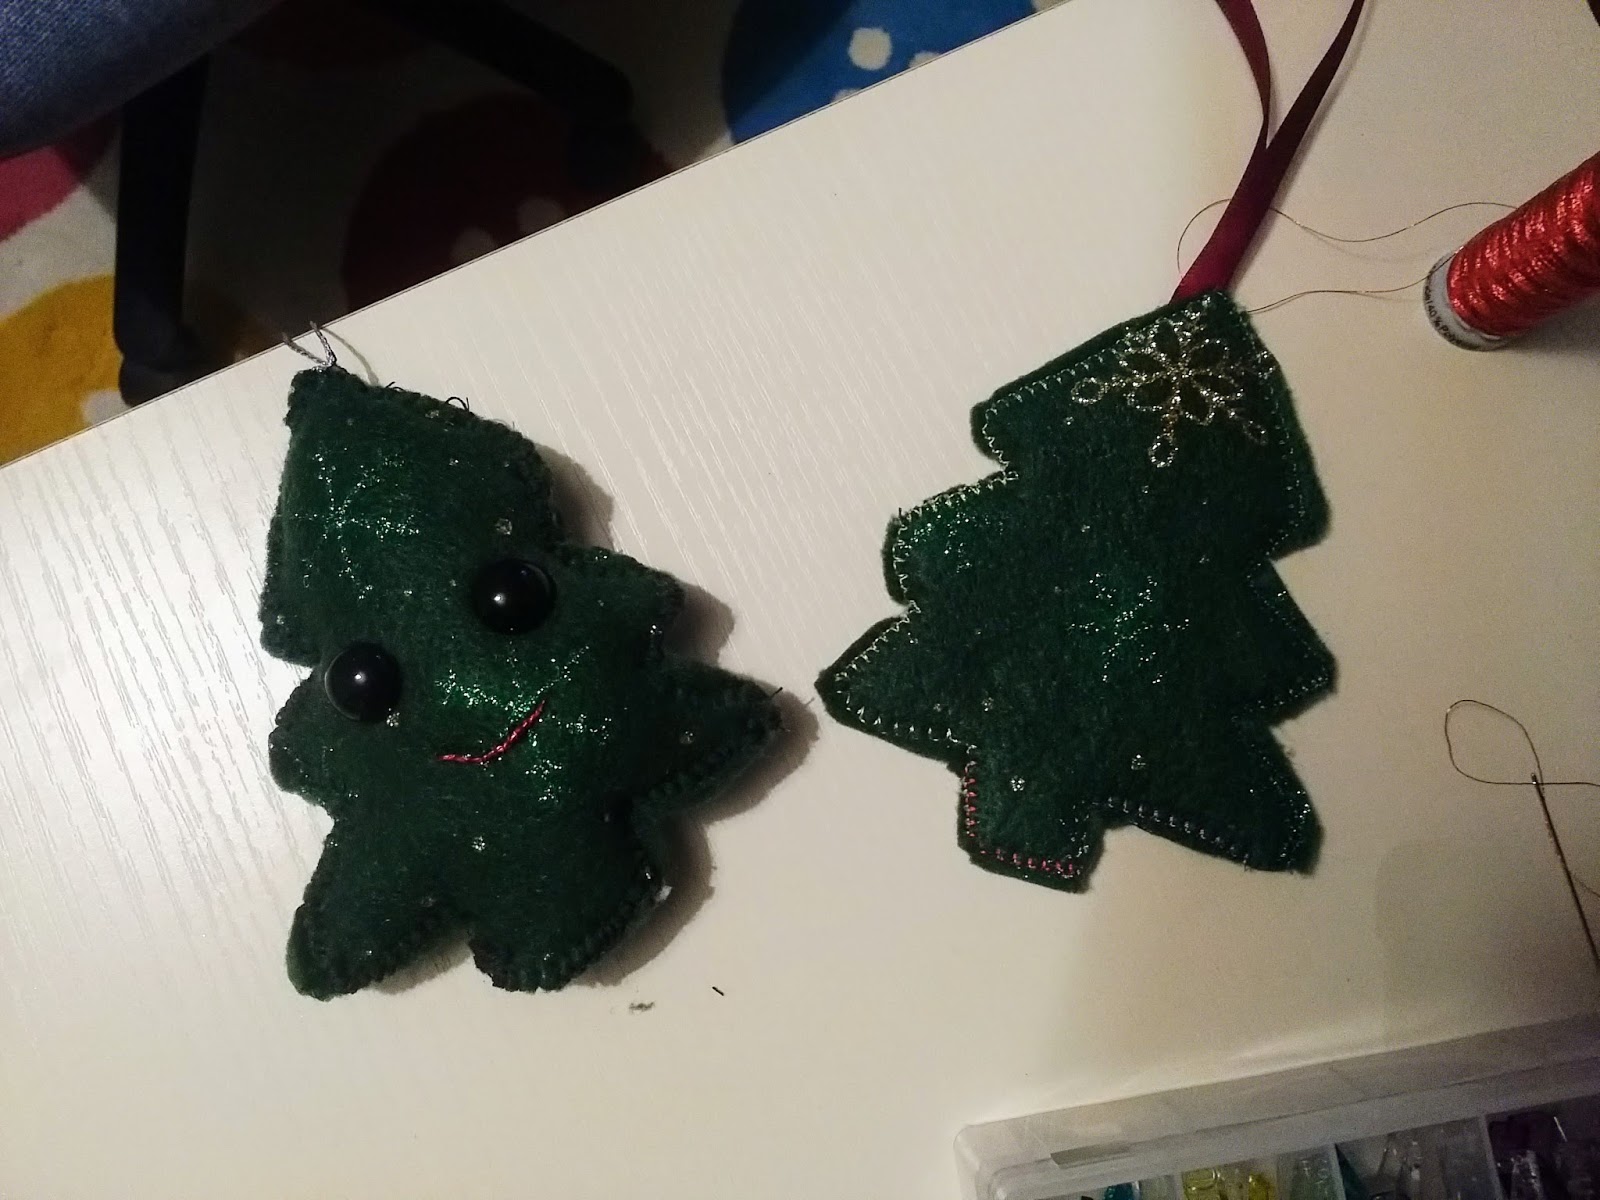  Nobody says that decorations have to be red or green, these glitter sparkled black stars are lovely. You could use whatever colour matches your decor. My friend has pink and purple on her little girls own special tree. 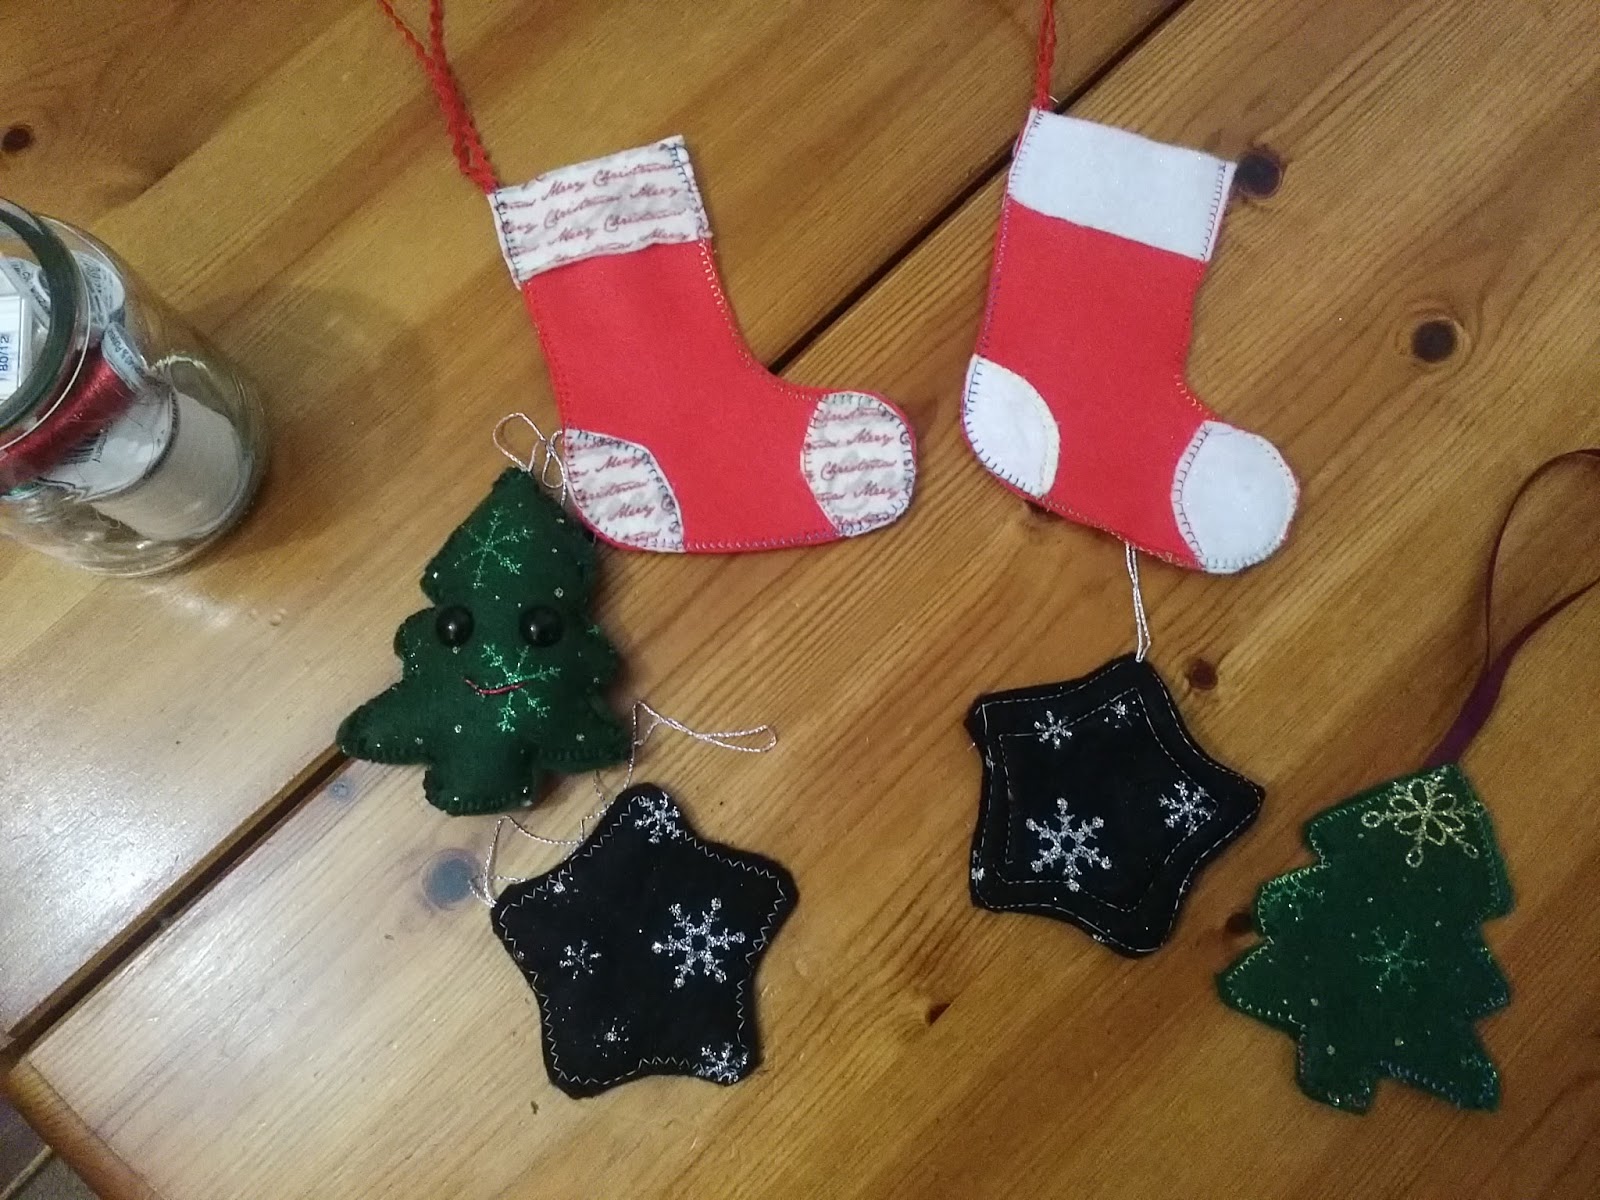 These are some of my decorations finished and ready for the tree. I made some blue stockings too and trimmed them with gold stitching and gold braid  Another is trimmed with lace and sequin stars. These are just to give you ideas, you will have plenty of your own. 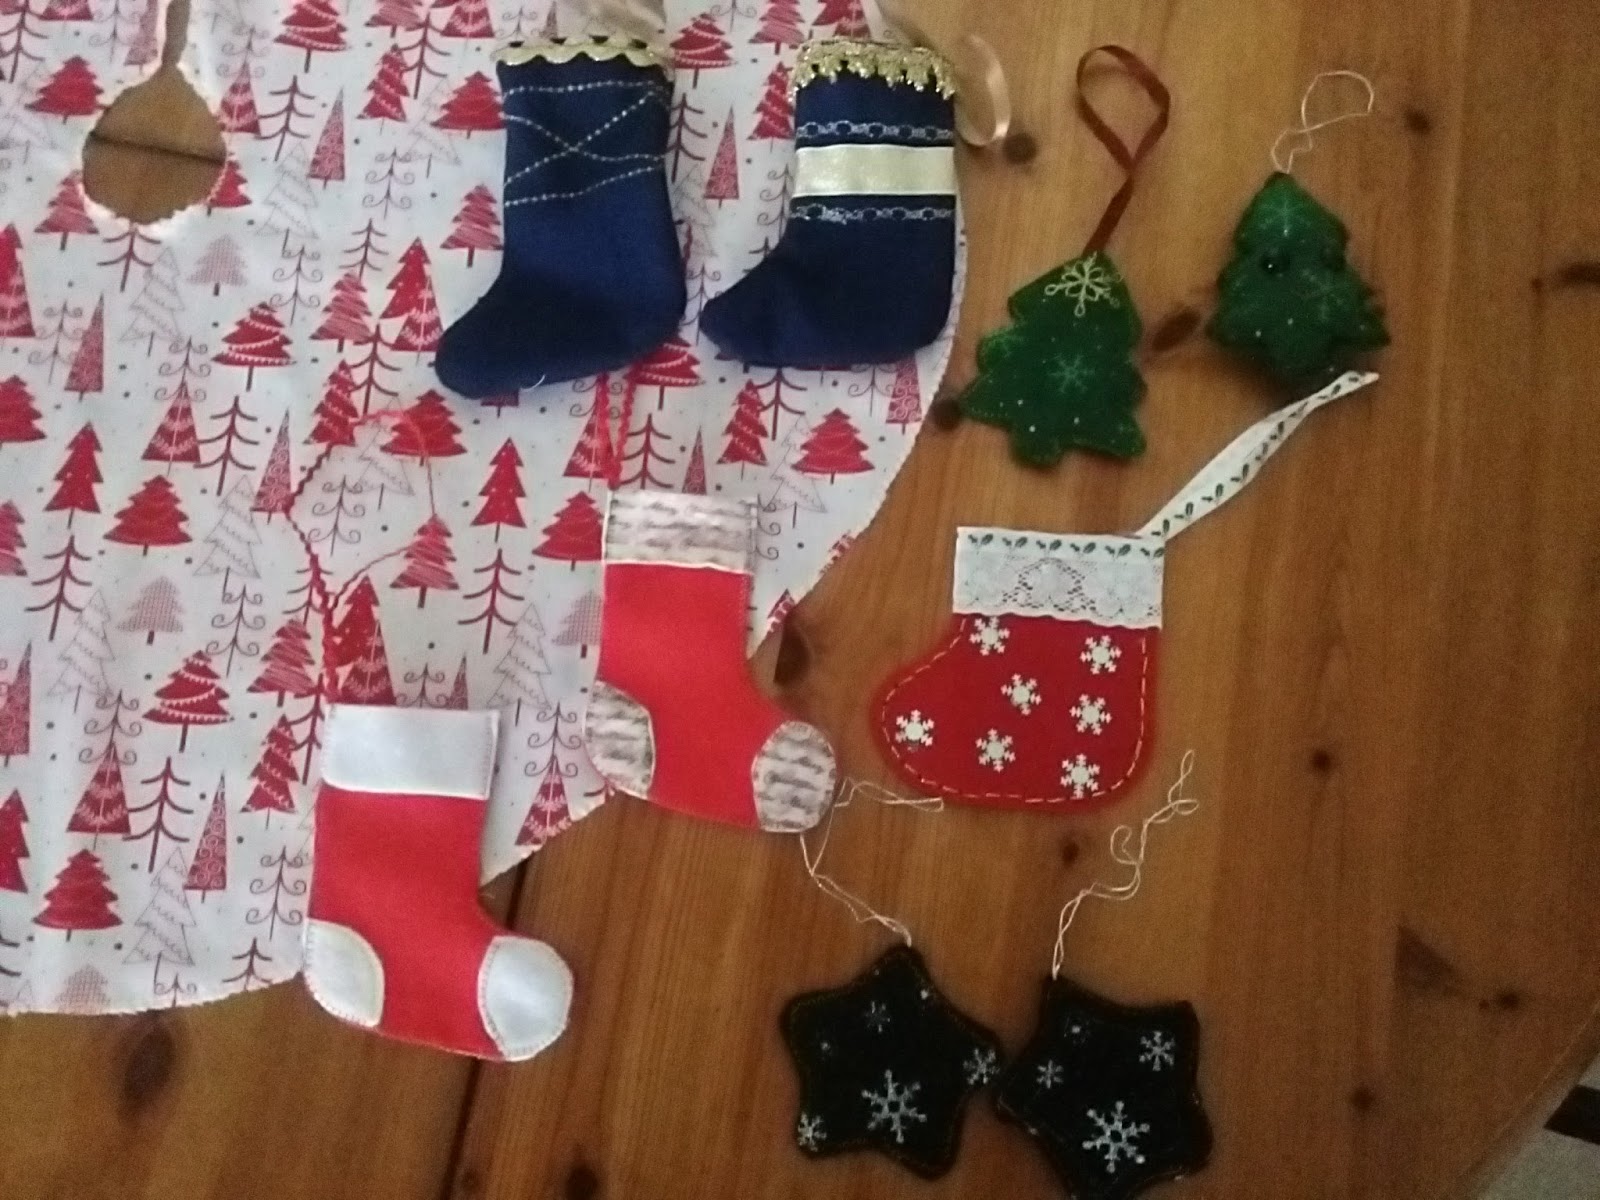
Now to make some table wear.
I bought a large length of this red and white Christmas fabric from Abakhan Fabrics,
Minerva Craft also sell a good range of Christmas fabrics
 First I made a tree skirt. To make it I did it the old way by drawing a circle on the back of my fabric with a pencil tied to a string. You need to then slit it up to the centre and cut out another circle to go around the tree. I finished the edges off by using my Bernina sewing machine with an overedge foot attached.The Bernina 350PE This is a fabulous machine, do take a look at it on Jaycotts web site. The reindeer is featured in my previous blog post and you can read it here How to sew your own gifts  First make sure that your fabric is wide enough for your table. Cut a length which overhangs a few inches but not so much that it is easy to pull off, you don't want somebody becoming tangled in a large tablecloth no matter how lovely they look. We are talking practical here.   To make it easier to sew on my overlocker I cut the corners off to make the ends rounded. Cut the first corner until you are happy with the shape and then cut the other three corners to match.   I got my overlocker manual out because I wanted to use a narrow rolled hem finish and I always like to have the manual handy to refer to. It's good to remind myself exactly what my machines are capable of so I am constantly referring to the manuals. 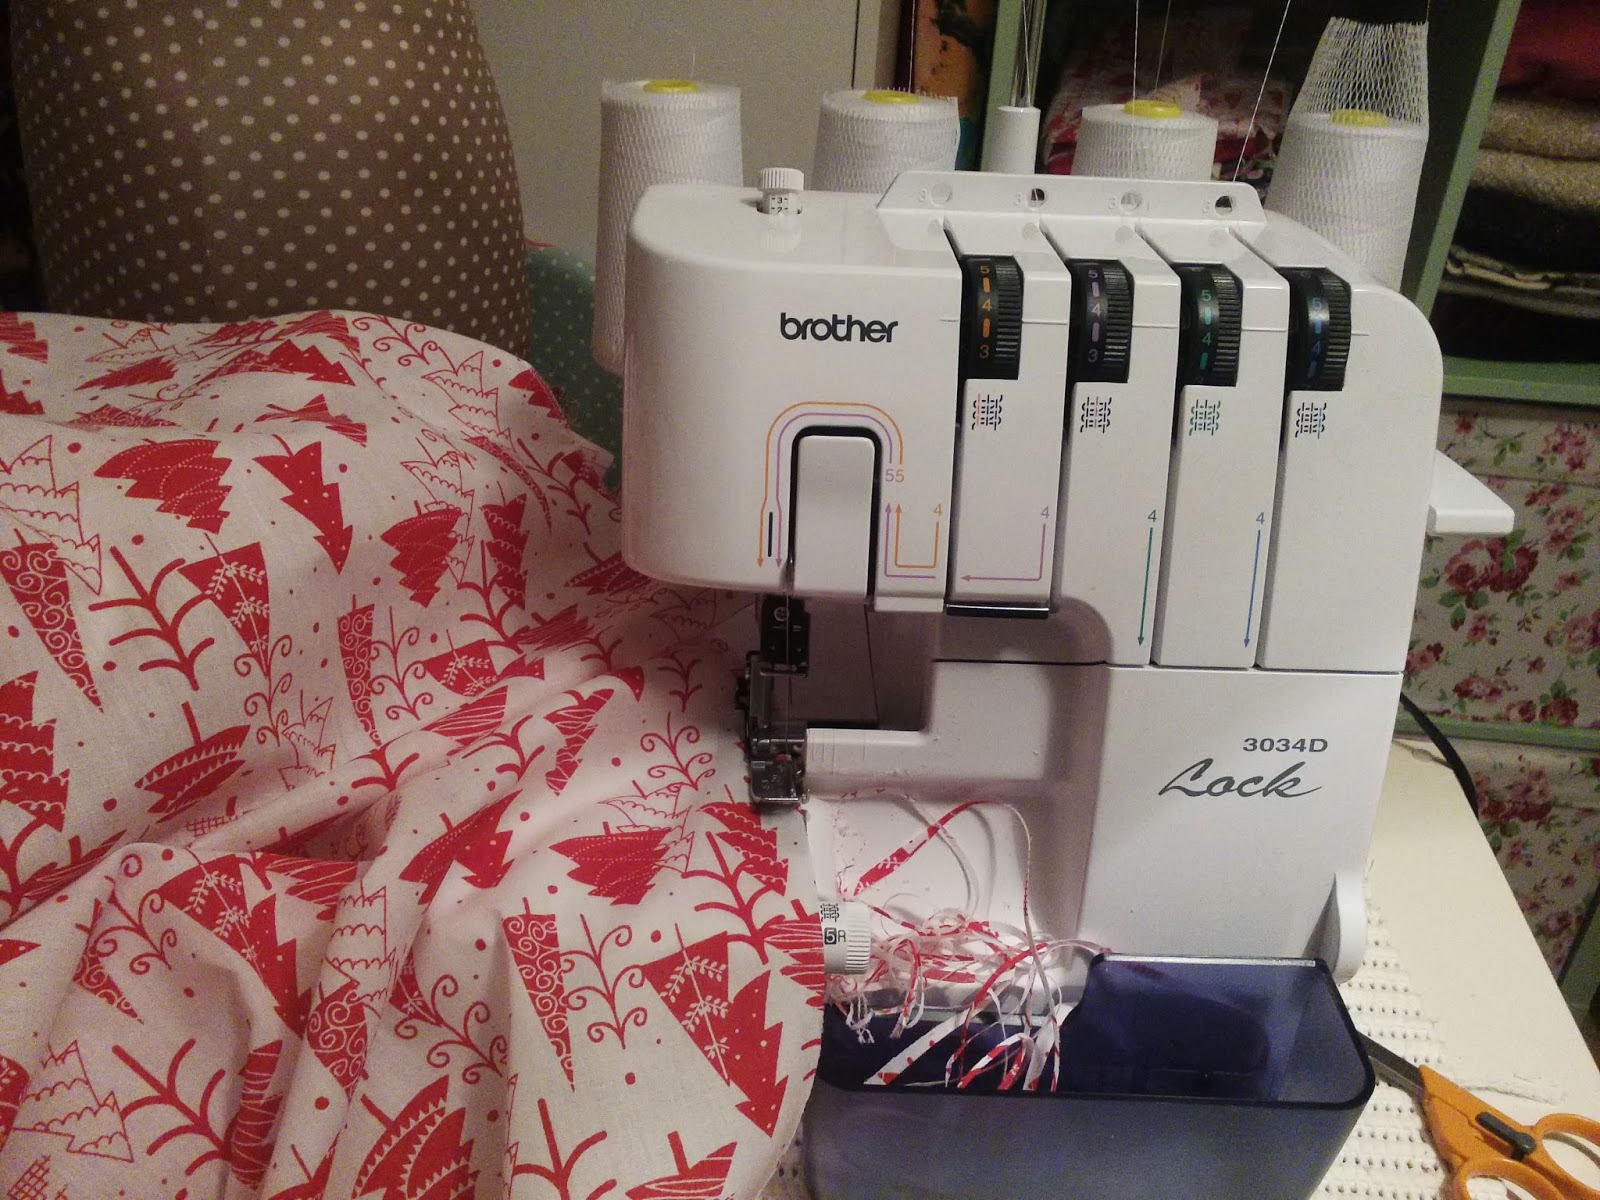 This fabulous machine is the Brother 1034D Brother 1034D overlocker The Rolled hem finish involves removing the stitch finger and stitching with just three threads instead of four. It is very easy to set the machine to do this and it makes a really lovely narrow overlock stitch which I use a lot.    You can see them closer in this photograph.  This is my coffee table with the smaller cloth covering it. 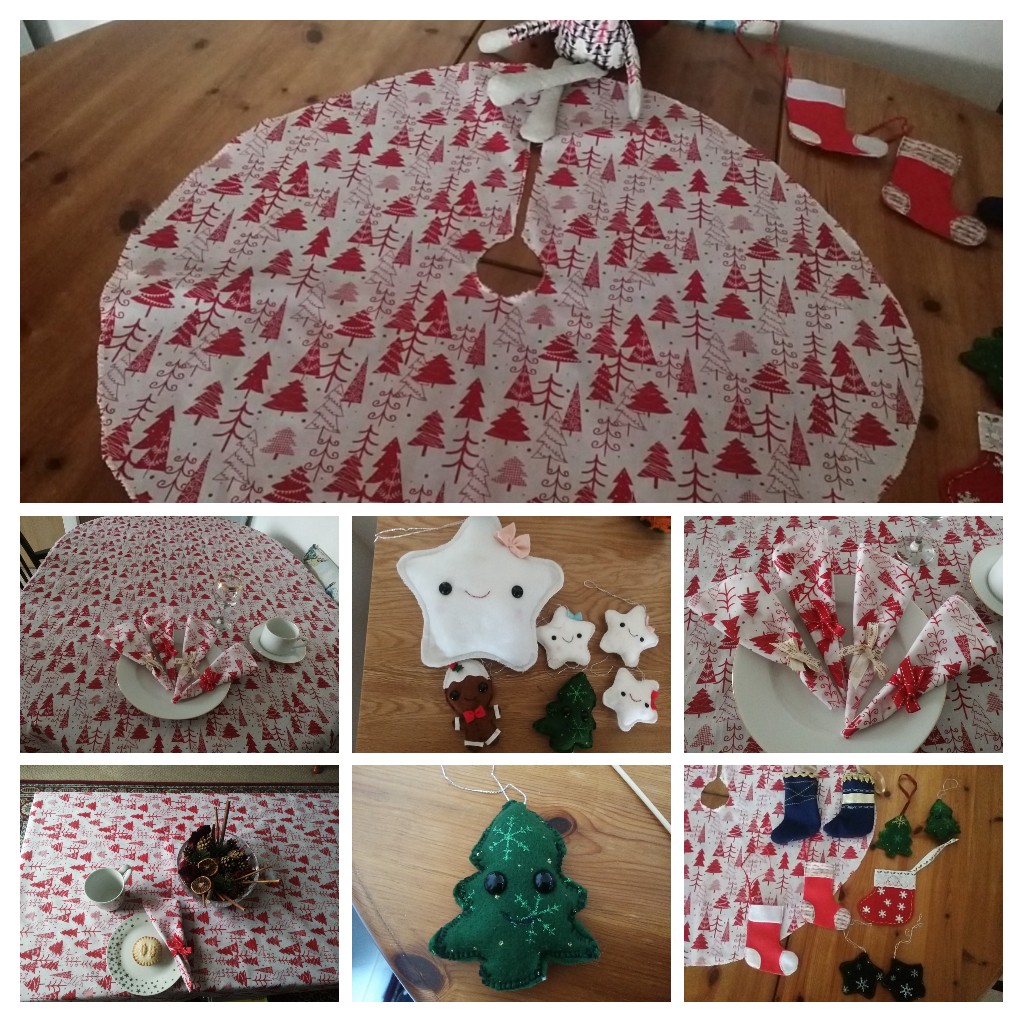 I am extremely pleased with my hand made Christmas. You can of course make all the decorations in the pattern and decorate your tree exclusively with your own makes. This is a project which does not take long and which you can get the children involved with. The decorations could be glued together with a PVA craft glue so long as any young children are properly supervised of course.  Thank you for reading this post, I hope you will have a happy time doing your Christmas sewing. Angela |
