It's so easy to use your embroidery machine to applique garments, bags and household items.
My Brother Innov-is 800E not only does beautiful embroidery and makes free standing lace but it also creates applique easily and quickly. In other words this one machine does everything you need to embelish your sewing project. Or indeed a ready made item!I am currently making a red jersey top ( watch out for it in my next blog post) and wanted a simple embelishment to add to it. A small appliqué flower was the answer.
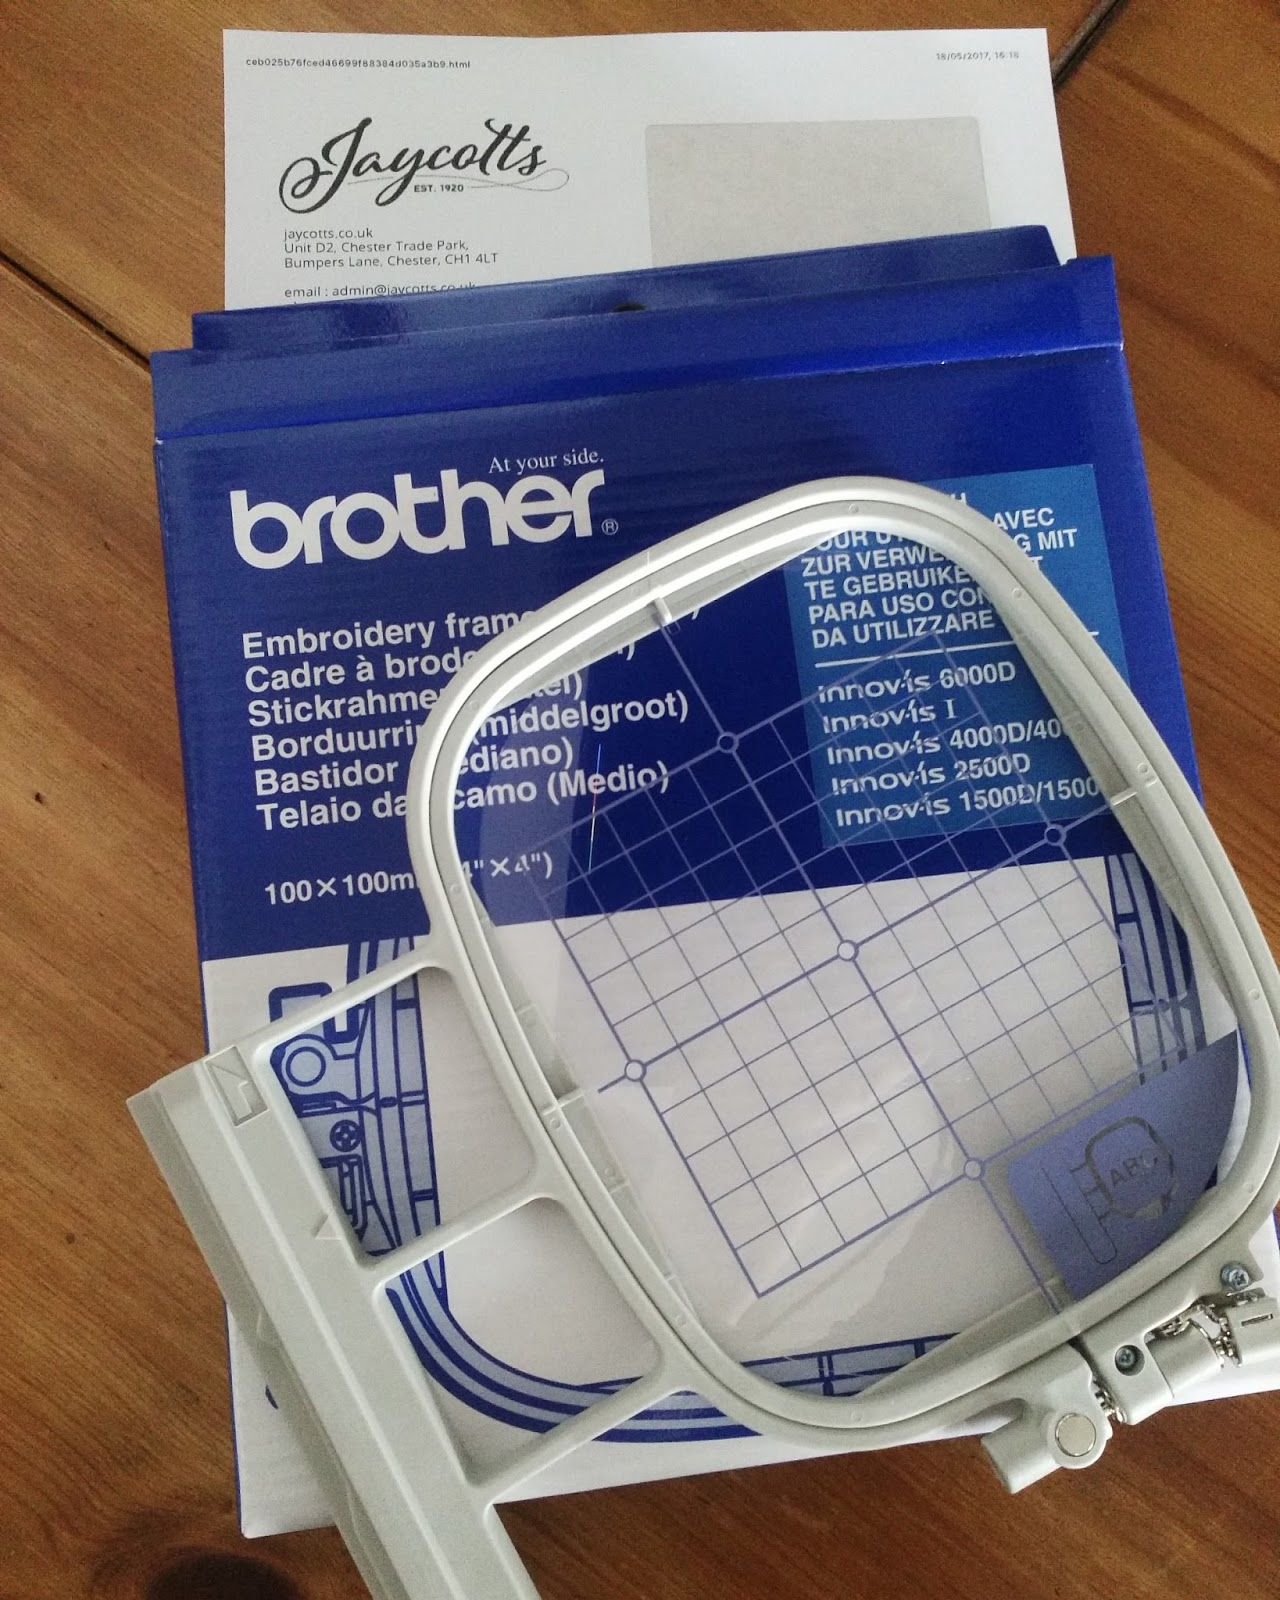
This is my embroidery machine. I do love Brother machines, they are reliable, innovative and come in a huge range of prices to suit all budgets. If you are interested in a Brother Embroidery machine, or any other machine, I suggest that you have a chat with Jaycotts, contact details below, to find the best machine to suit your needs and your budget.
There are various hoop sizes available to fit this machine, Brother Embroidery Hoops Mostly I use the largest one but I have found when embroidering on stretch fabrics better results are achieved with a smaller hoop. It is really easy to view which of the inbuilt designs are suitable for each hoop as it is all displayed on the touch-screen. The hoop I am using for this project is 4"x4" and I find that it is perfect for this type of fabric.
You will need threads, embroidery needles and various stabilisers. More about stabilisers later.Brother do their own range of embroidery threads which come in two forms, a matt and a sheen. You can buy them individually or in boxes here. You also need bobbin thread. A tip here is that I keep quite a few bobbins already filled with thread so that I can quickly change the bobbin when it runs out. The range of Brother threads are on this link Brother embroidery threadsYou also need a supply of embroidery needles. They do go blunt quickly so do remember to change the needle after every project. As I am putting any of my machines away at the end of the project I am in the habit of removing the old needle which reminds me to insert a new one when I start sewing again. Machine Embroidery Needles
There are a lot of Embroidery and applique patterns built into your machine, these are a selection of the applique designs. The design has a list of threads next to it which tells you what colour you need and the order you need it.
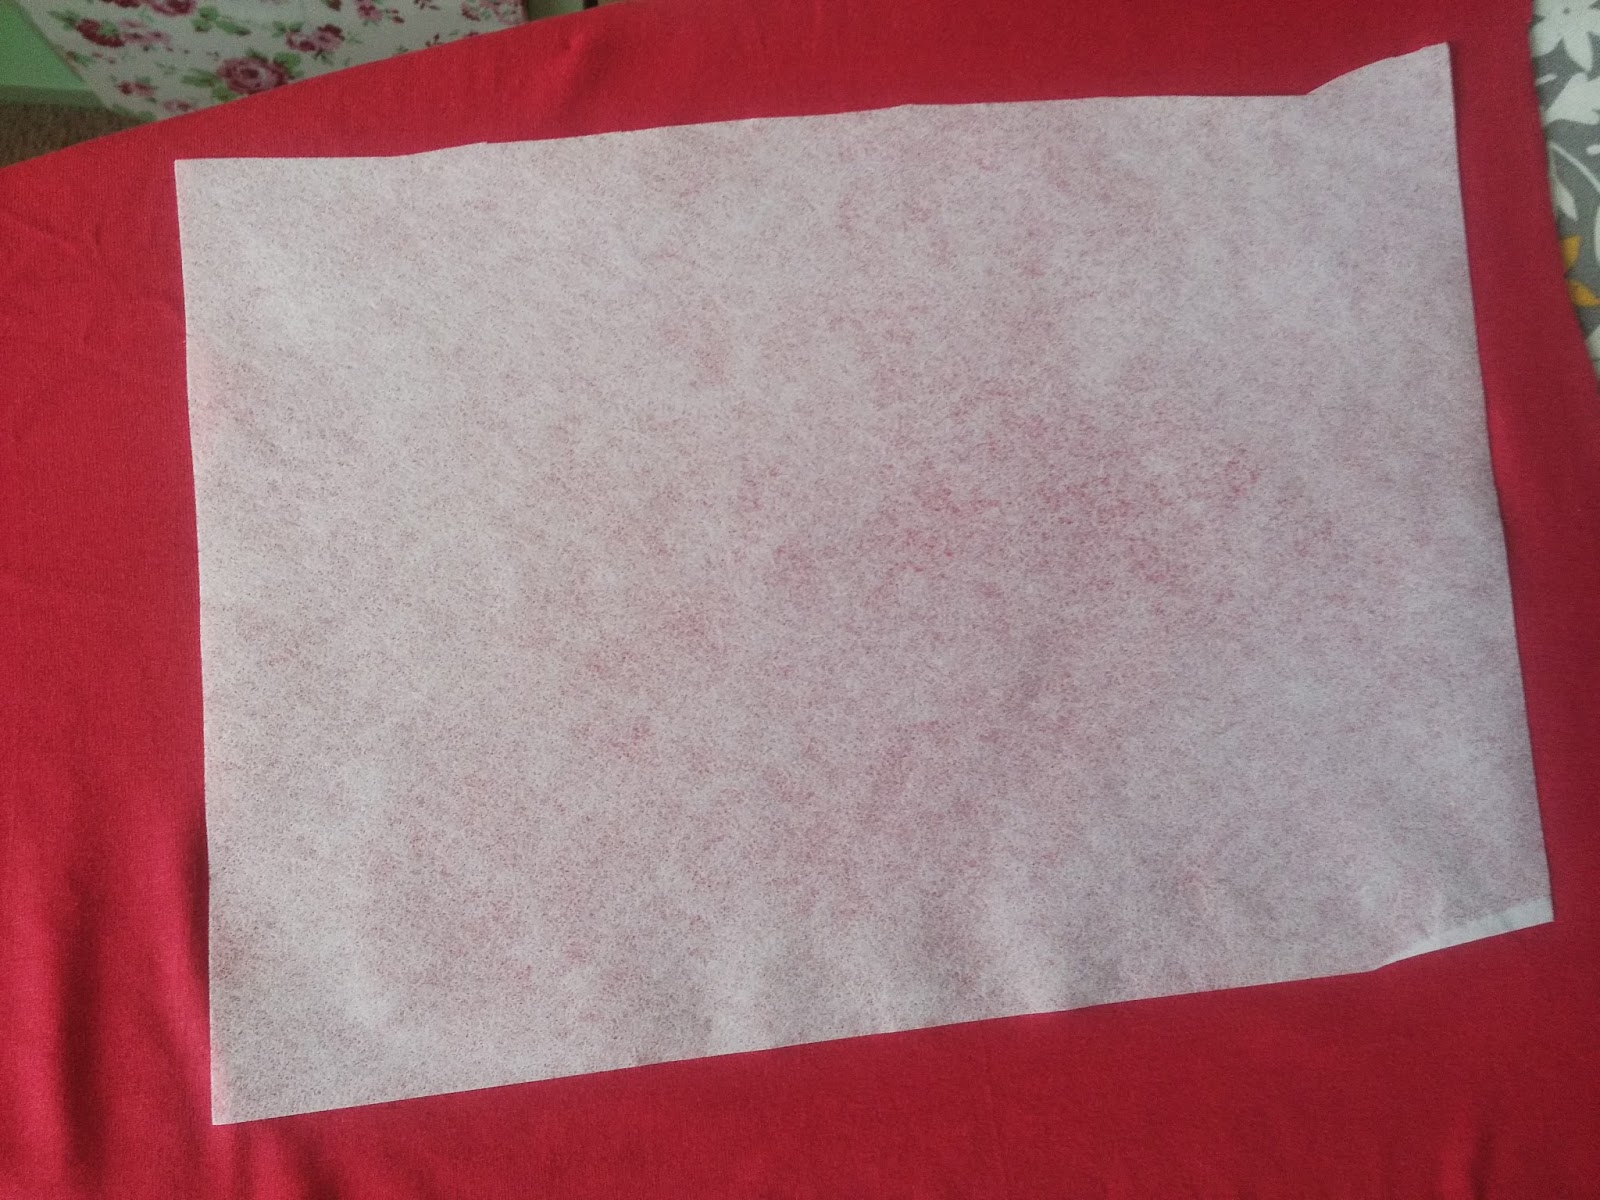
I mentioned stabilisers, for stretch fabrics in particular I like this iron on stabiliser by Gutterman SULKY Iron on Stabiliser . What you need is a fabric which stays rigid whilst you embroider it, and this does the job. I found when using a larger hoop in a stretch fabric I also need a layer of a tear-away stabiliser, GUNOLD underneath the hoop in addition to the iron-on .Gunold tear-away stabiliser When using a smaller hoop this problem does not occur for me, and when using a woven fabric either of the stabilisers works very well.
The steps needed to produce the appliqué are fully explained in the manual and also on the display screen.The first thing you need to do is to hoop your stabilised appliqué fabrics , in my case a flower head and petals. The machine embroiders the outline and you cut them out. What could be simpler.
You then insert your stabilised main fabric into the hoop in the position where you want your appliqué to go. The machine then embroiders the outline of the design. Take the hoop out - all this takes seconds by the way, and glue your shapes exactly into the outline on your fabric. Do not take your fabric out of the hoop. I love this little temporary glue pen by Prym, it washes out too. Aqua Glue Pen It is actually one of my favourite products. It has refills too.
Once you have fixed your shapes in place then press the start button again and change your thread if the machine tells you to. The machine will affix the appliqué onto your base fabric, and complete any further detail and embelishment.All you need to do then is to remove the stabiliser from the back of the design and it is finished.
I know that you all love to watch this machine working, it is fascinating, so click on the picture above to watch a short clip on YouTube. There are other clips of this machine in action on my YouTube channel too.
This is my very cute finished flower. It now adorns a garment which I making and will blog about next time. I thought that the process of creating this simple but very effective appliqué was worth a blog post all to itself.
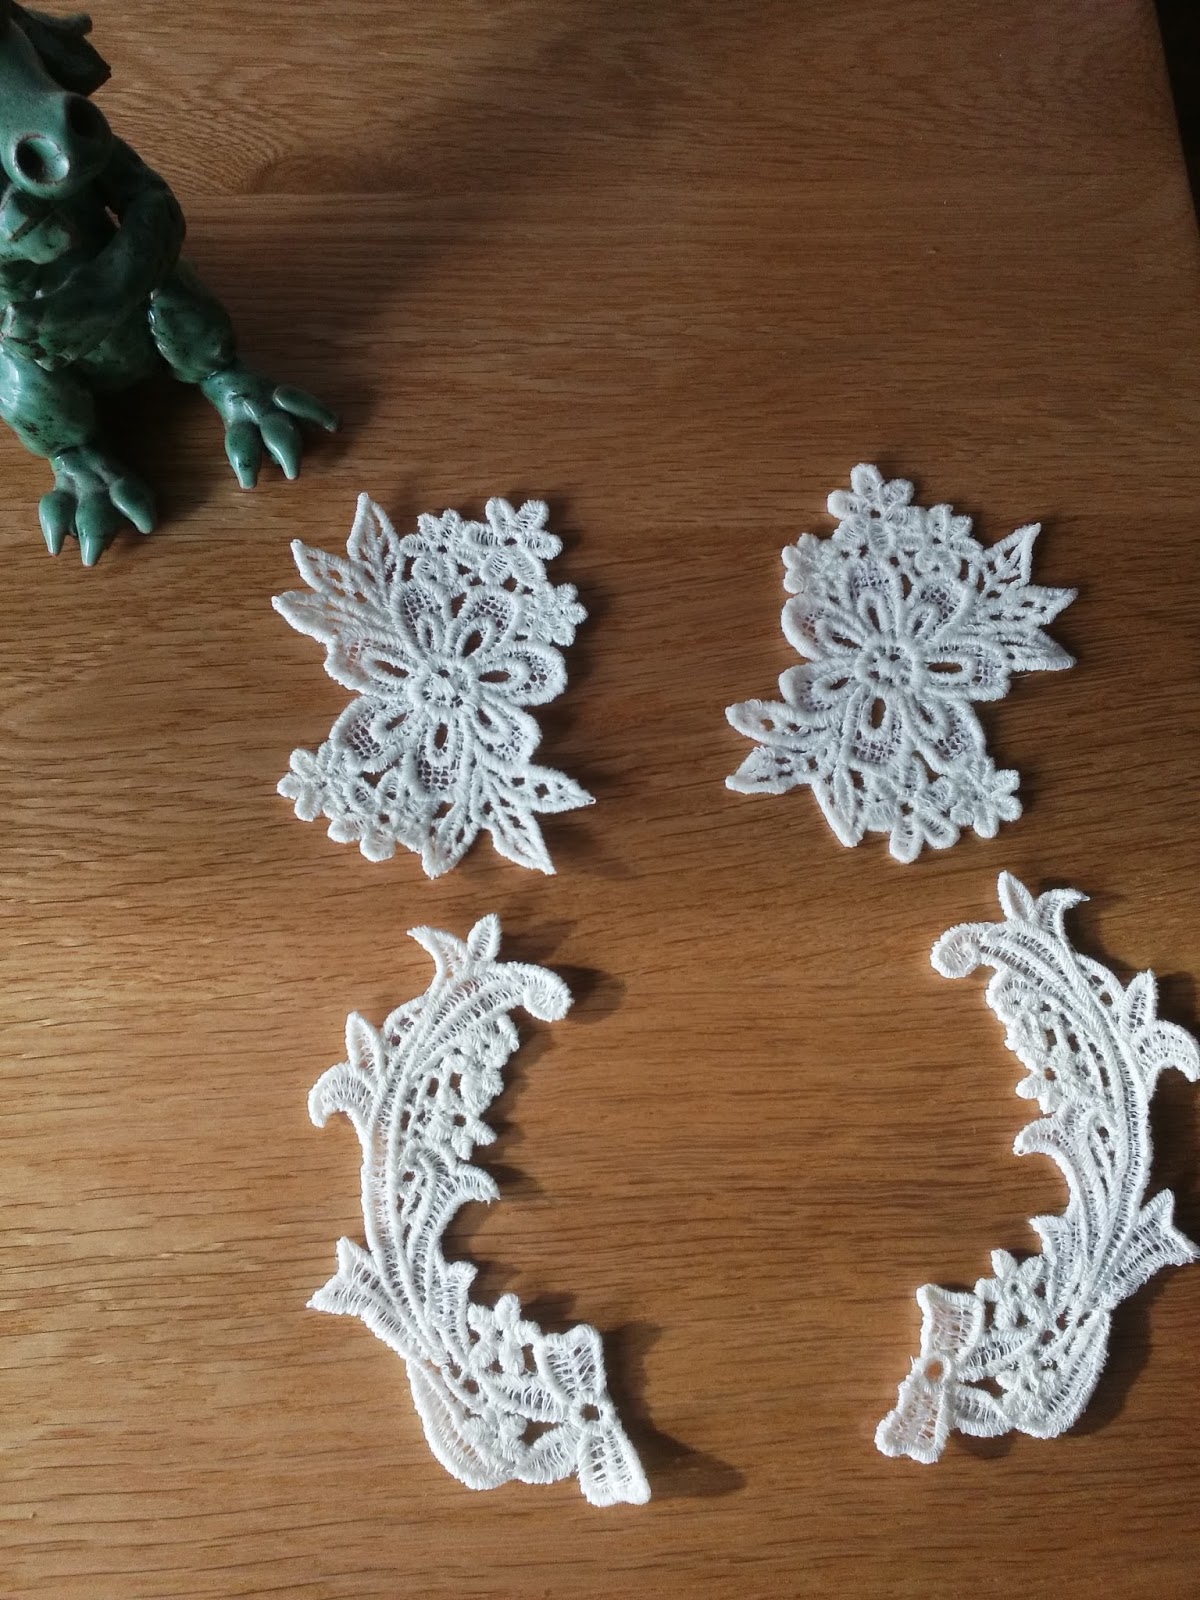
This machine produces free standing lace too, so take a look at how I used these lace pieces to embelish a simple tunic on a previous blog post My Tunic top with lace embelishment. For this I used a dissolving stabiliser and the process is very fascinating, please do read the post
The free standing lace can also be used to make stand-alone items such as Christmas stars and bookmarks and so on. I love this lace don't you.
Of course the main feature is embroidery itself. Just to show you how easy this machine is to use this is the very first embroidery I produced within minutes of my machine being delivered! Read about my first steps here My first steps on my Brother embroidery machine
This tunic is one of my favourite garments and you can read all about how I made it and how to embroider it on
My Embroidered Tunic Top If you are interested in this machine, or another model - and who wouldn't be! Then do give Jaycotts a call , the details are all here
Contact Jaycotts you can also arrange to call in for a demonstration.
Once you have your machine safely home you are not left alone because Brother provide tutorial days where you can go along for help and advice and new ideas.
Thank you for reading this post. Do contact Jaycotts.co.uk with any questions about this machine and please leave me a comment too
Angela x
--Posted By Blogger to #SewAngelicThreads on 8/05/2017 11:49:00 am