I have been longing to get into my summer clothes here at home and now that summer is here I want some quick easy makes that I can wear in a day or two.I know people who cringe at the thought of wearing summer clothes, assuming wrongly that the sun means baring skin. Not so, some of the coolest clothes to wear are those which offer some protection from the sun. My usual summer clothes consist of pedal pushers and tunic tops, but I guess that's more out of habit than anything else, so I am making myself some dresses.
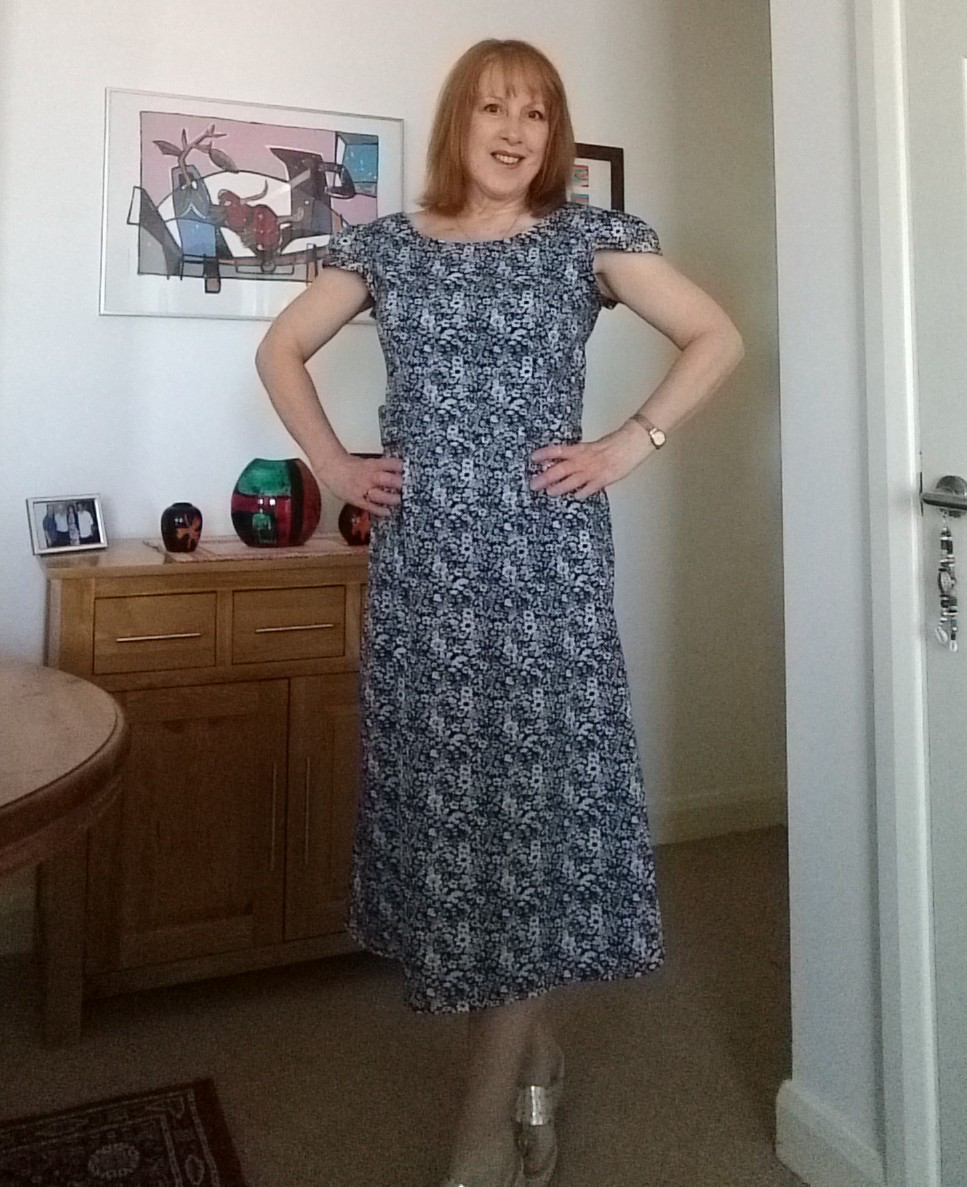
This is a very pretty dress by Simplicity, available from Jaycotts Simplicity S8294 it is a vintage style dress with the option of having a collar, waist tabs and short cap sleeves. There are also two skirt options so this pattern does offer value for money.I made a size 12 and it needed no adjustments. You will find that your pattern size differs from your commercial dress size, please do not be alarmed, just make sure that you cut out the size which most closely resembles your body measurements. If your top and bottom halves differ then this pattern allows you to cut out relevant sizes for your top half, and a larger or smaller size for your bottom half . It is easy then to merge the two sizes together at the waist.
I like the slightly lower back in this pattern and as I do not appreciate having burnt shoulders I was glad that one of the options is to include a cap sleeve.When choosing your pattern think about any parts of your body which you would like to cover up and look for a pattern which will do that. For example if you do not like your arms then think about choosing a pattern with a sleeve - which could be a flutter sleeve, short sleeve or whatever length you prefer. To draw attention away from a problem tummy or hip then choose a flattering neckline to draw the eye upwards.
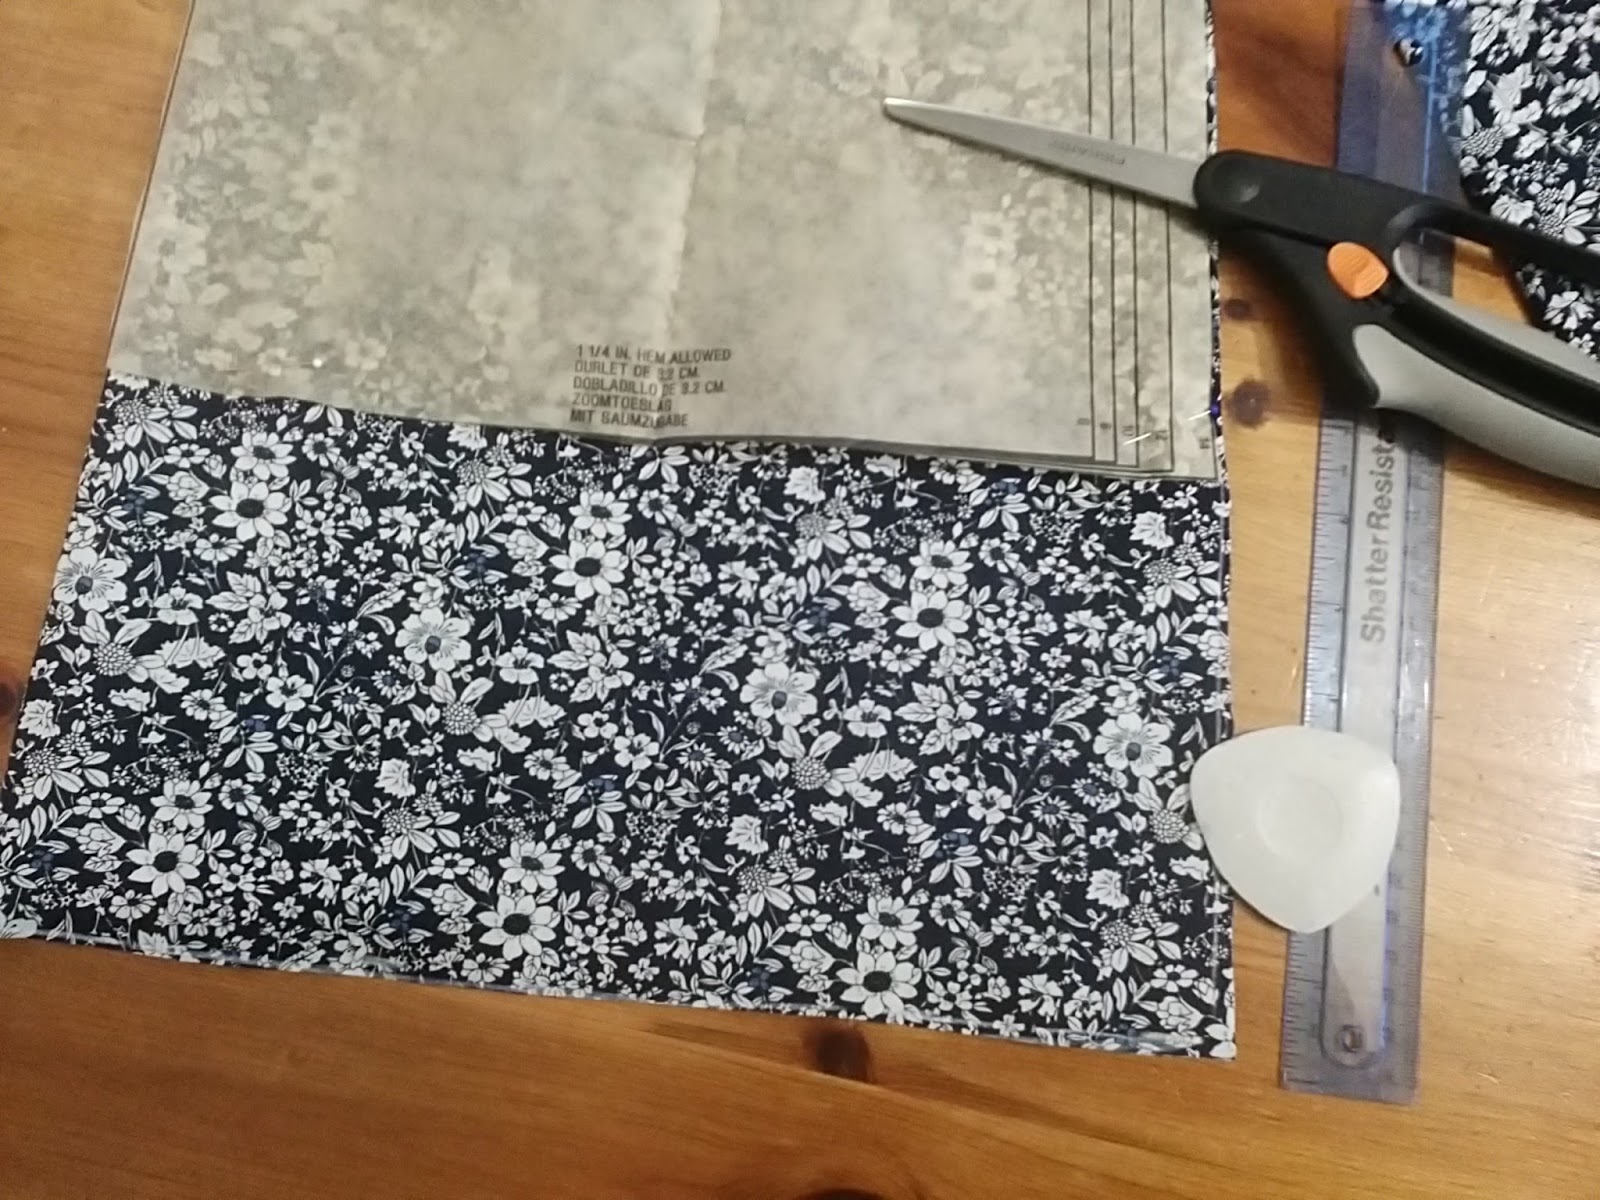
This is the pattern, as you can see there are a few design choices and the skirt is just above the knee.The fabric I chose is a hand printed Batik which I had in my own stash, but printed cottons are widely available from places such as MinervaCrafts or Abakhan fabrics etc.The pattern on this fabric looks as though it totally random, but if you look at the dress being worn you will see that there is a pattern which forms definate vertical lines. It is therefore important that you view your fabric from a distance and decide which direction you want the pattern to run and of course you need to cut the fabric out on the straight grain.If you are new to sewing the best fabric to choose is a cotton, because it is firm and will not stretch out of shape, and choose a small print as this will not require pattern matching and a massive plus point is that the design will disguise any minor mistakes and wonky stitching.
Whilst I do enjoy wearing short skirts, this is going to be a day dress for shopping and sightseeing and for me it would be more practical if it was six inches longer.This is very easy to do. You can either add tissue paper to the bottom of your pattern pieces and measure the new hem line, or if you are confident you can do as I did and measure six inches (or whatever measurement you choose) from various points along the hem and make chalk marks, joining them up before cutting out. This is perhaps one of the simplest of pattern hacks. Just remember to continue the flare on the side seams or it will be too tight around the bottom.
The first thing I am going to do is to get the waist tabs made,pushing the corners out with my Prym point turner By using this nifty gadget you can be certain that your points are sharp. Press the tabs then make the buttonholes .
Your buttonhole foot will probably look like this one. All you do is to select the buttonhole you want and put your button into the recess in the back of the foot. It then sews the perfect buttonhole to fit your button.Do mark the positions of your buttonholes with chalk first and do practise on a piece of spare fabric before you do it on the actual garment.
These are my finished buttonholes. These buttons are antique ones but there is a huge selection of buttons of all shapes, sizes and colours at Jaycotts .do take a look at these heart and flower shaped buttons which would be perfect for this dress Decorative buttons
It is simple then to sew the darts and joint the front and back at the shoulders and the left side. Join the top of the right side only as far down as the pattern marking. Then neaten the seams on your overlocker if you have one.Don't own an overlocker? Mine is the Brother 3034D but do view the range of overlockers available Overlockers if you are not certain which machine is right for you then do ring Jaycotts and they will help you to choose a machine which suits your needs and your budget.Don't forget to sign up for the newsletter too as there are frequently special offers available on machines
The pattern says to use a neck band but as there is an actual facing included in the pattern I used that instead.It needs a lightweight iron on interfacing . There are lots to choose from here Interfacing from iron on to sew in and all sorts of weights too. Choose the correct weight for your fabric and always choose the best quality you can find. Jaycotts sell Vilene interfacing which is perfect.
To allow the facing to turn to the inside of the neckline you need to clip the curves, press the seam open and then understitch the facings . This means that you need to sew the seam allowance to the facing as far as you can. It stops the facing from rolling out during wear. Don't forget to keep pressing as you go.Don't be afraid to top stitch as well if you want to.
This is my finished facing pressed to the inside.you can just about make out the understitching which does not show on the right side of the garment.
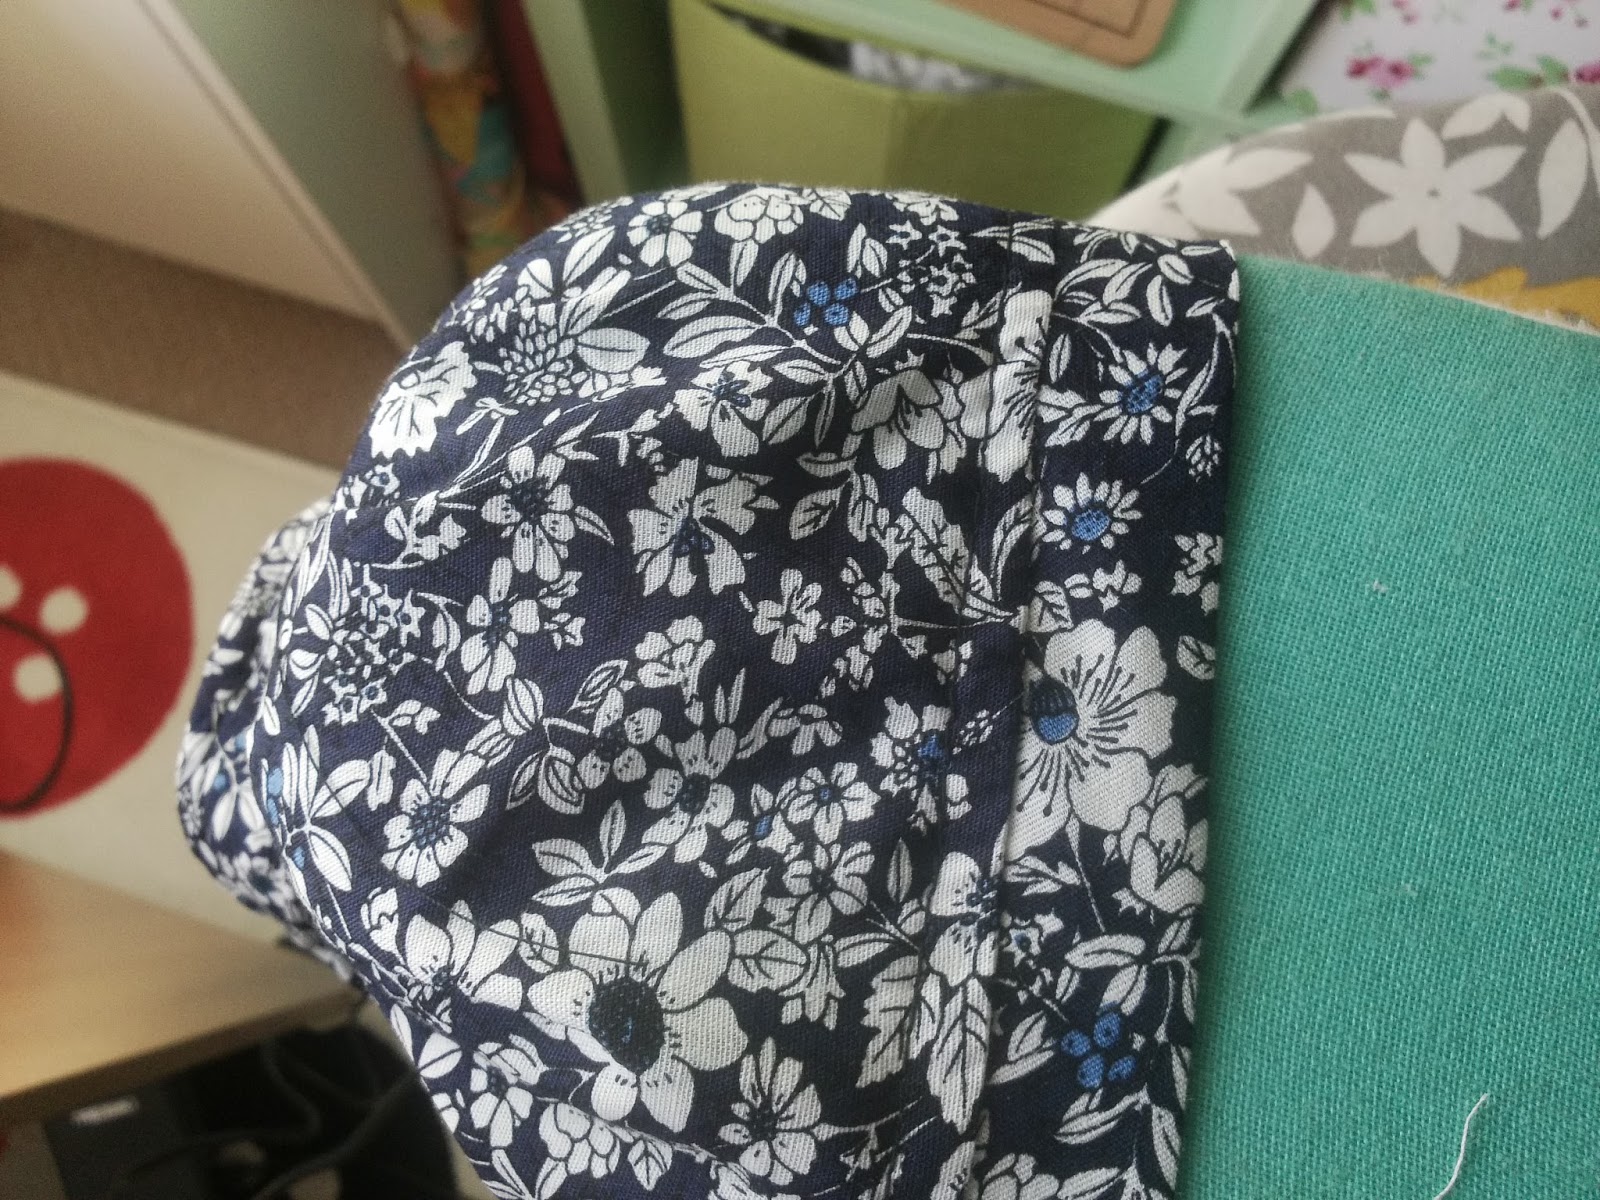
Follow the pattern instructions iether for the sleeve or the sleeve band . I chose the sleeve which was very easy to prepare
You will need a sleeve board to press the sleeve without making unwanted creases in it. A sleeve board also makes it easy to preserve the shape you have put into the fabric. A sleeve ironing board Sleeve board is a necessary piece of equipment for any sewer. You will use it for every garment you make.When you gather fabric or make a dart you are turning a flat piece of fabric into a three dimensional shape and you need to preserve that shape by using the correct pressing tools. A sleeve board allow you to reach into small areas to press them without flattening them
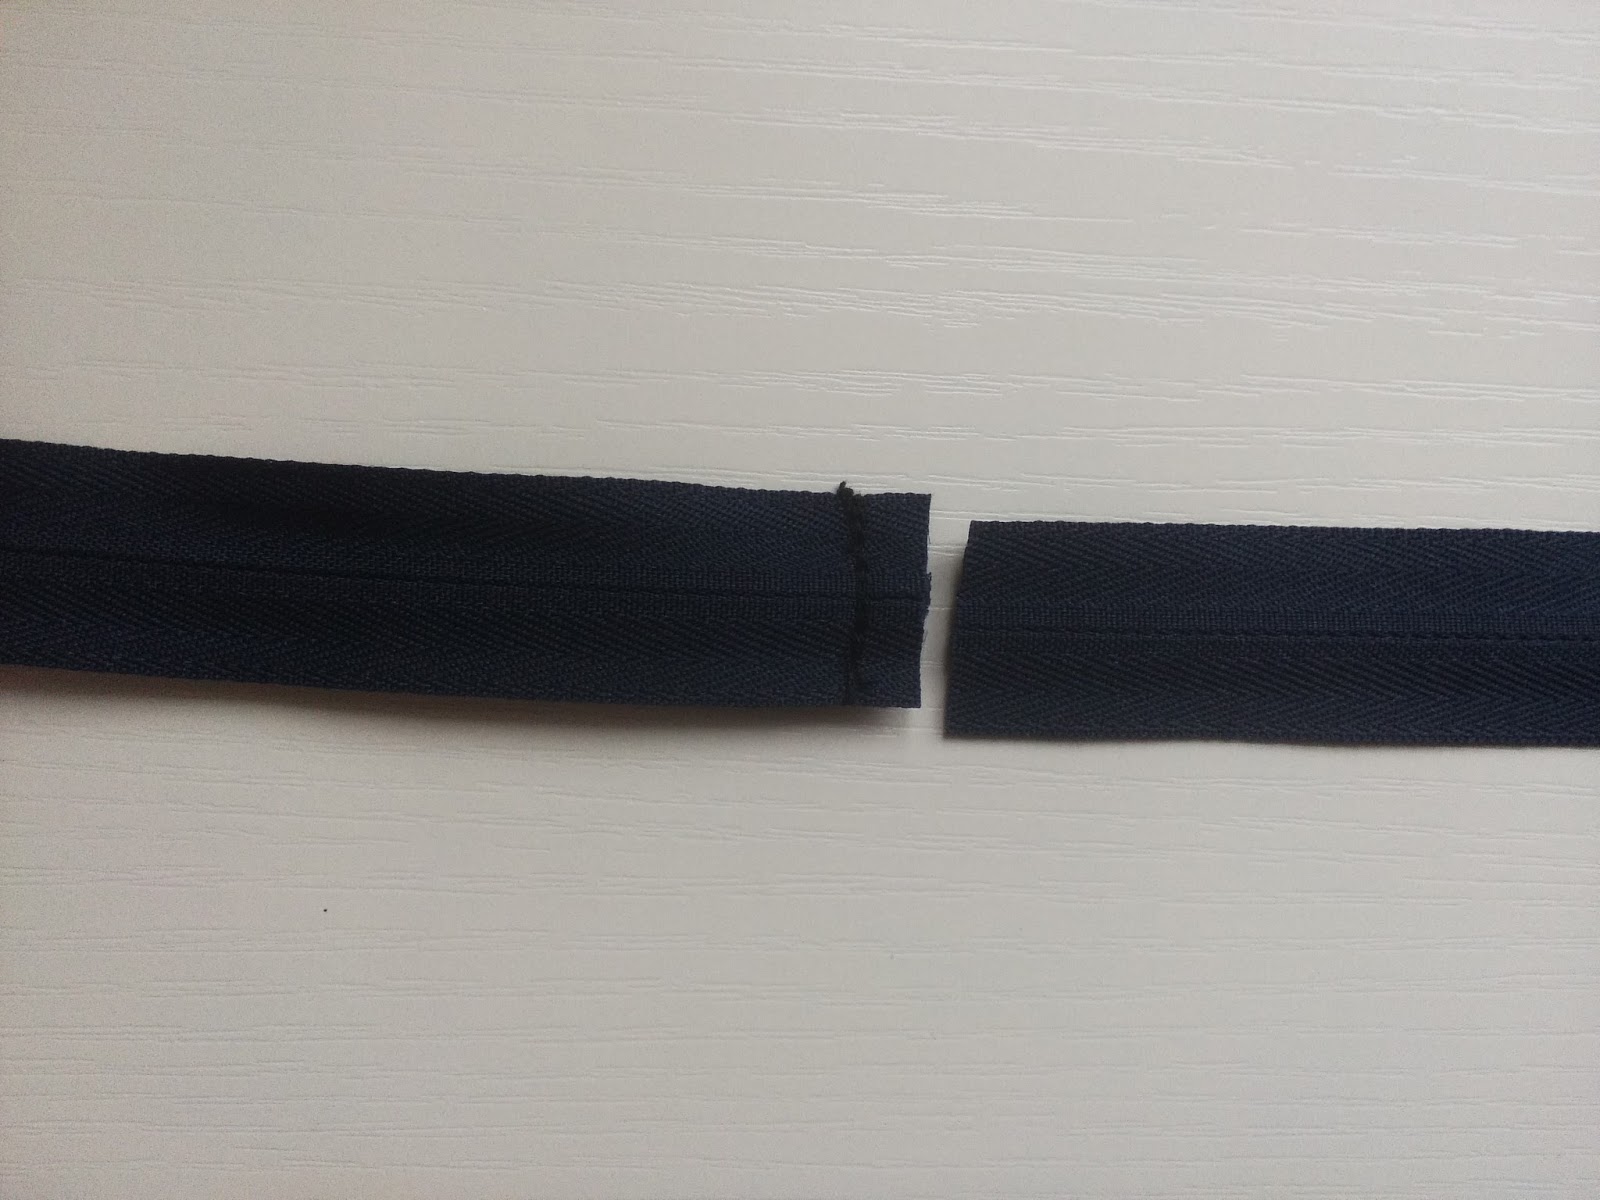
Did you know that zips can be shortened? This dress needs a side zip, but the only one I have is too long.At the point where you want the new end of the zip to be, go over it a few times with your sewing machine. Then cut the end of below this point. As a personal preference I like to whip stitch the plastic teeth below the stitching purely so that it is comfortable against my skin.
I am using an invisible zipper. To insert if you will need a special foot which has grooves in the bottom which the teeth of the zip are placed whilst the zipper tape is being sewn on. The invisible, or concealed, zip foot is available for most sewing machines, Concealed zip foot if you are not sure which is best for your machine then call Jaycotts for advice.the most usual one is the one on the right which is for Brother machines, the one on the left is for my Bernina, the only difference really is the way they fit on the machine.
It is better to tack the zip in place rather than just pin it. They can slip about a bit otherwise. Sew one side at a time and leave the side seam open for now, we will close the seam later. As you can see the grooves on the zipper foot are enclosing the zipper teeth enabling the machine to sew right up close to them, this means that when the zip is closed you will not see it at all.For all your zips , at fantastic prices, just look at the wide choice here, Zips as you can see there is a high quality zip for everything and as I said the prices are the best anywhere.
Once the zip is sewn in then remove the tacking threads and then sew the side seam up to the bottom of the zip. I find it easier to use a normal zipper foot as it enables me to stitch right up to the stitching holding the zip in placeNeaten any loose threads and catch the bottom of the zip to the seam allowance if necessary..
All that you can see of an invisible zip is the zip pull which makes it a great choice for dresses.All you need to do now is to finish the hem. I overlocked the bottom and then pressed it up by half an inch and top- stitched.
The tabs fold towards the back of the dress, so press them to the back and stitch the buttons on. You will only need to undo the buttons which cover the side opening.The buttons show on the back of the dress and add a bit of interest.The tab would look great in a contrasting fabric, which is an option on the pattern envalope.
I am sure you will agree that this is a very nice fitting dress, easy to wear and practical for almost every occasion.
When I make it again I am going to add the collar which I feel would look great from the back, and I am going to make both collar and tabs in a contrasting fabric .
It is totally suitable for beginners, there is nothing too difficult about the construction at all and the instructions are clear.
To obtain more information on any of the products mentioned or to place your order then fill in the contact form
Contact Jaycotts Or telephone them on 01244 394099 during office opening hours Monday to Friday 8.30 am to 4.30 pm
Thank you for reading my blog. if you have any sewing questions or comments then do please contact me
Happy sewing
Angela
#dress #summerdress #beginner #sew #sewing #simplicity #tutorial
--Posted By Blogger to #SewAngelicThreads on 6/20/2017 07:52:00 am