A pretty lingerie bag to give or keep
I have made a lot of lingerie recently and I thought that it would be really nice to have a lingerie bag to keep them in. It is nice to put your night slip in during the day and they are useful to take on holiday too, they look really pretty sat on your bed.They are not difficult to make and take very little fabric. They can be made any size you want and you could even make a small one for handkerchiefs. They make wonderful gifts too.
This is my lingerie case sat on my bed. I only ever buy or make Egyptian cotton bedding and always in white. I add lace trimmings to sheets and pillowcases and always add my initial. I therefore get the quality I enjoy at a good price and can personalise it to suit my own taste.
The inside of the lingerie case has a pocket to hold your lingerie safely. My case measures approximately 14" across by around 9" deep, you can make yours whatever size you like.
The idea came from this book " The secrets of sewing Lingerie" by Katherine Sheers and Laura Stanford.
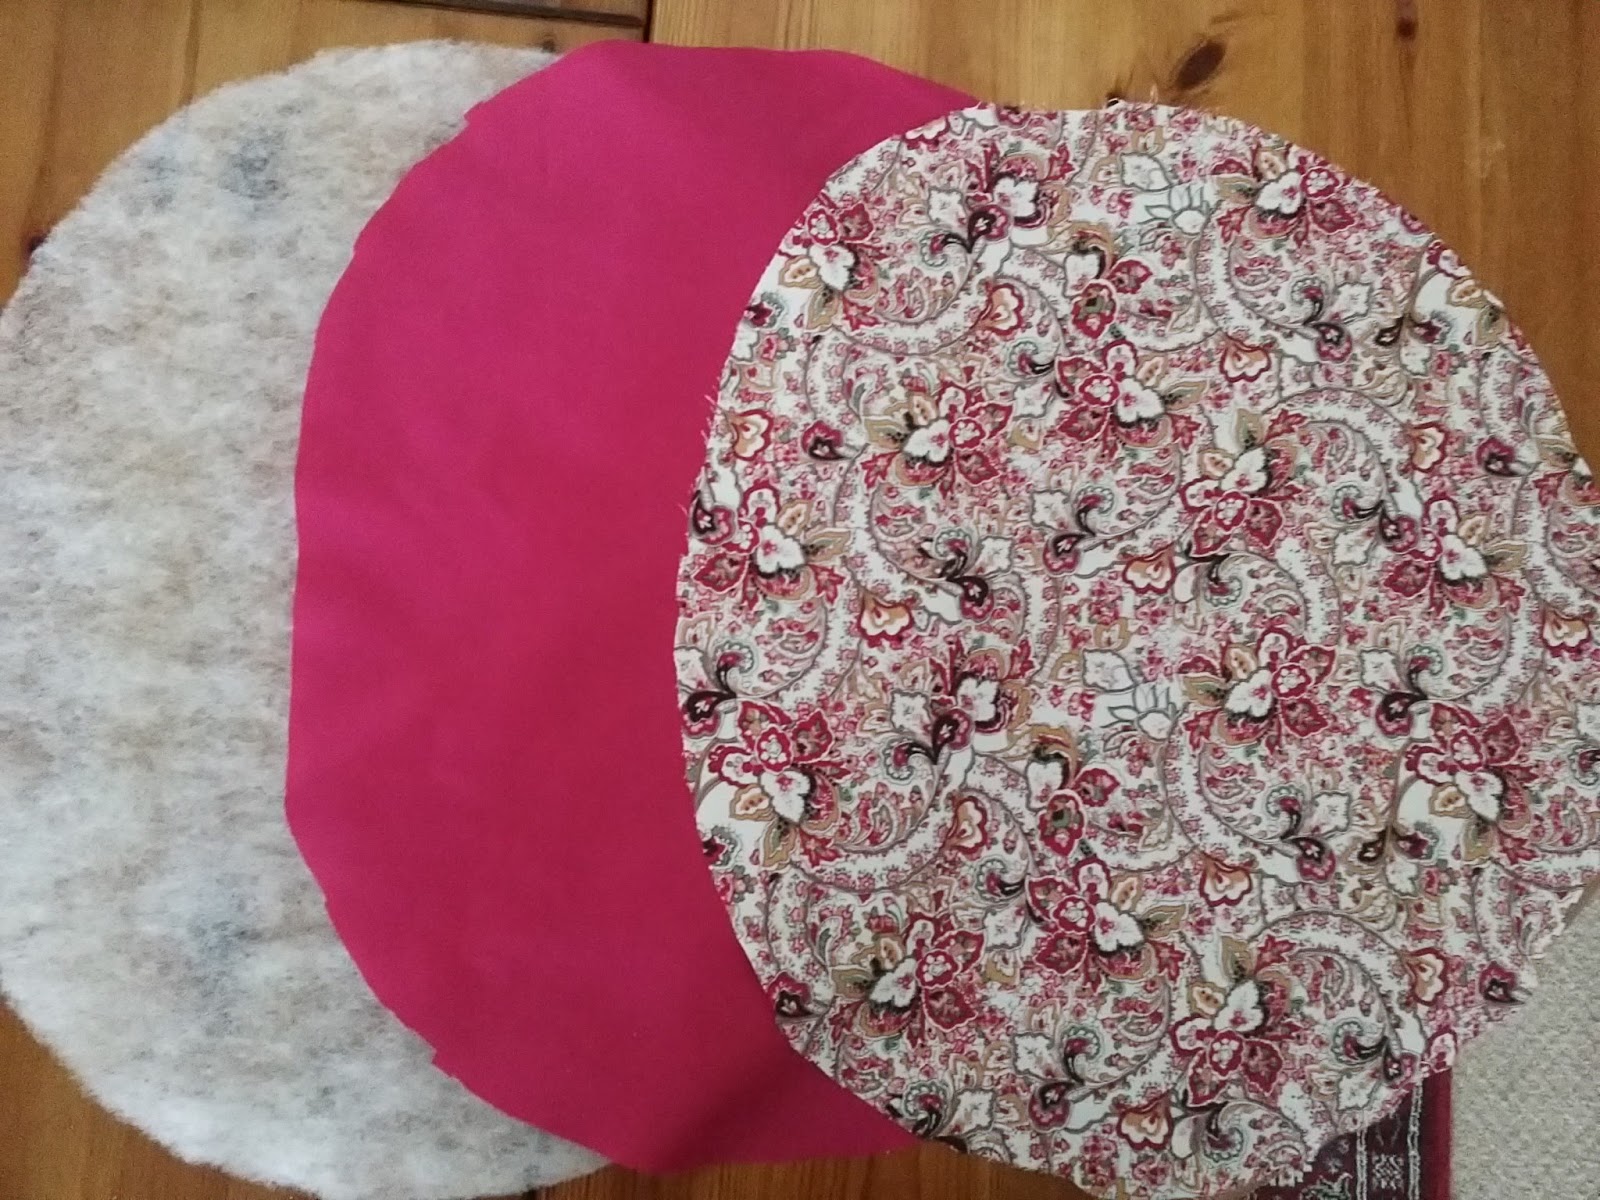
It is easier if you cut out a half moon shape, wider than it is long, out of tracing paper. Use this pattern to cut out (all on the fold ) one main piece, one lining piece and one in wadding. For the pocket you need to cut out another piece but take a good half an inch off the depth by folding over the straight edge.
To make the pocket I simply folded over the starting edge and placed this new edge on the fold of the fabric.
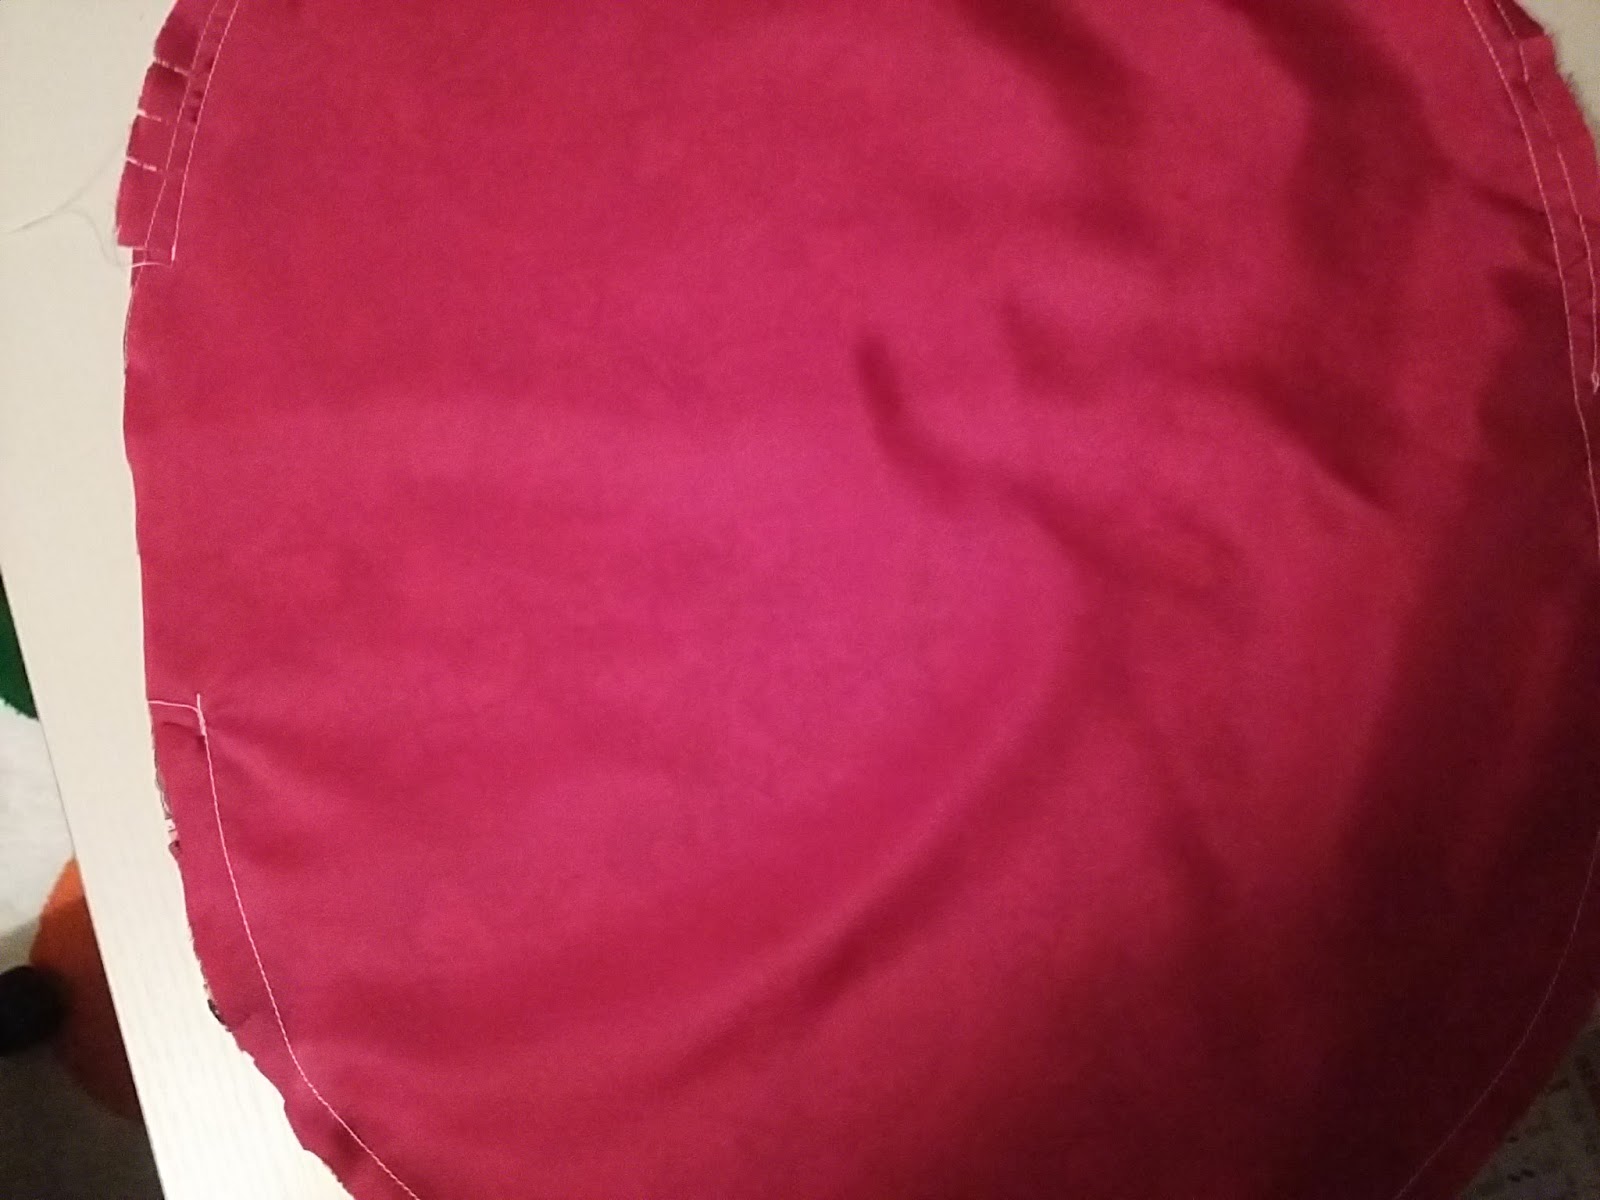
Fold the pocket in half, wrong sides together, and stitch it onto the lining within the seam allowance all the way round the curved edge.
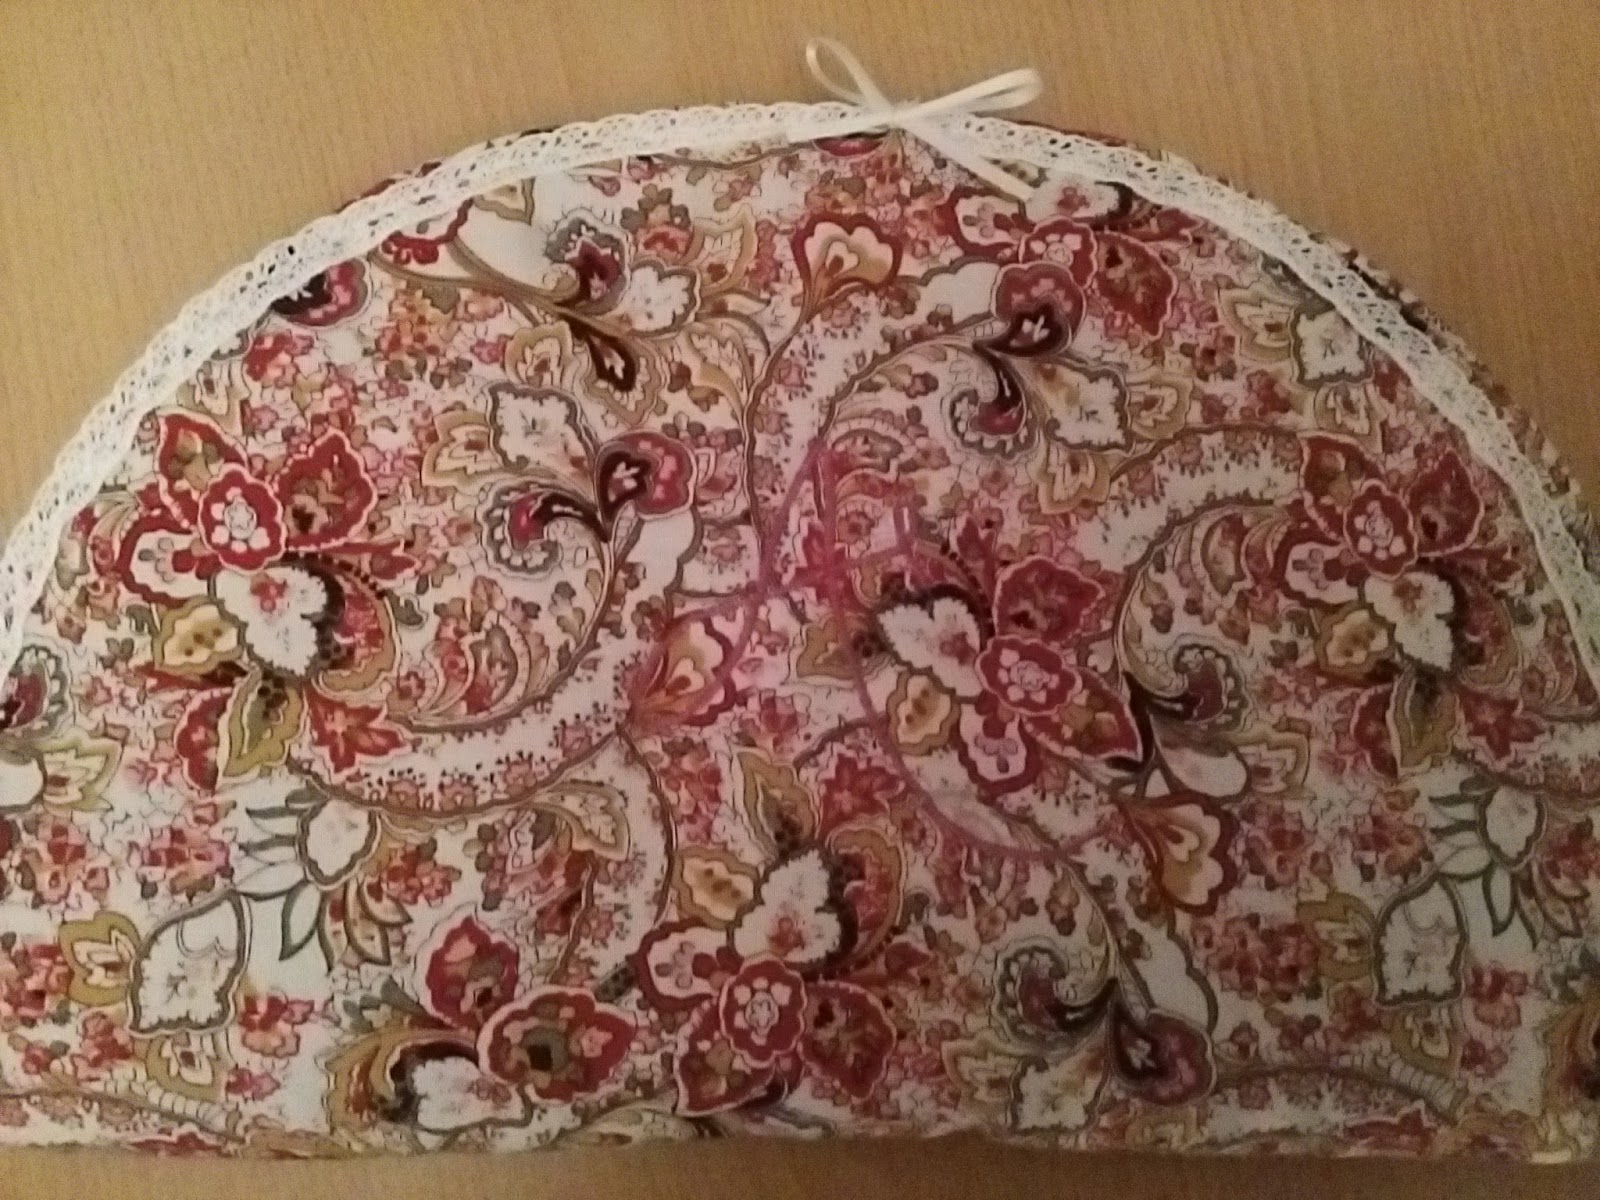
Make a ribbon loop and stitch it with the loop facing inwards to the centre of the top.Then place the lining and the outer fabric right sides together and stitch together , sandwiching the loop between the layers and leaving a gap at the side to enable you turn the bag the right way out. Clip all the way round the curved edges.Turn right sides out and push all the edges with a point turner so that the seam lies at the edge. press.
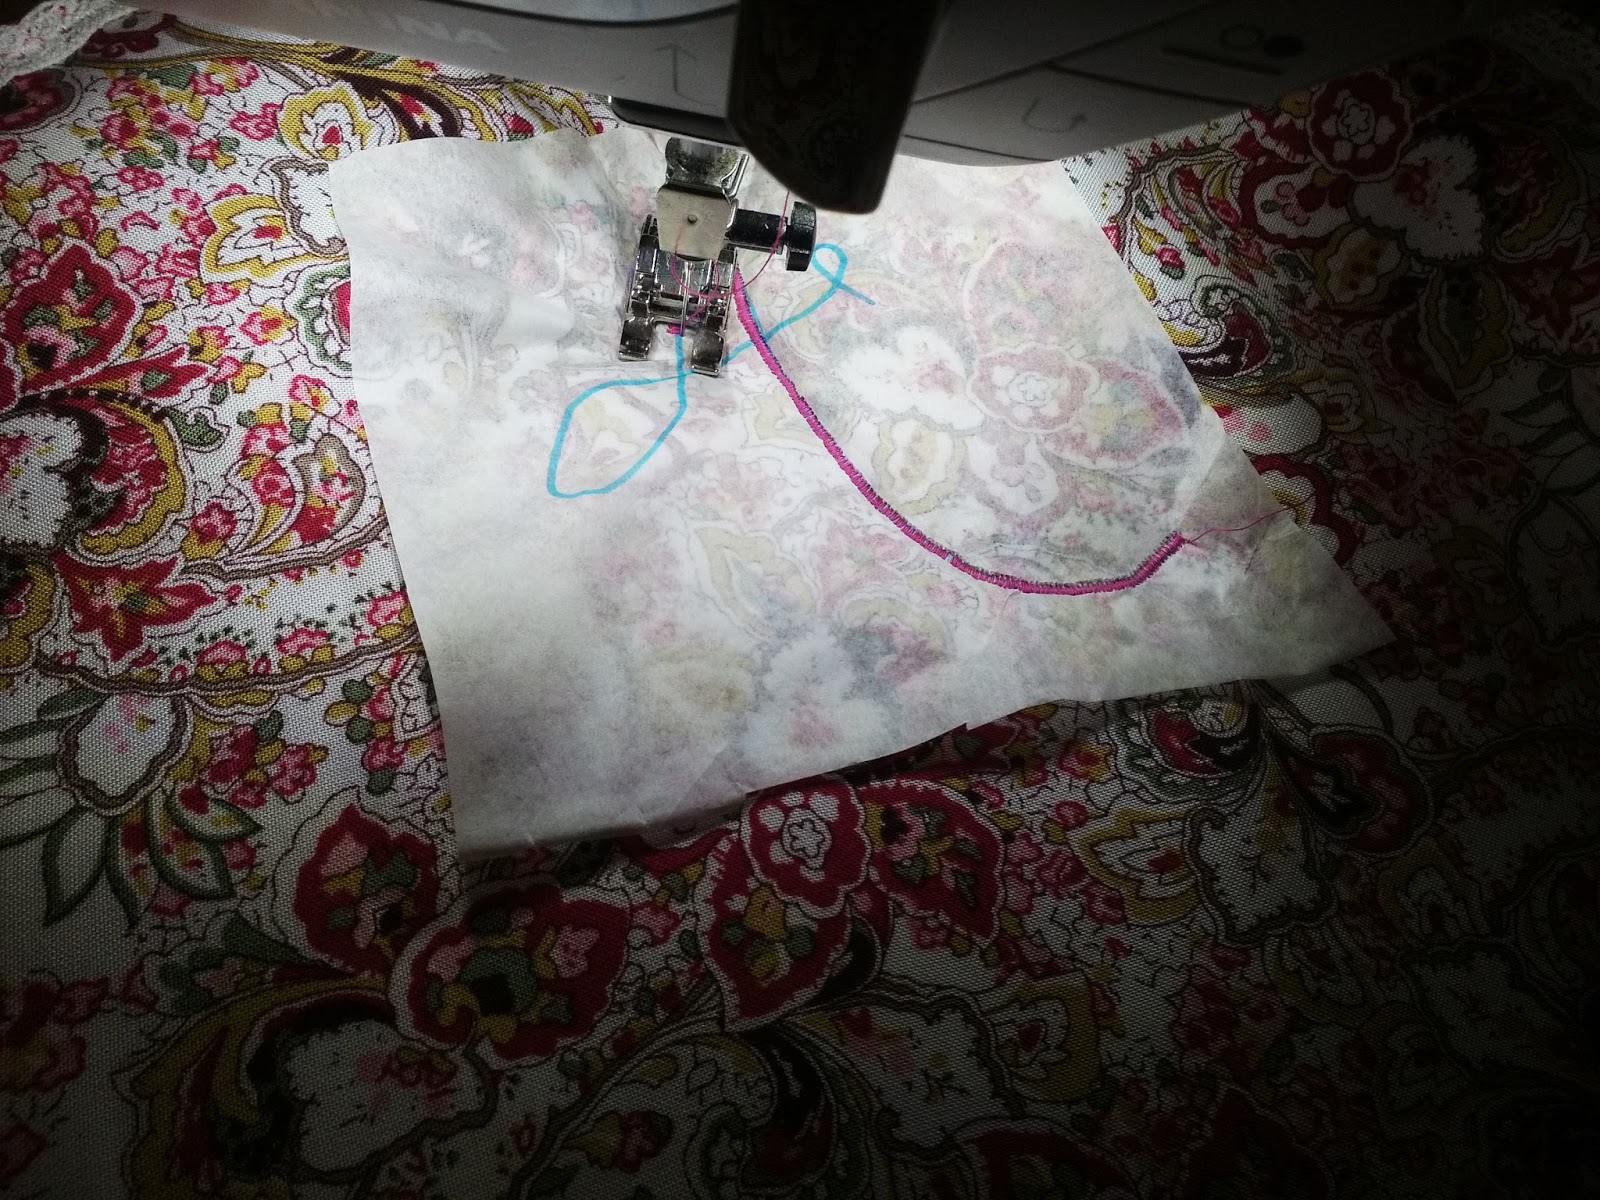
Roll the wadding up and insert it into the case pushing it right into the edges. Slip stitch the gap closed and then machine stitch some narrow lace all the way around the edge.I put my initial on a lot of things and I am going to quilt it onto my case. Don't forget that it needs to go on the half without the pocket!The easiest way I have found to do it is to trace my initial into a piece of tear away stabiliser and to stick it in place with temporary glue.
Then using a narrow satin stitch and a wide for applique foot I stitch over the lines until my initial is formed. You could do it freehand if you are confident at it.This bit of quilting also serves to hold the wadding in place. The stabiliser tears off easily after you have finished sewing.
The initial is in a colour which coordinates with my fabric, you could do it in a contrast or even a metallic thread. I always use this particular style of initial, it has become a sort of trademark over the years.
I added a bow to the front where the loop is attached. And I then stitched a button on the other side to close the bag.
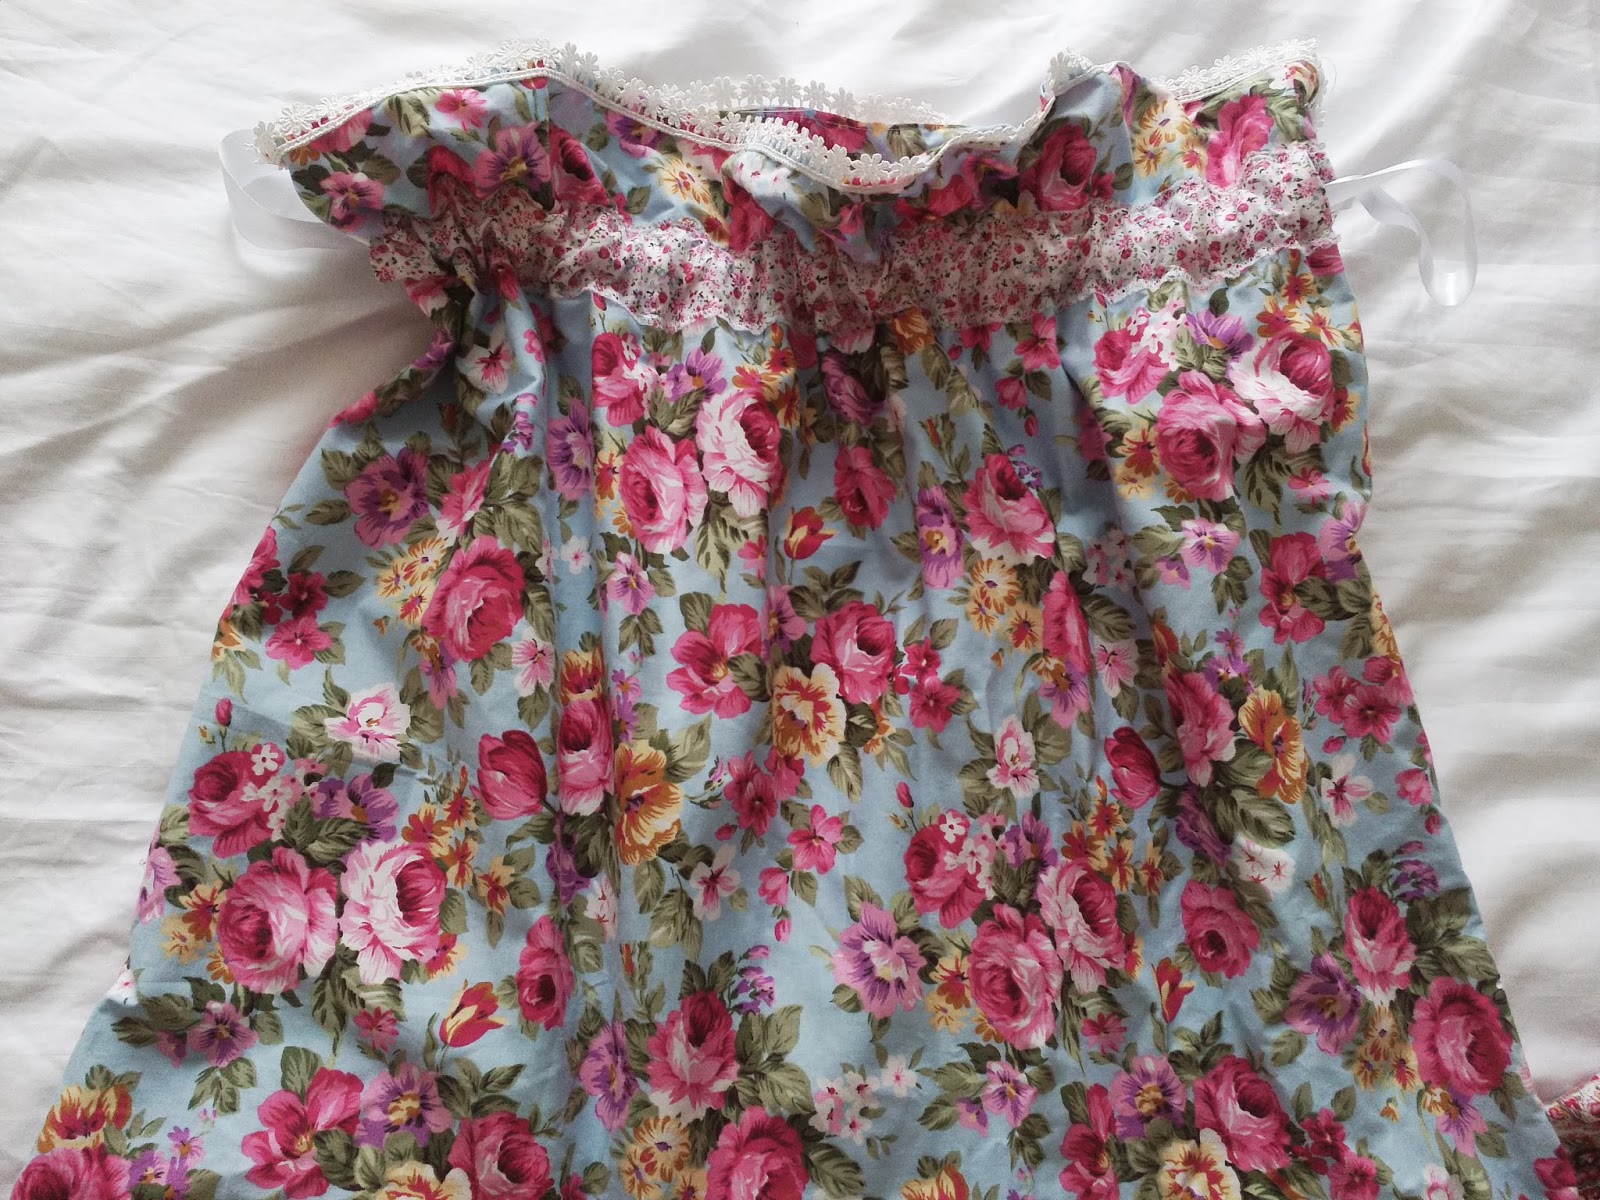
This is the inside of the bag, there is plenty of room for a weekends worth of lingerie.
This is the button and loop closure.
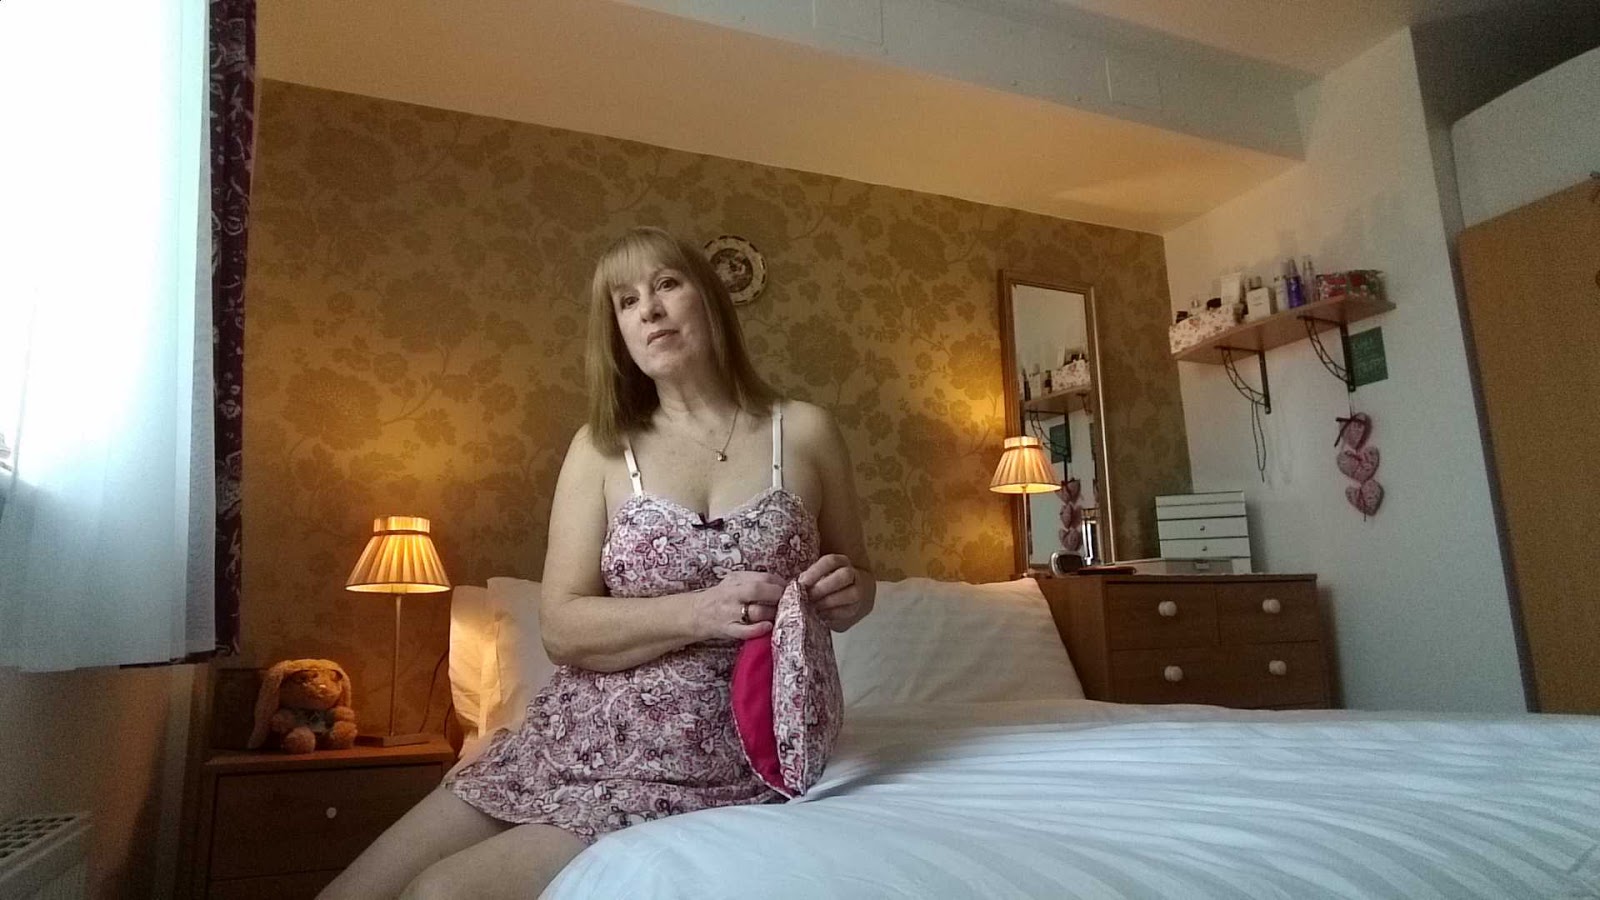
I used the same viscose fabric that I made my slip in the previous post in. It is in a printed viscose details are on my previous blog post Pretty in Pink Lingerie But you could also use a polycotton Budget dress fabrics. Or a silk or satin if your budget runs to it . This crushed satin is beautiful Crushed satin Do use something which appeals to you and choose an acetate or silk lining to coordinate there are plenty of colours to choose from here Lining fabric
This is the slip in the same fabric as the lingerie bag which also coordinates with the lace trim and embroidered initial on my bed linen
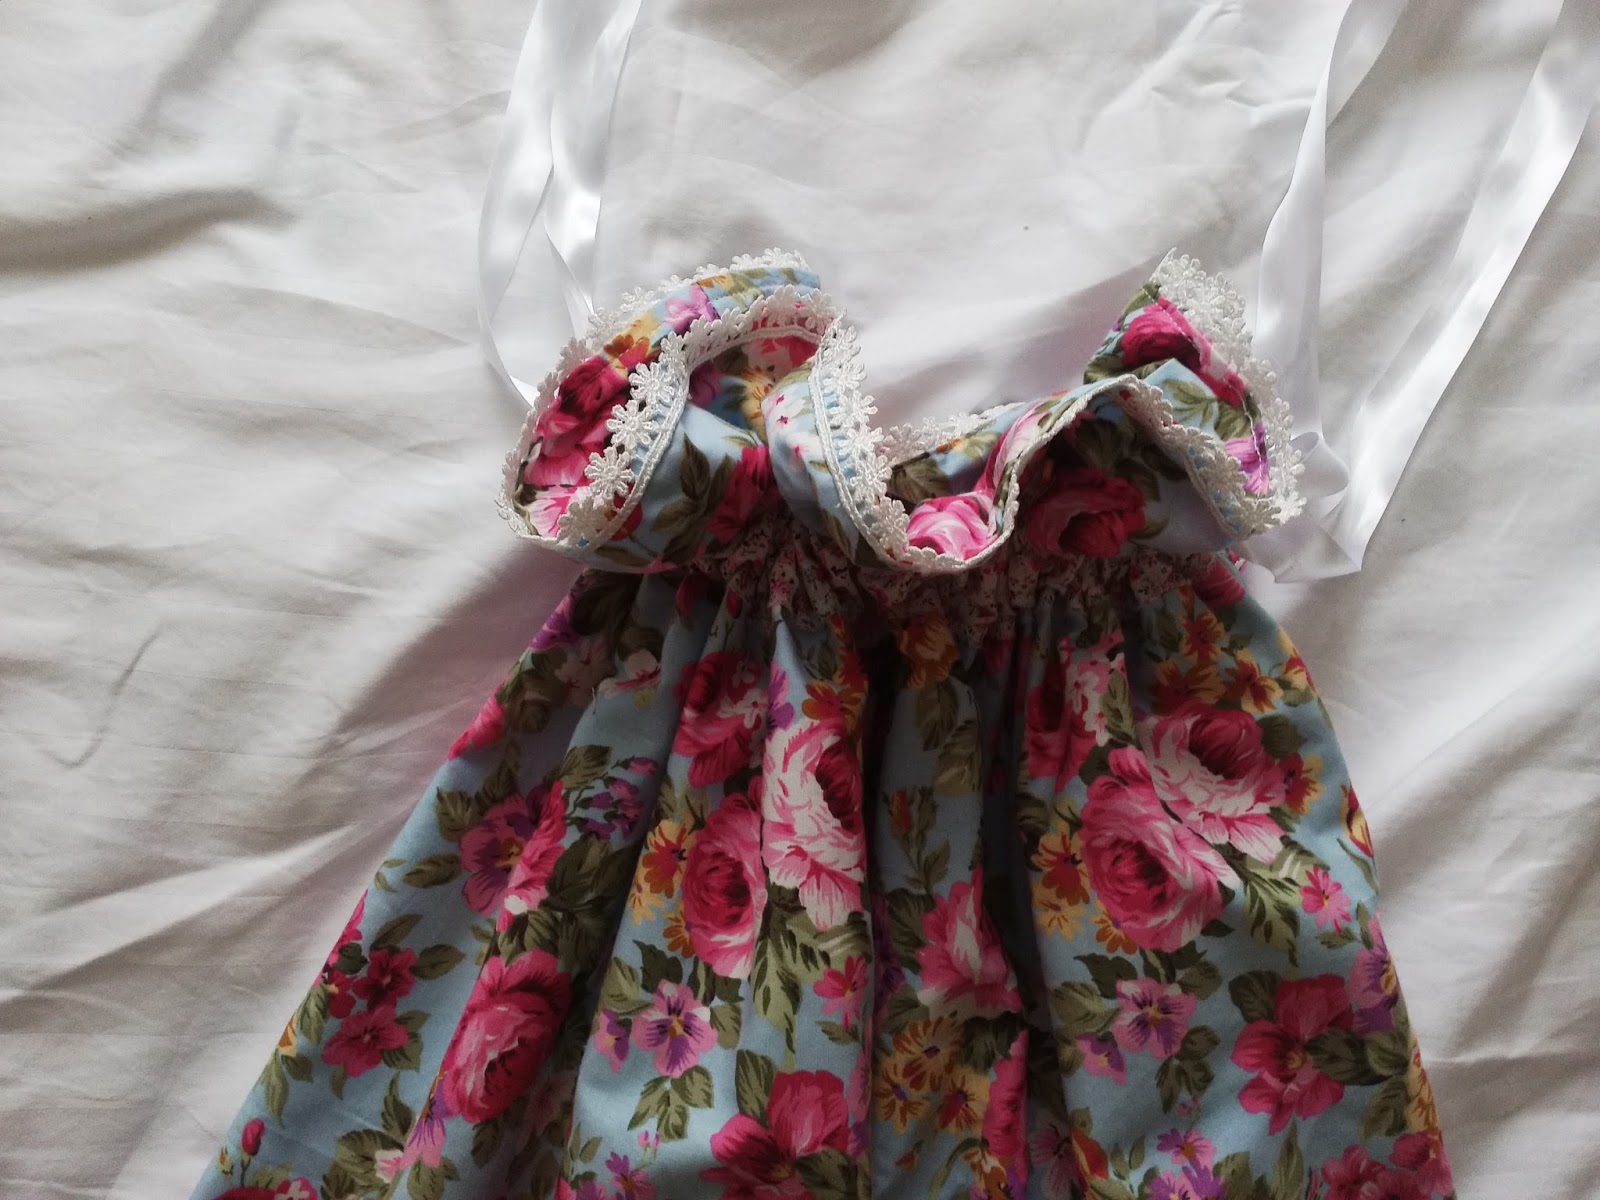
Another item I make for myself and my son is a laundry bag. Again, useful to take on holiday if you have the weight spare.They are simply made out of two squares of fabric joined together with French seems. I added lace to the top edge .
You will need to add a channel to thread the drawstring through. I stitched ribbon a few inches from the top leaving the sides open to thread running through.Thread ribbon or cord twice through the casing and join the ends together. Pull loops out through the gaps in the casing and this will pull the bag closed.
This is my understated but elegant bed linen with its added cotton lace trim and embroidered initial.
All in all these are extremely useful items for yourself or to be given as gifts. You can have them made in an evening and add a touch of luxury to your boudoir.
I hope that you have enjoyed my lingerie posts. The post where I made the green slip can be found in this link Lace dress and lingerie Do show me your makes and let me know if you made a lingerie bag for yourself or maybe for Mother's day as a gift for your mother.
Happy sewing
Angela