I have recently discovered Eliza M patterns and I cannot enthuse about them enough.Jaycotts.co.uk have now started to stock them and if you have not used one yet I do urge you to try one. You will not be disappointed
Eliza M patterns at Jaycotts.co.uk are on this link. The one I am using is JOAN.
The pattern instructs you to use a Stretch fabric. I had some lightweight Navy Blue suiting with Lycra in my stash so decided to use that. I was being brave because this is not my usual style of garment!
I washed my fabric first to get rid of the excess dye in it and to shrink it before making up.
The dress is very fitted and I was careful to take my measurements again, I do this every time anyway, and I carefully chose the correct size to cut out by studying the measurements in the pattern instructions. When people guess at their size without choosing it by measurement they are surprised when they have fitting problems.commercial pattern sizes are different to ready to wear sizes, you know that to be true, because how many times have you tried to buy a garment and when you try them on you are a different size in each store! Take no chances, go by your actual measurements, not your commercial dress size.

After you have chosen the size read the pattern instructions through and make sure that you have everything you need. Eliza M patterns come in a sturdy envelope and joy of joys I was so delighted to find that the pattern is printed on sturdy brown paper not flimsy tissue. Now, you have a decision already - if you want to cut your brand new pattern then do go ahead, but better still, trace over the pattern pieces using dressmakers tracing paper and keep your beautiful pattern intact to use again.
One thing I always do when working with plain material is to mark the wrong side of each piece with a tailors chalk X . This saves much pondering over which is the right side when you come to sew it together.
I always add extra at the side seams "just in case" and it is easy to mark the actual cutting line with tailors chalk. This pattern fits very well I must add, and I did not actually need this extra seam allowance, but old habits die hard.
I tailor tacked the darts in place next.
I tacked the dress together for the first fitting, and was delighted that it needed no adjustments whatsoever.
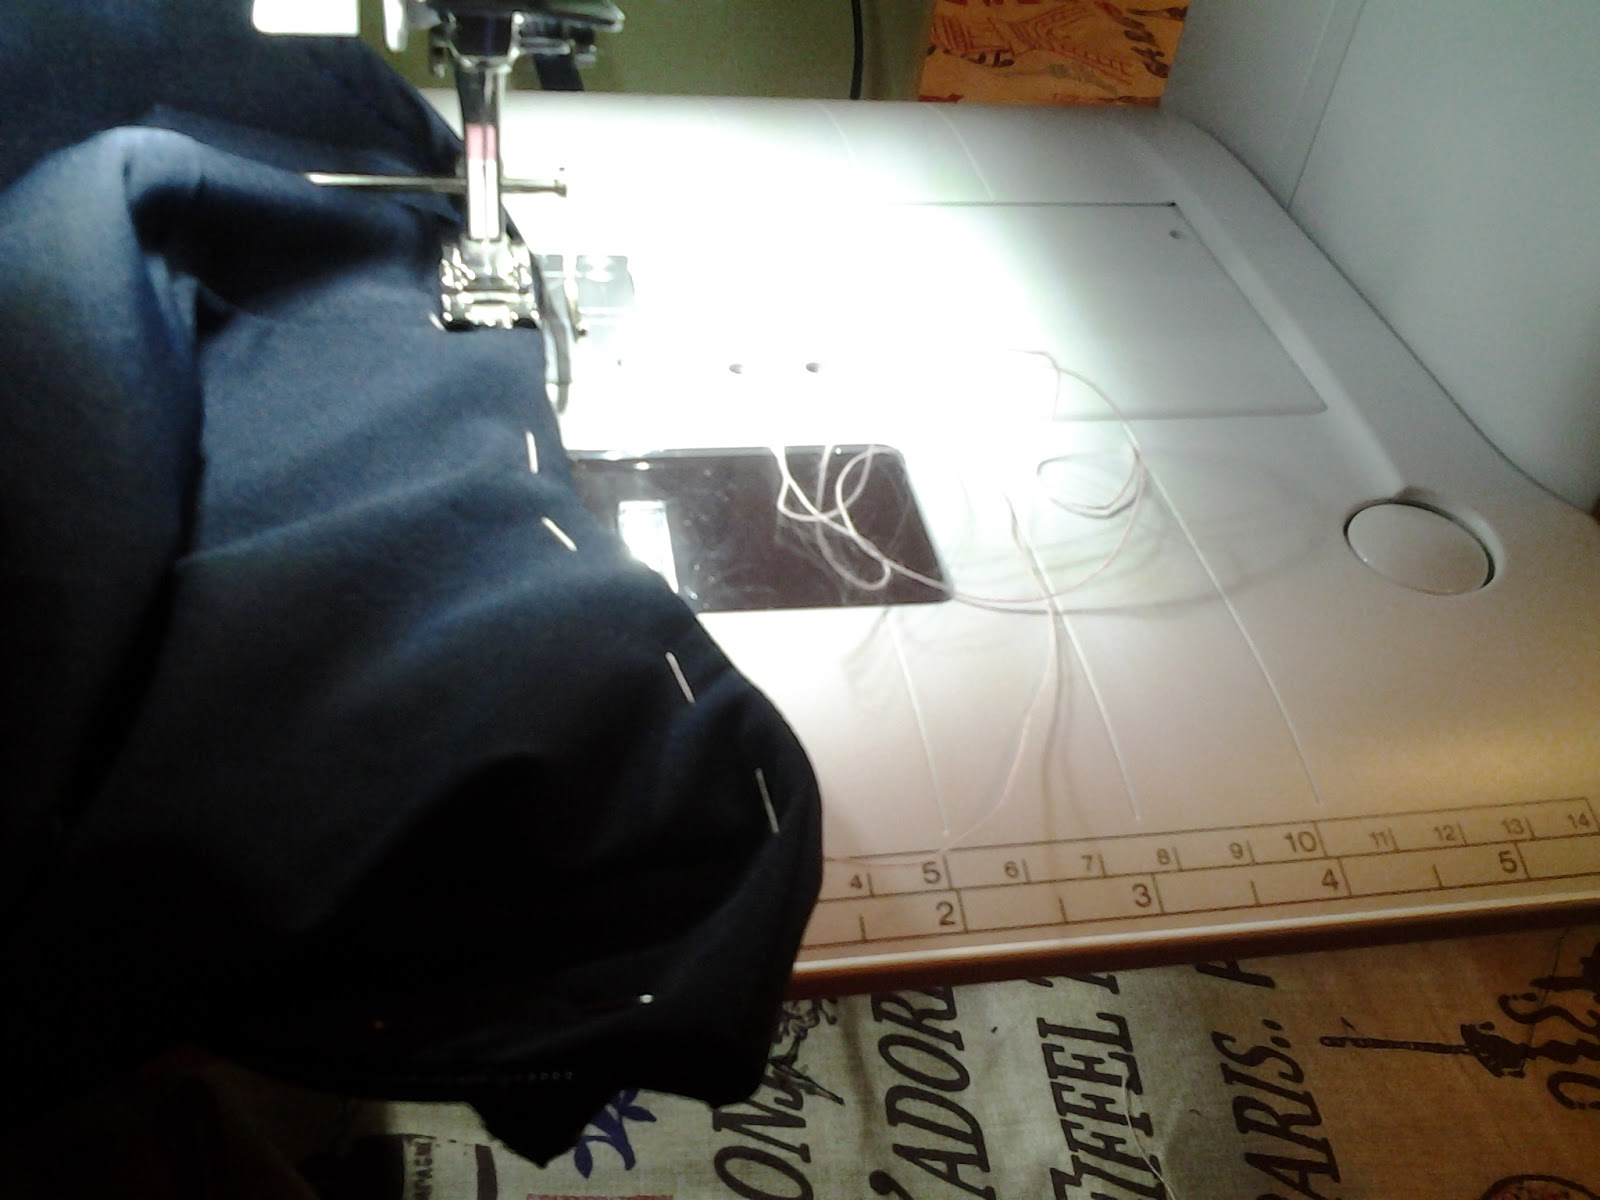
I then started to machine it together. Do make sure that the bodice and skirt darts and side seams match exactly.
When sewing with stretch fabrics there are some points you need to bear in mind,
You need to consider what type of machine needle you are going to use, what sort of thread and what stich will be best for your fabric.
Come on now, admit it,and I know Jaycotts will agree that one of the biggest cause of worry over the performance of a sewing machine is not changing the needles often enough. Machine needles are inexpensive, and you need to change it with every garment you sew.OK, maybe you could get away with a couple,but seriously a blunt needle causes snagging, skipped stitches, all sorts of problems. You may even think that your machine is broken! So, please change your needle often. The same with your overlocker, mine do tend to last a bit longer than the sewing machine's but they still need changing.
I chose a needle especially for stretch fabrics. You can view sewing machine needles on sale at Jaycotts.co.uk on this link. You will see that there is a different needle for each type of thread or fabric, and yes, I do own them all! (And use them)
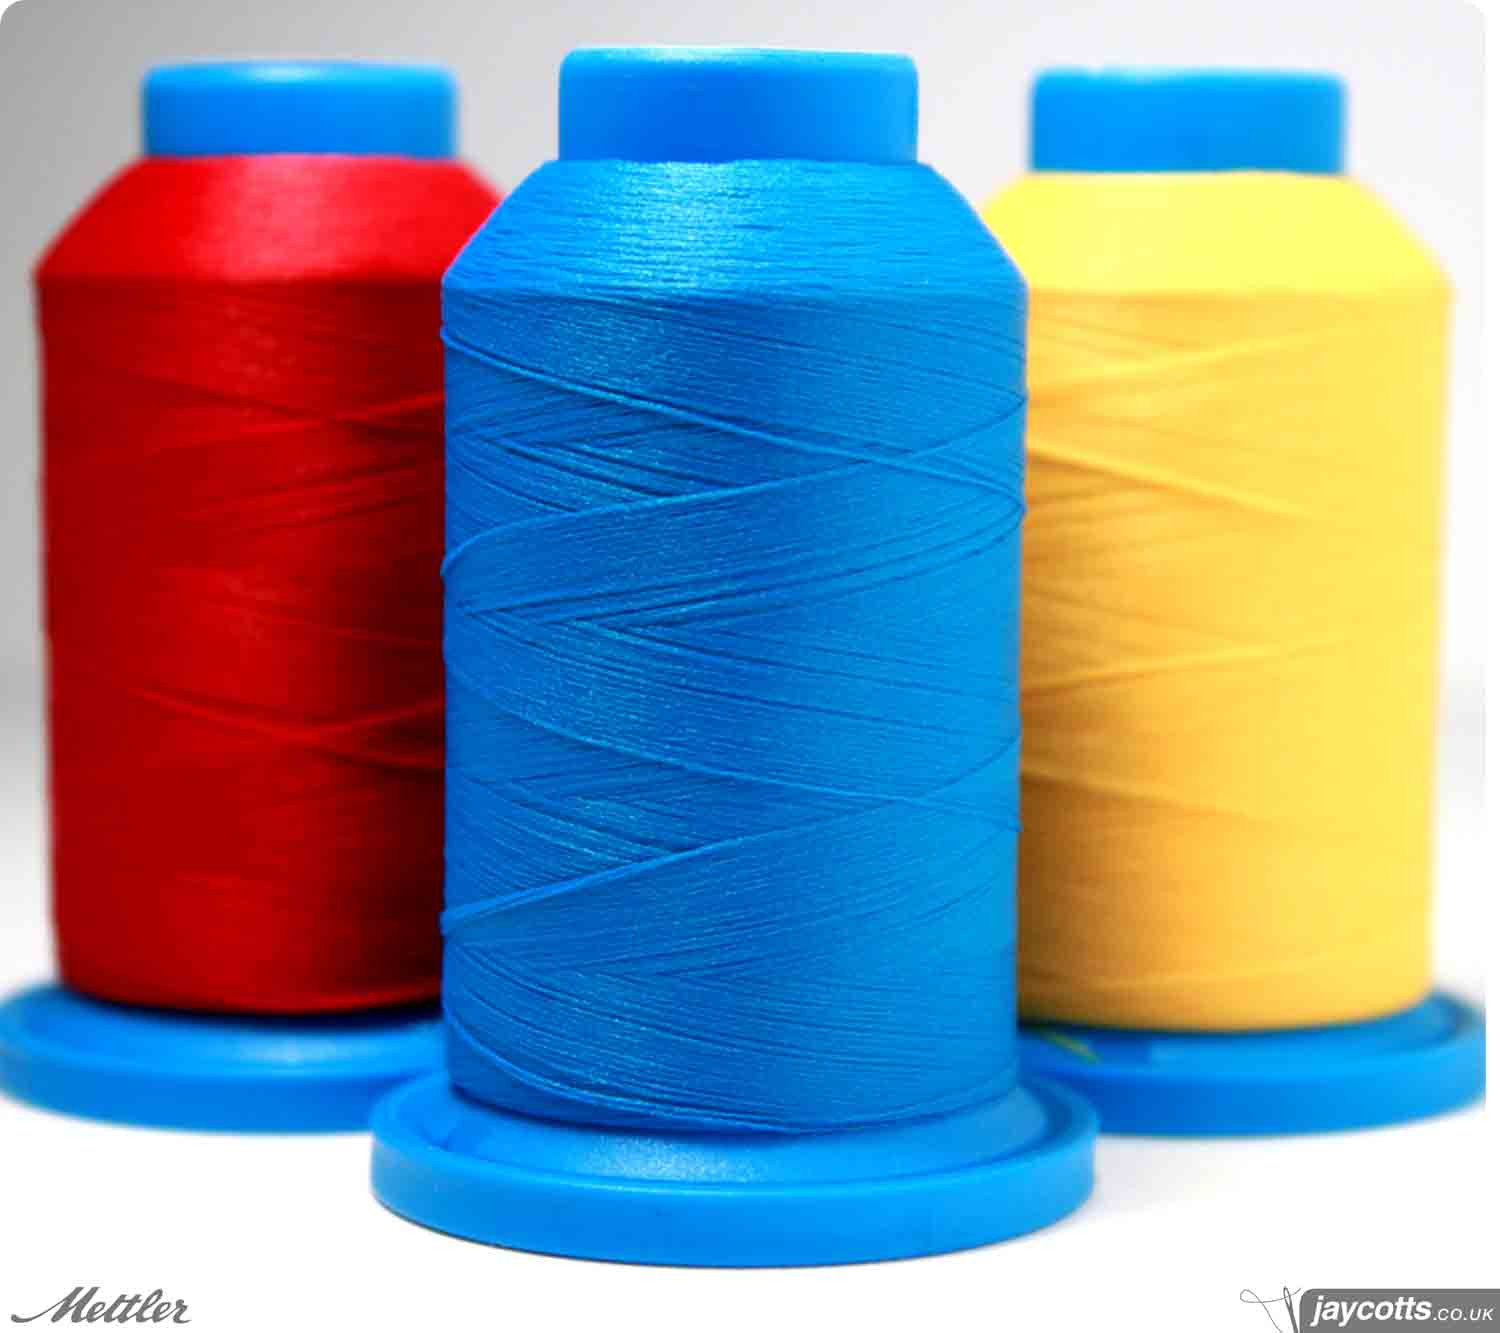
The next thing you need to consider is your thread. Normally a good quality polyester thread is a good choice, but there is now this wonderful thread from Mettler. It is utterly fabulous because it sews stretch fabrics with just a basic straight sewing machine stitch! I have used this thread a few times and heartily recommend it. The spools of thread are large too, making it great value for money. To buy it go to the link here
This is my wonderful sewing machine, from Jaycotts of course. It is a Bernina and they are very strong and powerful. Mine is a 350PE, it was not cheap I will be honest, but I do an awful lot of sewing and I do need all the different functions it has. Take a look at it,
Please do not worry if you only have a small amount of money to spend on a sewing machine, Jaycotts.co.uk have machines to fit every budget,starting at around £100.so do indulge yourself and take a look
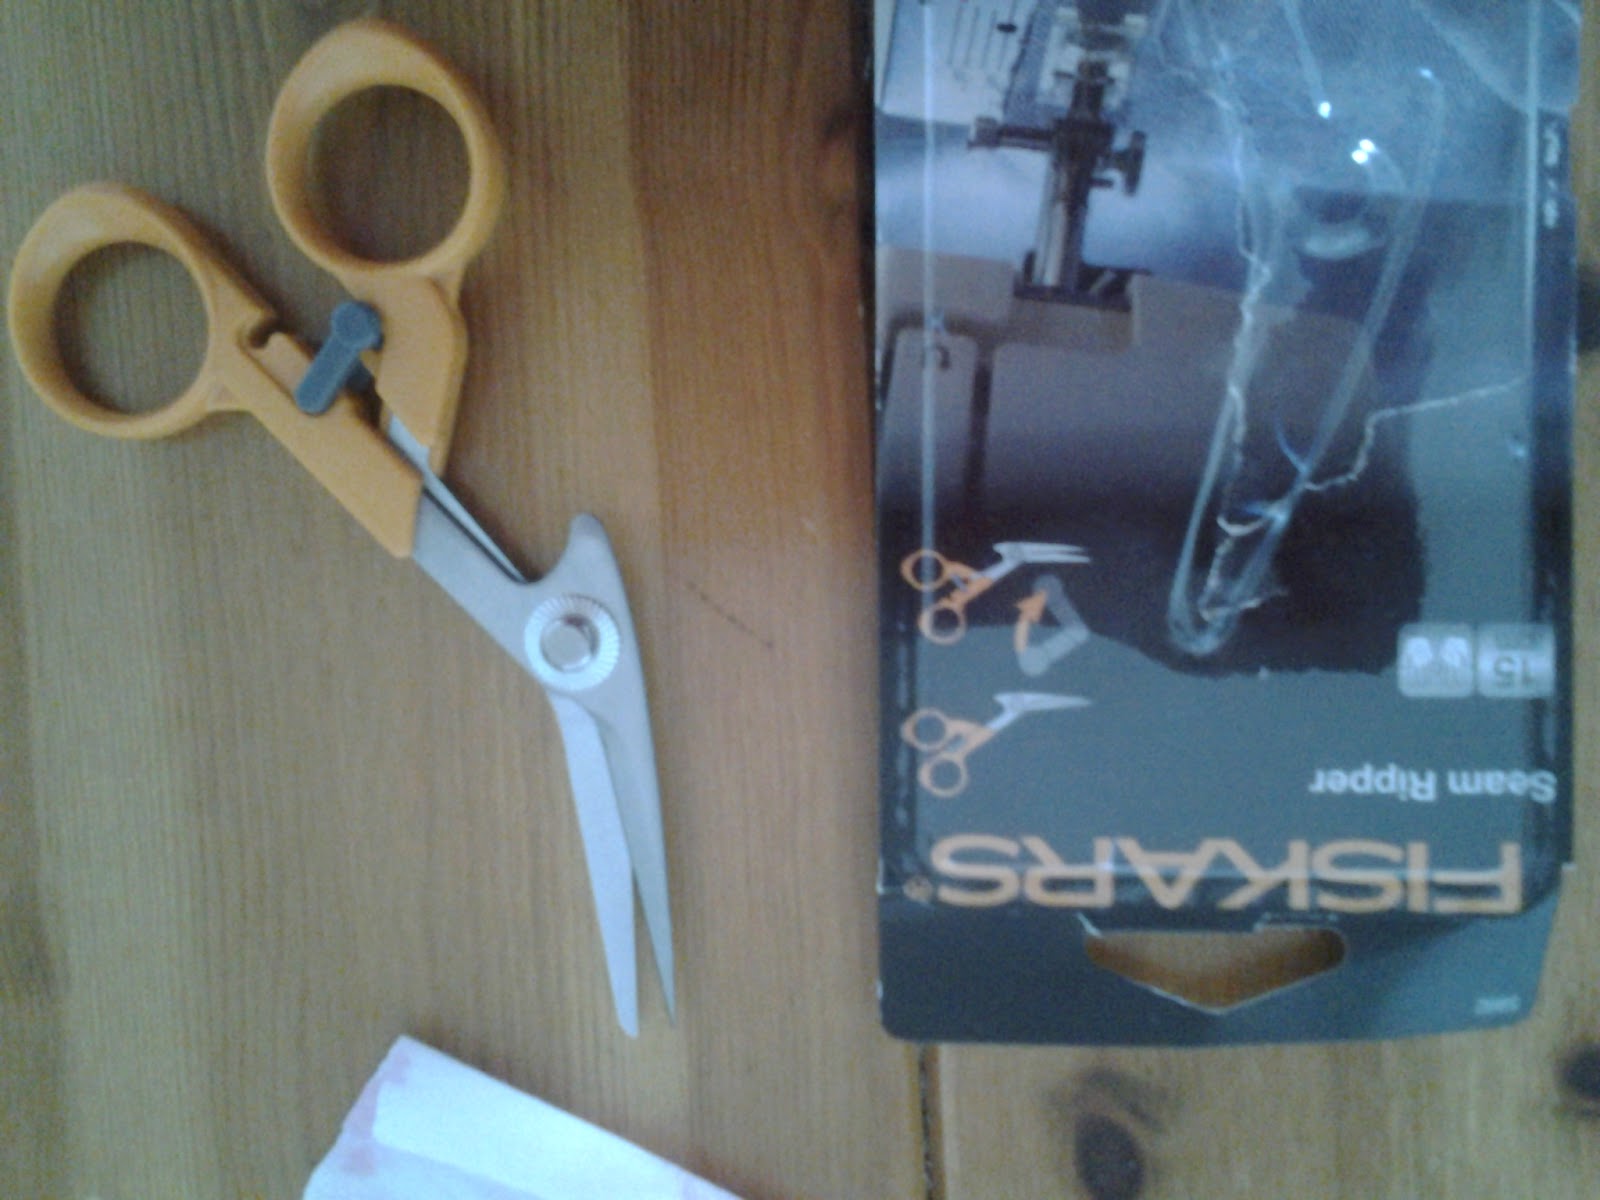
My cutting out scissors are these soft touch easy grip scissors from Fiskars, they are great for me as I have a touch of arthritis in my hands and these scissors don't bother me at all.
And I also use these smaller scissors/seam ripper, again from Fiskars at Jaycotts.co.uk
When it comes to choosing the stitch you are going to sew your stretch garment with then I do recommend practising on a spare piece of fabric. You will of course practise on the actual fabric, I am using a contrast then you can see the stitches more closely.
I tried various stitches and eventually decided on the one I thought was best. I made sure to make a note of which stitch it was so that I could go to it straight away next time I turned my machine on.
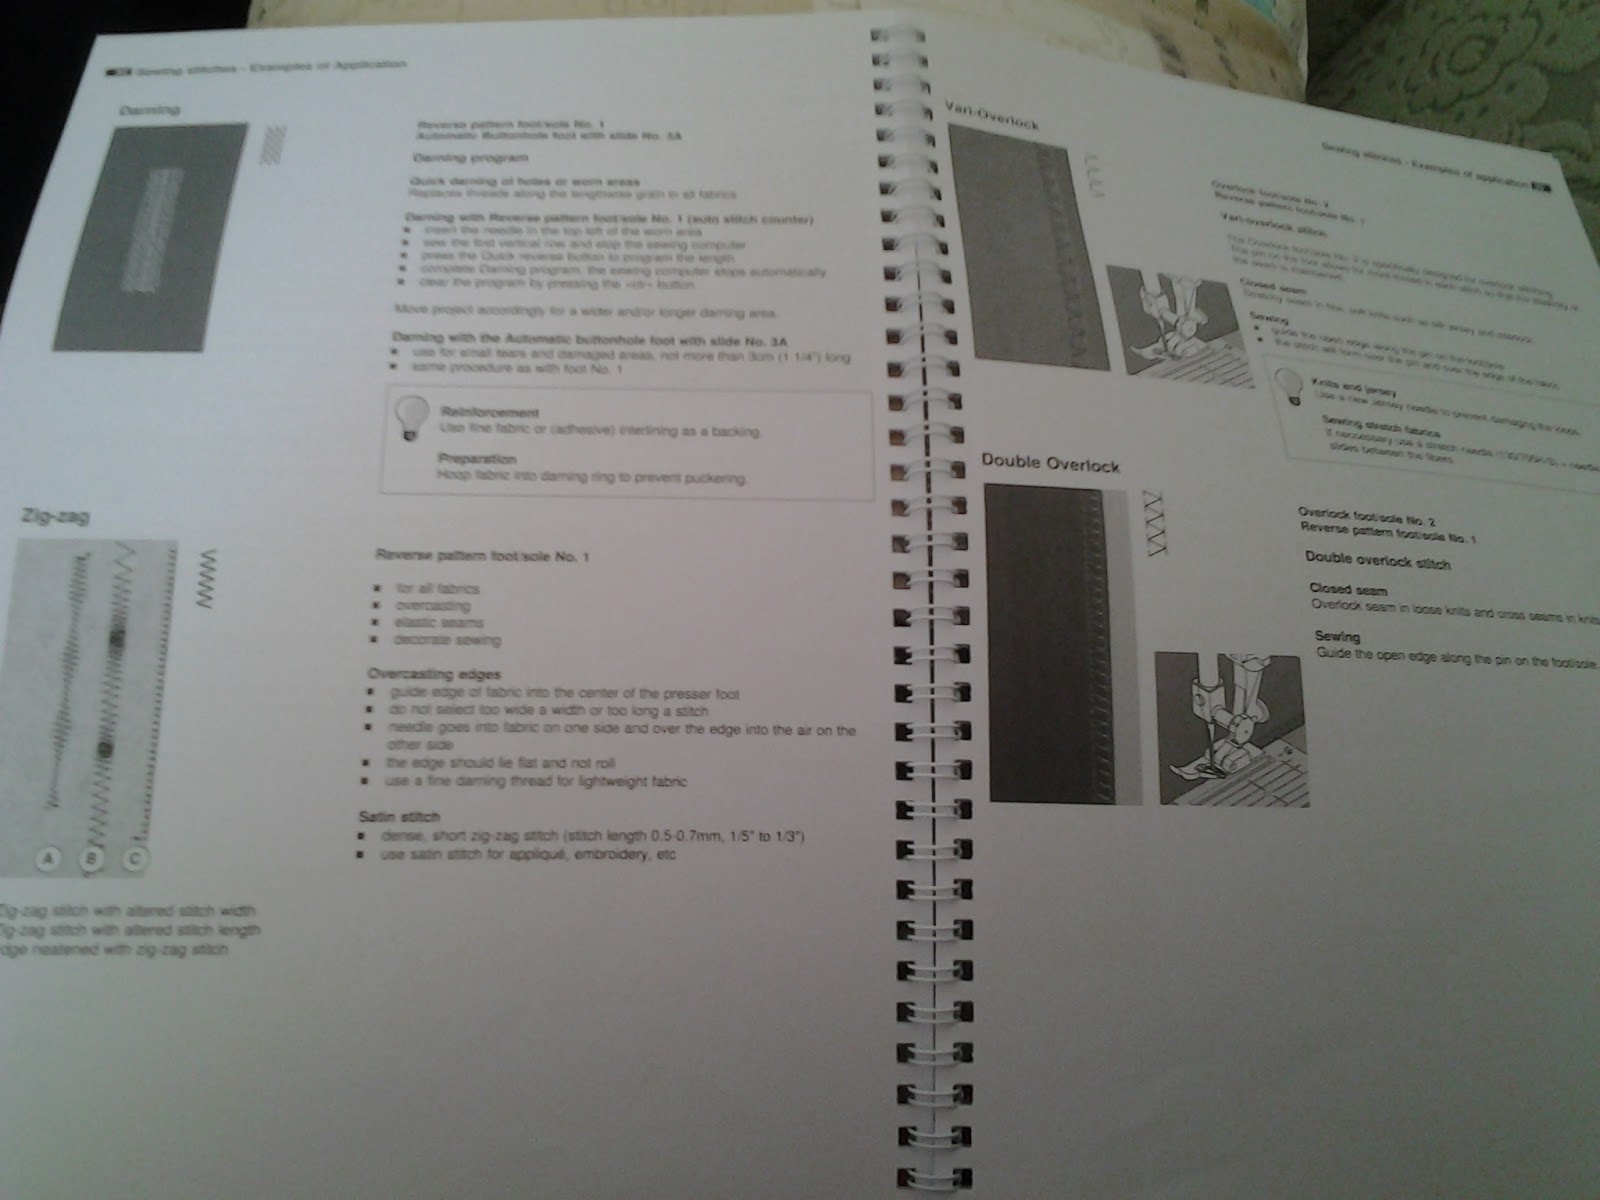
My machine has a card which attaches to the machine telling you which setting to program for the different stitches. I do like to experiment with the machine and use all of its functions. I often use the embroidery stitches and the blind hem stitch.. if you are choosing a new machine think about if you would like to have these functions or not. If you think you will use them it is worth paying a bit more for a machine offering them. Jaycotts are very helpful in this respect and I would talk to them to discuss your options.
How often do you use your instruction manual? I refer to mine a lot, and I used it to help me to choose which stretch stitch to use. I know that a lot of people put them away and never refer to them, but I do enjoy looking to see what else my machine can do.
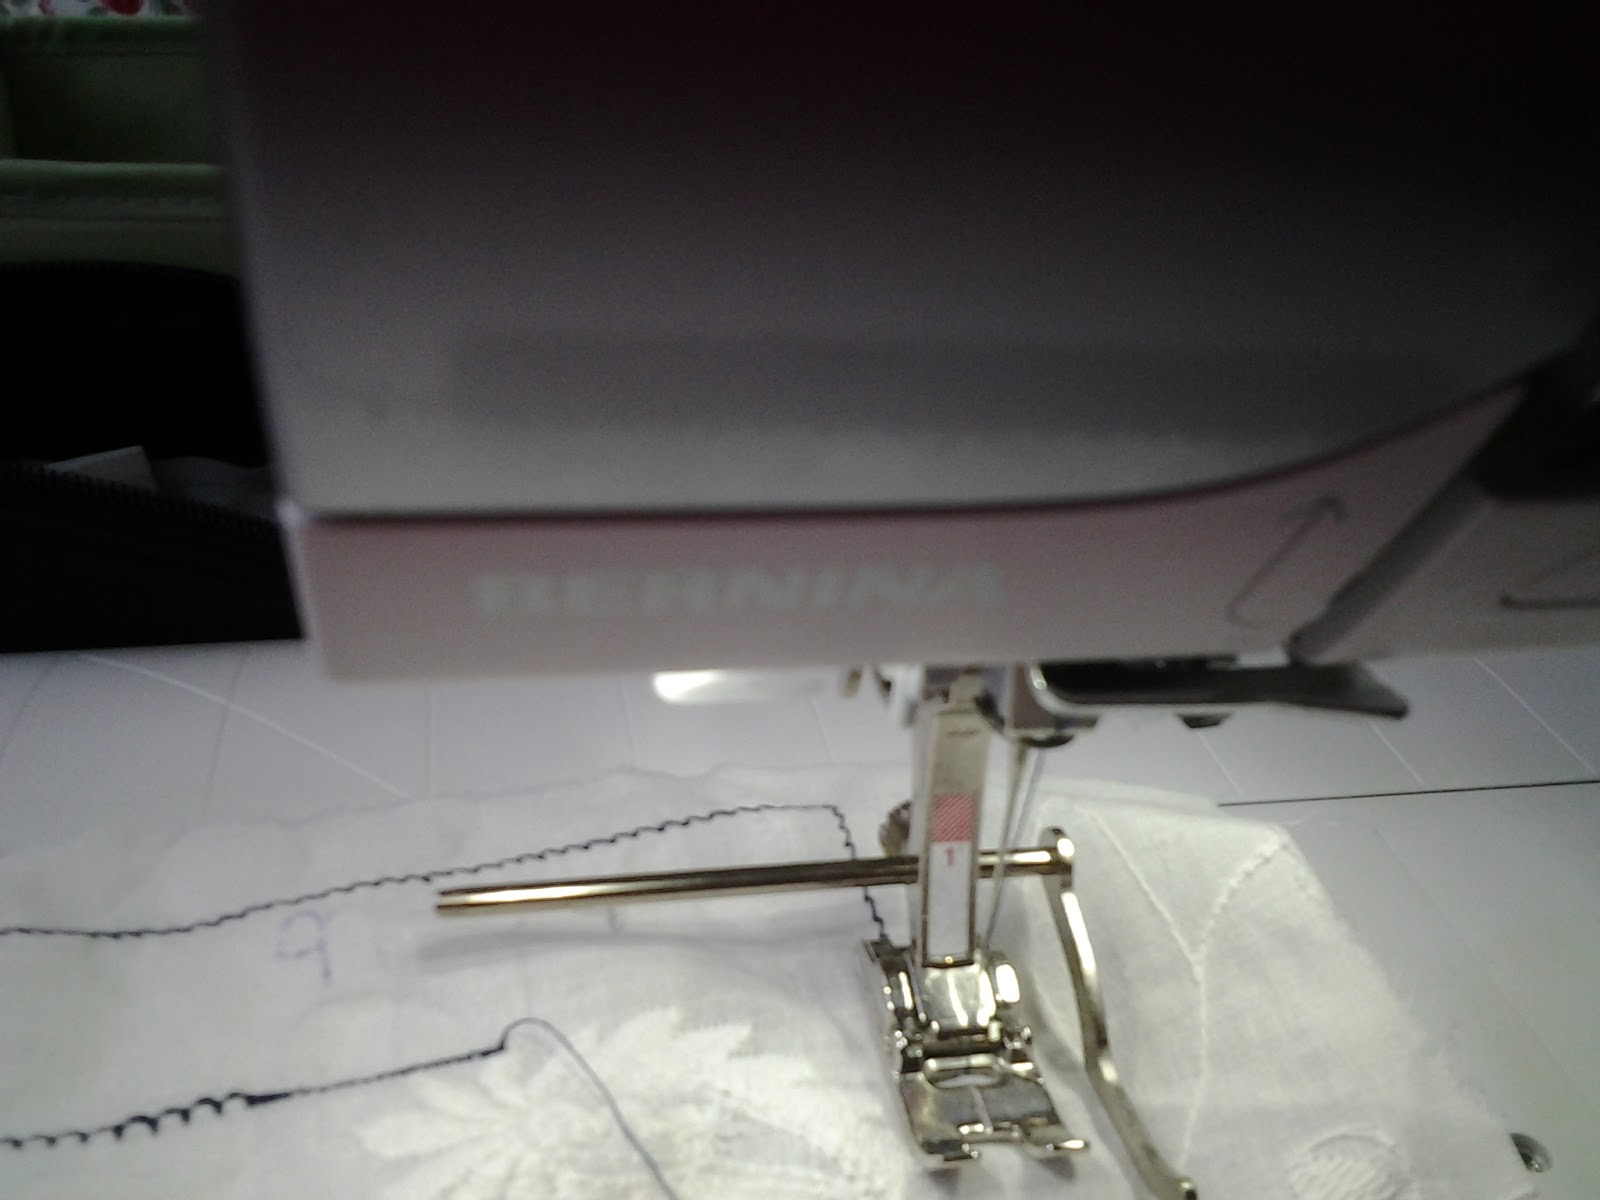
So, this is the stitch I finally decide on, note I use the seam guide, no wonky seams for me!
When it comes to inserting the zipper there is a choice between normal zips and invisible zips, each requiring a different machine foot. The one on the right is an invisible zip foot, the one on the left is for ordinary zips. Although I prefer invisible zips I do use both feet. The normal zipper foot is great for all sorts of jobs where you need to sew up close to a seam or edge etc. I use it too for finishing sewing the back seam under the bottom of the zip.
This is the invisible zip foot in action.there is a notch under the foot which the zip teeth fit into when stitching. I always press the zip before using it, to flatten the area next to the teeth, but don't use too hot an iron or you will melt the teeth!
I sometimes find that certain fabrics, stretch ones especially, pucker when sewing the zip in. I use a two pronged attack to solve this. Firstly I anchor the zip in place with double sided basting tape
You will find that it anchors things in place far better than pins. Especially where you need it to stay in place without moving.
The other thing I do is to place a piece of tear away embroidery stabiliser underneath the fabric so that it glides over the base plate, you can use the cut offs from your paper patterns for this if you want to.
Both of these tricks work well when sewing any sort of fine fabric.

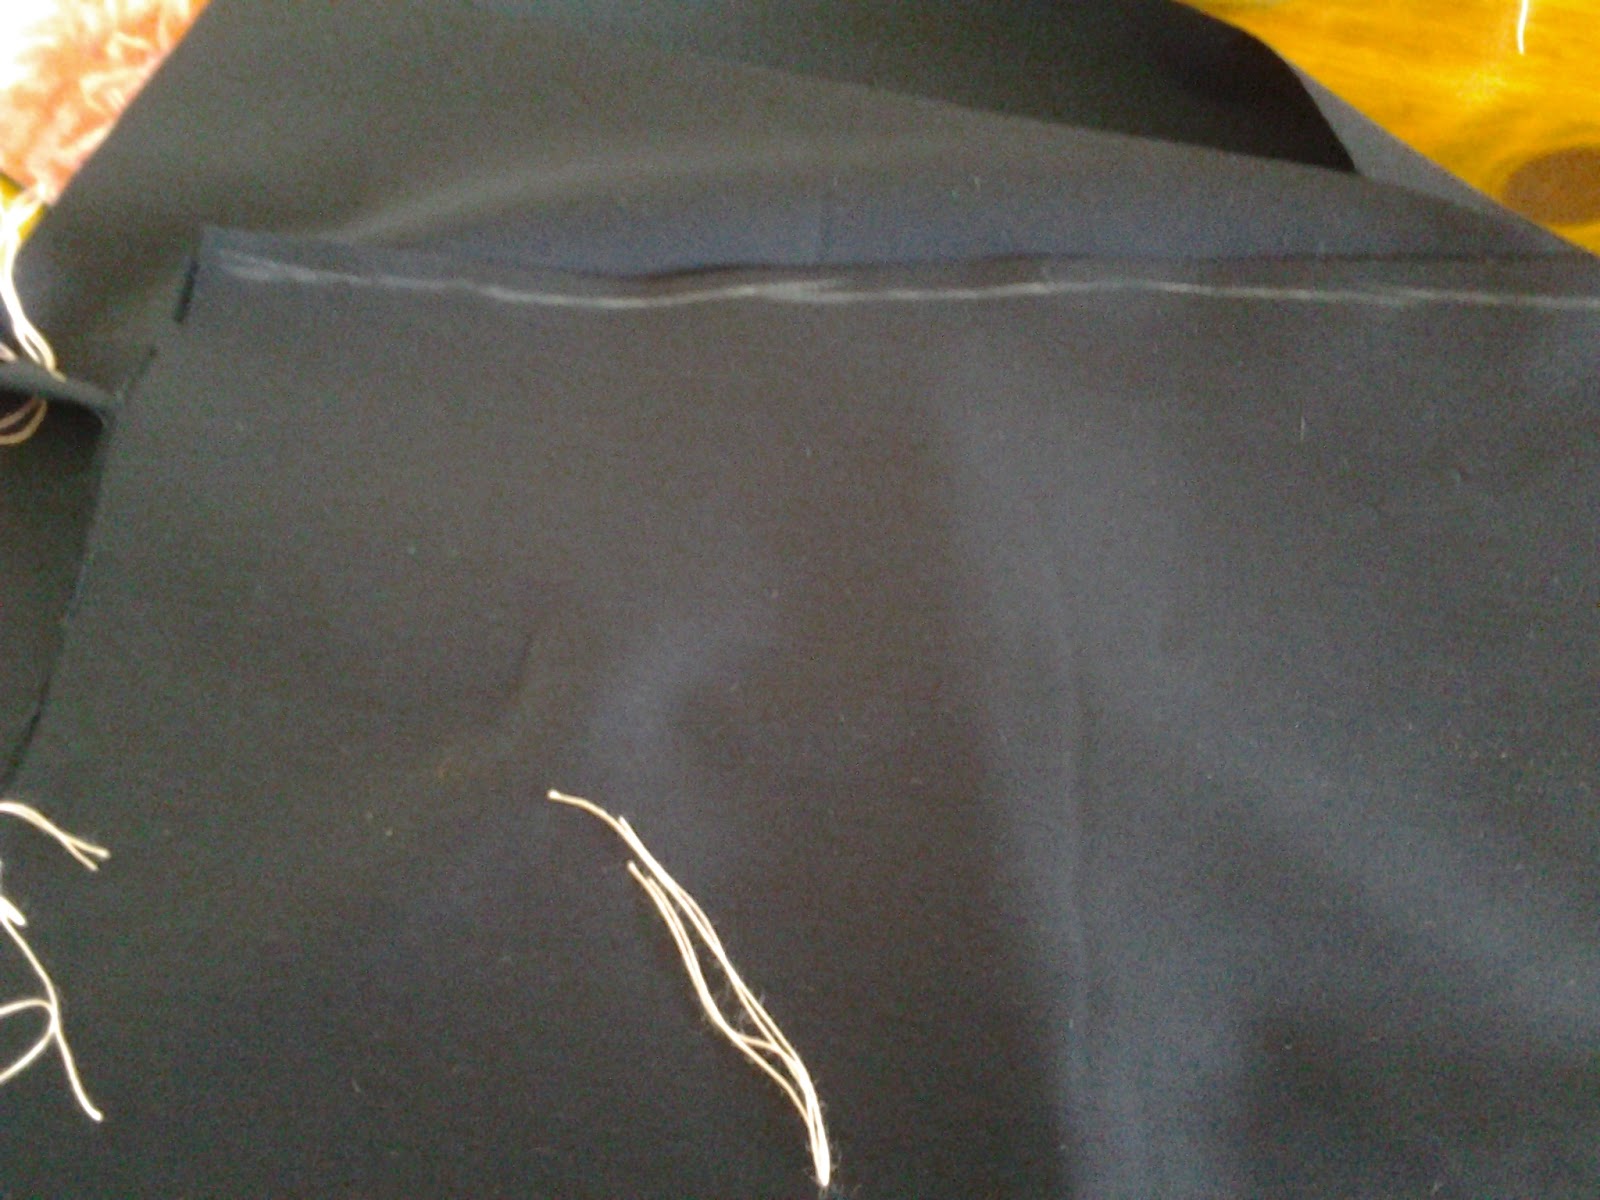
Another thrifty trick taught to me by my Grandmother, is whenough tacking long seams do not knot the tacking thread at the ends, tacking thread is thick and made from cotton so it anchors itself firmly in place until you remove it. When you stitch the seam pull the thread out from the top as you go, and save it for another time! So simple so brilliant, Thanks Gran.
This is the finished dress, it fits really well and I can see that it will be included in my holiday case it weighs nothing, does not crease, perfect!
It is practical, comfortable to sit and walk about in too. It is very different from what I normally wear.
The back has a short split in it for walking ease. This is the view from my window by the way, right over the rooftops to the sea!
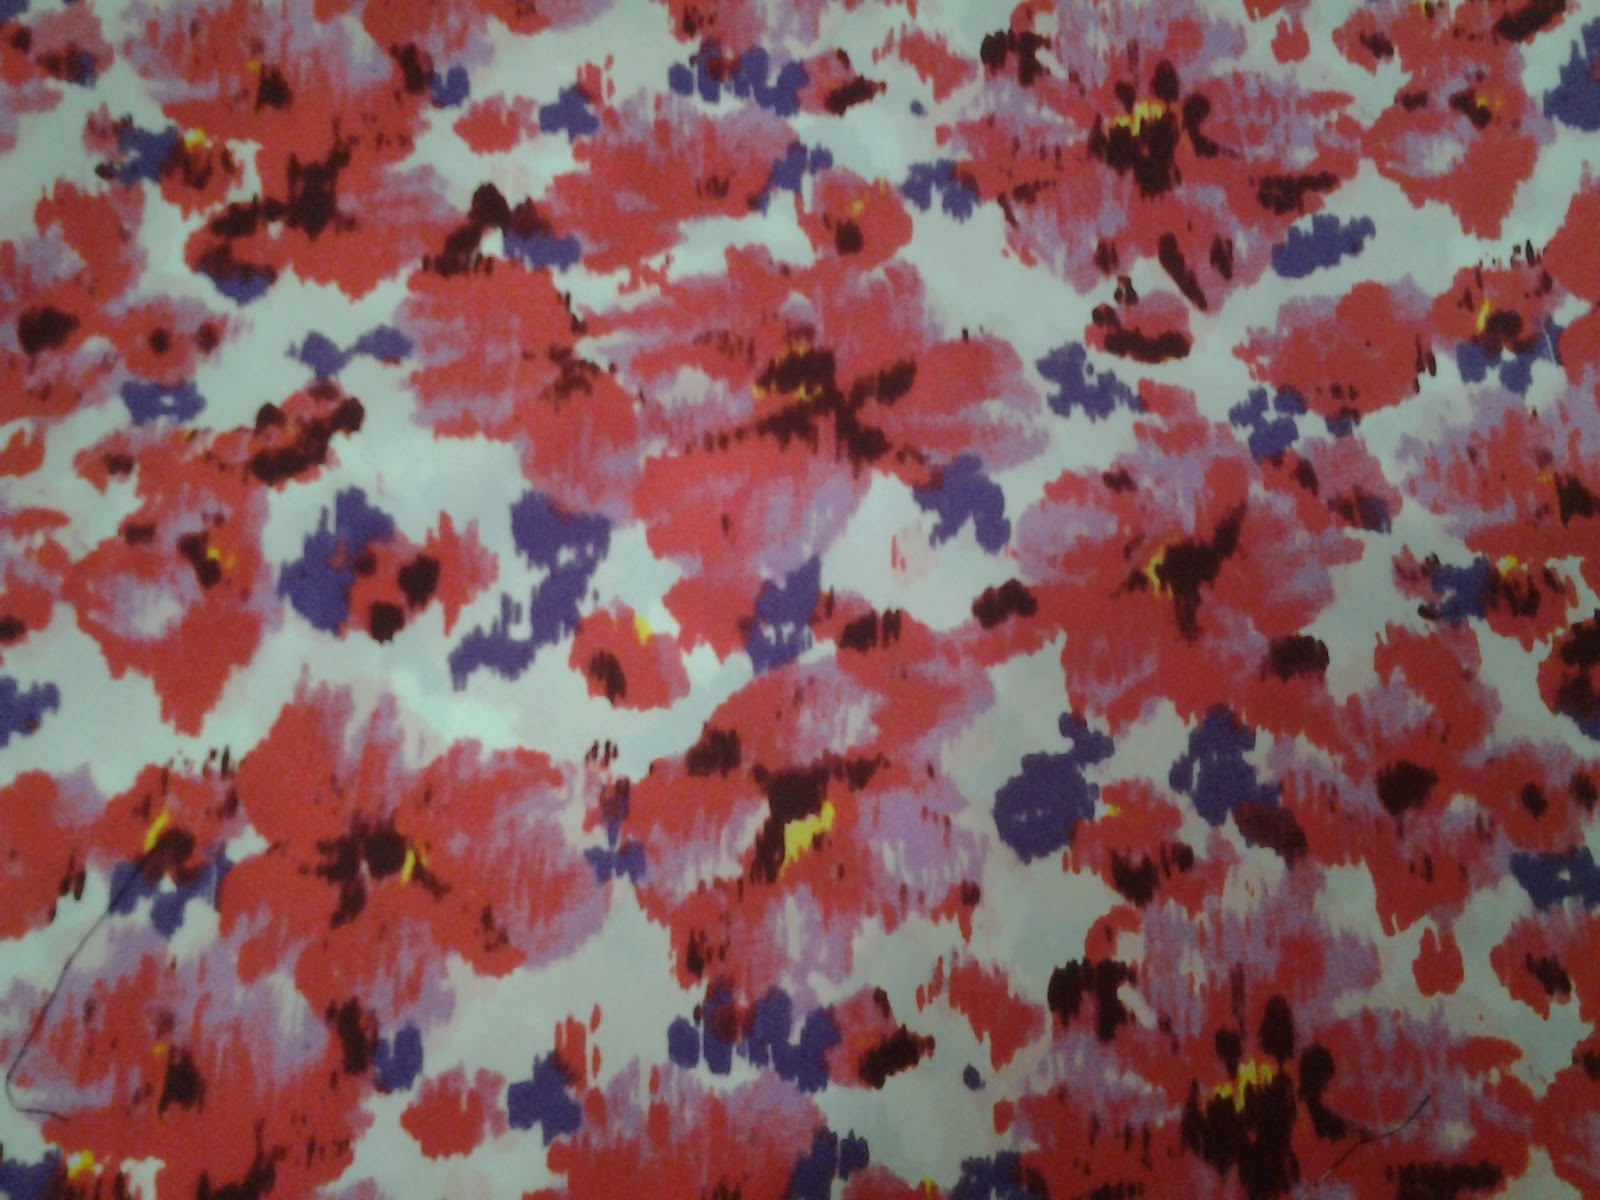
Now that I have made this dress once I really want to make another one for my holidays, I just looked through my stash and found this lovely peachskin, what do you think?
I hope that you have enjoyed this blog post for Jaycotts.co.uk . For offers and promotions do sign up for the newsletter the link is on this page
Angela