This post is continuing from a previous post entitled "curtains, cushions and chairs
Click here to view the post As you know I am having a very short break from sewing clothes and replacing the soft furnishings in my home.
I recently went to the secret sale at Abakhan Fabrics
Click here to go to Abakhan.Co. uk , and bought several rolls of fabric. Among the items purchased was a roll of this beautiful heavy cotton furising fabric, the whole roll of it did not cost much more than the price per meter!
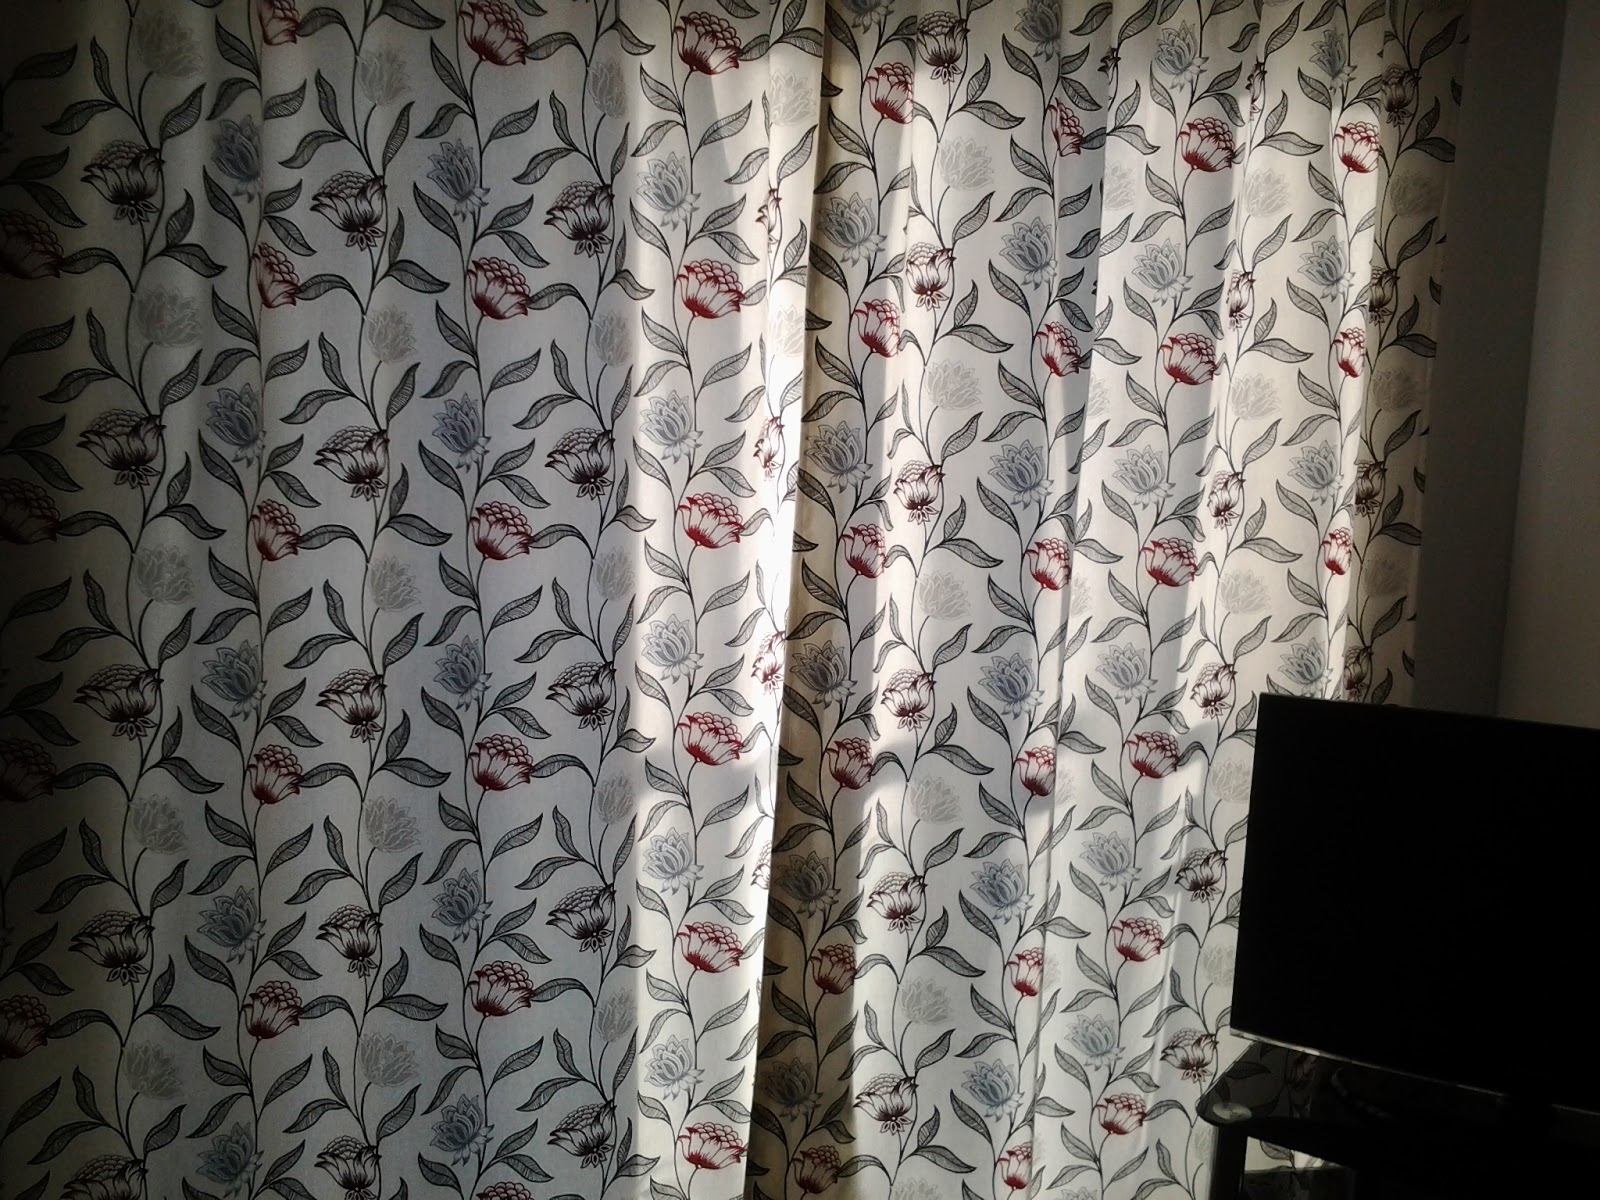
I started by cutting the largest items out first, which were the curtains. If you have never made curtains before it is so easy you will wonder why you ever bought them!
there are many ways of making a pair of curtains, but if you have never made them before I suggest that you buy a patterned fabric and make them unlined.
If you have curtains already in place then take them down and measure them. You will need to buy enough fabric to make a pair of curtains and you need to add three inches or so at the top for a hem, and at least four inches at the bottom for another hem. You will also need to buy ruflette tape to go along the top. Buy double the width of your curtain fabric.
Cut your fabric out and hem the sides. Turn the top hem down and press. Pin your ruflette tape along the top, covering the raw edge of the fabric. You will notice that there are strings I the tape, this is so that you can gather the top, make sure these are free and tie the ends together so that they do not come out when you start to gather them.Machine the top and bottom of the tape.
At this stage it is a good idea to press them and then hang them to see if the fabric will relax and drop before you hem them. Once you are satisfied with the length then go ahead and machine sew a double hem. See, I told to how simple they are!
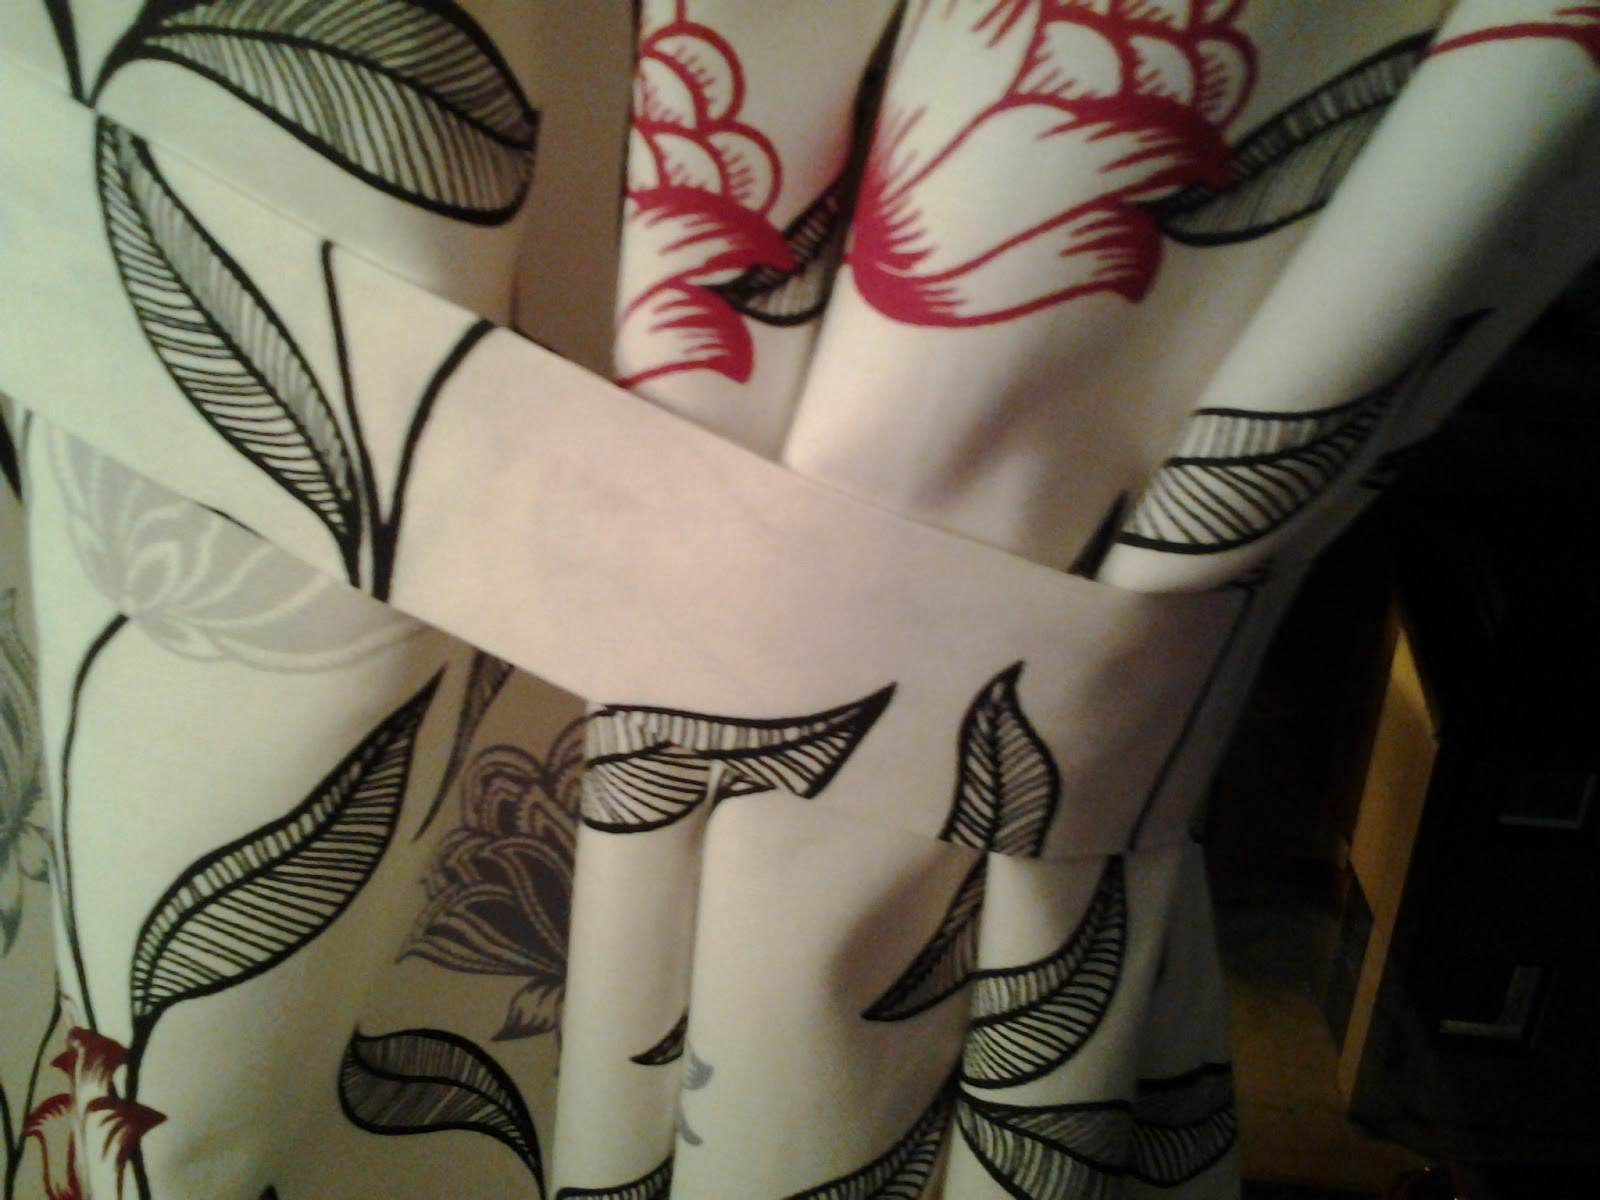
My curtains are lined with an attached lining - you can make a loose lining if you prefer. I am not one for fussy tie backs I must admit, but I do see the usefulness of them when the window is open and it is windy, I do not want my new curtains blowing around outside!
I made these really simple tie backs by measuring the length I wanted, cutting out the fabric and very stiff interfacing and sewing them into a long rectangle. I added hoops at the end and hooks on the wall. And there they are, simple tie backs!
The next item was to replace my kitchen roller blind - I have an open plan lounge and dining room with the kitchen off to one side.
I took the old blind down and as it was still in perfect order I took the old fabric off and used it as a template to cut the new blind.
This was easy to do. Lay the fabric and lining right sides together and sew down each side and accross the bottom. Turn it right sides out. Press and stitch along the top. Spray with plenty of starch and press again.
This next bit I did on the floor. Lay the fabric flat wrong side up and place the roller along the top. Secure in place with double sided stick tape. Roll up evenly and replace. N B You can buy roller blind kits if you prefer.
The only thing you need to worry about is that there is enough fabric rolled up to keep it in place when the blind is fully down.
I then covered my old footstool. This was made easy by pinning the fabric in place on the footstool itself, wrong side out. I then machined it together. Run a hem along the bottom and insert elastic.
I put it onto the footstool with the feet removed. I gathered up the elastic and replaced the feet by making holes through the fabric.
This is my footstool, newly covered.
I made new cushions too, I talked about these in my previous post. To keep things easy then do envelope backs like this one.
These backs require no fastenings at all and are easy to remove for washing. All you do is to cut the back in two pieces, each three quarters of the overall width of the cushion, hem the ends and overlap them when stitching the backs to the fronts.
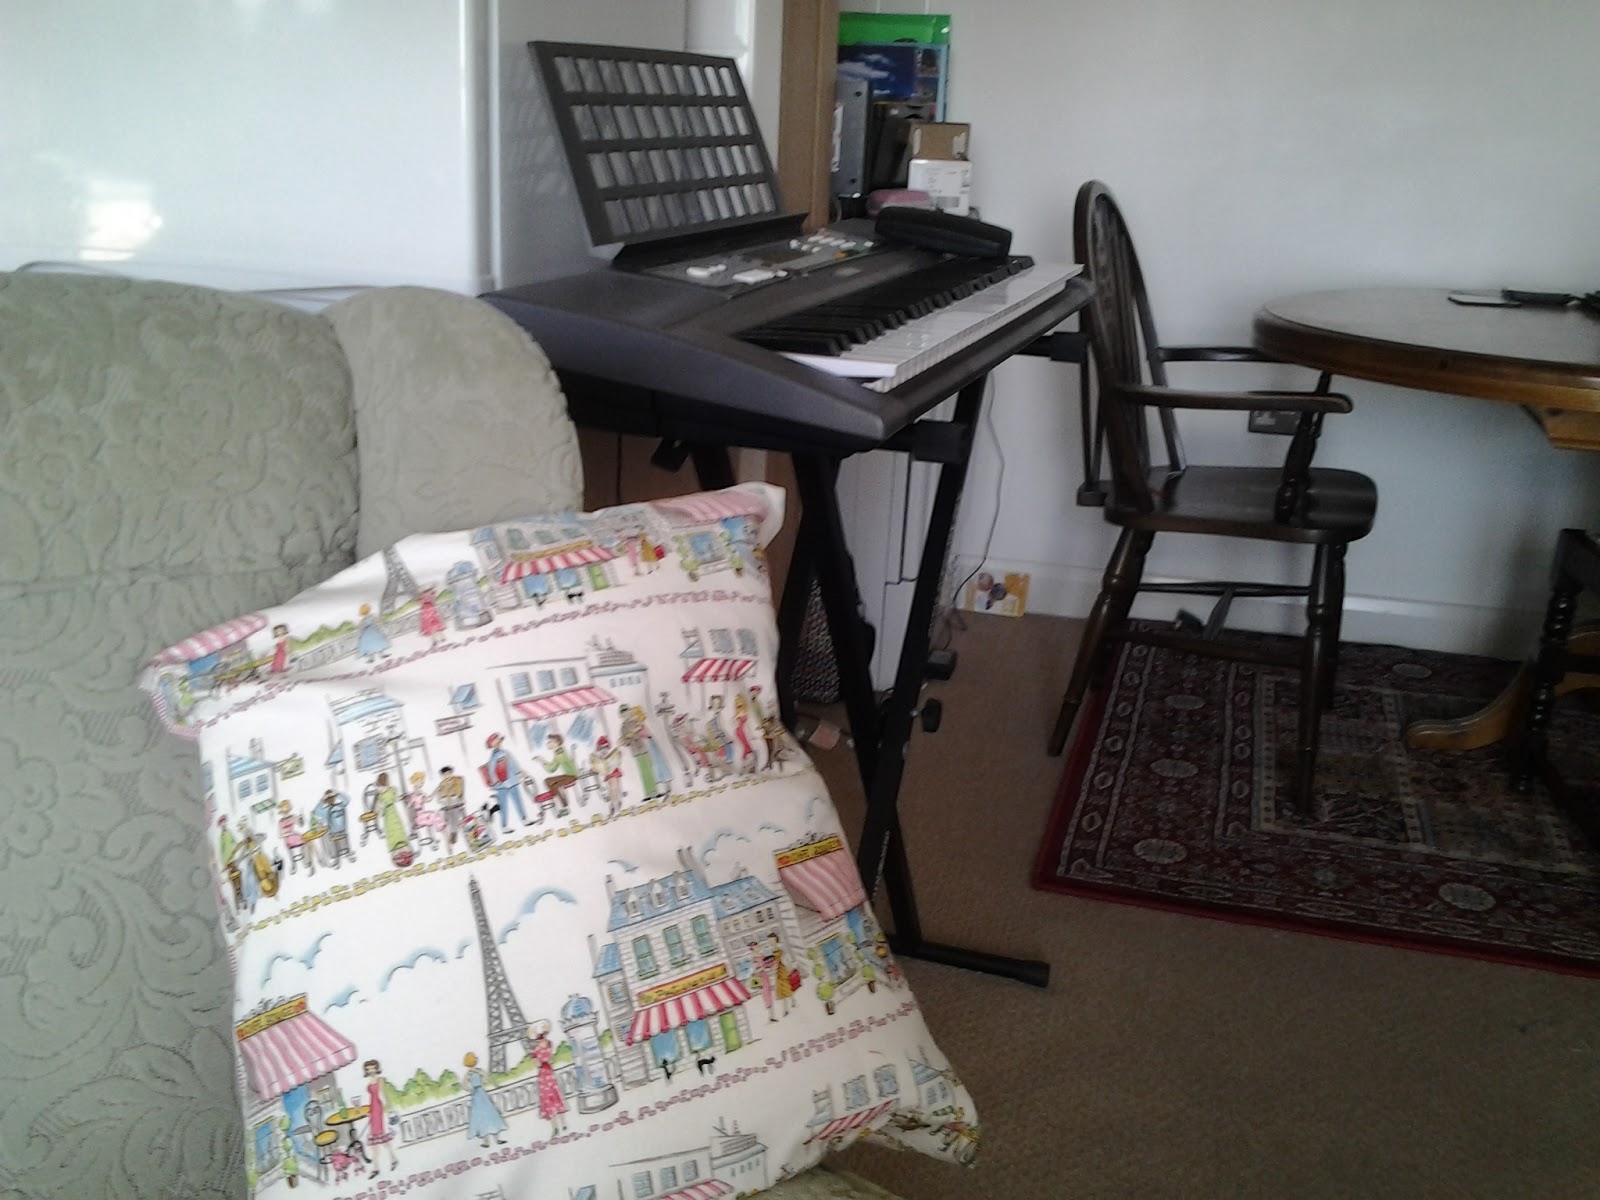
I made this cushion for me with a length of Michael Miller fabric and a small check cotton for the back.
To make the cushion on the right. I took a favourite photograph of Cesar Manrique's former home in Lanzarote and printed it onto white fabric. Once the ink was dry I ironed it and surrounded it in ribbon before stitching it in place on the cushion front.
The one on the left has some patchwork I made stitched onto it. The centre one is plain.
I often rest in my riser-recline chair and so I made myself a throw using some of the furnishing fabric backed with a soft fluffy fleece fabric. I quilted it very simply.
Can you see one of my owl doorstops in the background?
Finally I re-covered my dining chairs. My chairs are an eclectic bunch! Two of them have chair bases which push out. There were easy to re-cover .All I had to do was to push the chair seats out, remove the old fabric and replace it with the new, with lining fabric too which added extra strength.
The other chairs have cushions tied on. I upcycled some old chair cushions by covering them in new fabric and tying them in place with ribbon.
Every single item is very easy to make. Of course there are different ways of making them all but I wanted to keep it really simple so that you would feel able to have a go yourself.
I hope that you found this useful. Please ask if you would like more detailed instructions on how to make something.
Next time I will finish off by making bedroom curtains, a valance and bedspread and some voille curtains too.
Angela .