How I made a mans shirt.
I am delighted to be doing this blog post for jaycotts.co.uk This is the first garment I have made on my new Bernina 350. I chose to make a mans shirt because it gives me the opportunity of trying out a lot of the machine's functions on one garment.
I enjoy sewing mens shirts probably more than anything else, they give me an opportunity of being creative with materials and designs, and producing something which is totally unique .Be warned though if you do decide to make a mans shirt then you need to ensure that it looks professional because if it looks home-made then he just won't wear it.having said that do not be put off too much as this tutorial can be used to make yourself a shirt instead.
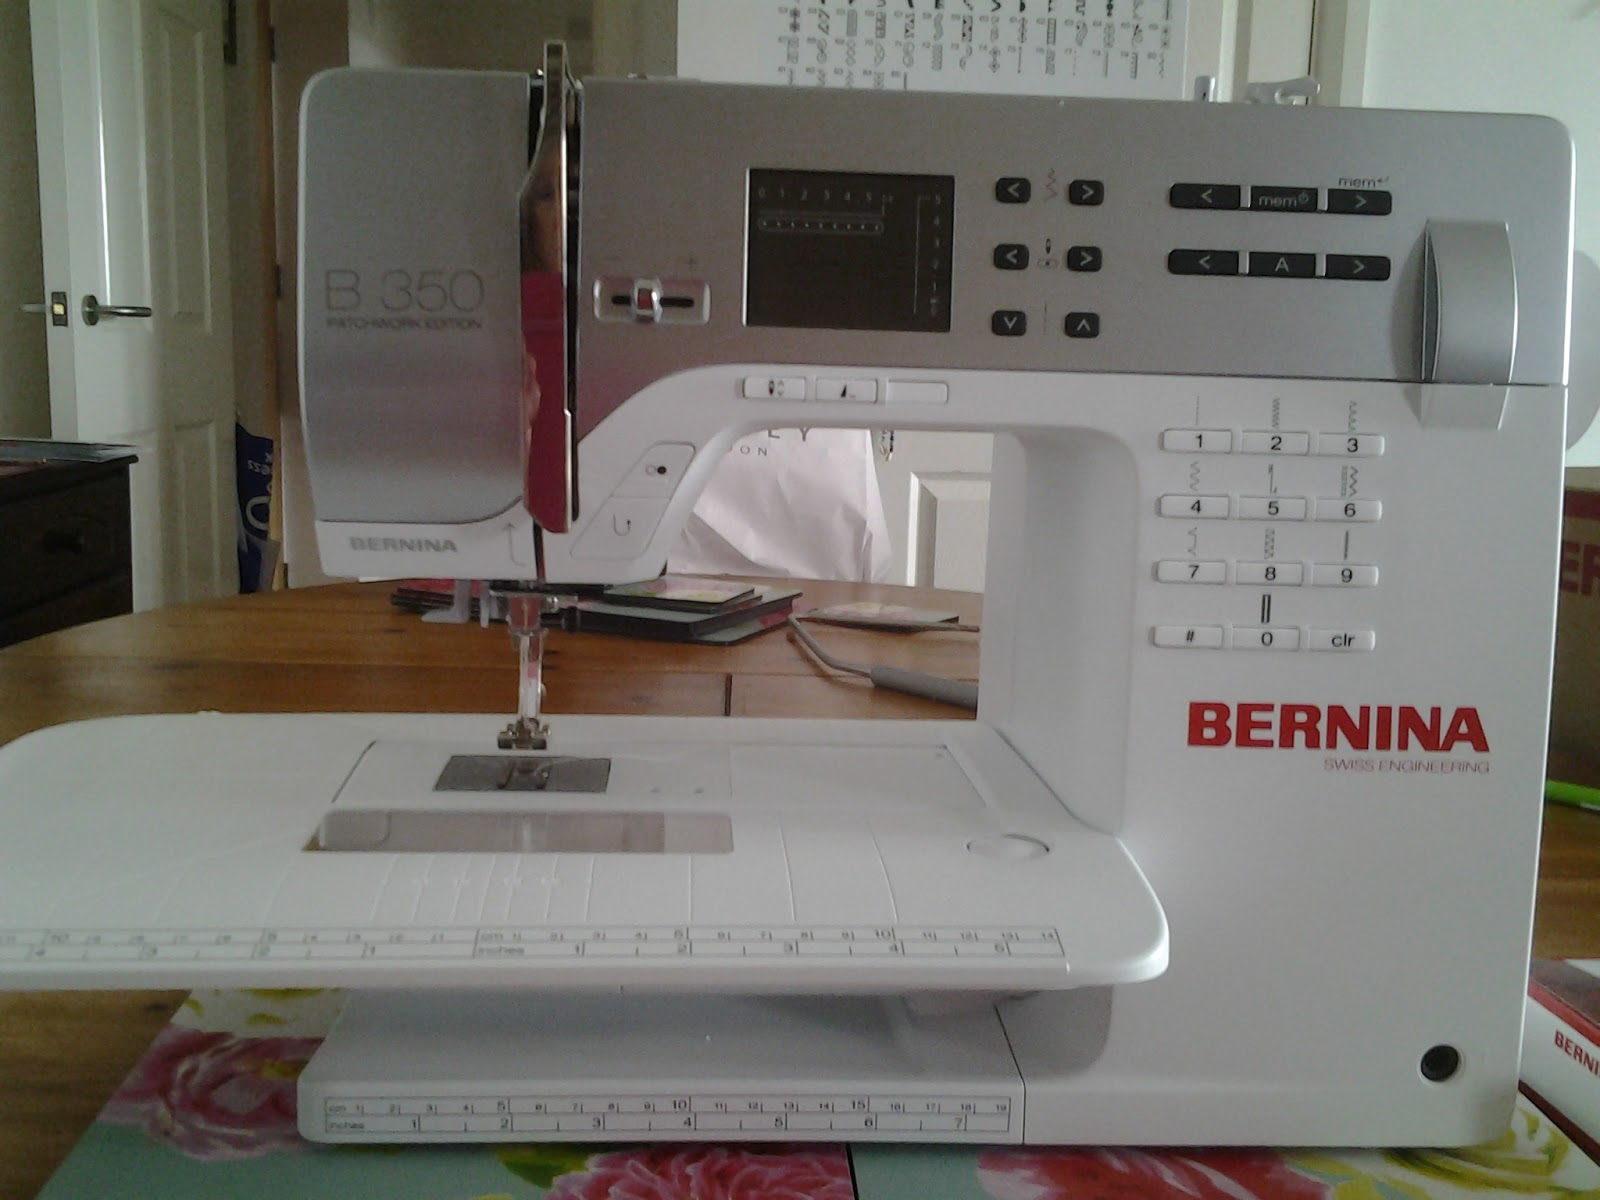
This is the machine I am using, it is a Bernina 350PE To view it on jaycotts web site
CLICK HERE
Jaycotts sell other makes of sewing machines at different prices so please do not be afraid to ask them for advice on choosing the correct one to suit your needs and budget
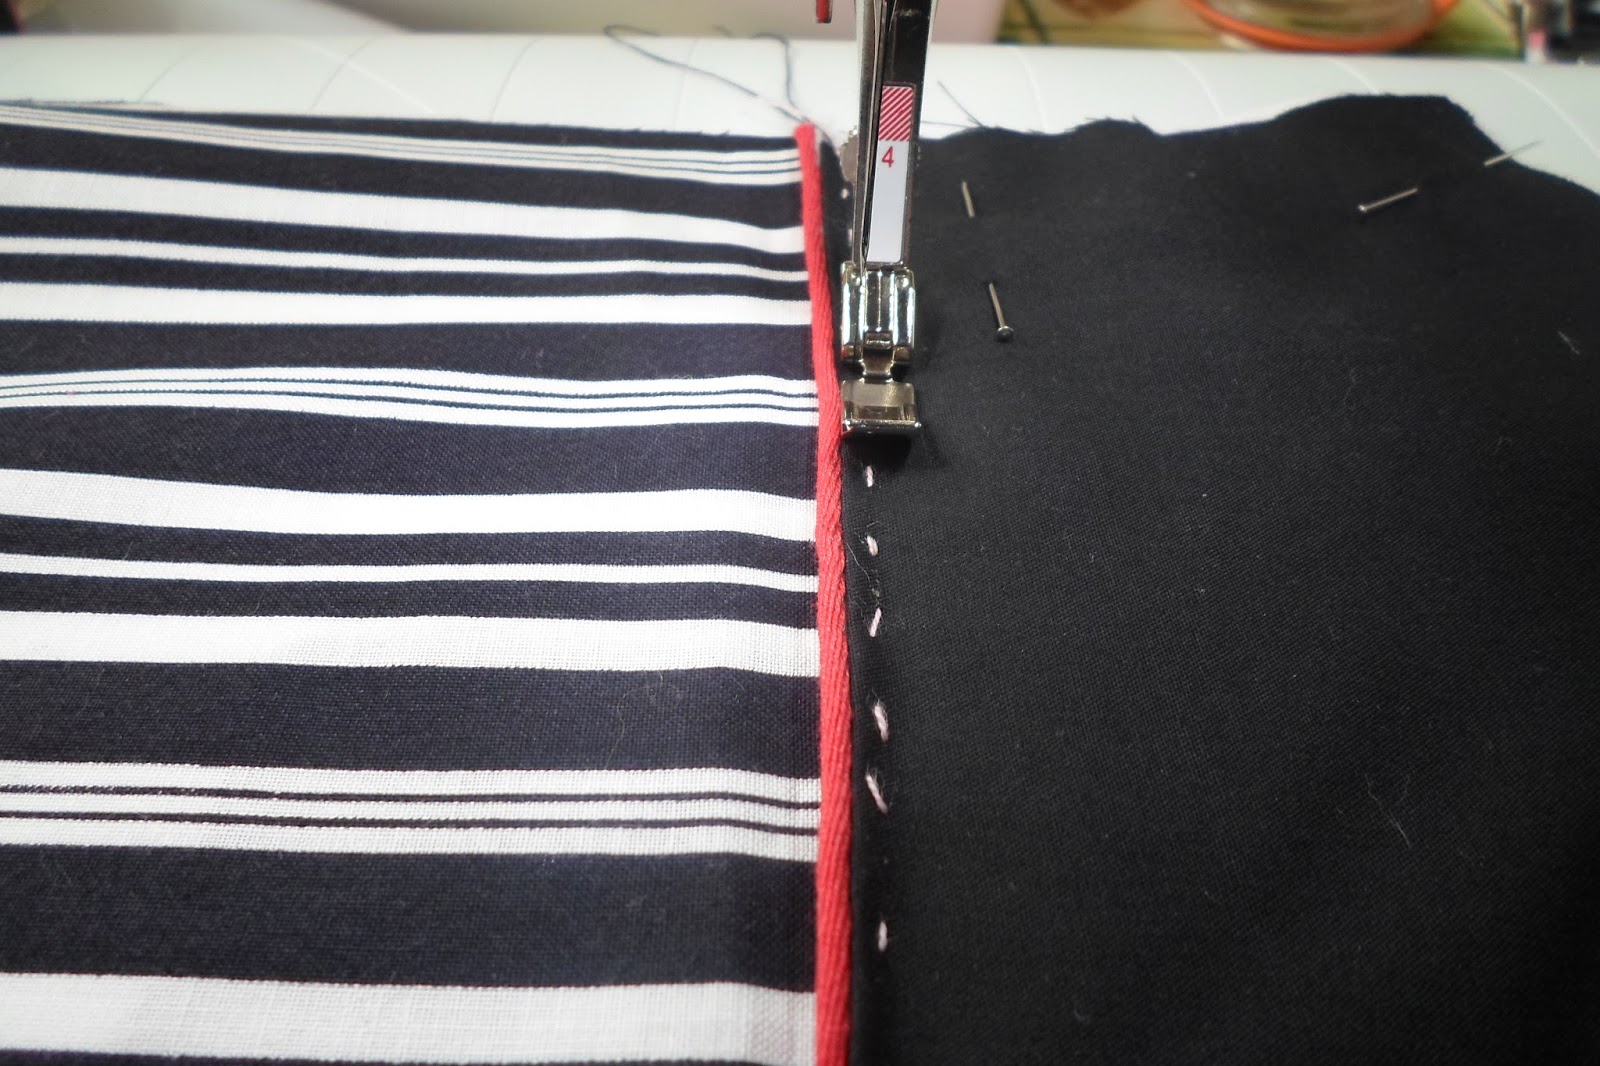
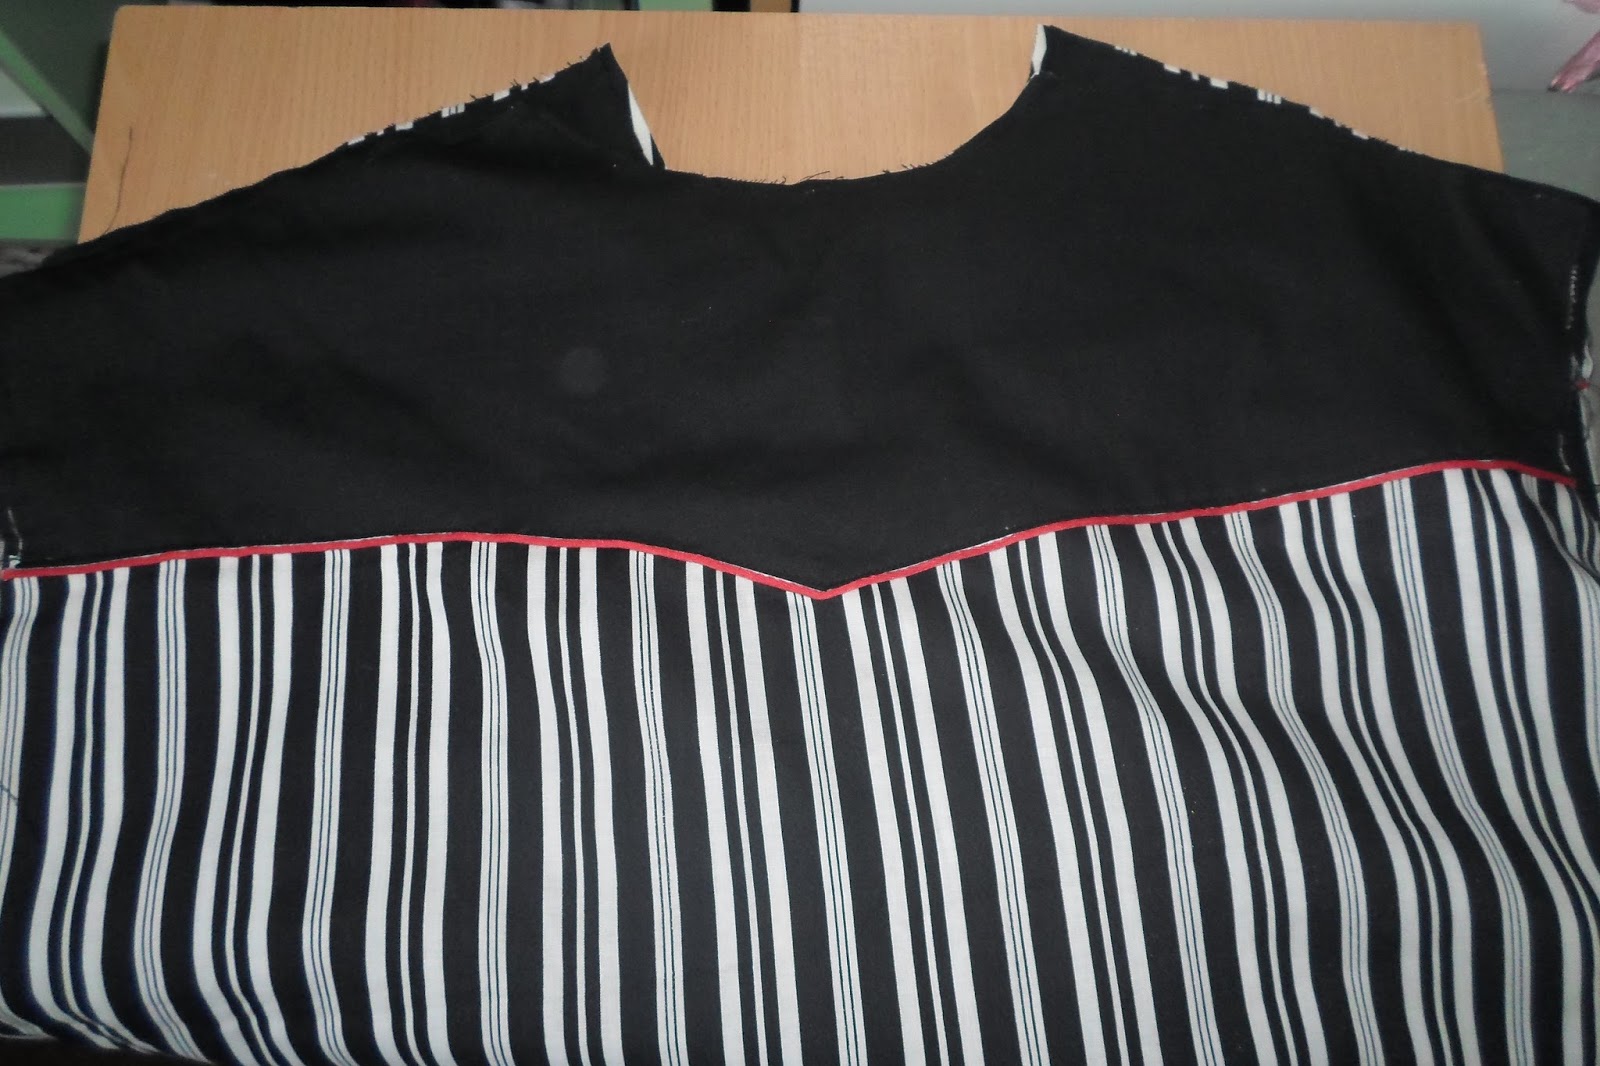
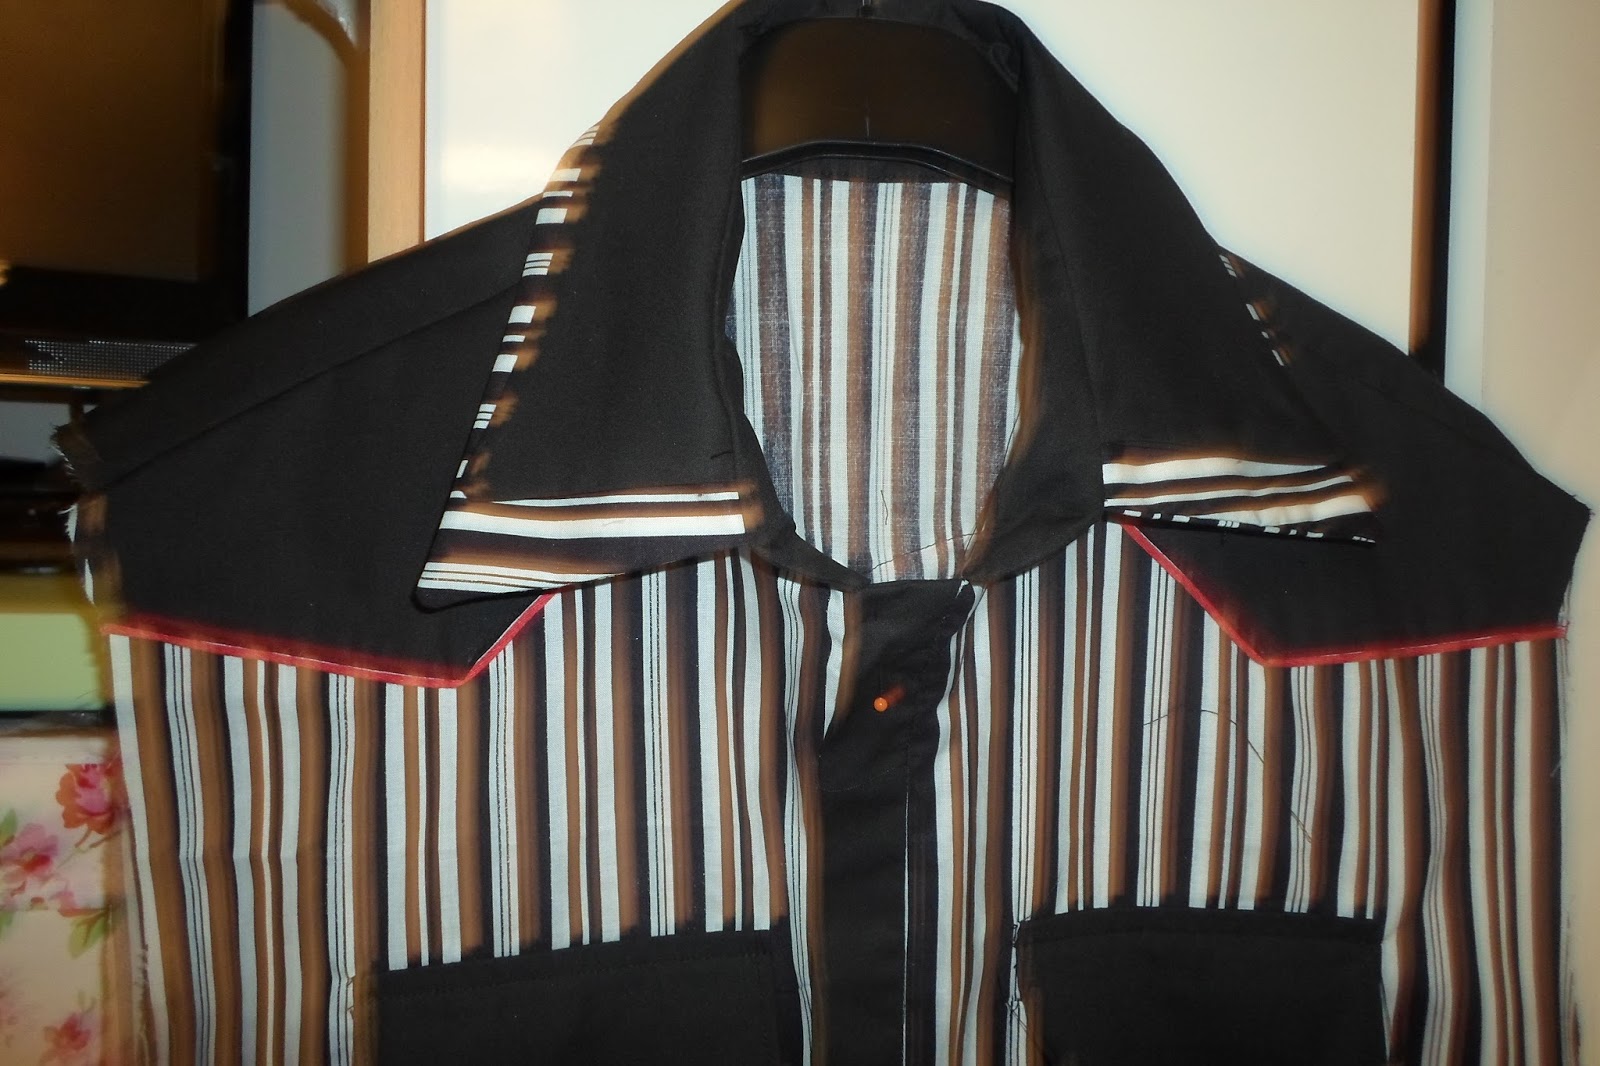
I am using two different cotton fabrics, one in an uneven black and white stripe and a plain black. I will also be using some red piping. The pattern is a very old one which I have adapted and changed many times to make different variations of the shirt. I have made over a dozen shirts so far and no two are the same.
You may like to read my previous blog alongside this one, it gives more detailed instructions for making the various components of a shirt.Click here to view it:-
How to make a collarless shirt
When choosing a pattern you will need to choose the correct size by chest measurement. If you are making one with a neckband like this one you will also need his collar size. You can check that yourself my asking him which shirt he likes the fit of and measuring the neckband from button to buttonhole and comparing it to the pattern piece.
If you have never made a shirt before I would suggest choosing a short sleeve open-neck shirt in a print fabric for your first attempt, and then as your confidence grows you can progress onto a shirt like the one I am making here.
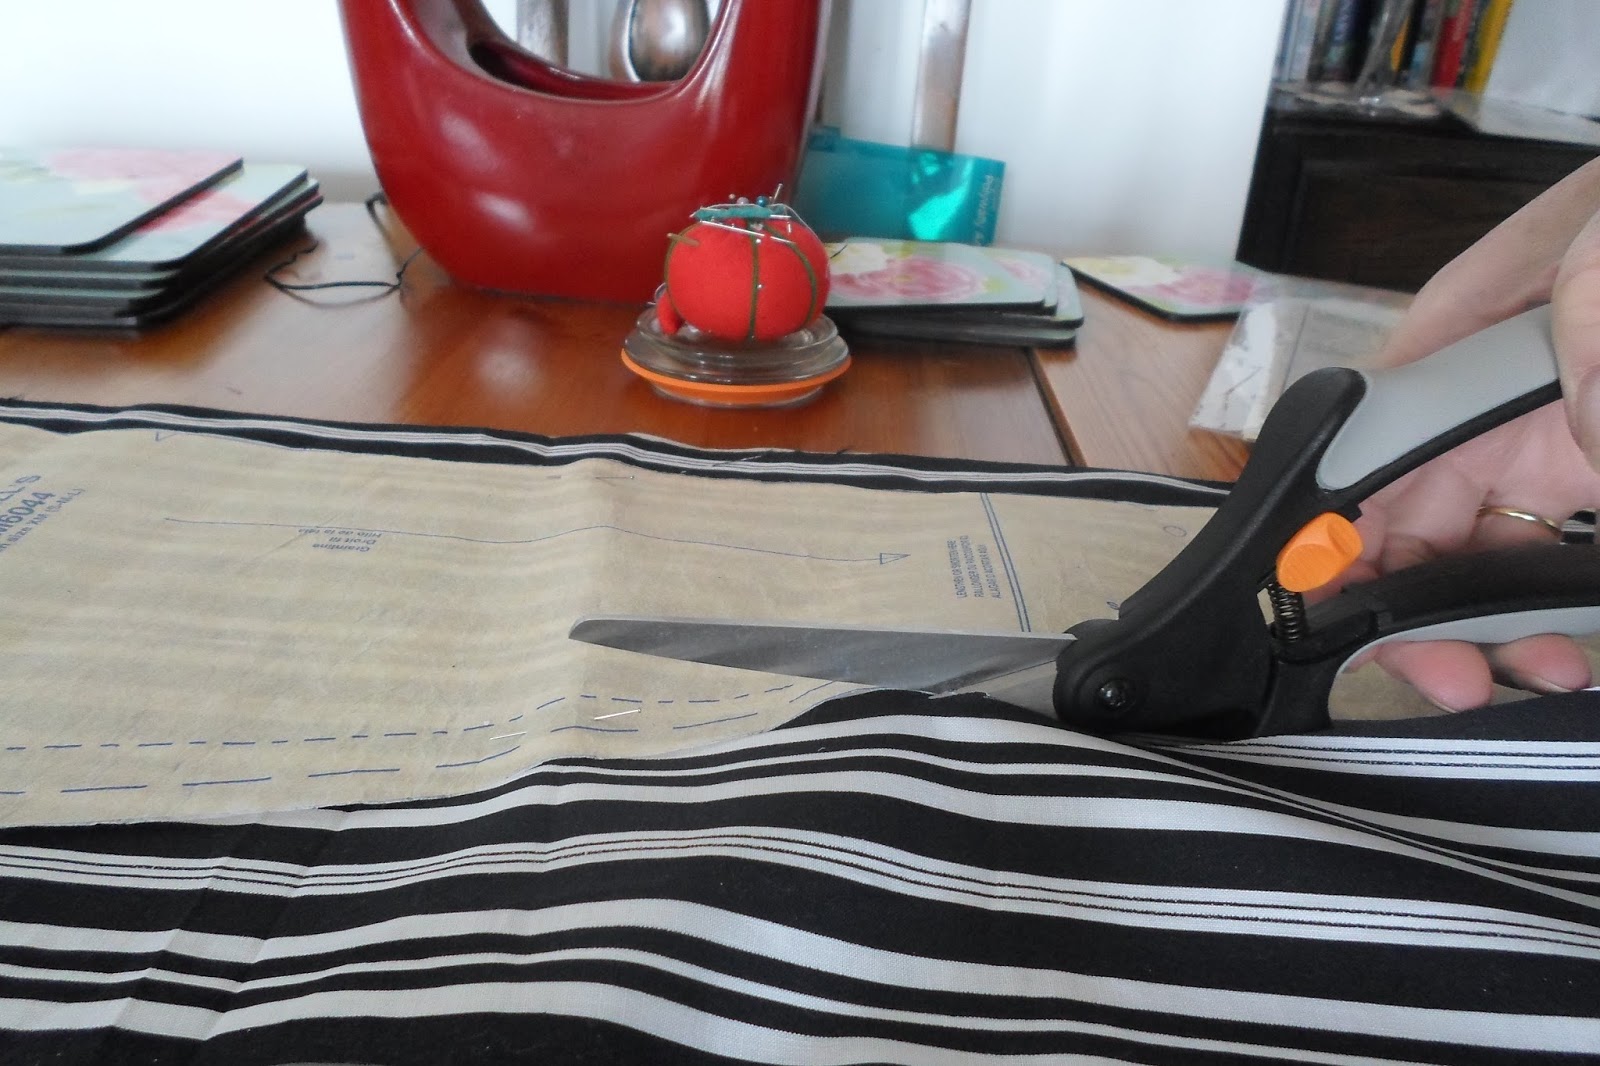
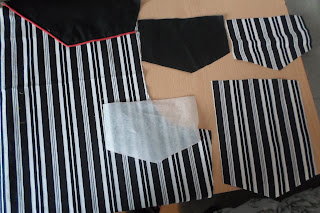
Before cutting out it is important to steam iron your fabric to get the creases out. some fabrics will need shrinking at this point. Pin the selvages together and then start to pin your pattern pieces onto the fabric(s). You need to look at each piece carefully and ensure that you cut out the required number of pieces, for example you will need four cuff pieces, that the pattern pieces are laid following the grain lines, and that you take note of which pieces need to be placed on the fold of the fabric.
Cut out the pieces carefully, I am using these
Fiskars Soft Touch Scissors from Jaycotts, they make cutting out so very easy on the hands.
Once the pocket positions are marked move your pocket pattern or template around your spare fabric until the pattern on the pocket perfectly matches the pattern on the shirt. I like my pockets to be invisible and perfectly matched.
Mark about an inch down on each pocket piece, hem the top by turning the edge under a little and stitching. Right sides together press the top inch or so, and stitch using the normal seam allowance ( 5/8" ) Turn the pocket the right way out, press, Turn under the seam allowance on the sides and bottom mitring the corners. Press, tack onto the shirt matching the pattern carefully. Top stitch in place.
To make pocket flaps cut out a template using the bottom part of the pocket pattern to the length required. You will need to cut out four pieces of fabric.I used two in striped and two in plain. Join two pieces together, right sides together around the sides and bottom, Trim the corners off, turn right sides out and using a point turner make sure that the corners are crisp. Press. Overlock the straight edge and position the flaps facing upwards a seam allowance away from the pocket top. Stitch in place. Press, Top stitch. (Some patterns have pocket flap pieces included.)
You should now have the pockets and pocket flaps nicely in place. Keep pressing all the time, it does make a difference, and overlock any raw edges as you go along too.
The next process is to attach the front bands. They need to be interfaced with a lightweight fusible interfacing to support the weight of the buttons and buttonholes. I always recommend using the best quality you can find when it comes to interfacing, after all a little goes a long way and you will get full use out of it.
Jaycotts sell a huge range of good quality interfacings, to view the range
CLICK HERE
You may like to follow my blog on Making a collarless shirt as there are detailed instructions on attaching the front bands on there.
Click here to view the blog
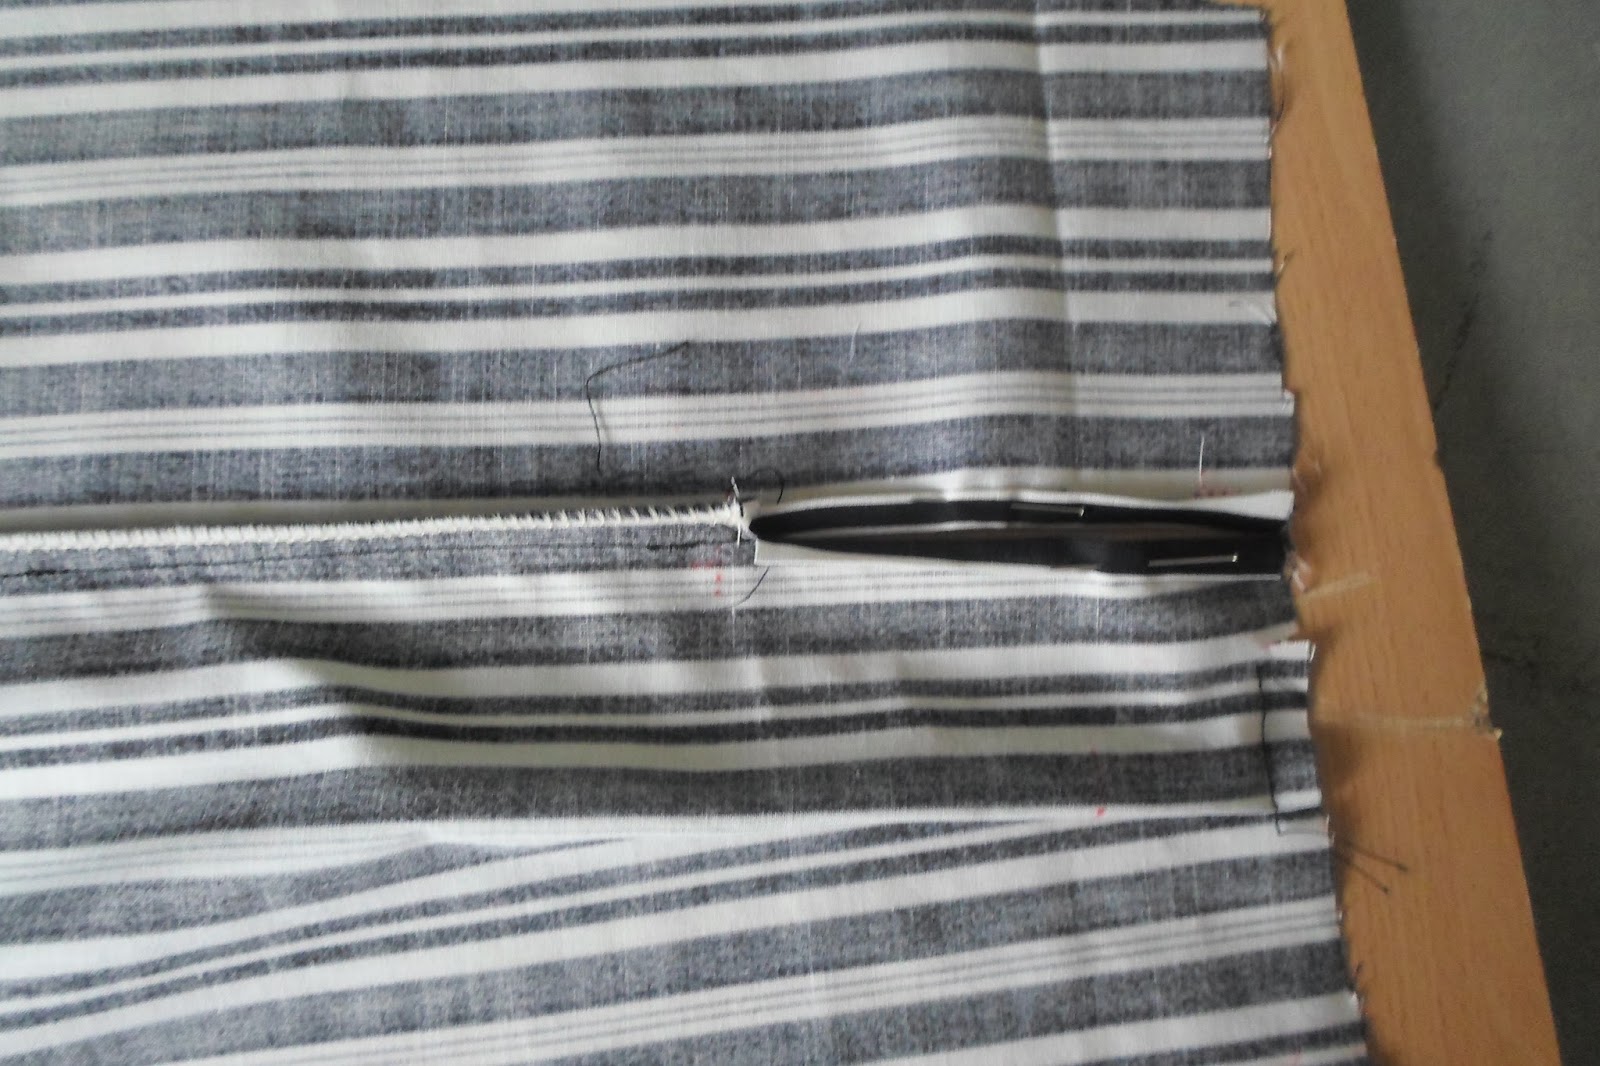
I find it easiest to leave setting the sleeves in now before I stitch the side seams. To make the vent join the front and back sleeves together until you reach the dot. Overlock until you reach the same place, clip up to the seam allowance and make a double hem. You could also do a faced vent if you prefer.
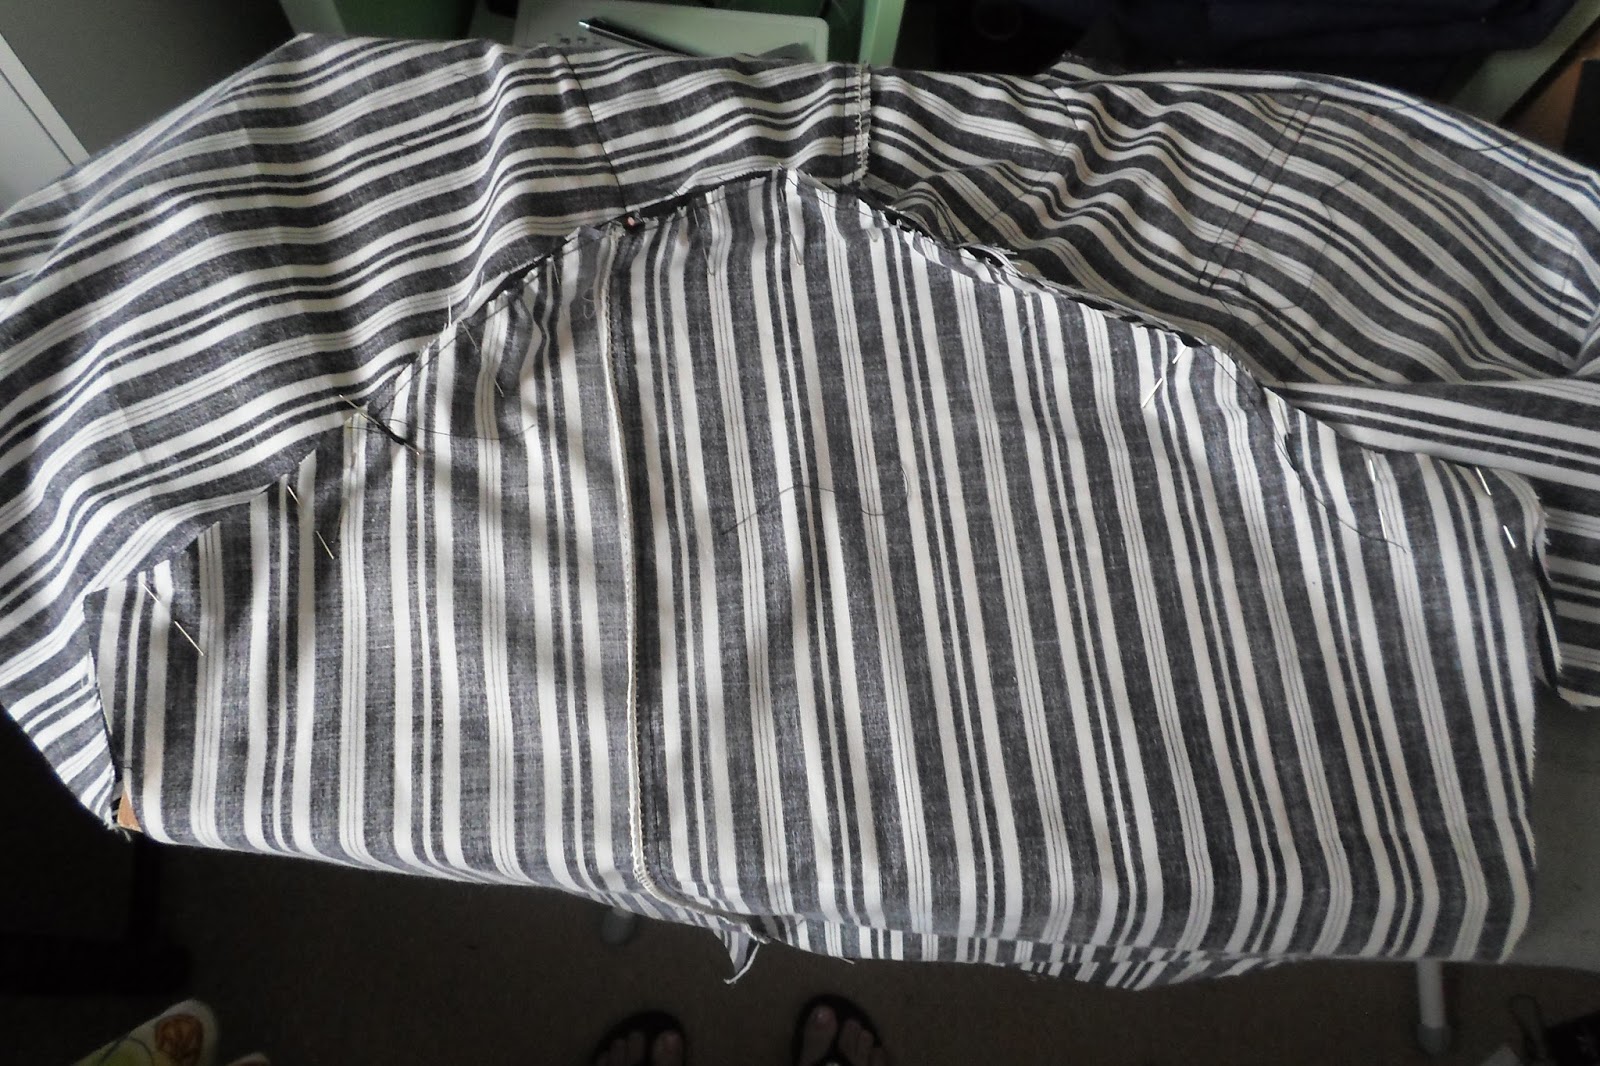
To insert the sleeves run a row of ease stitches between the notches and start to pin in place matching all the pattern markings. stich, press, overlock.
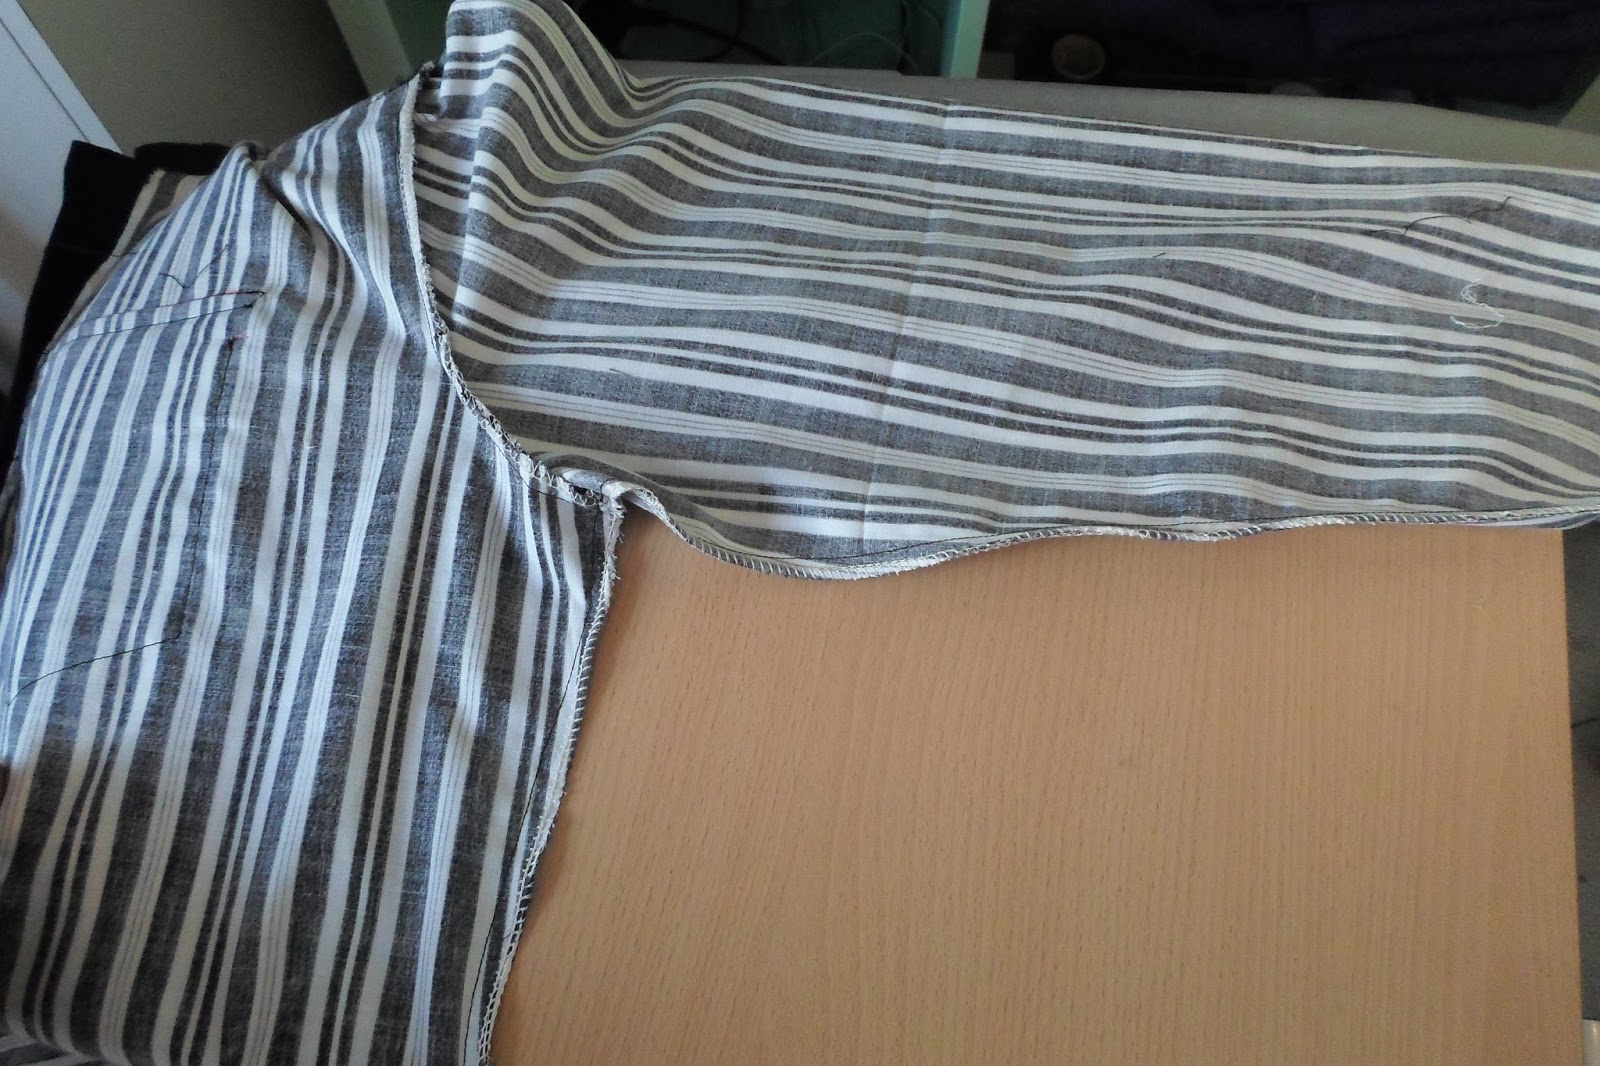
Stitch the side and sleeve seam in one operation matching the underarm seams. Overlock the edges.
You now have a shirt with sleeves. Don't forget to make sure that the fit is correct before you stitch the side seams!
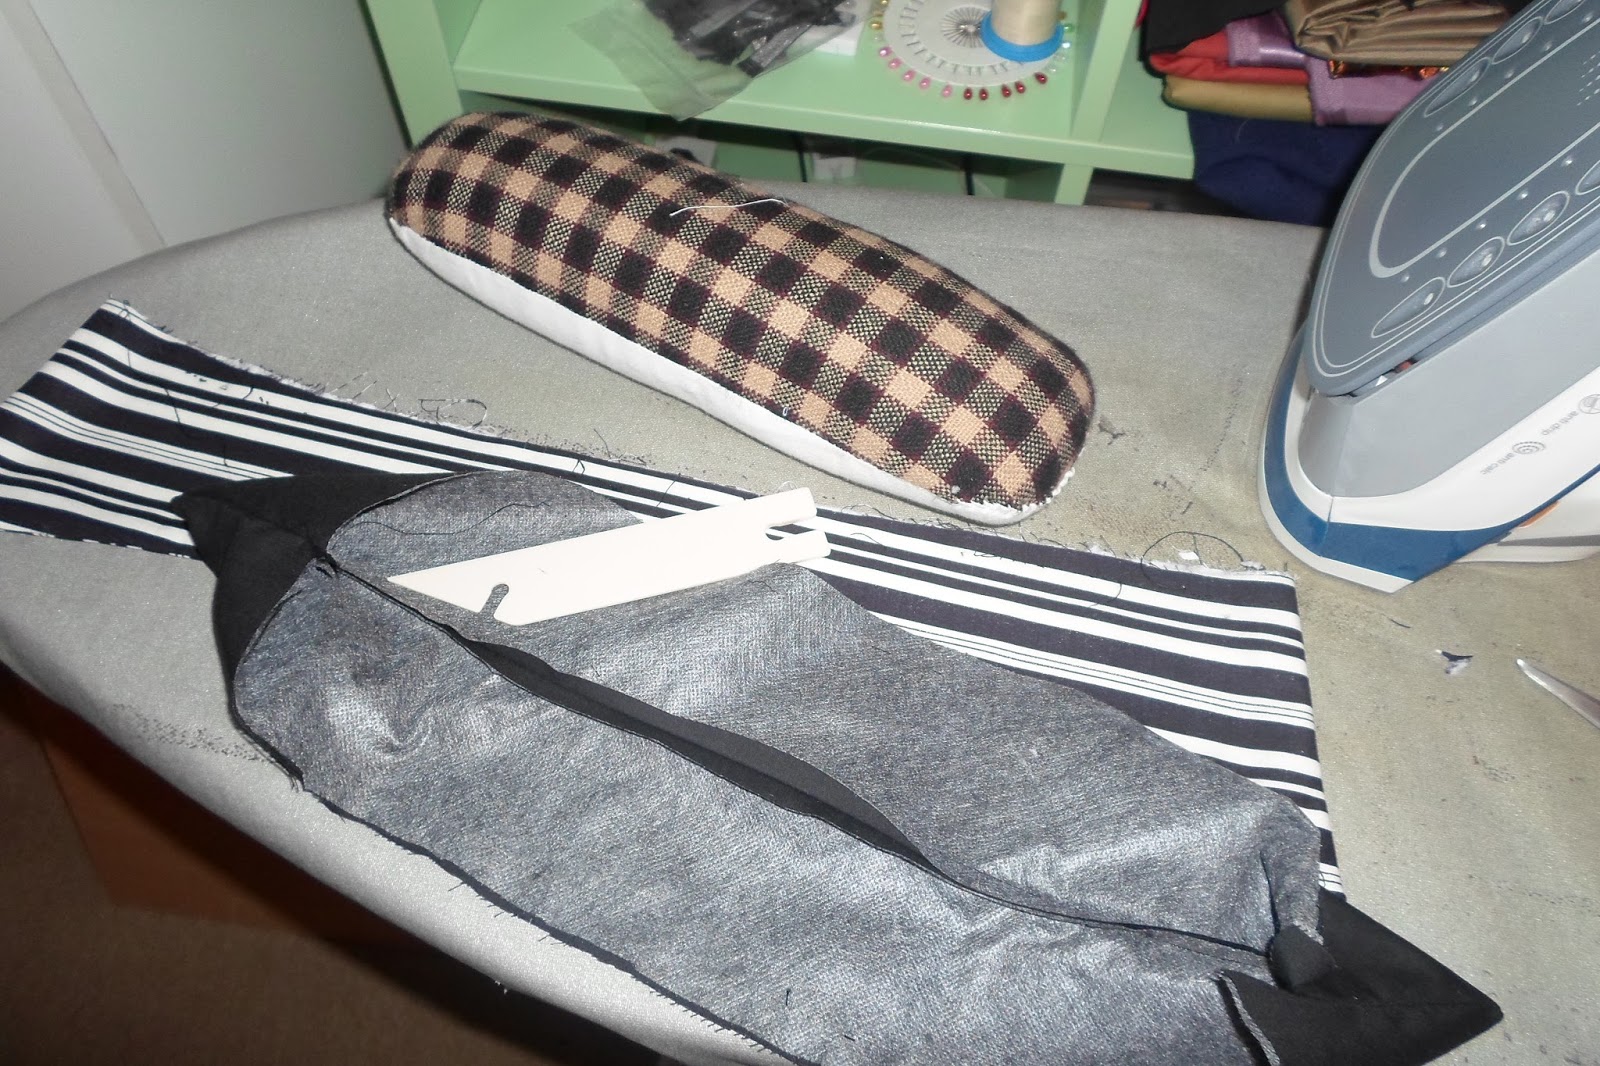
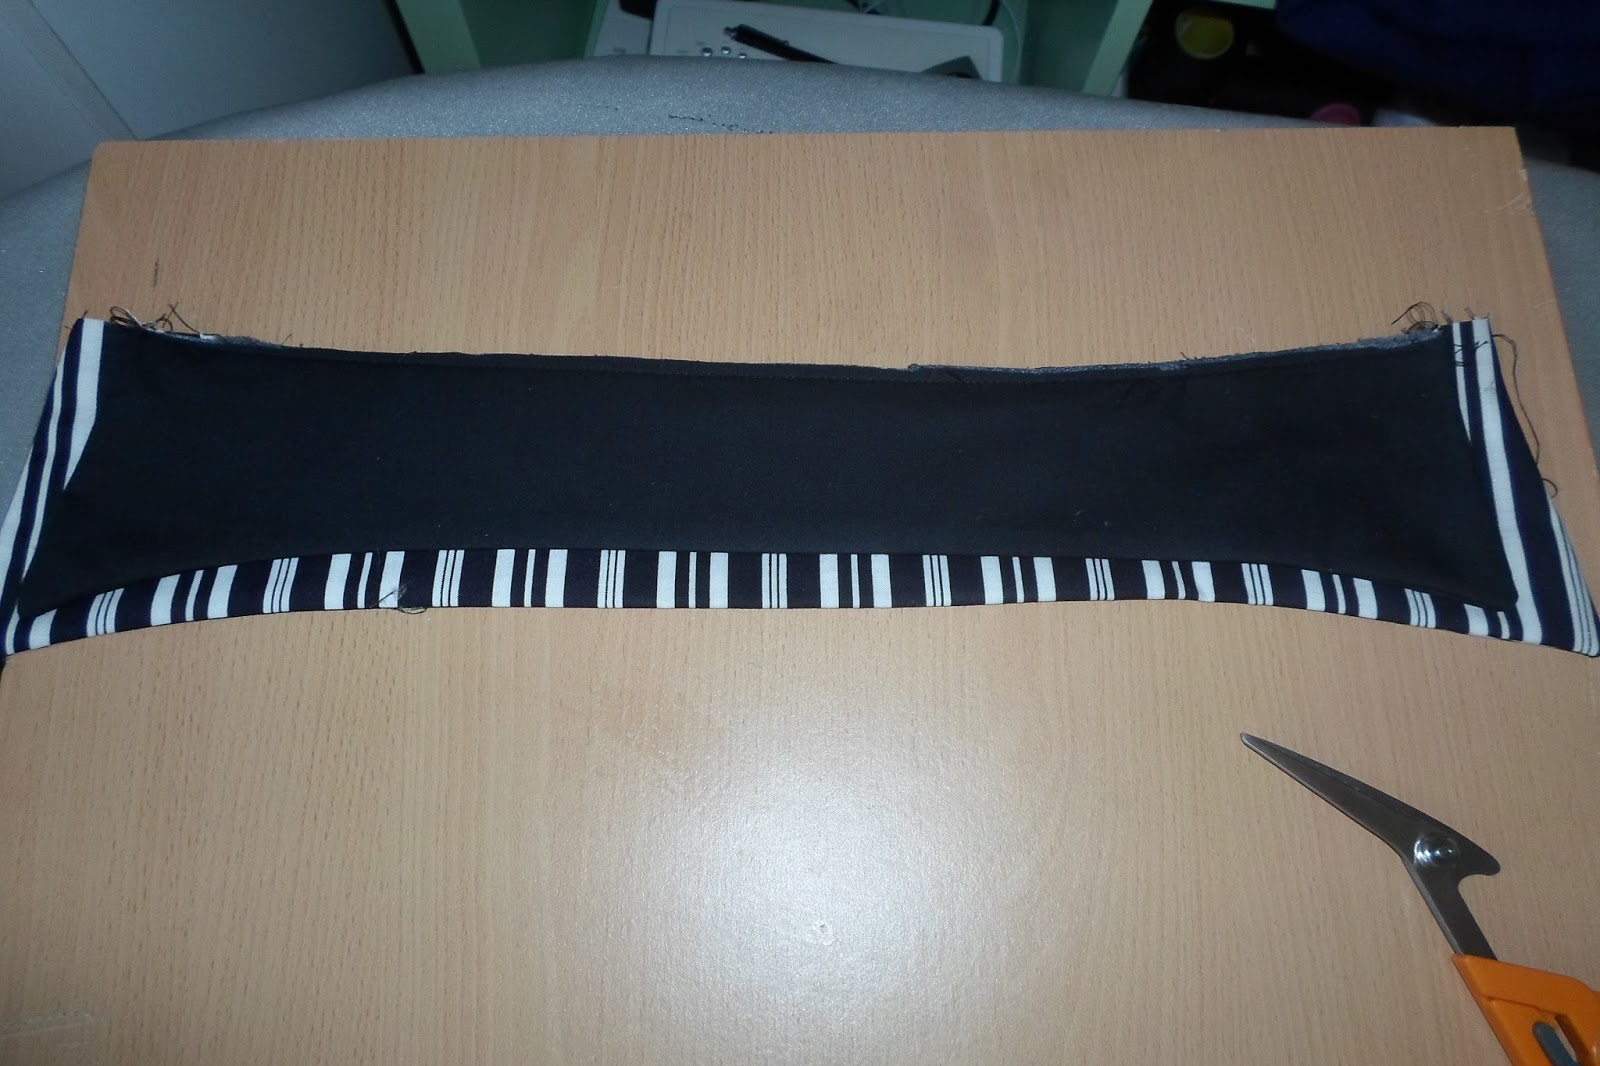
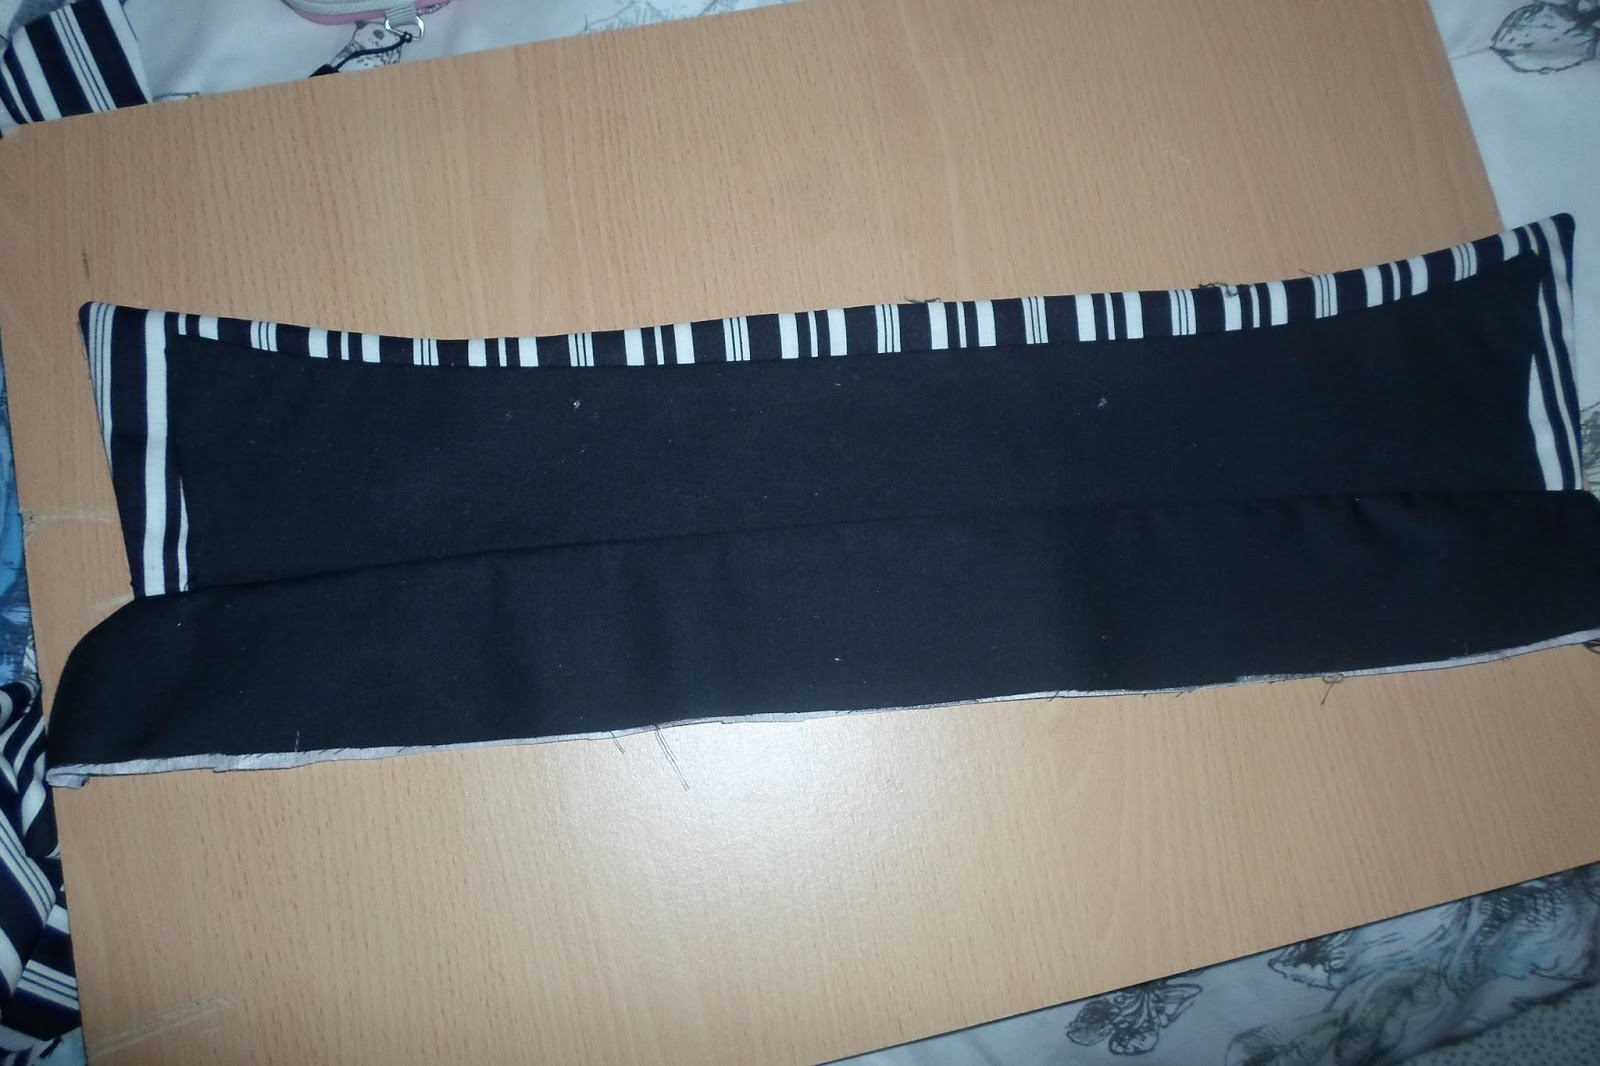
Make the cuffs exactly in the same way as on my previous blog post CLICK HERE the only thing I did differently was to insert piping between the cuff and the sleeve for interest.
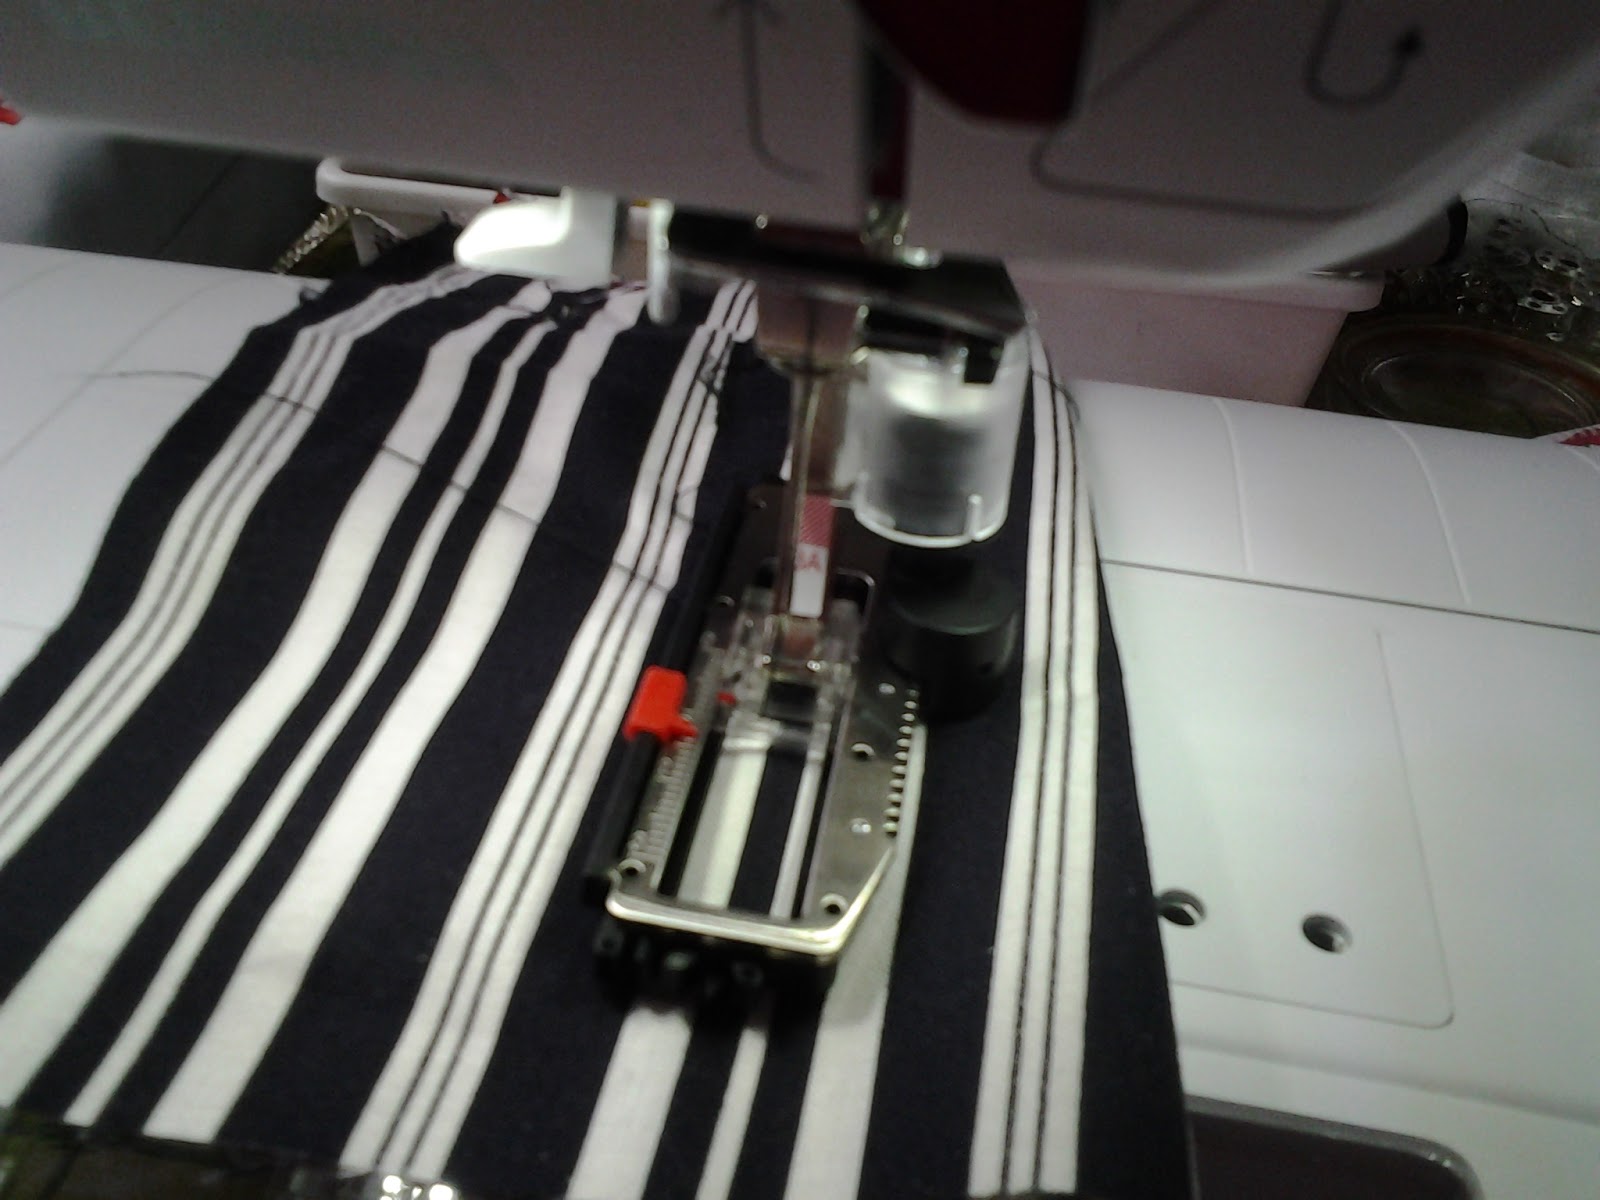
This is the point where we come to button holes. Mark the position of them all using the pattern markings as a guide.This is the first time I have used the BUTTONHOLE FOOT on my new Bernina and I was wondering how easy or difficult it would be.Out came the instruction book and some spare fabric. I measured the button and set the gauge to correspond. Then I tried it out, and it was much easier than I imagined it would be! I did however make the first trial buttonhole a bit too small, so I tried again., Perfect!I set to work stitching all the buttonholes, nine down the front, one on each pocket flap and two on each cuff. The machine coped with them easily and I was impressed that the memory saved my setting and it automatically stitched each buttonhole exactly the same.If you also are using a new machine it really is a good idea to practise a little too.
Can I mention cutting the buttonholes? Never, ever use a stitch ripper to slash through the buttonholes, just don't do it! I have seen many garments ruined by people whose hand has slipped when taking this shortcut and the only way to sort the mess out has been to cut out new pattern pieces which also means taking much of your work apart to insert them.
Use a sharp pointed pair of scissors please! alternatively Jaycotts sell a Buttonhole cutter set , which you can view
HERE
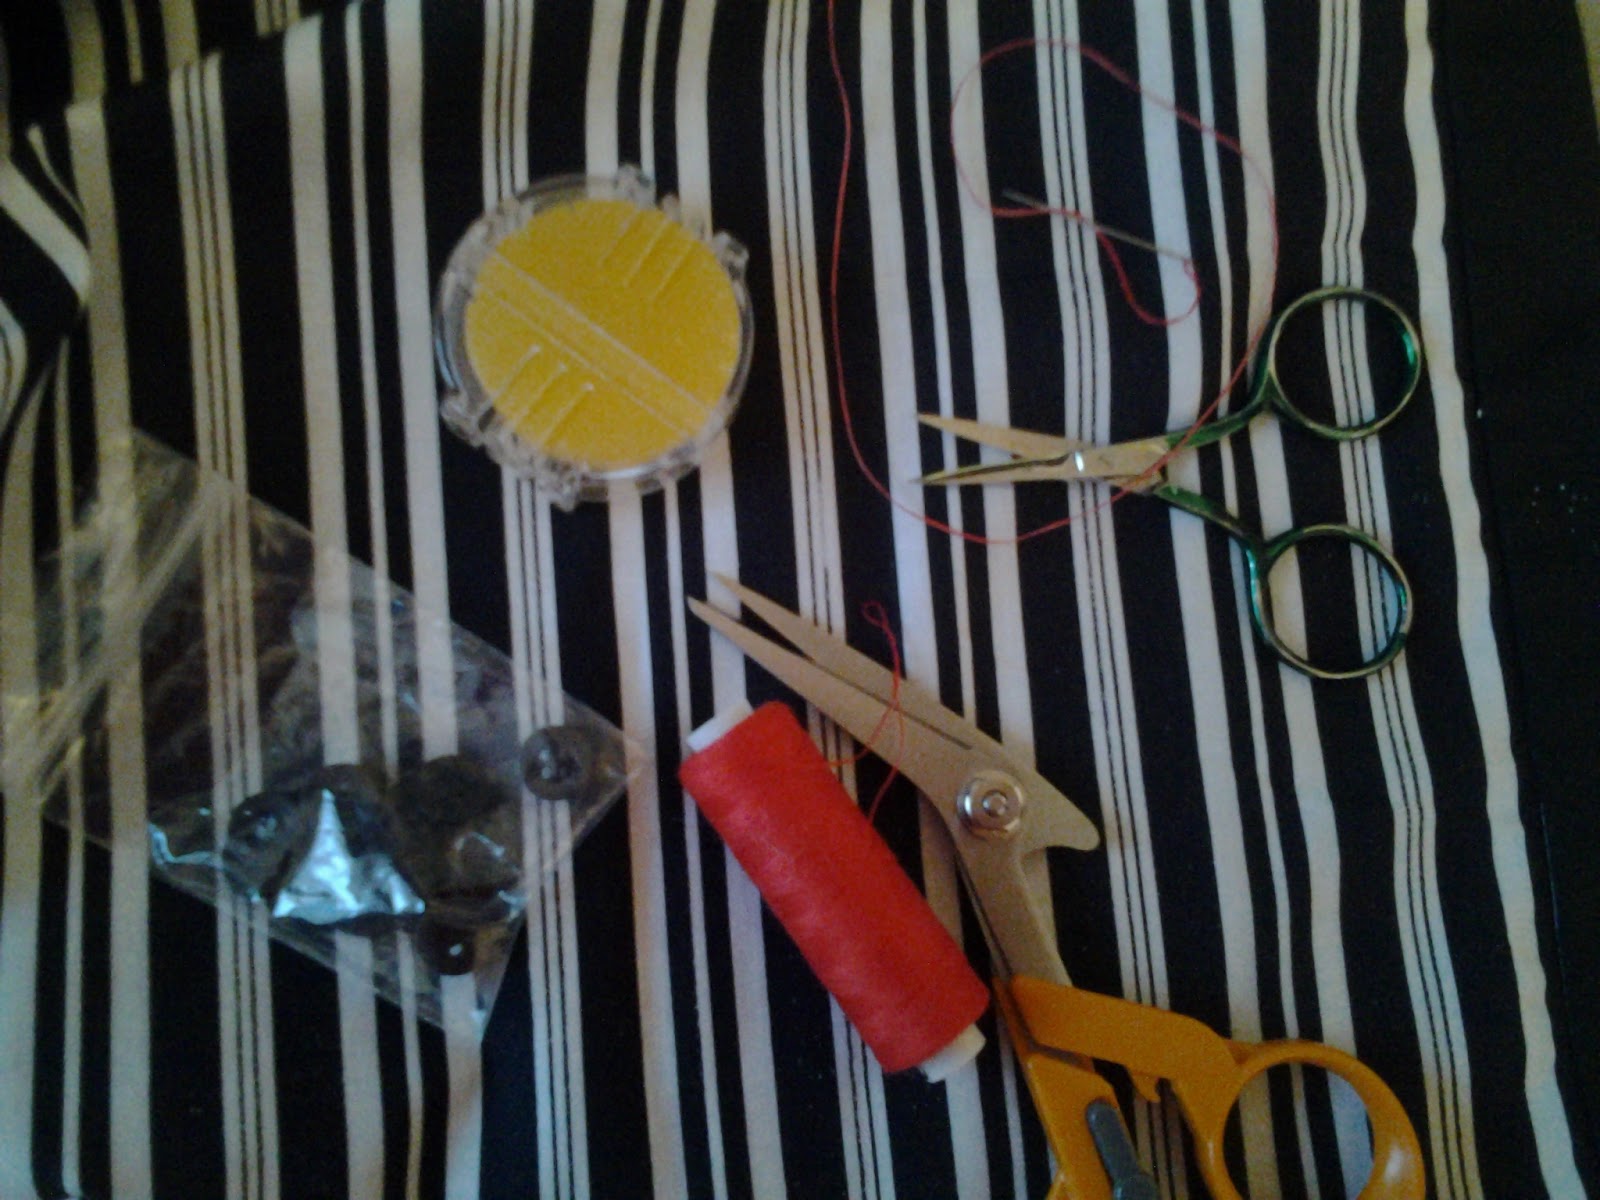
Mark the positions of the buttons with chalk and gather together your equipment. I sit at the dining table and spread my work out for this bit.
You will need a sewing needle, thread, and some beeswax which you can order from jaycotts along with everything else you will need. beeswax is used to strengthen the thread when you are stitching buttons on, it makes it stronger and less likely to tangle.
I used two buttons on each cuff. As you can see I chose a four hole button which I stitched on firmly with red thread in a cross pattern to make the buttons tie in with the red piping on the garment
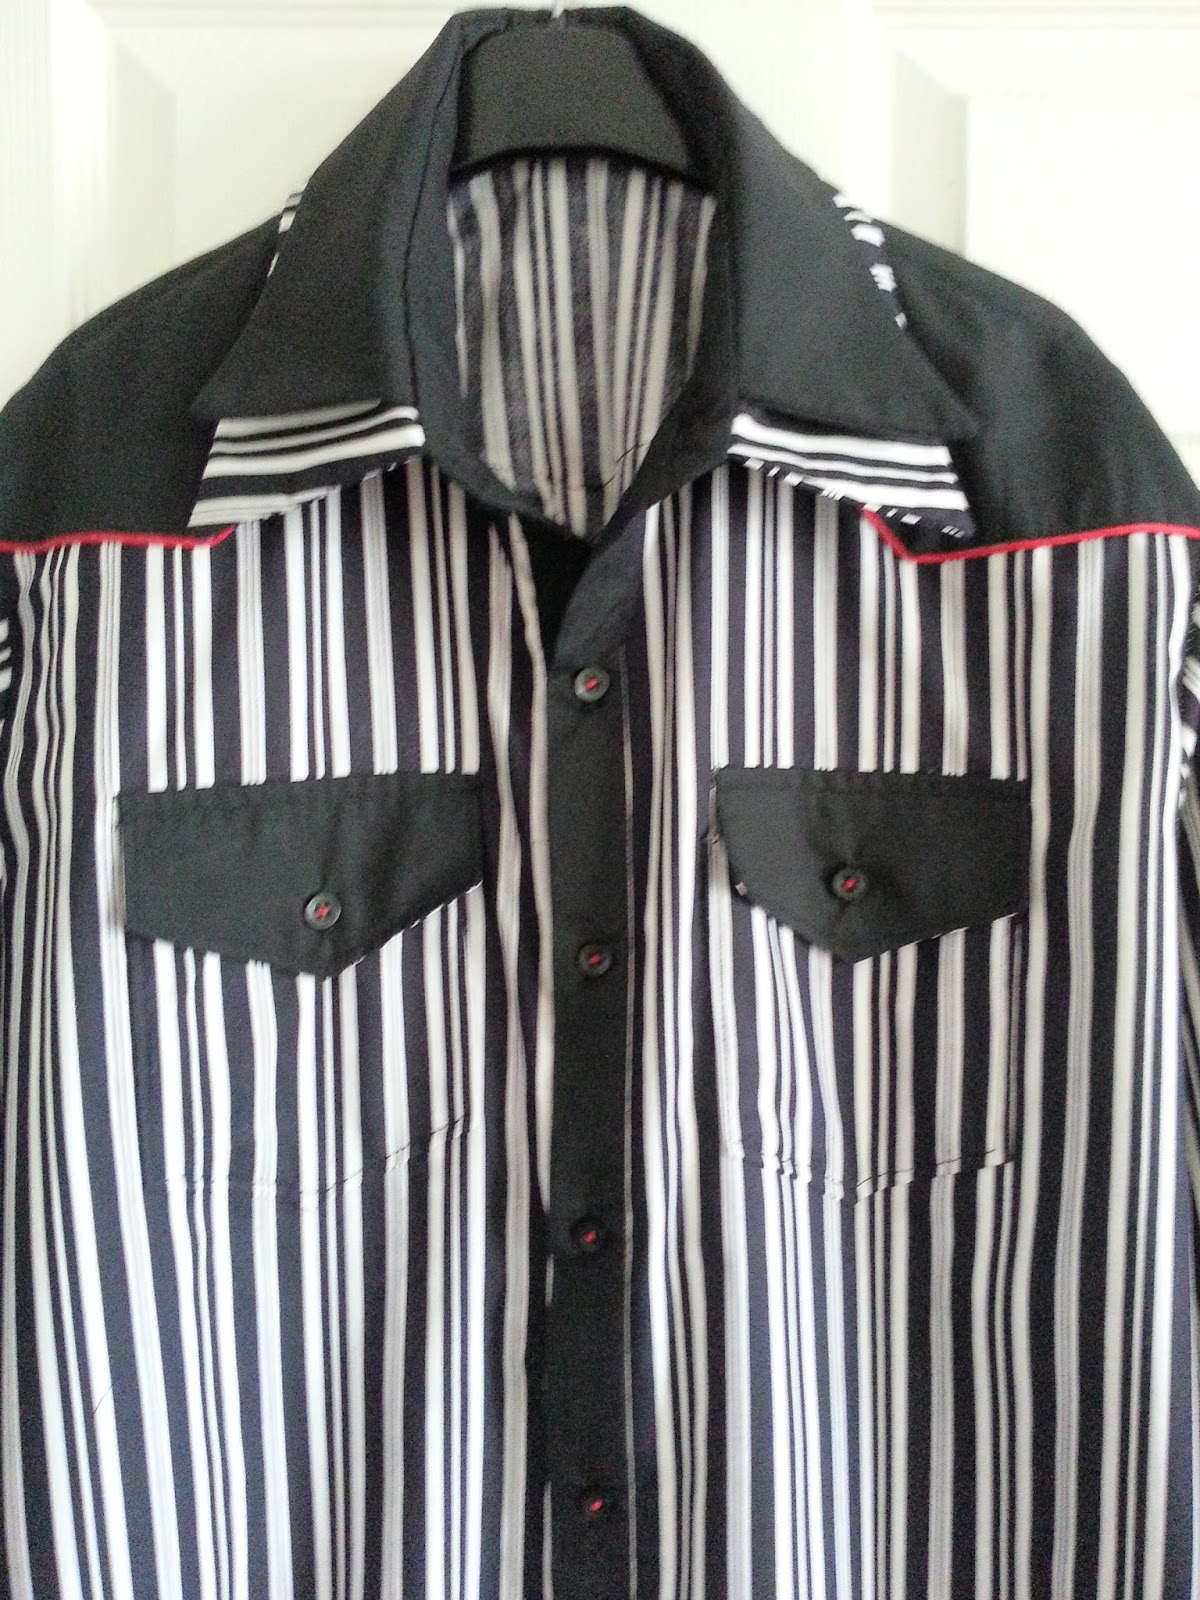
And here is the finished garment. Give it a final press and check for loose threads
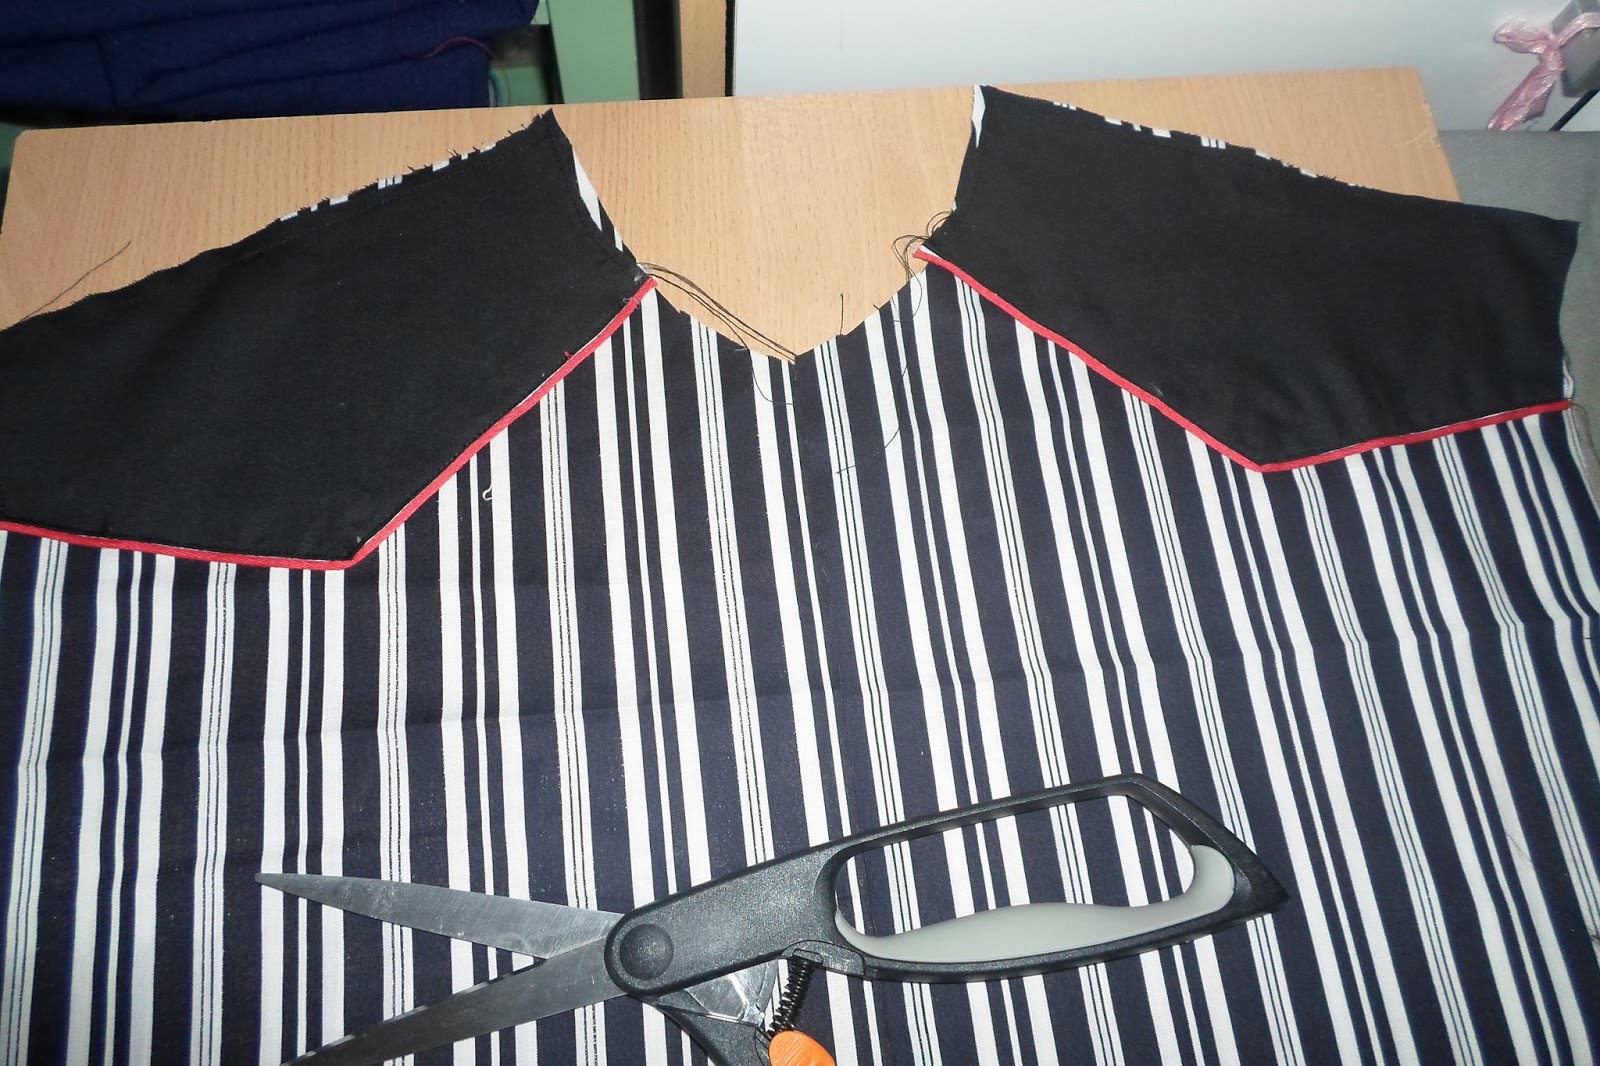
You can see how attractive the back looks with the contrast yoke and piping.
And this is the final picture of the shirt being worn for the first time.
If you have never attempted sewing a shirt before do give it a go,There is a really good selection of patterns on Jaycotts.co.uk All of the major pattern houses have shirt patterns,some easier than others, so take a look at these
MENS SHIRTSI hope that you have enjoyed this post, If you have a photograph of a shirt you have made |I would love to see your picture, you can contact me through my blog or through Twitter on @sewingangela
Happy sewing!
Ps see my posts on the Jaycotts blog by clicking
HERE
--Posted By Blogger to #SewAngelicThreads on 7/03/2015 02:33:00 pm