This is how to make a shift dress in 1960s vintage style. This post talks about transferring pattern markings onto your fabric.
60s style dresses are always in style, and no wonder, they are so easy to wear, look great and suit most ages and sizes. This is a jaycotts.co.uk "How do I do that" post
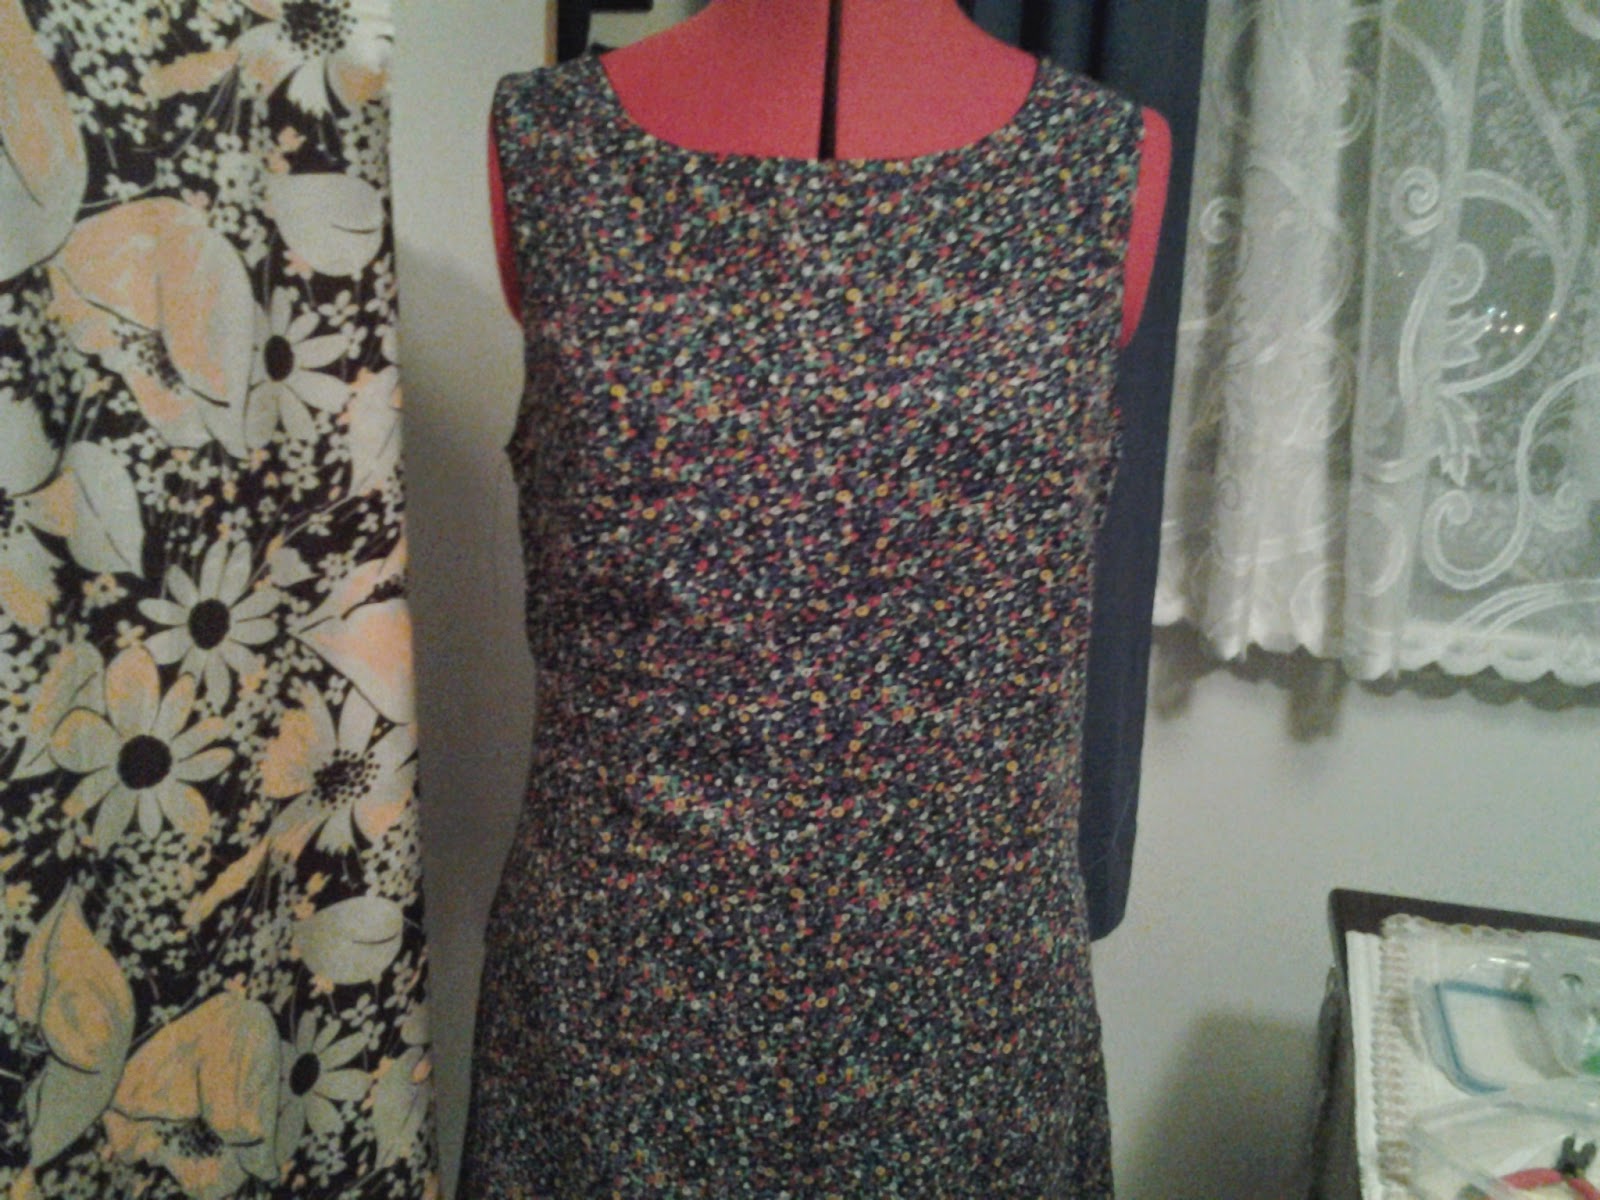
I have made this dress twice before, but I have a piece of slub silk which I have kept cutting into to make ties and so on, and now there is only just enough left to make myself a simple shift dress!
The first part of this tutorial is to show you how to transfer pattern markings onto your fabric.
This is the fabric. I cannot remember where I got it from, I have had it in my stash for,years. The fabric is quite stable, it does not fray very much surprisingly, and above all The jewel colour is amazing.
The pattern I have made before of course, this time I will make the version with the bow, the fabric I am using is just about the same as in the pattern. You could choose a firm cotton or something silky , the pattern really lends itself to almost any fabric.
We have touched on transferring pattern markings, and I have shown you Tailors Tacks
To make tailors tacks you need tacking cotton . This is a pure cotton thread which is rough to touch, it therefore does not slip out of the fabric easily.Using a long length of thread, doubled, start to make a couple of stitches at all the dart points, you need to leave long loops. When they are all done pull the fabric layers gently apart and snip the threads between the two layers, make sure they dont come out.You can do this along seam lines, just make a long row of running stitch , eaving a long loop at each snip.when stitching the tailors tacks are pinned together, sewn and removed.
On this dress I am using dressmakers carbon paper which comes in lots of colours. Choose a colour which you can see but which is not too dark. Try it on a spare piece of fabric to make sure it cannot be seen on the right side. I am not a fan of this sort of marking fabric, or of marking pens, I much prefer traditional tailors tacks, but I appreciate that some people use them.
Remember that when the fabric is ironed the marks are likely to remain permanent, they may show on the right side of your fabric too, so use with caution!
In addition to the carbon paper you need a board to work on, I use a small piece of shelving, a ruler,and a tracing wheel. Tracing wheels are either serated or plain.
Dressmakers carbon paper is available here Dressmakers carbon paperAnd there is a lovely serated tracing wheel available here Prym tracing wheel
Place the carbon/tracing paper doubled, coloured sides out inside the two layers of fabric.secure the fabric around it with pins. NB the wrong side of the fabric needs to be marked, make sure you do not mark the right side!Take a ruler and tracing wheel and go over the darts, seam lines and any other markings quite firmly.
As you can see here, there are faint yellow lines marking the dart.It is now a simple procedure to match the dart lines, stitch and press.Please note that sometimes the lines do not wash out,and also they can become permanent when ironed, so it is vital to choose this method only if suitable for your fabric and if it will not show on the right side of the material. It is not suitable for thin fabrics or fabrics which pull or pucker in any way. Do test this method on a spare piece of fabric won't you.
Once you have transferred all the pattern markings to your fsbric you need to tack the darts and then tack the sides together, remembering that there is a side zip in this dress and then tack the back seam. This is where you try it on and make any adjustments. I think that this style looks at its best when it just skims the body and is not too tight or too loose.
Once you have it on pin the side together where the zip will go.Now take a good hard look at it. Does it pull anywhere? Is it too loose anywhere? Do the darts look to be in the correct place? If anything is not right make your adjustments now.
One thing you also need to consider is how much give there is in the fabric. This slub silk has no stretch at all and it is very firm, so I need to take that into account. The lined shift dress is quite floaty and it looked nice a little looser.The rest of the construction is very simple.Stitch the darts, press them, and then join the shoulder seams.. Overlock the edges and stay stitch the neckline.Use iron on interfacing on the facing.For details on how to proceed from here with an all in one facing please take a look at my blog post showing you how to ake the colour block top from this year's (2016) Great British Sewing Bee. The link to the post is here The GBSB 2016 colour block topThe construction of the facing is exactly the same and this method gives an extremely neat finish to the neckline and armholes.It is imlortant to me that my garment looks just as good on the inside as it does on the outside. I overlock my seams but you could zig zag them or turn under a small hem on pressed open seams. In the 1960s nobody had an overlocker at home and so seams were usually turned under with a small hem or pink ed. I would not recommend pinking seams now though, as they do fray eventually. I do however still have a use for my pinking sheers, all is explained on my colour block top blog,post!
The pattern instructions are very easy to follow, they include a side zip. I used an invisible zip, but in the 1960s they were not available, so if you want to stay within the true 1960s style then opt for a standard zip.
The pattern includes variations for a collar and a bow at the neckline. The vow is very simple to make , the instructions easy to follow, so why not have a
I actually made three variations on the same dress. The 1960s shift, plus the lined shift and now this one. They are all firm favourites when it comes to packing for a holiday as they are lightweight and easy to pack
I think that the bow looks lovely on this dress.
I hope that you have enjoyed this blog, please leave me comments as I would appreciate feedback. I also welcome questions.And don't forget to read the blog which accompanies this one - the colour block top.
Happy 1960s sewing.
NB
The other dresses from this same pattern are the 1960s style shift
click here to see how I made this dress
And the lined shift
click here to see how to line the dress
I do hope that you are inspired to take your favourite pattern and make different variations of it
All of my sewing equipment and machines are from Jaycotts.co.uk. Do sign up for the newsletter and receive details of all special,offers, discounts and competitions first.You can contact Jaycotts.co.uk on this page Contact Jaycotts.co.uk or why not telephone for advice on 01244 394 099 Better still pay them a visit, you are assured of a very warm welcome and will be able to try out the latest sewing machines!
Angela
#sewingbee #GBSB #1960s #vintage #dressmaking #sewingblog #jaycotts.co.uk
--Posted By Blogger to SewAngelicThreads on 6/08/2016 07:45:00 am