Fast Shipping!
Free for Orders £25+
Free for orders over £25
If you have never come across Simple Sew Patterns before then I urge you to visit their web site by clicking on the link HERE The patterns are amazing, they are modern,stylish and fresh and importantly they have been designed with care to fit real women bodies very well indeed. Another plus point is that the patterns are printed on real paper, not flimsy tissue paper.
I have just completed the Charlotte Dress CHARLOTTE DRESS and Love, love love it!
The dress fits like a dream, but then that is the whole point of making your own clothes don't you think?
A lot of care and attention has gone into designing these patterns and that is why I love them so much, they are all fashionable and stylish,very wearable and comfortable too. The patterns show a great deal of knowledge about fit and this is one pattern which needed no alterations whatsoever.
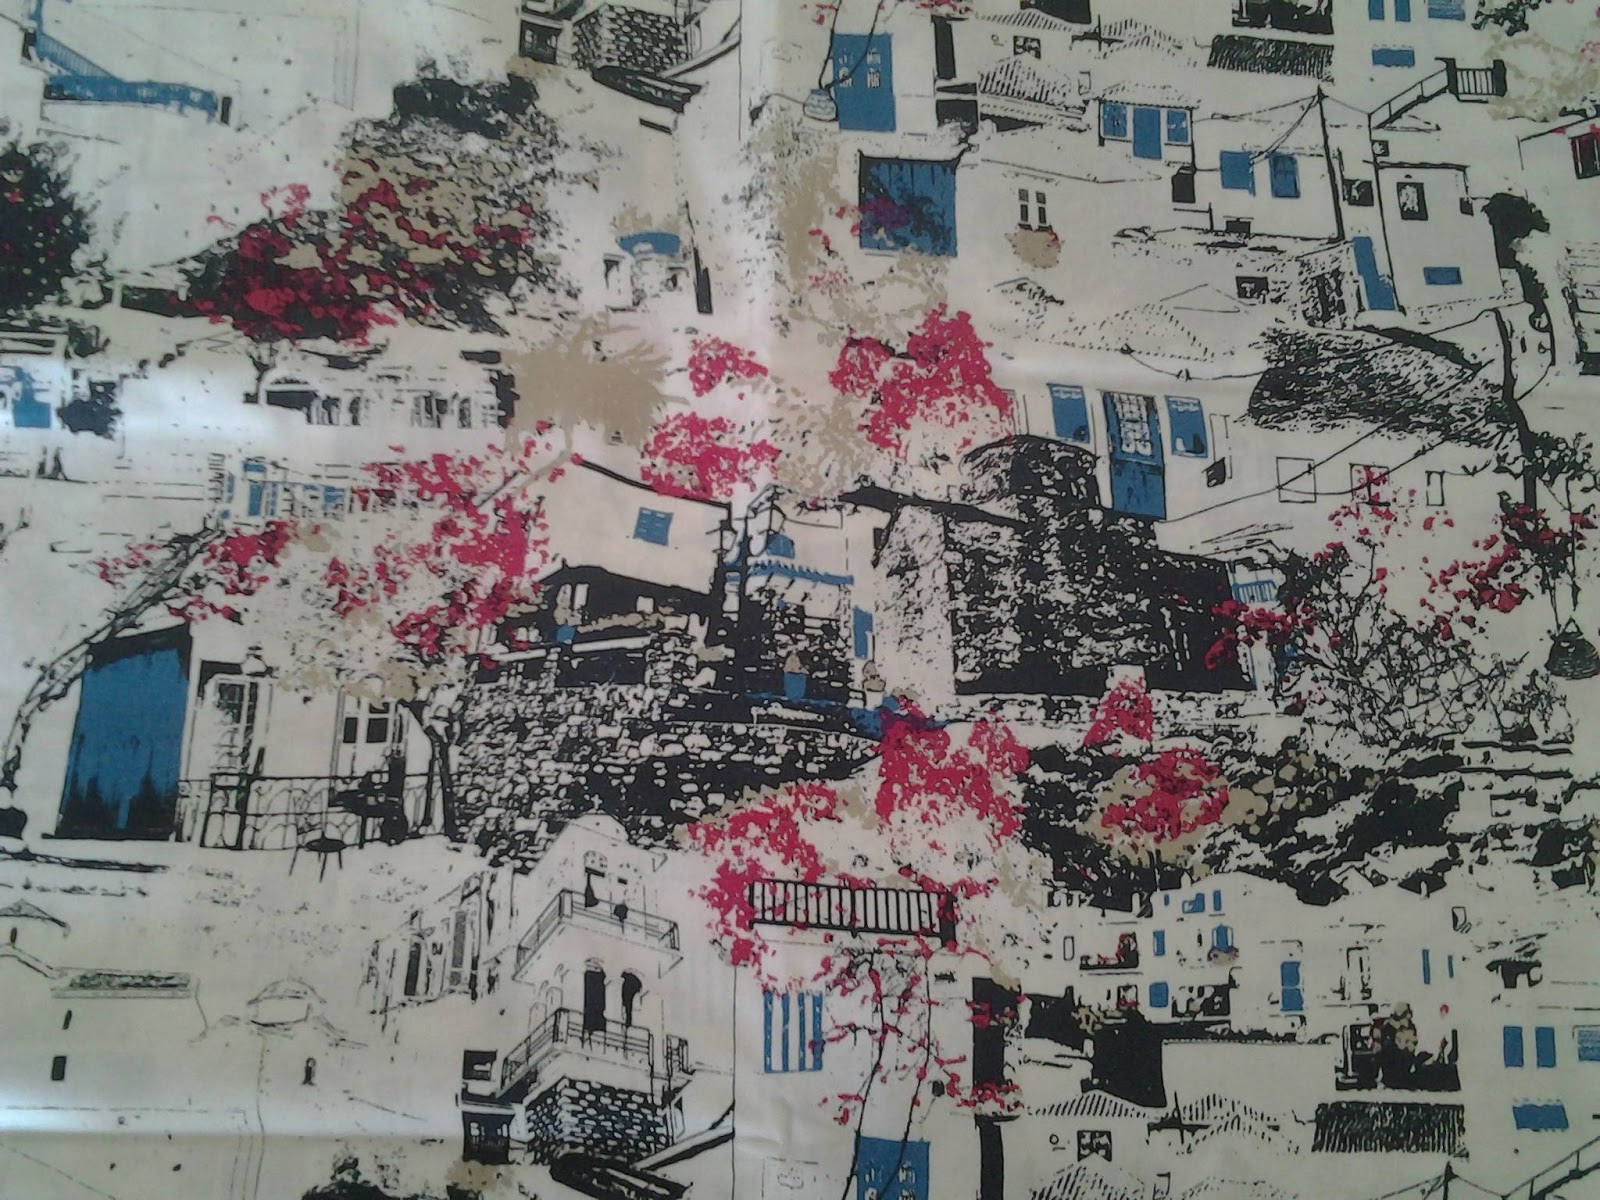
A great pattern needs a great fabric and I chose to use an Art Gallery Fabric from White Tree fabrics. For those of you unfamiliar with Art Gallery fabrics they are made from premium cotton (in this range) and have fabulous designs printed on them.
I chose this fabulous Art Gallery Fabric from WhiteTreeFabrics.com, It is a premium cotton called Skopelos Chora, available on this link, Art gallery fabric SKOPELOS - CHORA Art Gallery fabrics have the most amazing designs and I just adore them.
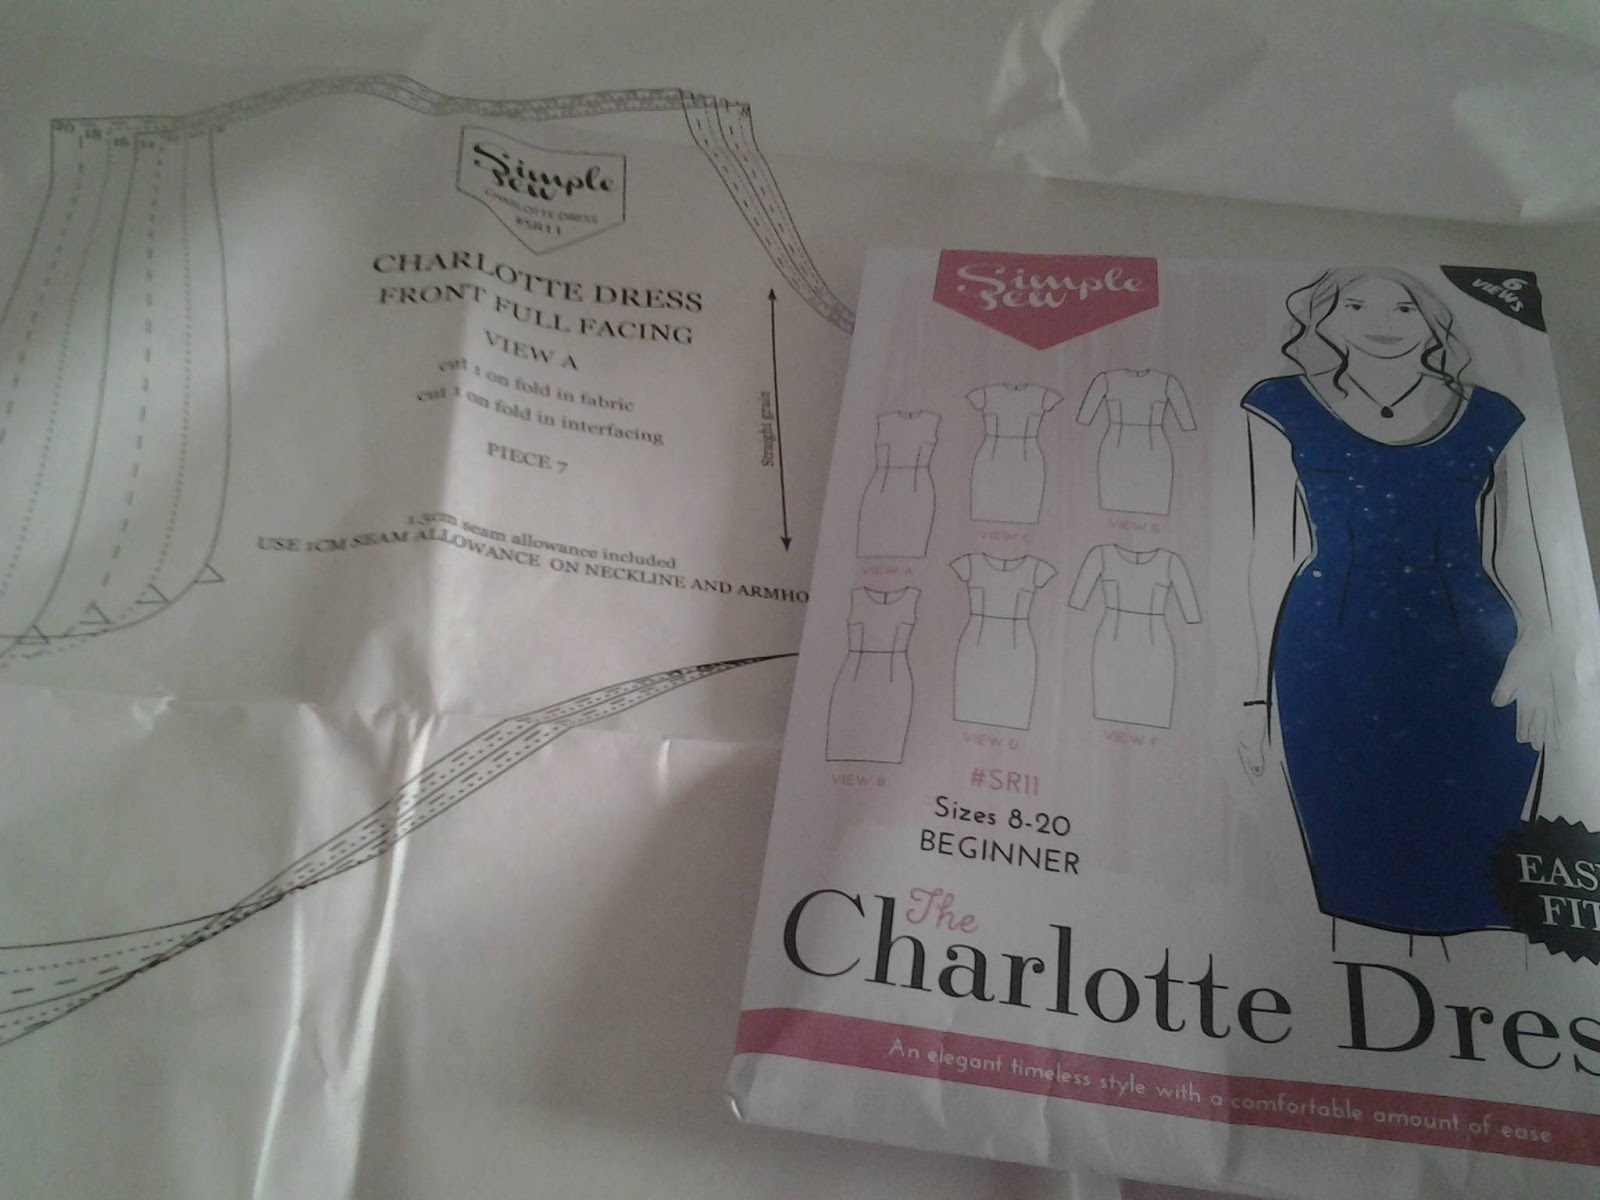
This is my pattern all ready to be cut out. Notice that it is printed on real paper, not flimsy tissue paper. Before doing anything else other than reading through the pattern instructions I insist that you put your eagerness to begin aside for now and take time to check your measurements. If you have made clothes before and have been disappointed in the fit it is likely because you have jumped straight in and cut out your usual commercial dress size. Pattern sizes are different and you should always take your measurements each and every time you make a new garment and check them against the sizing on the pattern envelope. You may find that you need to cut out a pattern one or two sizes different than your commercial dress size, this is normal, and always remember than there are no size labels in hand made (or bespoke) All people will see is a great fitting garment which is immensely flattering
Once you have decided on size you can go ahead and cut out your pattern pieces. But wait, does your fabric need to be pre-shrunk? You can check this by cutting out a measured square of your fabric, only a small one, and washing then drying it before measuring it again. if it shrinks then I am afraid you will need to wash the fabric before cutting out.
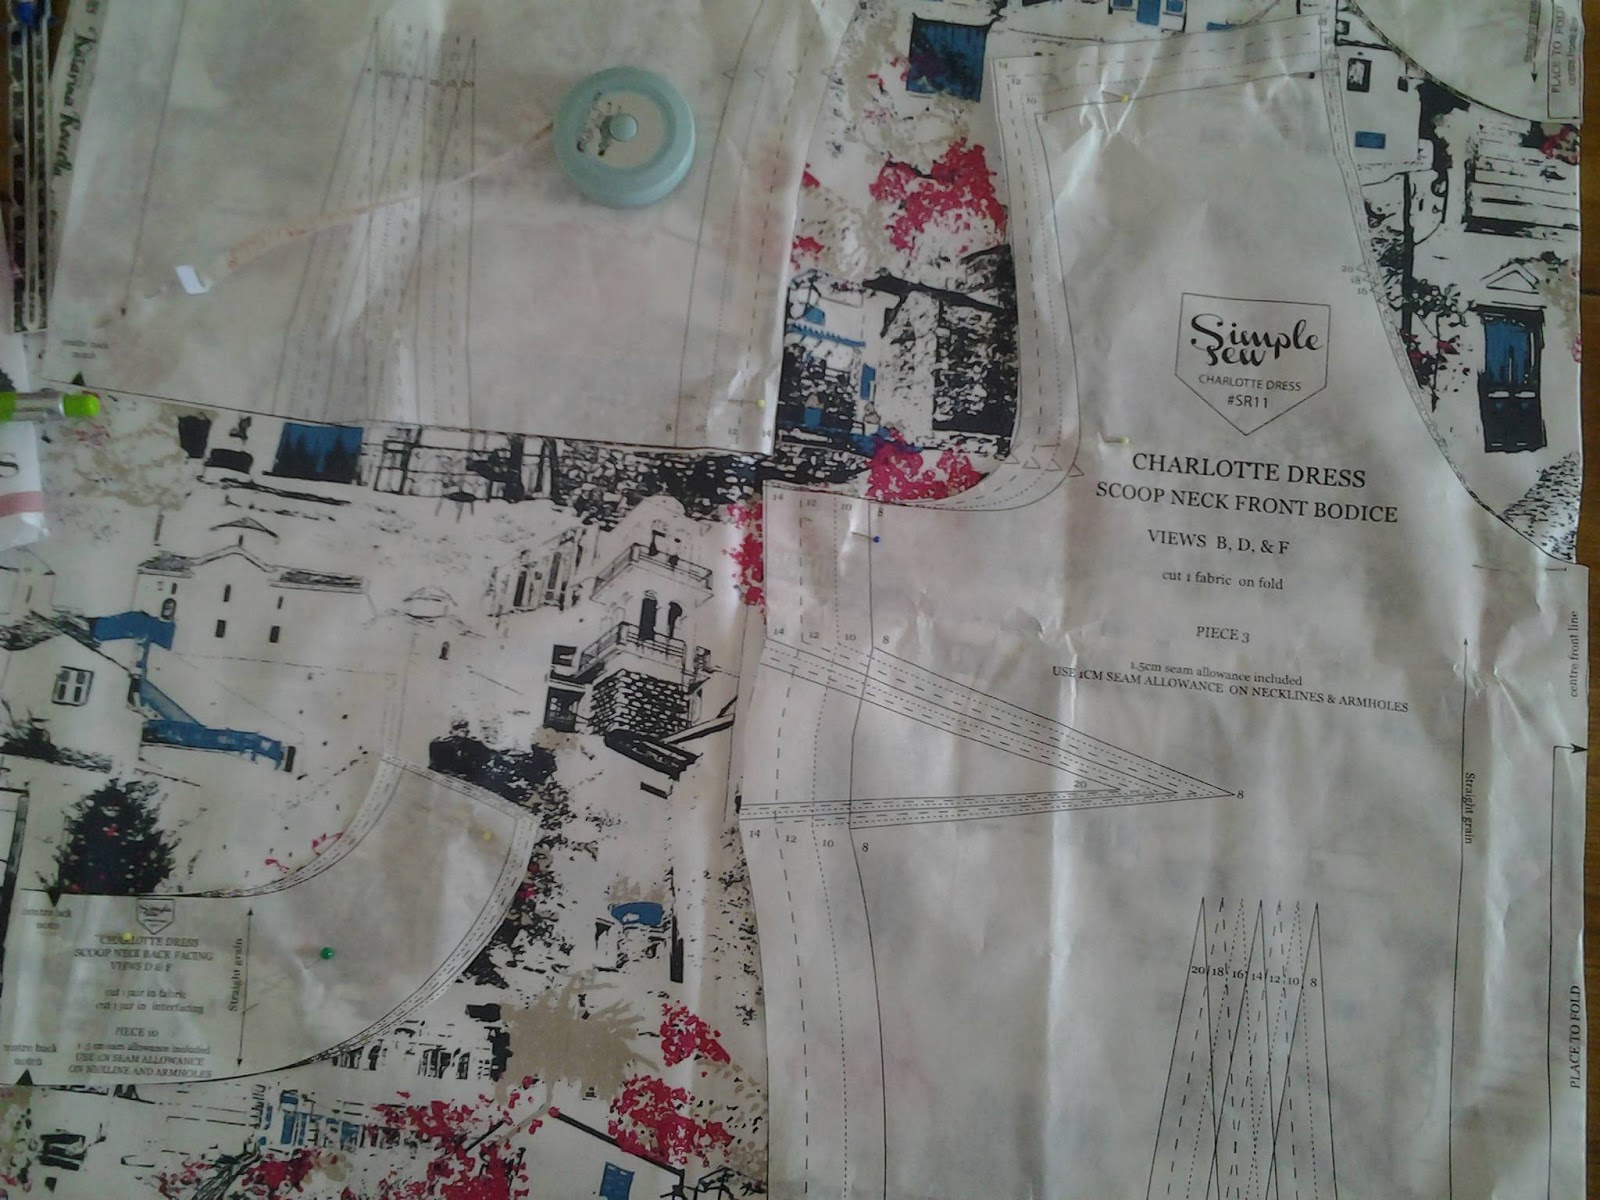
When you start to position your pattern pieces on the fabric you need to make sure that the fabric is folded so that the selvedges meet exactly, and you must also ensure that the fabric is the right way up. When you start pinning the pattern on please do follow the grain line, using a ruler to make sure that all pieces run exactly along the grain line unless otherwise indicated.
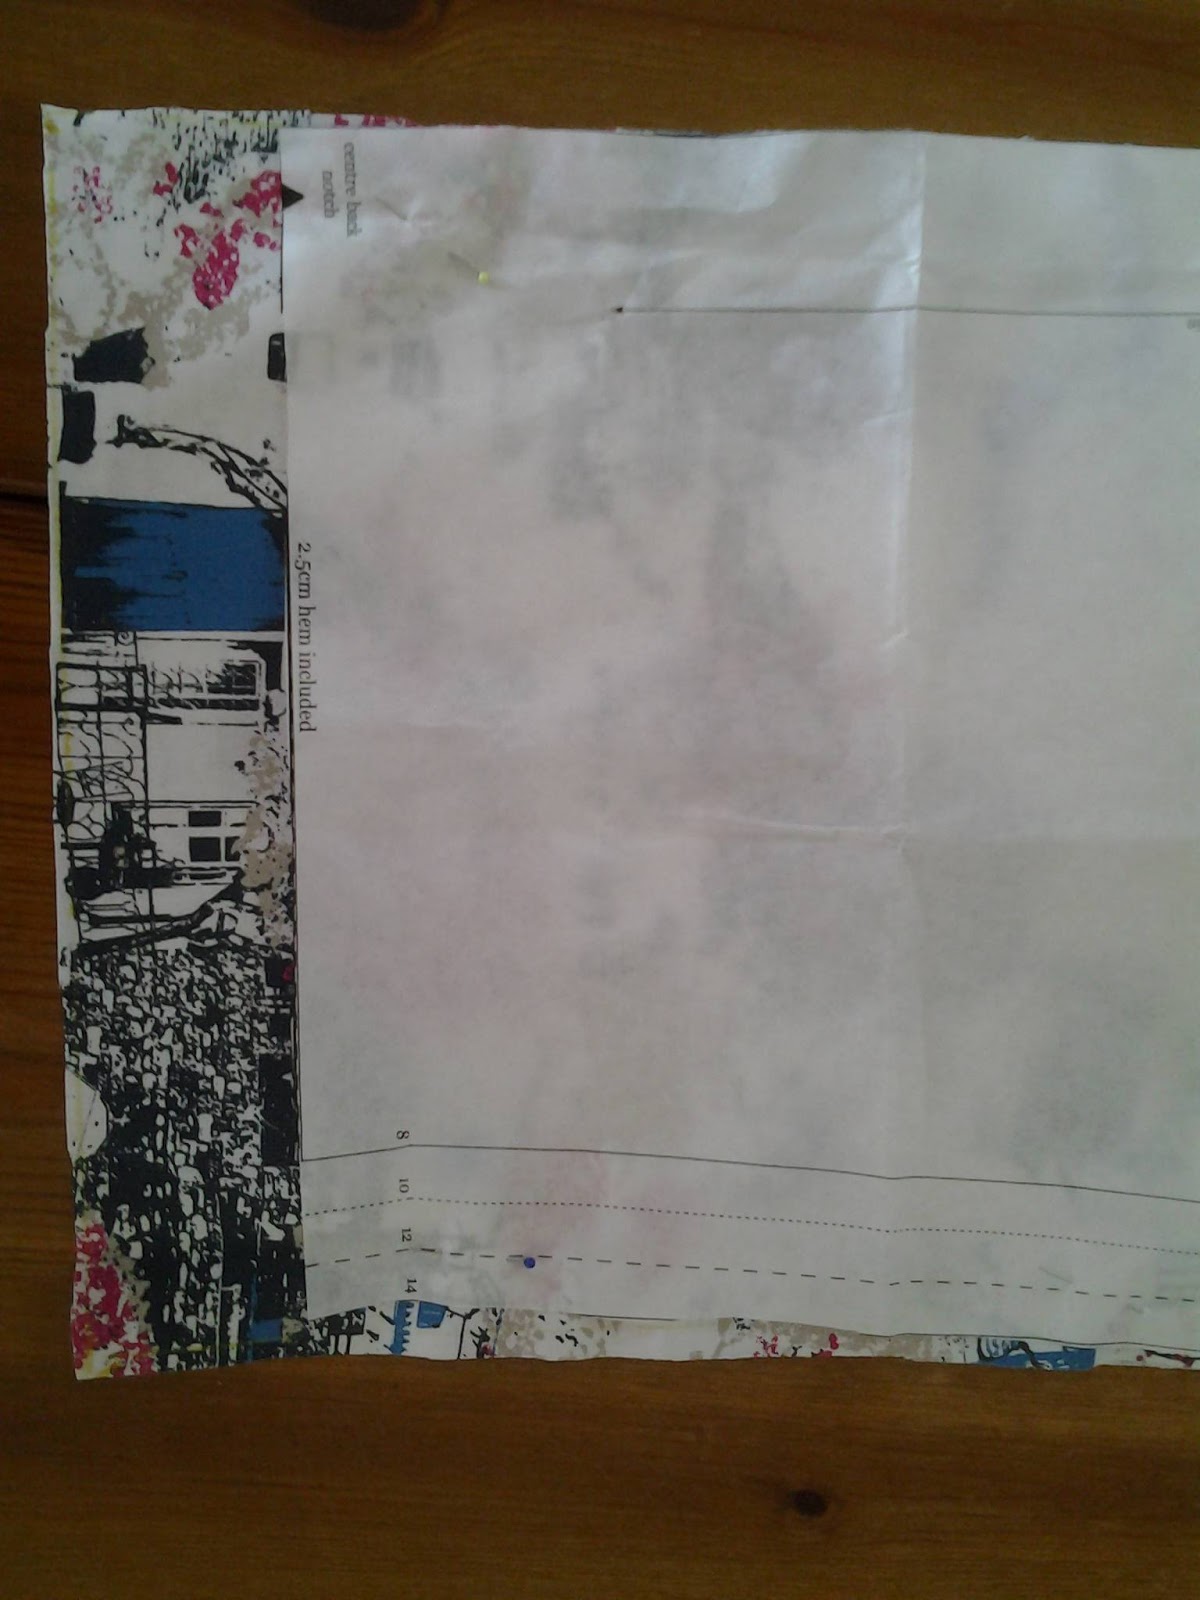
I know that I said that I did not have to alter the pattern in any way, well that is not strictly true as I chose to add two extra inches to the length. I am fairly tall and did not want the dress to be too short on me. Notice that I adjusted the curve of the bottom of the skirt pieces when adding the extra length otherwise it would have gone narrower too

I have a thing about marker pens. Even ones which are supposed to disappear in the air can permanently ruin fabric as they do not always come off, so if you do use them use them with caution, and never iron over the marks until you have removed them or they could be set permanently and ruin your dress. I use the good old fashioned method of using tailors tacks to mark darts and any other pattern markings. You do need a cotton thread because the rough fibres hold the markings in place until you pull them out. This is always my preferred method of transferring pattern markings onto fabric, especially on pale or delicate fabrics

You can see on the photograph above that once you have made your tailors tacks you pull the two pieces of fabric apart a little way and snip the threads carefully in the middle leaving markings on both pieces of fabric.

The next thing is do is to pin and tack the bodice together and try it on for fit. You need somebody to help you to pin the back together or do as I do and tack (baste) up the back leaving a side open so that I can fit it myself.

A good idea is to pin your pattern instructions to a wall, the curtains or whatever you like so that they are always at hand without hunting for them. I have a hook and a clip on the cupboard door behind my sewing machine exactly for this purpose.

Once you are happy with the fit stitch the darts and the shoulder seam. I overlocked the shoulder seams and then pressed the darts flat.

Attach iron on interfacing to your facing pieces, join together at the shoulders, neaten the outside edge and attach it to the bodice.You then need to clip the curved seam right down to , but not touching, the stitches all the way along the seam. It would be impossible to turn it right sides out without doing this. Press, turn right sides out, press again.

The pattern instructions tell you to stitch the side seams at this point and then insert the sleeves.Can you see that I am using a seam guide on my machine foot? This makes it so easy to sew your seams to the correct width each and every time.
To make it easy to insert the sleeves then you should run a long straight stitch within the seam allowance between the notches on the sleeve head. This thread can then be gathered slightly so that you can gently ease it into place.

Once the sleeve is set in you should have a smooth shape with no gathers or tucks, if you do then please take the sleeve out and do it again, it is really worth the effort getting this part right.

If you really struggle with setting sleeves in, then take a look at this alternative method on my video clip above.

I am very lucky to have this overlocker from Jaycotts.co.uk To view it on Jaycotts web site take a look here Brother Overlocker at Jaycotts They have other models too, so do contact them to discuss the right model for you. If you do not have an overlocker then most sewing machines can be fitted with an overlock foot very easily.I have to admit that I do use mine a lot especially if I am doing a small project and do not want to change all the threads on my overlocker machine .
Machine feet can be viewed here, you will find that an Overlock foot and an invisible zip foot are useful additions to your sewing supplies Machine feet I love gadgets of any description so I have quite a collection of sewing machine feet, and yes, I do use them , especially my walking foot which is invaluable for sewing "awkward" fabrics and for quilting etc.
Once the bodice is finished move onto the skirt, sewing the darts and the side seams, neatening the edges as you go. It is a good idea to try the skirt on at this point.
Once you have done that stitch the skirt to the bodice matching darts and seams exactly. neaten the waist seam and press.
I used an invisible zip, well actually I used an invisible transparent zip only because I love the silver zip pull on it! The one I used is available HERE
Instead of pinning it in place I use double sided basting tape which is a great product for temporarily holding together seams and zips and all sorts of other things whilst you sew. This has got to be one of my very favorite sewing tip. It is called WONDER TAPE and to me it is just that. It really does hold the zip tape securely in place as you sew

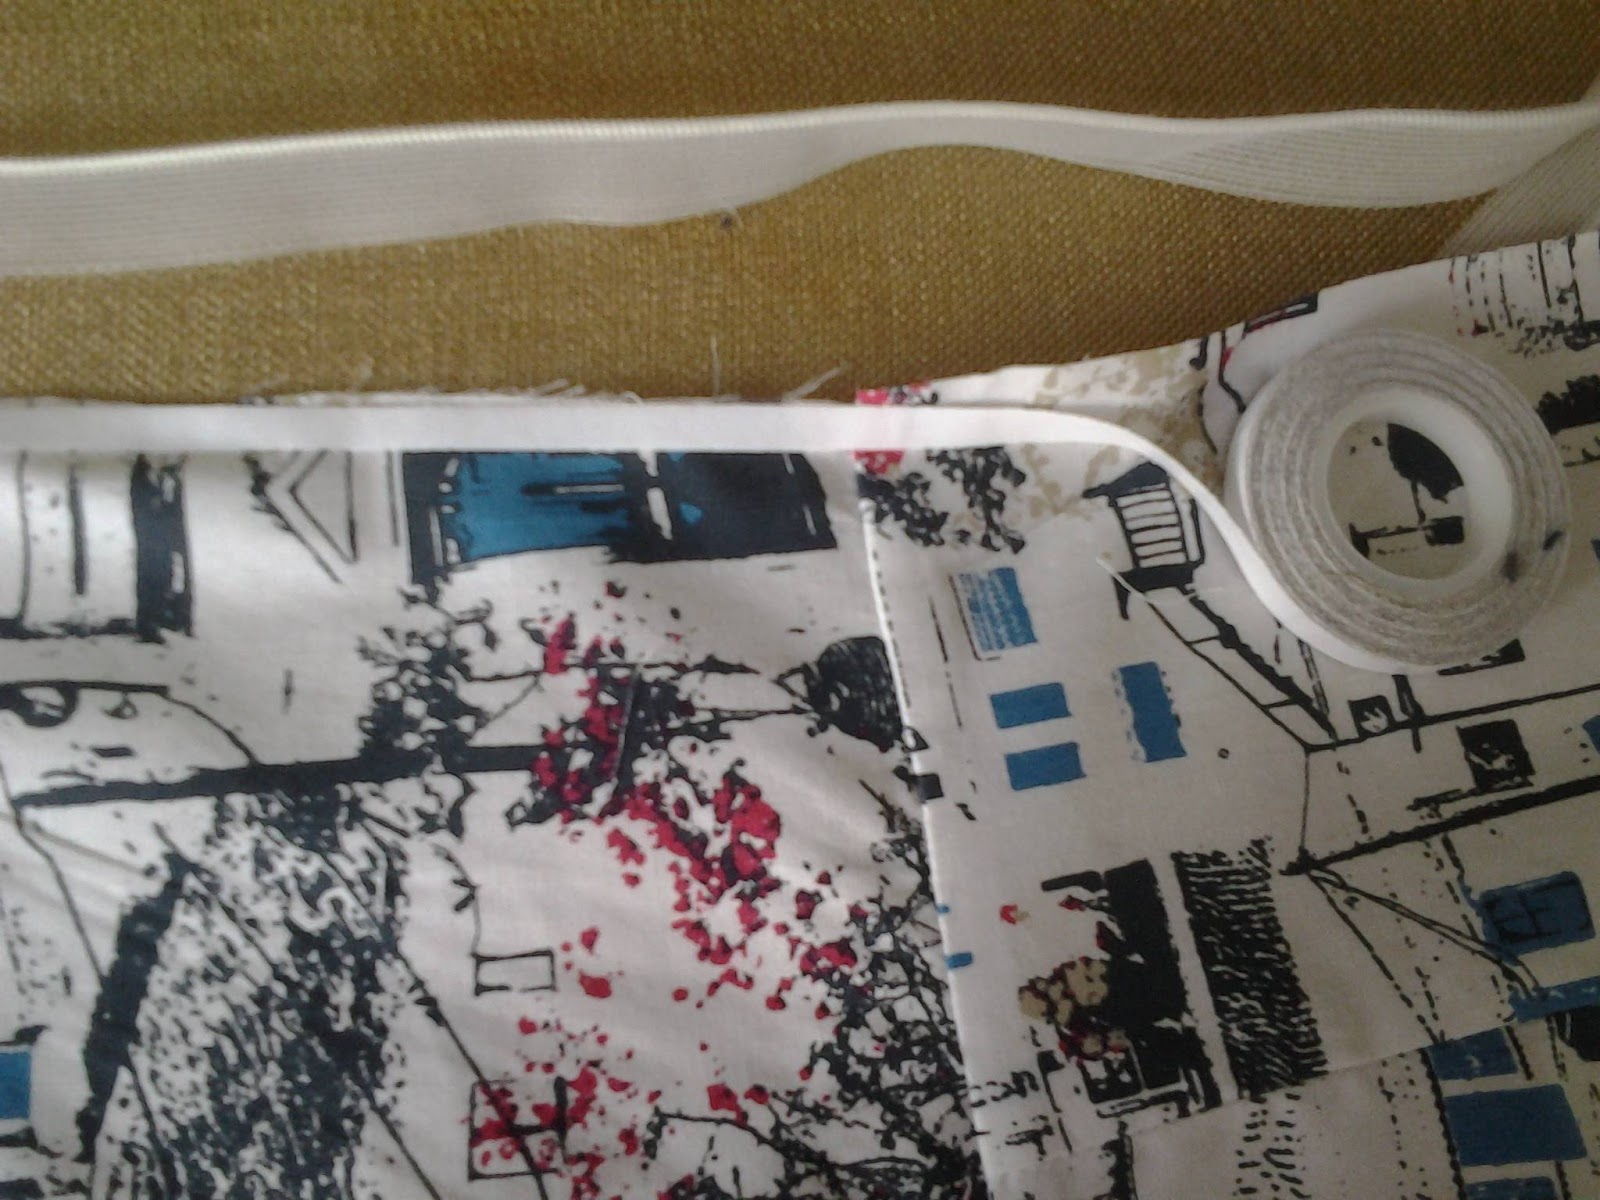
You can see that the zipper tape is held in place securely before sewing. You can use pins of course or tack it in place if you prefer. Before attaching the invisible zip you need to carefully iron the teeth flat being careful that your iron is not too hot or the plastic teeth may melt

Using your invisible zip foot position the zip teeth on one side inside the little groove in the base of the foot , adjust your needle position as necessary and carefully sew in place, stopping when you get as far as you can go.Do the other side in the same way. Then stitch the remainder of the back seam. I find that using a regular zip foot here helps me to get right up to the edge of the stitching where i attached the zip.

This is the dress awaiting hemming.Press it, try it on and mark your hem. Overlock the edge and finish the hem in your preferred way. I like to use the invisible hem foot which came with my Bernina Sewing machine. View my machine by clicking HERE Other methods include top stitching a narrow hem or catch stitching by hand. Do the sleeves the same way.
you may want to top stitch along the neckline. If you prefer you can just catch the facings down at the seams to hold them in place.
stitch a hook and eye to the top of the zip at the back
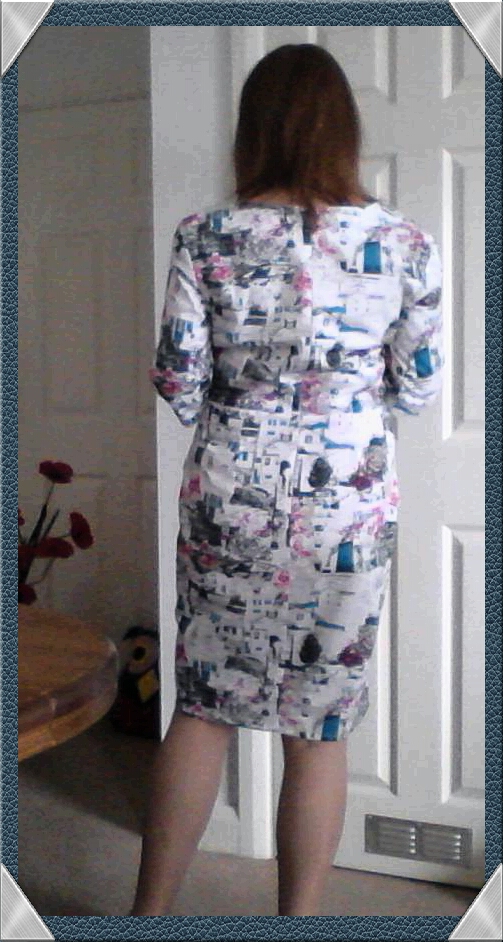
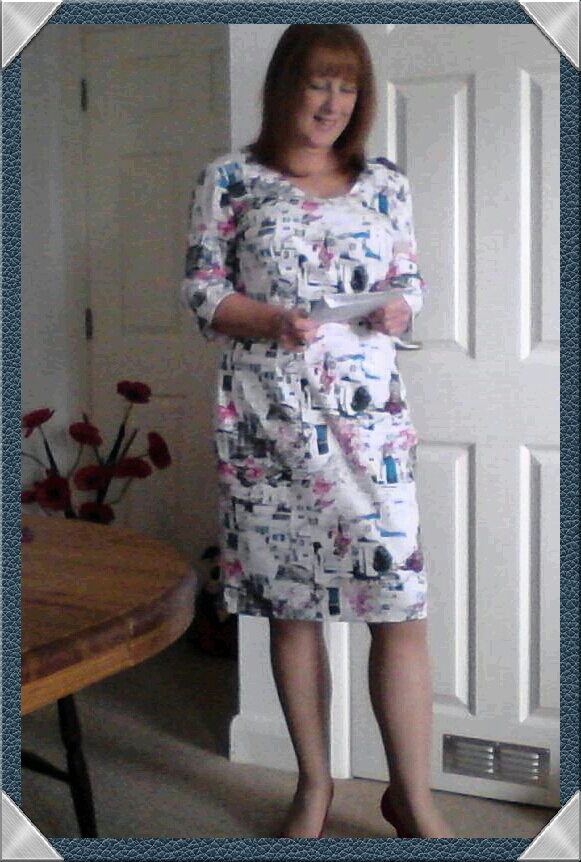
This is the back view of the finished dress. I am delighted with the fit and the length

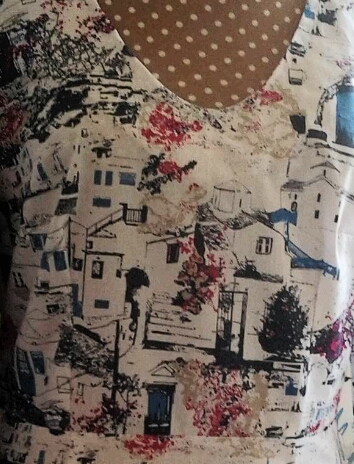
an this is the front of the dress. The fabric is beautiful don't you think?

The dress feels stylish yet comfortable to wear and I know that it will get worn time and time again
The patterns are available from SIMPLE SEW direct on the link above and also from Jaycotts.co.uk on this link SIMPLE SEW PATTERN at Jaycotts.co.uk

Thank you Simple sew for this great pattern. It was a joy to make it and I absolutely love it. Thank you too White Tree Fabrics.com for the amazing fabric and thank you also Jaycotts.co.uk for my sewing machines haberdashery and accessories To contact them about any of their products this is the contact page Contact Jaycotts.co.uk
Happy sewing